Valkyrie Riders Cruiser Club
March 31, 2026, 08:47:46 PM *
Welcome, Guest. Please login or register.

Login with username, password and session length
Ultimate Seats Link VRCC Store
Homepage : Photostash : JustPics : Shoptalk : Old Tech Archive : Classifieds : Contact Staff
News: If you're new to this message board, read THIS!
 
MarkT Exhaust
Pages: [1]   Go Down
Print
Author Topic: Underpanel to hold LED fixtures  (Read 714 times)
MarkT
Member
*****
Posts: 5197


VRCC #437 "Form follows Function"

Colorado Front Range - elevation 2.005 km


WWW
« on: May 28, 2012, 05:59:02 PM »

A couple guys spotted my underpanel, and one just ordered one.  He is putting his own mix of LED's in it to light up the road underneath.  I said OK, if folks want this, I can make it for others too.  It's not listed on my web site - I have to do edits without using my web authoring pkg which was EOL'd - I have since acquired a current copy of it, but that's not much help as they are not supporting importing my early database into it - so I have to do edits via Dreamweaver, which is much slower for me.

Not gonna be so blatant as to talk about price here.  Just announcing I can make these for others.  At this time I am not sourcing the LED fixtures as I don't have a supplier so would have to mark up from retail - it would be cheaper to buyers to source them, themselves.  I got mine at retail at Autozone.  There are plenty of sources online, including ebay.

Here's the box - it's 24" X 6.5", with 1/2" height internally.  Made of 1/2" box steel tubing, sheet aluminum, Lexan, rivets, screws, silicon caulk, and a grommet for the wire port.  Secures to the holes in the engine casing with 12mm pins and safety wire.  I used a trailer connector for the quick-disconnect.  It's made to stand off from the engine bottom a bit to allow air to get to the cooling fins on the bottom of the engine.  It took me 2 days to make it so it's not cheap.  In fact I would not do this if they all took that long. If there's interest I will make jigs for cutting and welding the frame together so I can reduce build time to half a day.  Obviously, the Lexan has a protective film on it, both sides.  The buyer will remove it after he installs his LED's.  I suggested gluing them in with silicon glue, then sealing the Lexan on the edge and the wire hole with the same stuff to keep dust out.


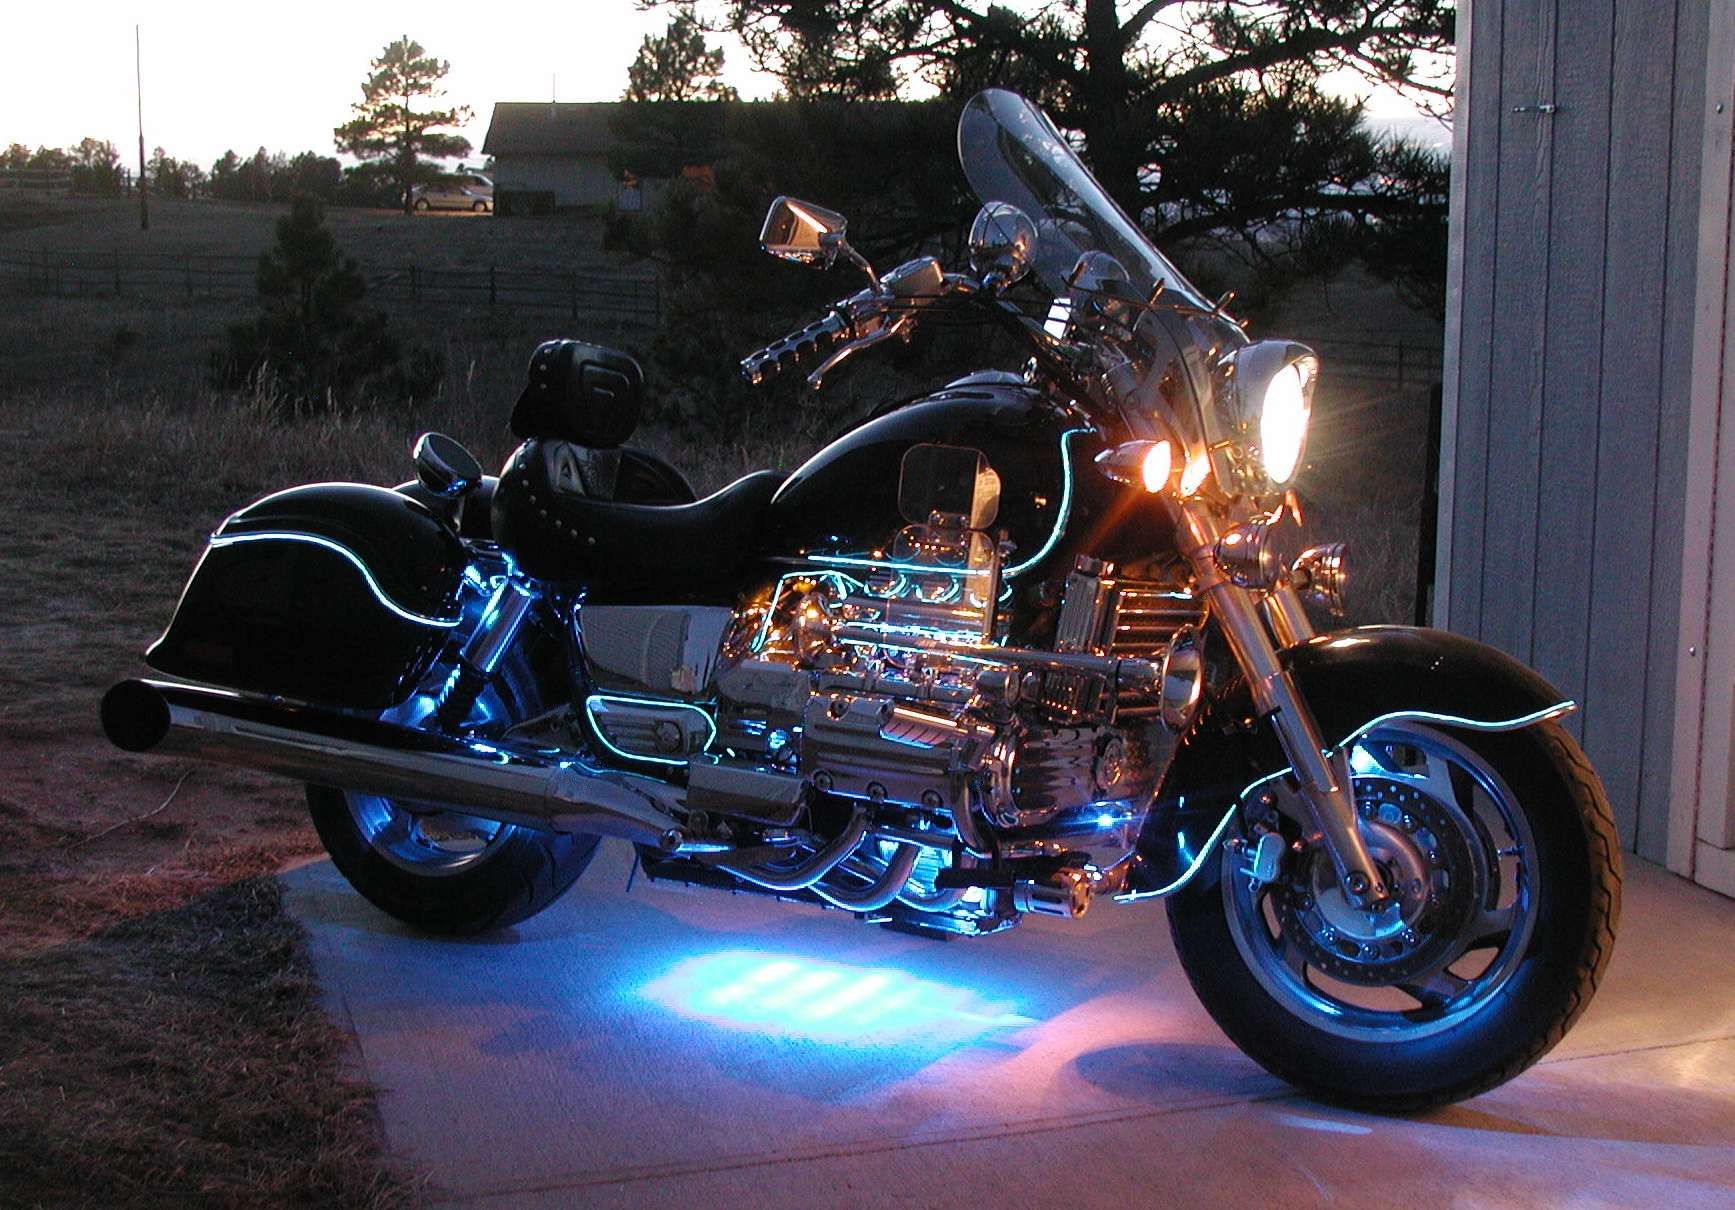
Here's the effect of this panel with 8 LED fixtures from Autozone in it:


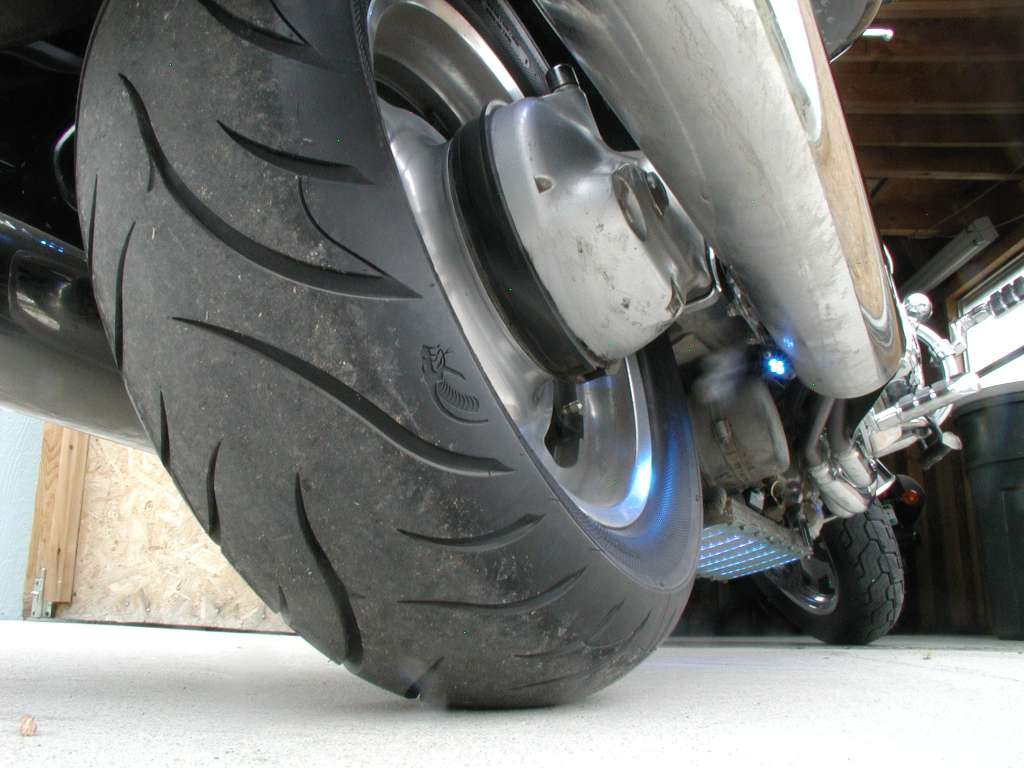
Another view, looking from underneath (meant to show the tires, so not the best):


Logged


Vietnam-474 TFW Takhli 9-12/72 Linebckr II;307 SBW U-Tapao 05/73-4
BF
Member
*****
Posts: 9932


Fort Walton Beach, Florida I'm a simple man, I like pretty, dark haired woman and breakfast food.


« Reply #1 on: May 28, 2012, 06:45:47 PM »

Does that prevent the use of a lift adapter?
Logged

I can't help about the shape I'm in
I can't sing, I ain't pretty and my legs are thin
But don't ask me what I think of you
I might not give the answer that you want me to
 

MarkT
Member
*****
Posts: 5197


VRCC #437 "Form follows Function"

Colorado Front Range - elevation 2.005 km


WWW
« Reply #2 on: May 28, 2012, 07:49:48 PM »

It's easily removed - cut the safety wire, remove the shim in front putting tension on the frame, pull the pins and set it aside.  I usually don't even unplug the quick-disconnect powering it - my wire is long enough to set it aside.  But I used a trailer connector as they are intended for wet use - if I want it completely off, just unplug the connector.  Mine only has power and ground, but it would be easy to use a multi-wire using the 4-conductor trailer plug if one wanted to use 3-color LED's and select the color, or have a controller or the like to rotate between colors.  Mine is steady blue.  I used to have a red underpanel.
Logged


Vietnam-474 TFW Takhli 9-12/72 Linebckr II;307 SBW U-Tapao 05/73-4
Pages: [1]   Go Up
Print
Jump to: