Here ya go Gordon, best I can do at the moment using the uninstalled set I still have.
This pear shaped heat sink screws off.

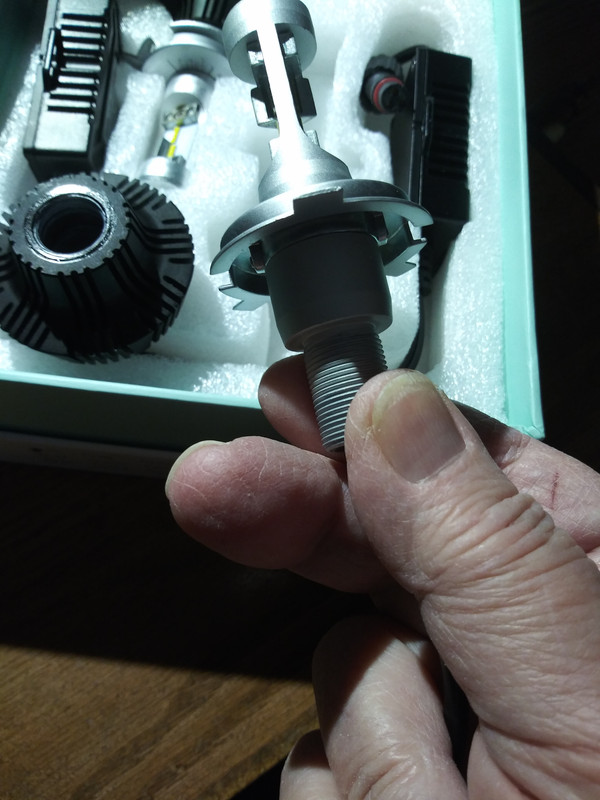
As you can see....lots of threads.

You first have to unscrew the cap at this joint and pull the cable apart...gently. The heat sink will then slip over the connection after you unscrew it from the lamp.

No matter how I moved it around, when the large tab at the top is in place, neither of the lower tabs at 7 & 4 o'clock lined up with their respective slots so I removed them. They came off easy with a pair of side cutters.

Notice the openings in the lamp base at 9 & 3 o'clock. That gives access to tiny allen head screws on either side(wrench included in the kit) which allows you to align the top tab with the top center rib of the lamp. If not squared up with it, your beam will be cockeyed in one direction or t'other. Obviously, some installations on different vehicles won't have the aligning tab at the top. On those, you will need to loosen those screws so as to adjust the top rib of the lamp to be at 12:00 o'clock regardless of the location of the tabs.
Note the two sets of yellow LED chips. The forward & slightly raised set are the low beam. Underneath them you can see the reflecting barrier. That causes the low beam to only reflect off the upper part of the reflective housing. When the rear set are illuminated, since there's no barrier they reflect off the entire housing, thereby giving the high beam.

The final steps then are to 1) place the lamp in the housing. 2) snap the springy thing in place over the lamp base. 3) put the rubber boot in place. 4) screw on the pear shaped heat sink, narrow end first. It will screw down and through the boot. 5) attach the new connector to the lamp and reconnect the cables where separated originally. I then used some zip ties to anchor the new cabling to the framework of the fairing. Hope this helps anyone looking at using this kit.
As yet I don't have the fairing back in place so can't show any pics of the LED lamps illuminated. Still have some wiring adaptation to do and it's subzero in the garage so not happening any time soon.


