5 year old post. You may just want to skip to the end. This was my first real work on a Valk that now I must somewhat revive again.
Hey guys. I had originally posted this in the general board, and a couple people suggested that I should post this over in the tech board because a lot of tech board people really don't go to the general board much. I thought about it after my first post and decided I would just wait until I was mostly finished and post it all at one time. Hopefully this is not too much for a single thread and I am sorry for the long read. Probably was easier broken up into sections.
So..... here goes.
Well, I have done these on the boating boards I frequent, but I have never done motorcycle project build. This all started because I sold my Grady white about 4 weeks ago, and our big boat project is 4 hours away up on the Chesapeake Bay, and too far away to tinker on. Actually we are waiting on the weather to break so we can put some paint on it and hopefully head south to NC on her by mid March.
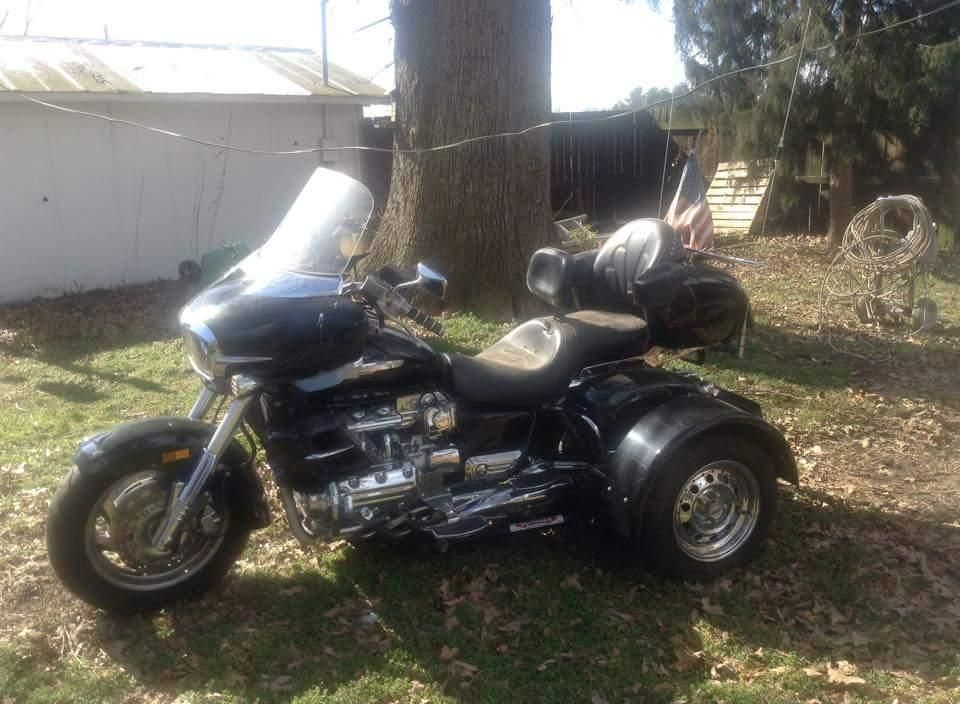
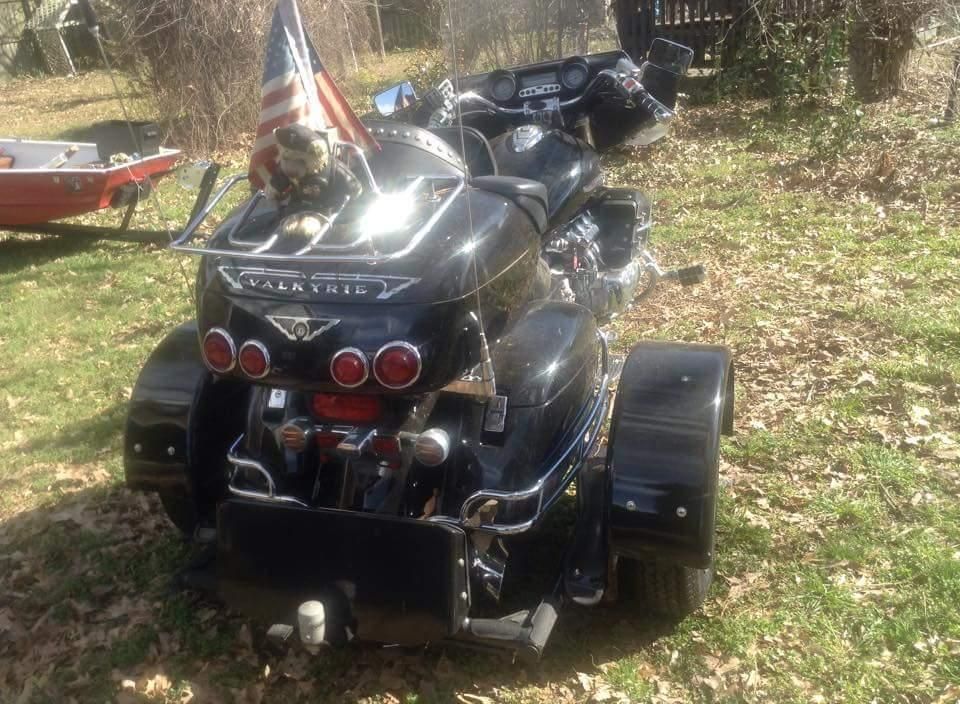
So I am sitting at work and it is slow and there is way to much time on my hands so I am checking out Facebook to see if anybody really does love me. Nope they all love themselves. BUT WAIT! Somebody does love me. There is an ad posted about a buy with a 2000 model Valk IS with a trike kit on it. Lets see, Been in shop and hasn't been ridden since wife had back surgery in 2008. OK. Cranked it every few months just to keep it going. OK. only 40k miles. OK. Battery is dead and when I tried to jump it I think I messed up the started because the starter started making a weird noise and it will not crank now. OK. Left uncovered in barn and in rough shape. May need to be repainted. Good for parts. OK. $1000 firm.
OK!!! Now they have my attention.
I call and talk to the owner quite a bit and it is clear he is a driver and not a rider or tinkerer. I tell him I am coming to look at it tomorrow. He said OK. I have two other guys coming tonight so I will call you if it sells. I say "Wait, lets talk a little. You call those other two guys back and tell them not to worry about it and I will be there in an hour with the cash. It is saturday afternoon, and I bet they aren't bringing cash with them" I told him if it was what he said it was and he was being honest that I would hand him the cash tonight and pick it up Sunday." Success!!! Just so happens when I told him my name he knows all of my family and used to buy paint from my dad when he owned a little paint shop. Said my dad gave him credit even when times were hard and nobody else would so if I wanted it, it was mine! I was happy, I think. And nervous. I have never done any major work on a motorcycle in my life.
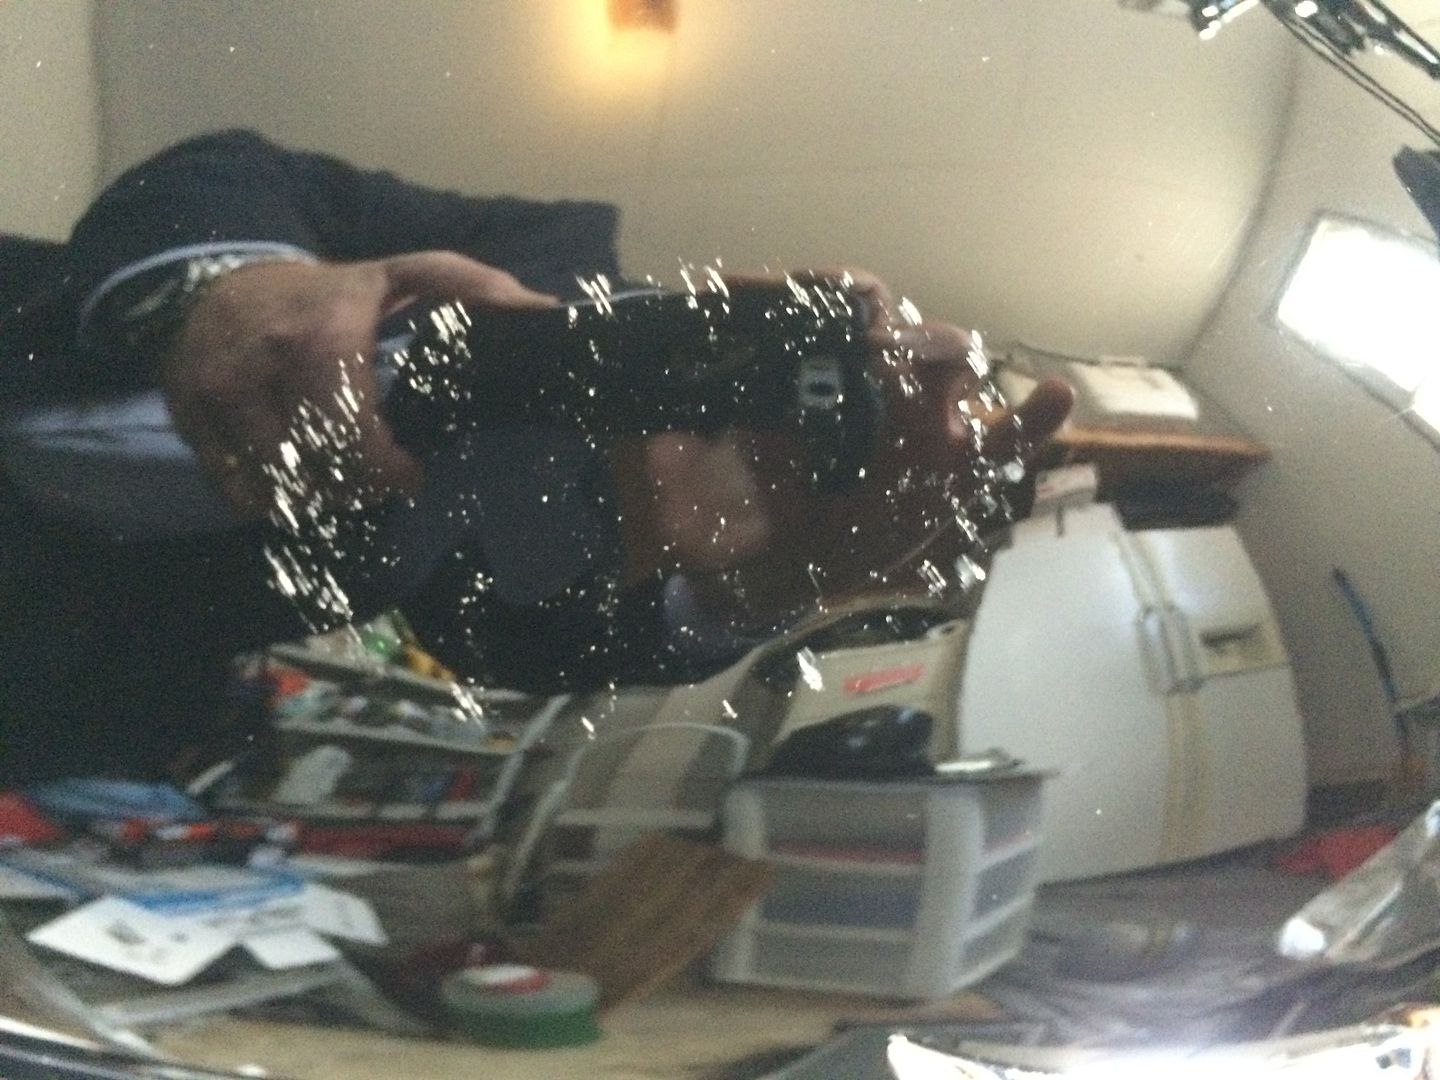
Here are the pictures he sent me of the bike that got me headed that way.

So I am off. I tell the wife to be ready to ride with me and we grab some cabbage out of the cash stash drawer and head to town. We got there after dark and I aint gonna lie. It looked a little rough under the two little plug in lights he had in his yard. He told me again about his wife's surgery and not being able to ride anymore. And I am nervous, but all I can think of is that I gave him my word I was coming to buy it and bringing the cash. So.......
I owned an aircraft detailing company and can detail and spray all day long so I figured I can at least fix that much of it to part out if necessary. I take a little rag with a little polish on it with me when I go. I get there and see this poor ignored Valk sitting where it had been rolled out of the barn and she is dirty. First thing I do is put a rag on the tank and it cleans up pretty good in a little spot. Then I put it in gear and roll it. It will turn over the engine and I feel the pressure so hoping the engine is good. Then I call my younger brother that worked at the Honda dealership for a year and asked him about changing a starter on a bike. He said yeh, no problem. So for 1000, I figure it is worth the gamble. I can part it out for more than that.
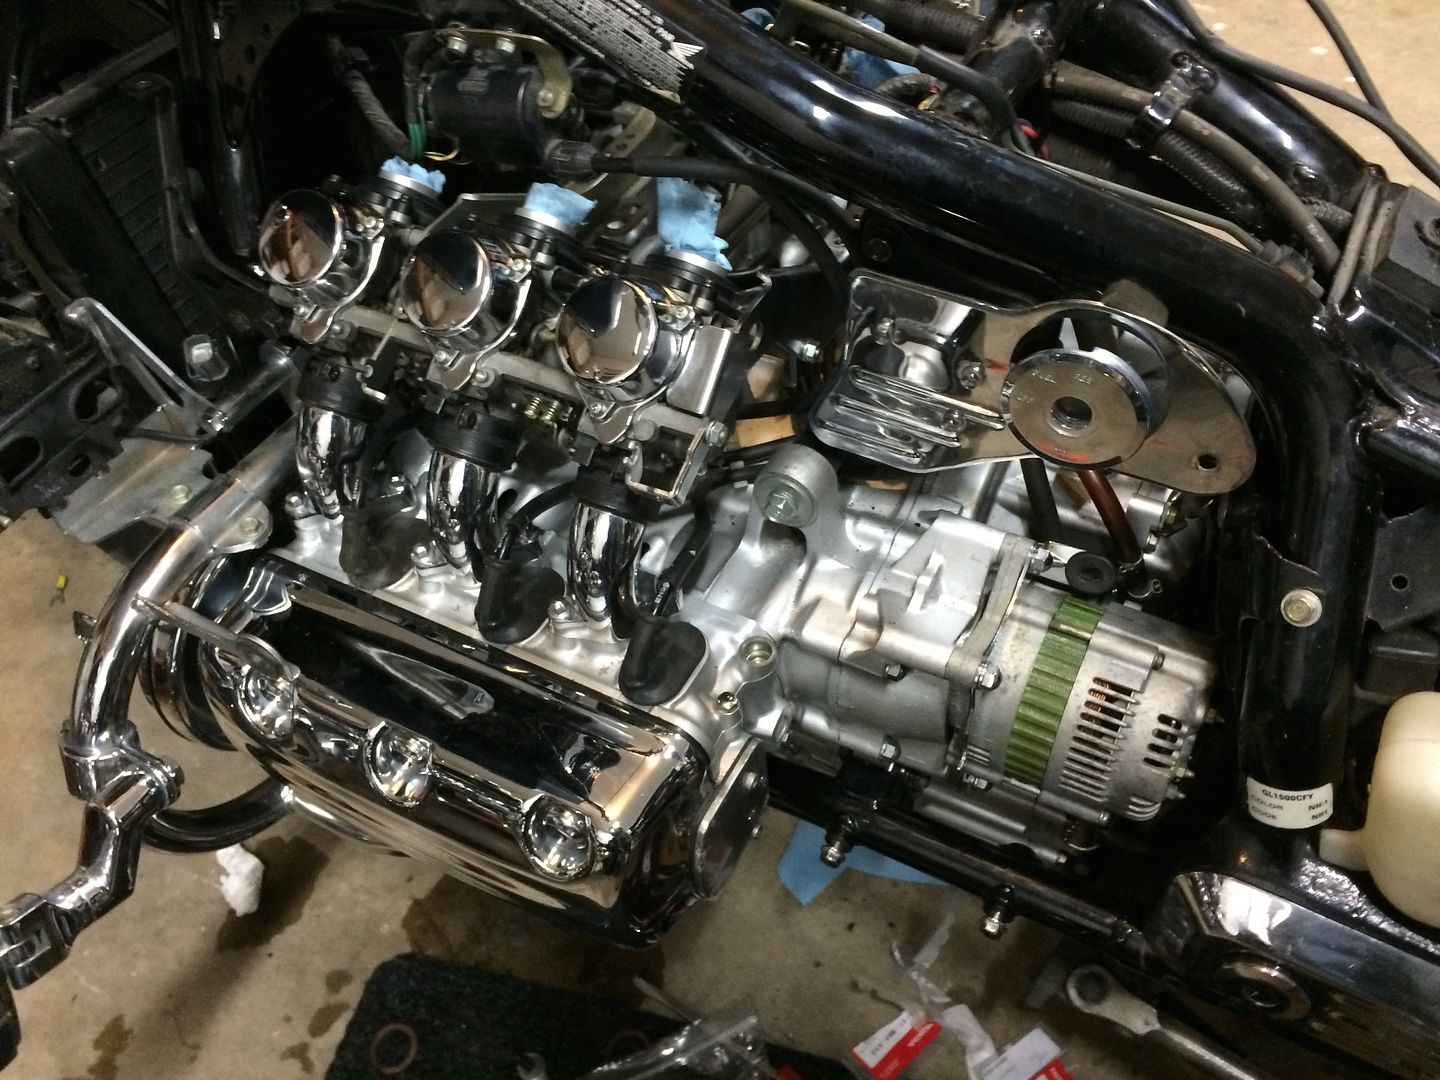
So we hand over the cash, get the title and all the paperwork and manuals and service records (this guy kept everything) and then head back the next morning to pick it up. I brought it home, threw a jumper box on it and heard something I have never heard before. a starter turning at top speed and nothing happening. So, I get on the internet and find this site and figure out pretty quick that it must be the dreaded hydrolock. I rolled her off the trailer and into the garage and wrestled out the starter and of course, I find......
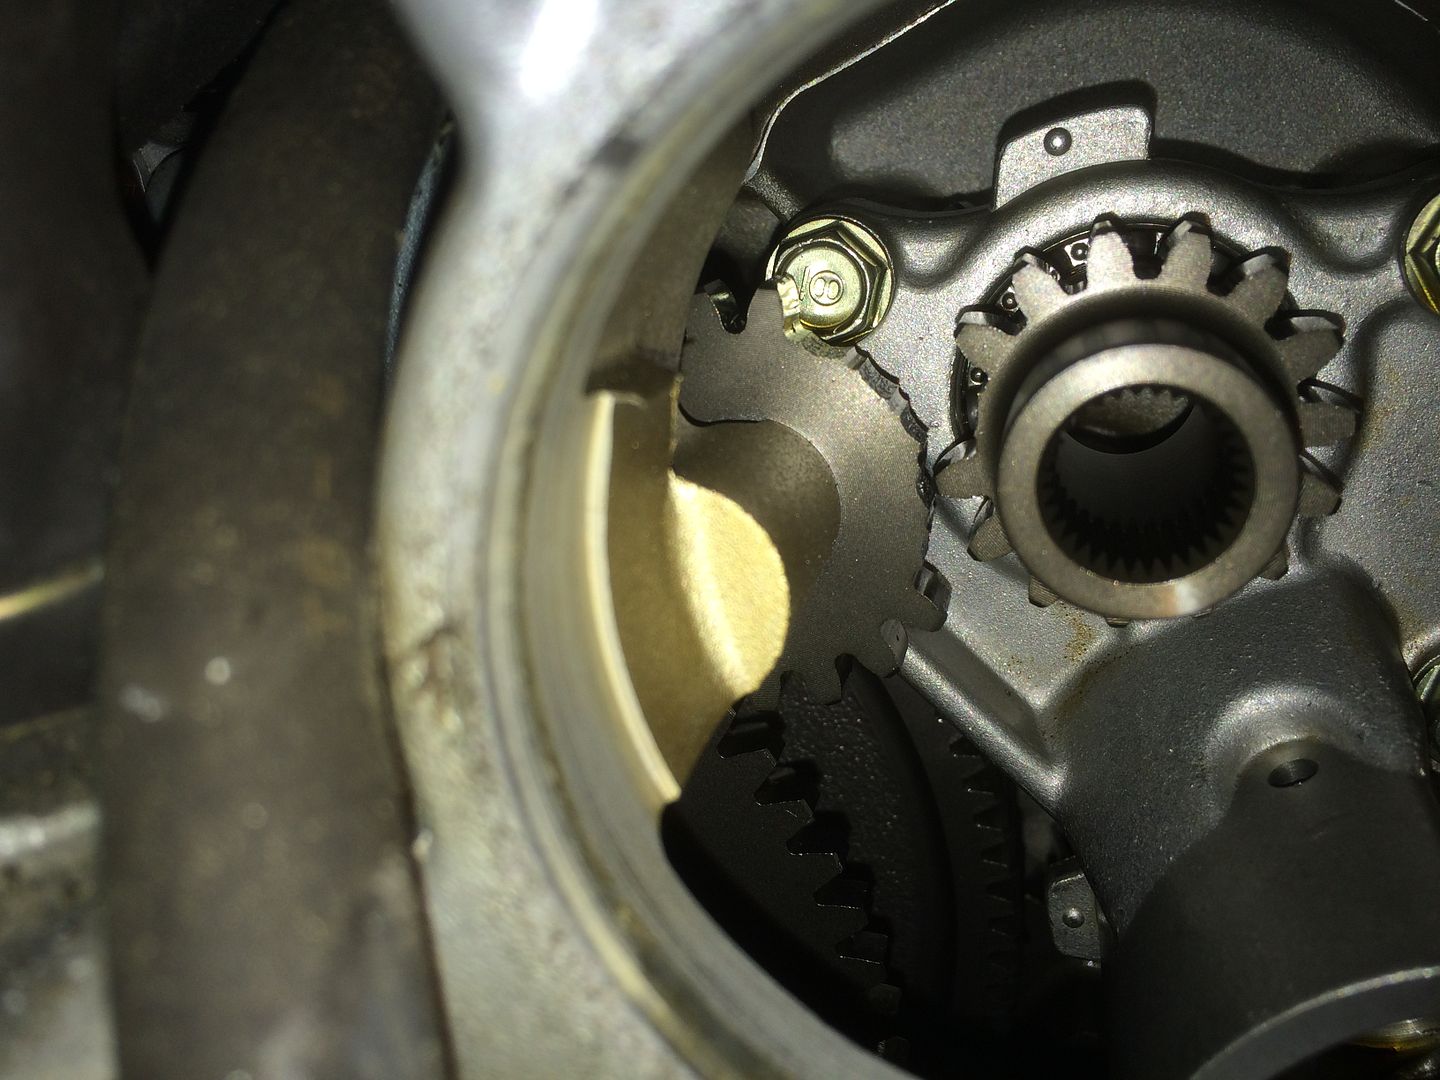
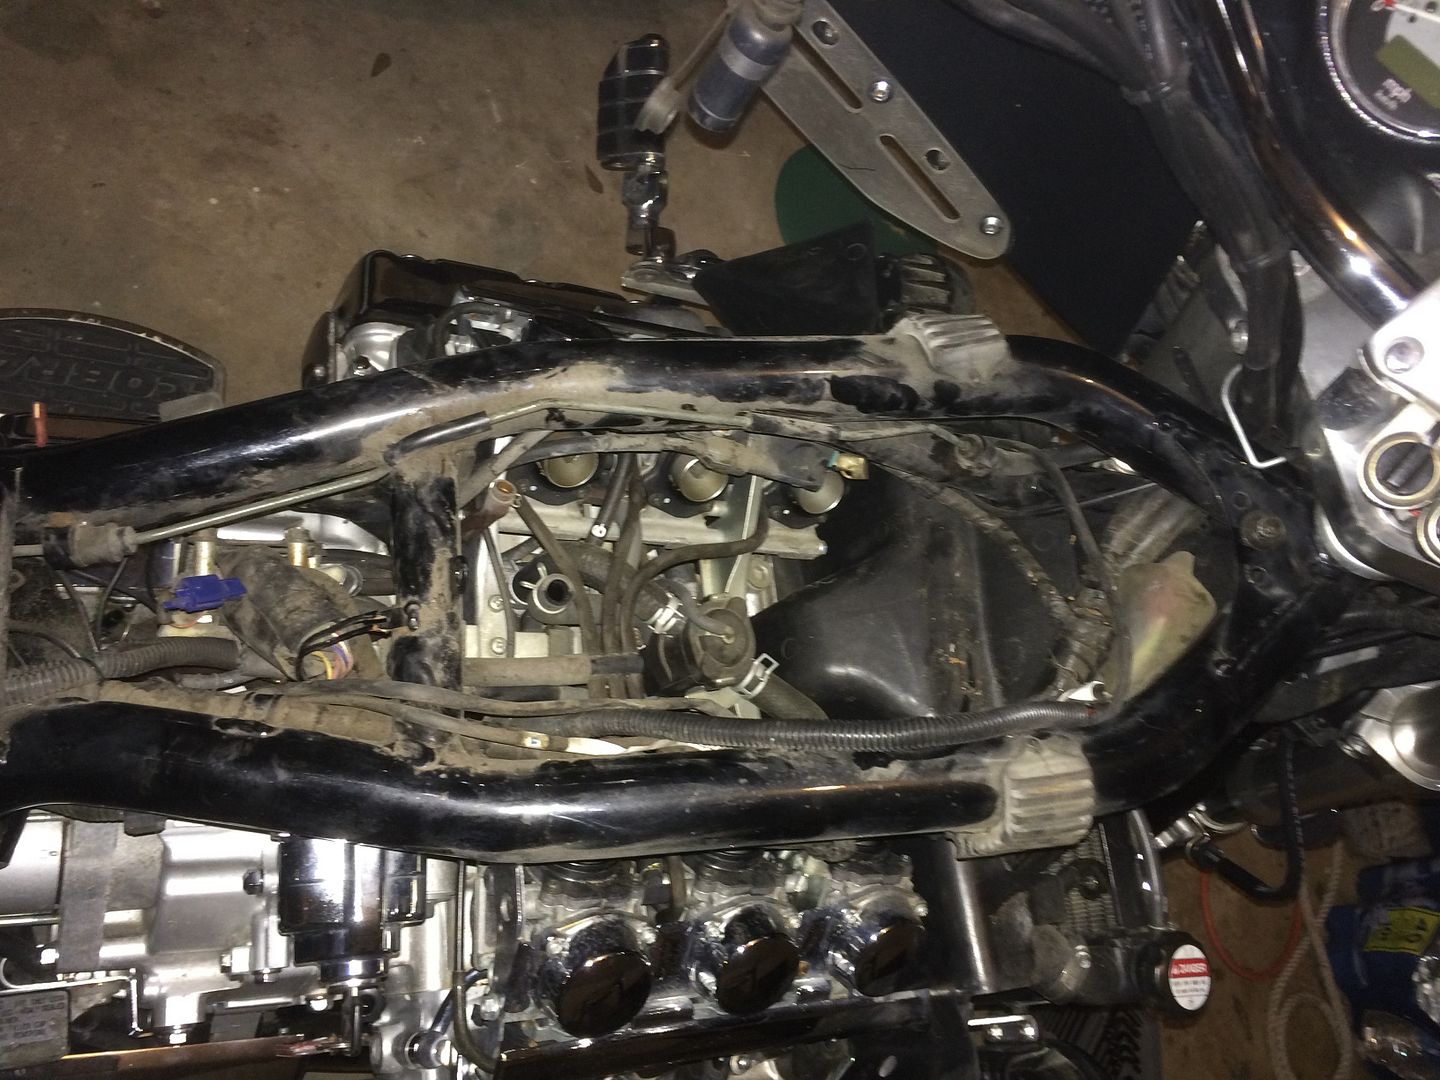
So now I am really bummed and started reading all over the boards trying to find out how much this is going to cost to fix. I was going to take it to a shop. I had three shops tell me they were not interested in the work. Then more research and questioning and you's guys convinced me I could do it myself. Well, maybe not convinced me, but at least figured I could tear it apart and carry it somewhere in a box instead of as a whole. So the teardown begins. I pull out my old manual, download another, watch some youtube videos and start with the carb removal.
First the seat and tank...... and that damn airbox!

Then to start disconnecting every hose I could find to pull the carbs. Several years back I bought a 12" long set of needle nose pliers at tractor supply and those came in real handy for this.
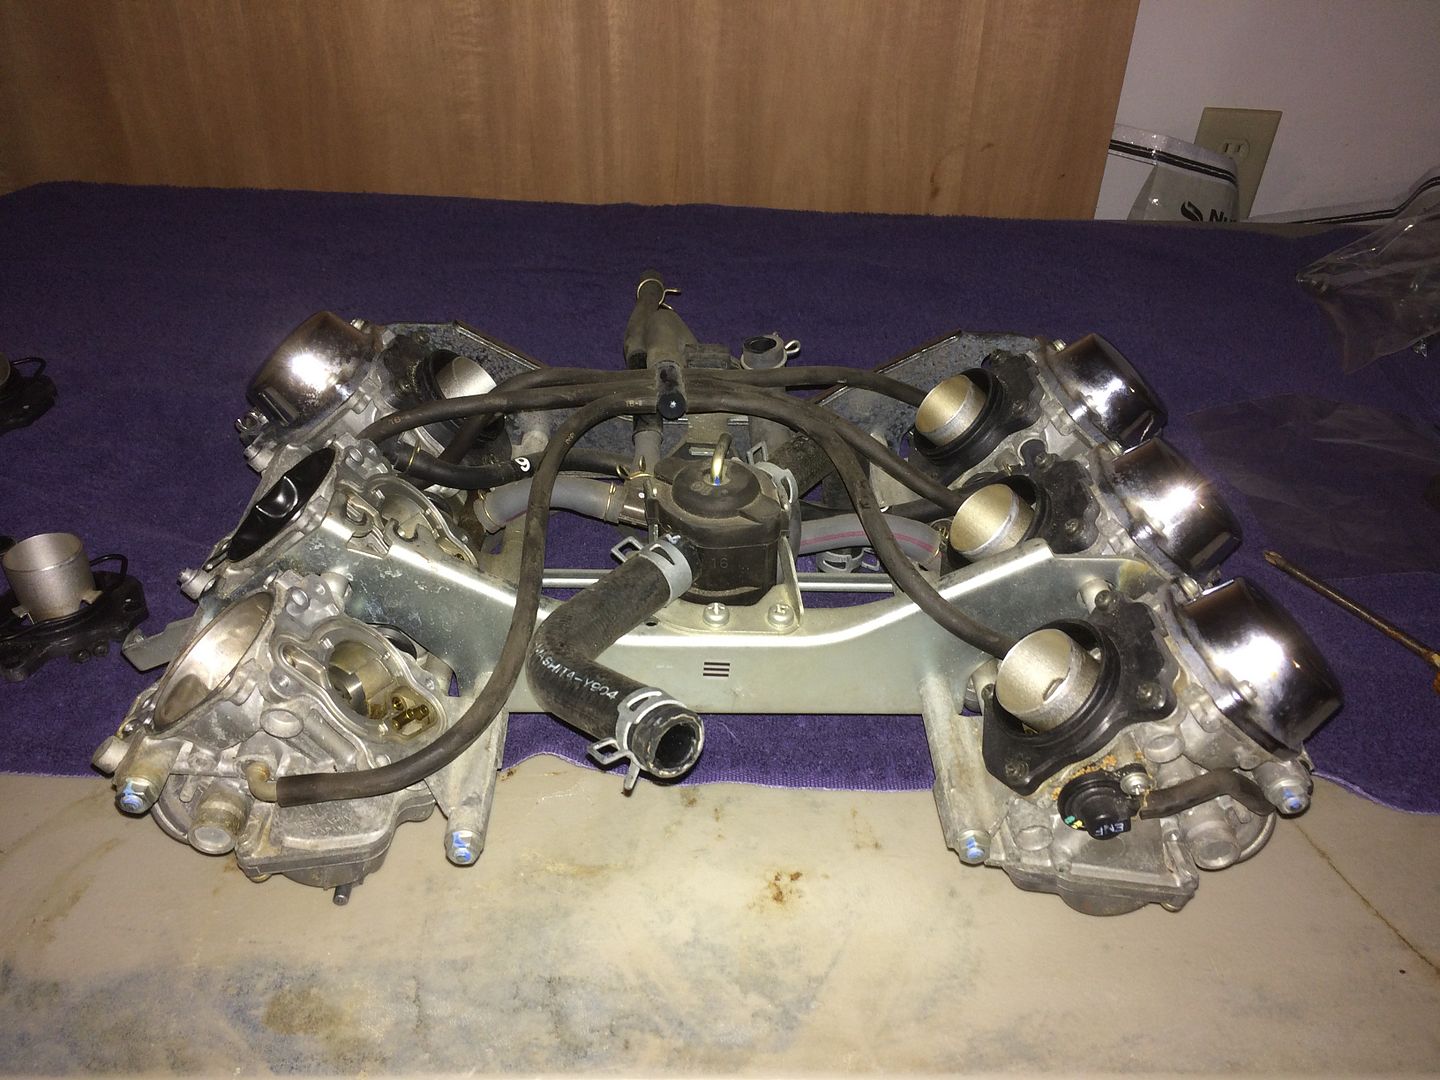
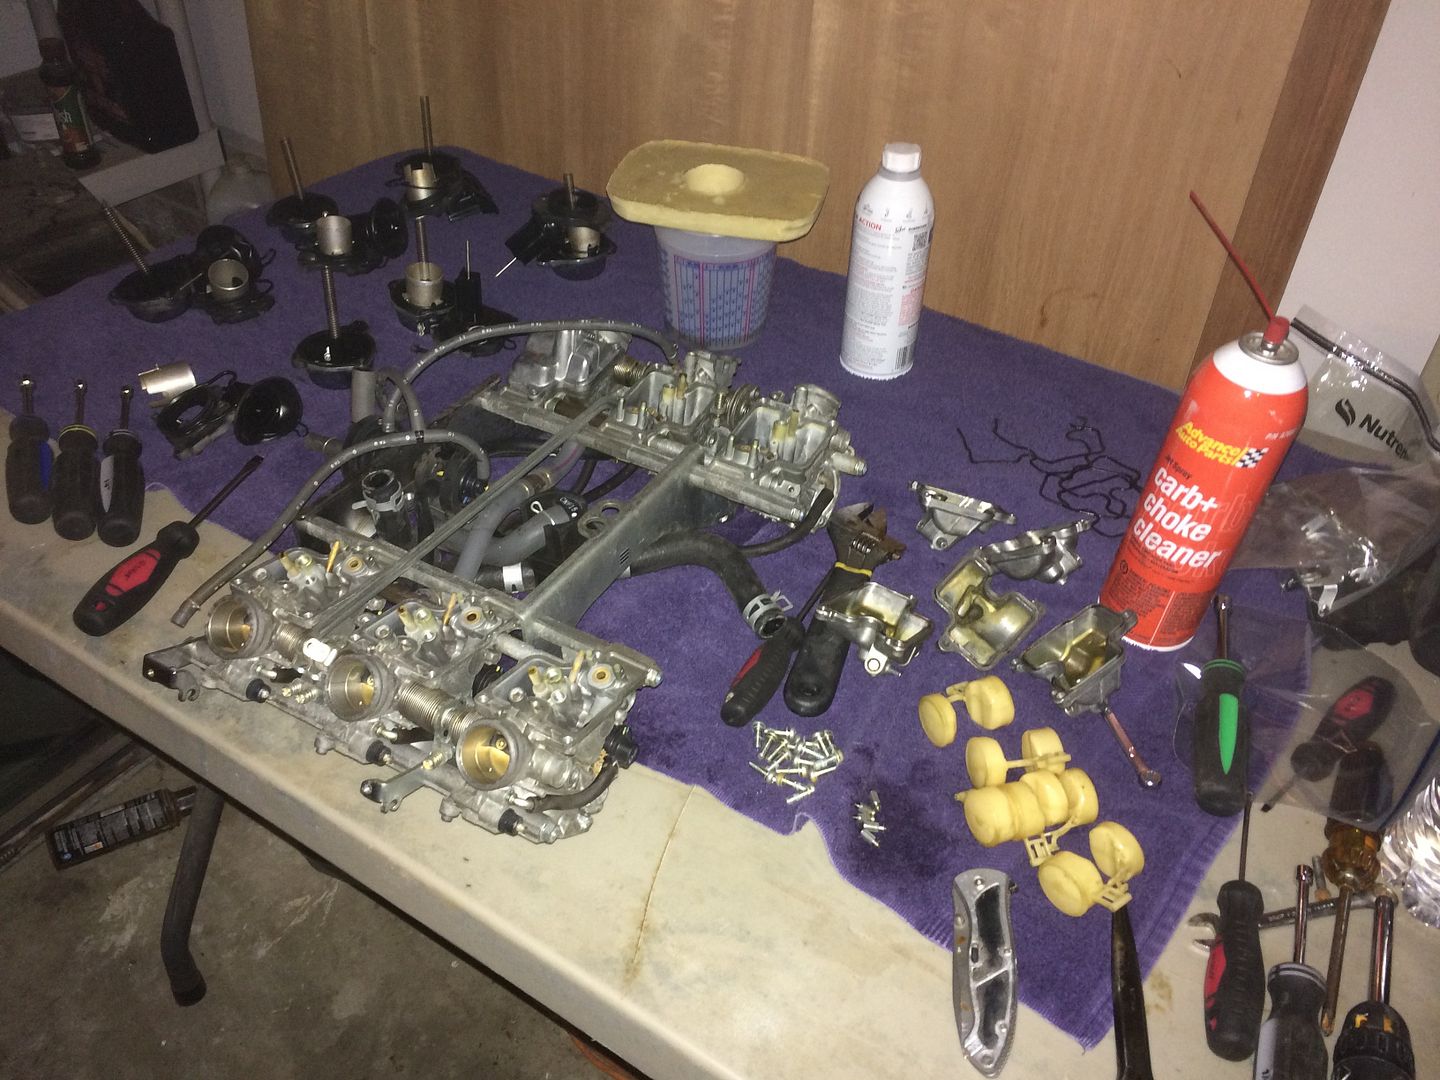
OK, carbs are out. more youtube videos and I am ready to dive in and clean these bad boys out and clean up some jets and get going. As I am breaking them down and realize that several of the floats are stuck so I know it is going to be time for some parts. Ordered jet cleaning tool, couple cans of carb cleaner, and new gasket set, new screws to replace the ones I stripped, new needles and new #38 jets.
Here is D-Ray's videos that I used to tackle this job.
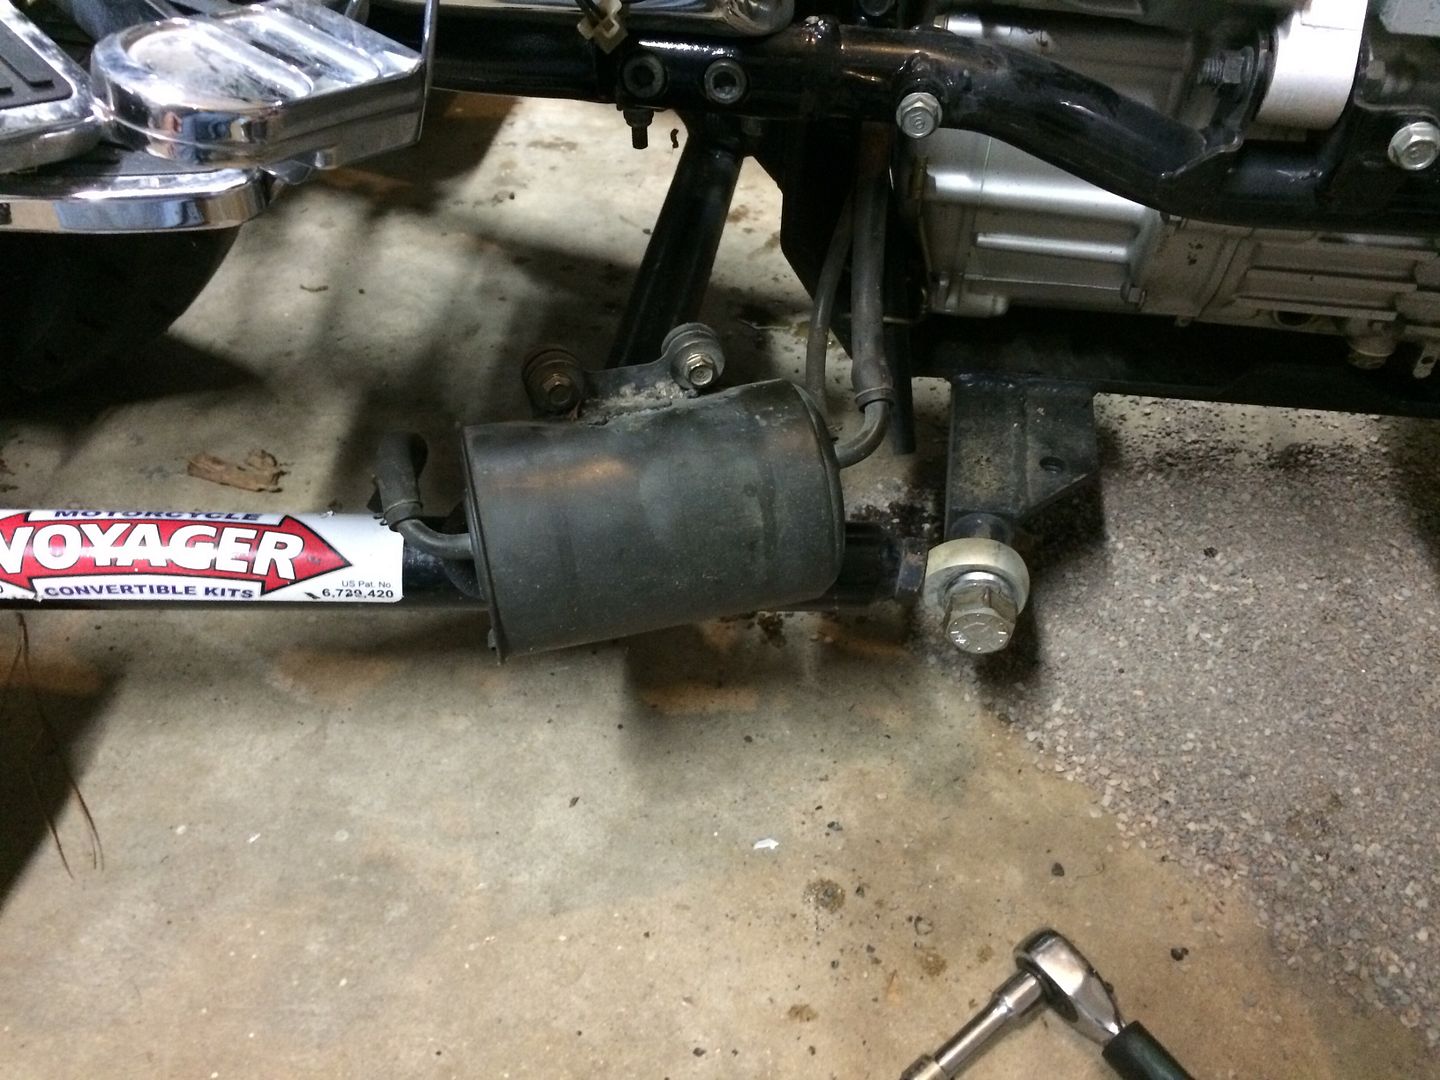
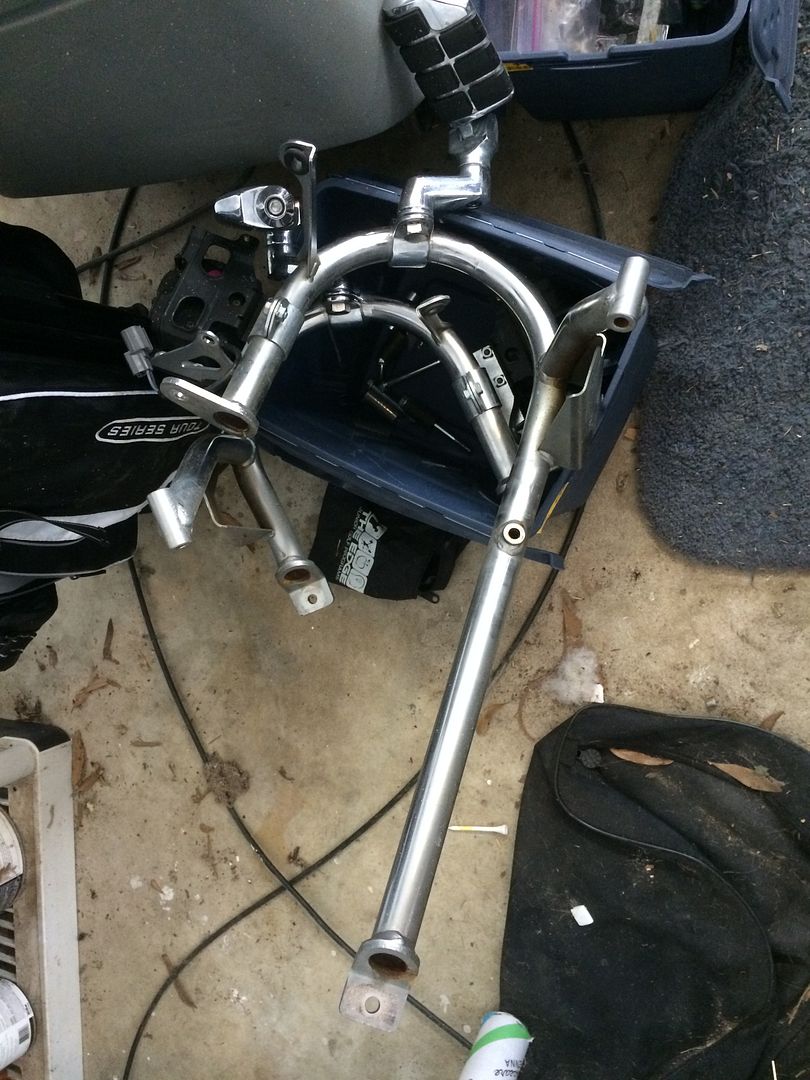
Parts are on order to now it is time to start the process of dropping the engine. First I had to remove the trike kit and mounting bracket. Thankfully, the PO kept the manual so it was pretty easy, except those two main nuts. My impact driver would not budge them. Breaker bark with 4 foot of extra leverage, no chance..... So I went down to my mechanics shop and told him what I had..... He handed me an impact wrench that weighed about a ton and said, hit it once with this and you are good. Holy cow what an impact driver. One tap of the trigger and the thing spun right off. So dropped the voyager training wheels and bracket and started toward the engine.
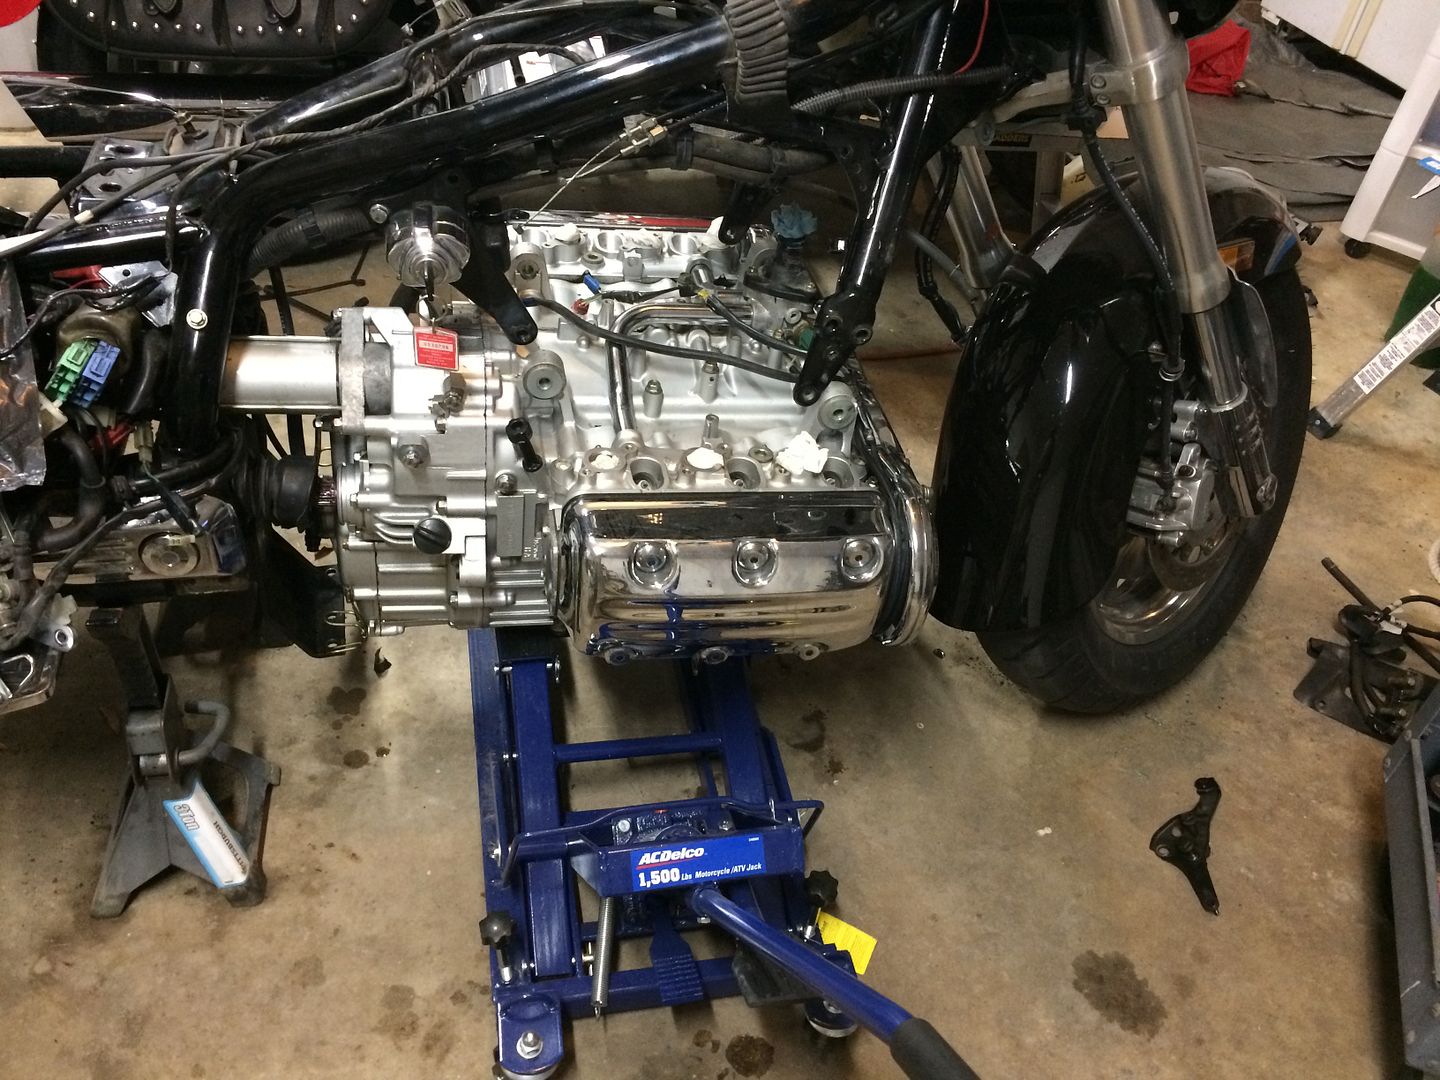
I disconnect and unscrew everything I can find until I finally hit the point where the lift is absolutely necessary. Don't know why I waited a day to get one. Maybe I just dreaded buying it and decided an extra day would make a difference. I was planning to make the 80 mile round trip to Harbor Freight to save 60 bucks, but then I saw online that the local Oreilly's had one for only 30 dollars more. Figured that might be worth not making the drive. So I got there and WOOHOO!! price tag on the shelf said $99 and the price online was 119. So.... They honored the price and I walked out with my new AC Delco lift for 99 bucks. Ten dollars more than Harbor. I was happy. So now I could get real serious about getting that engine out.
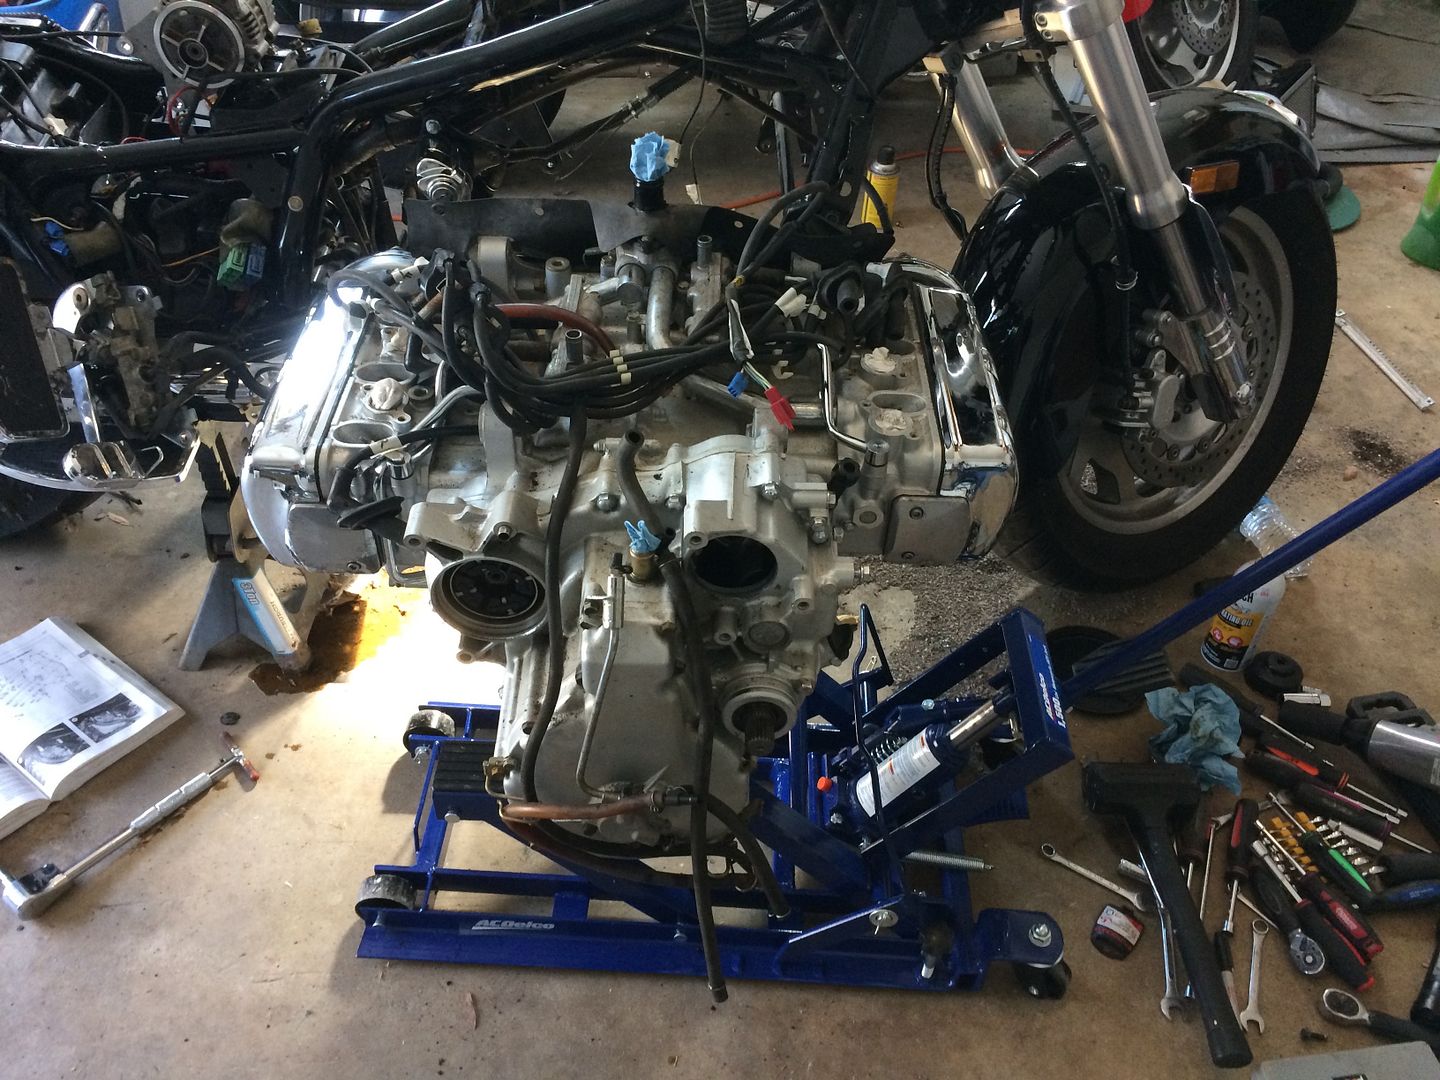
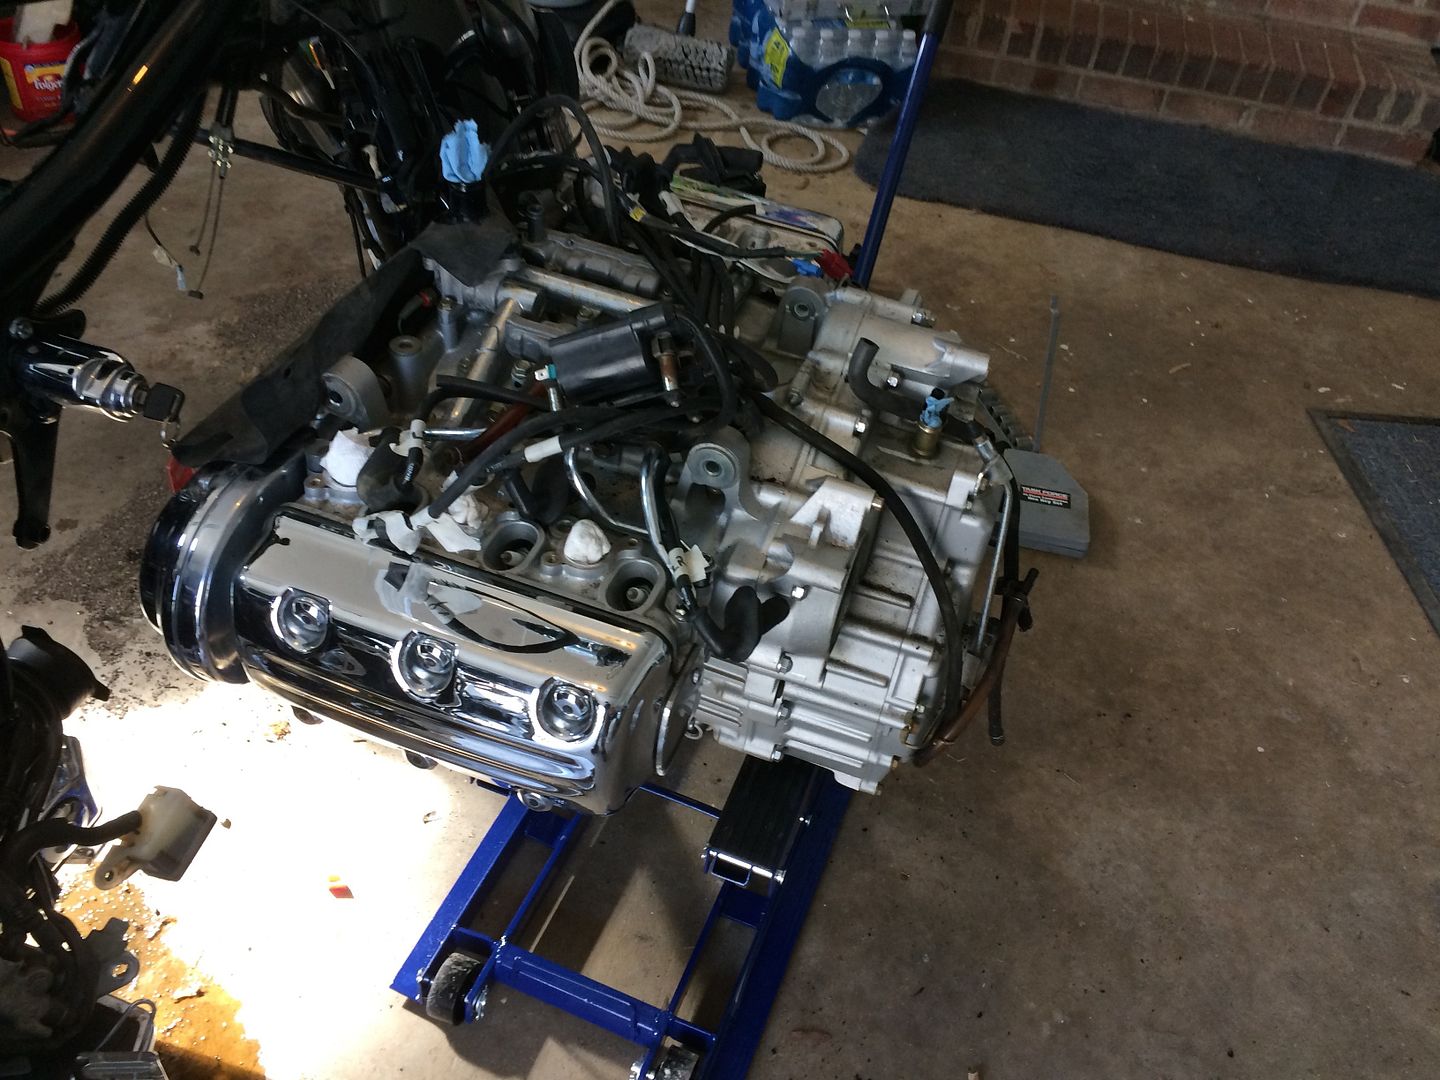
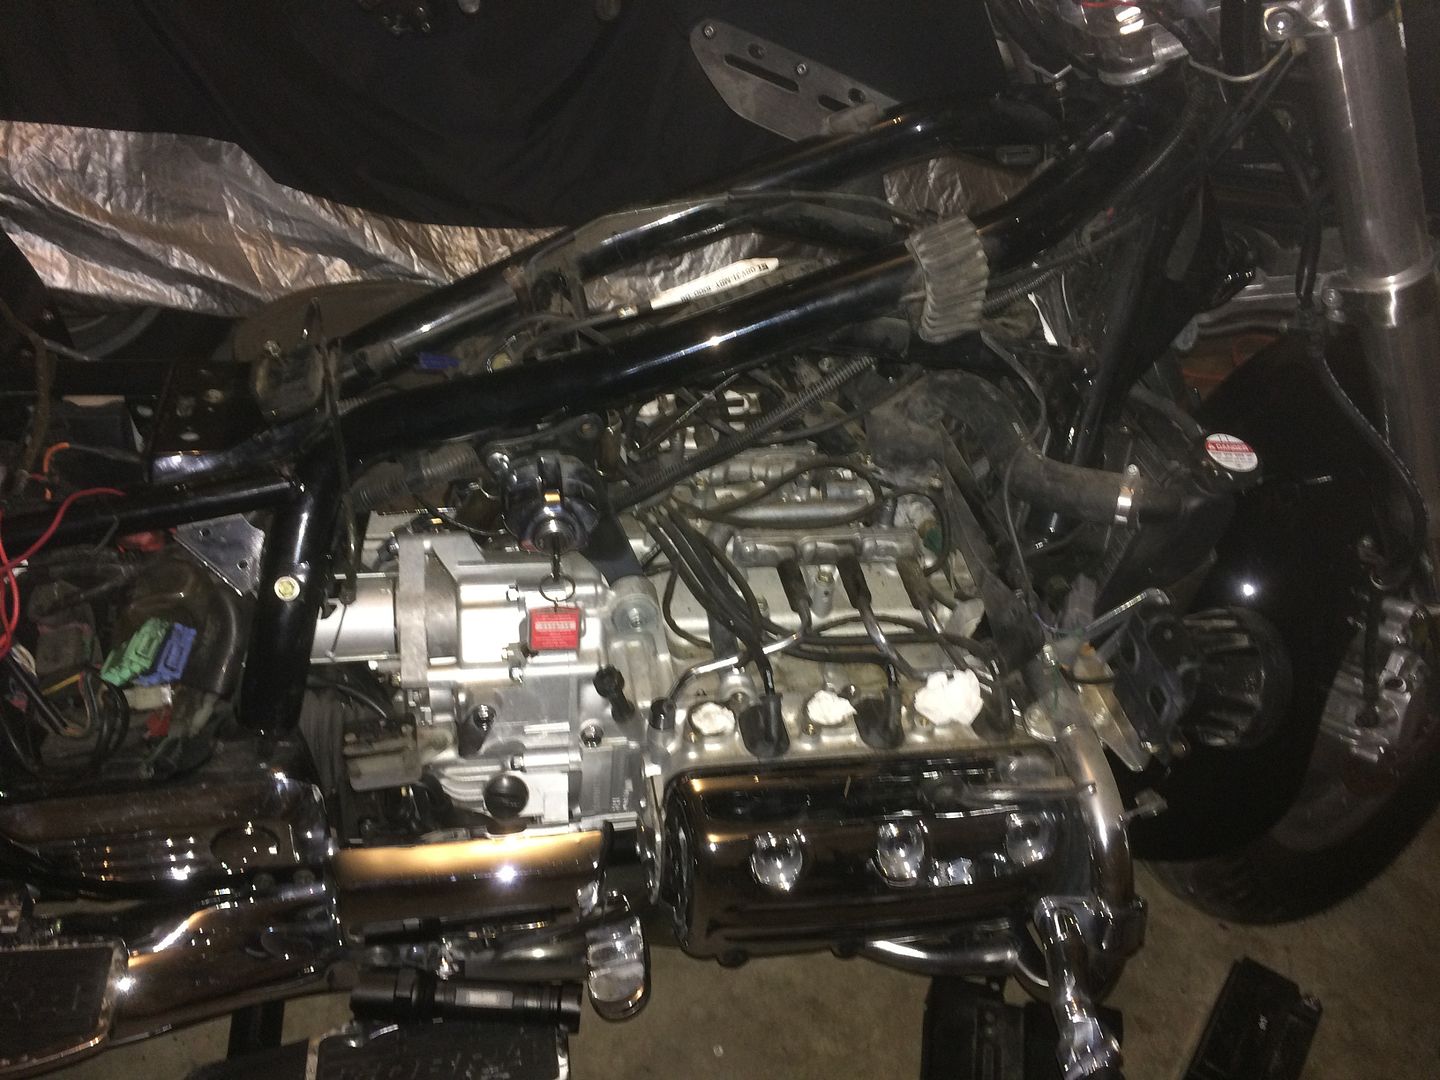
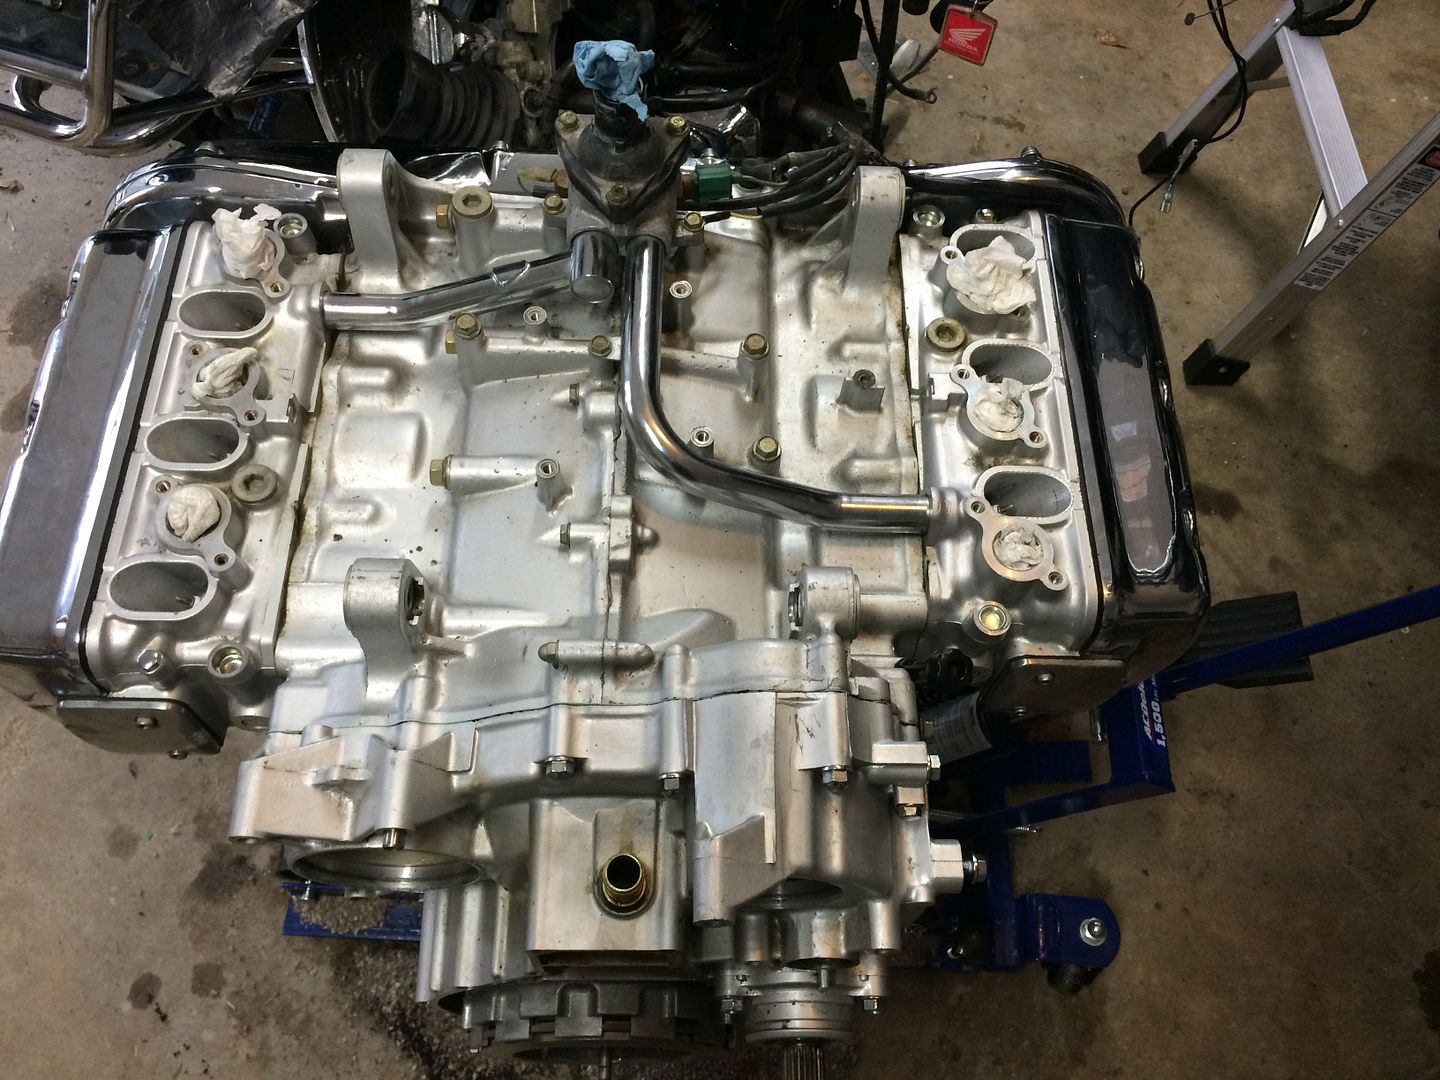
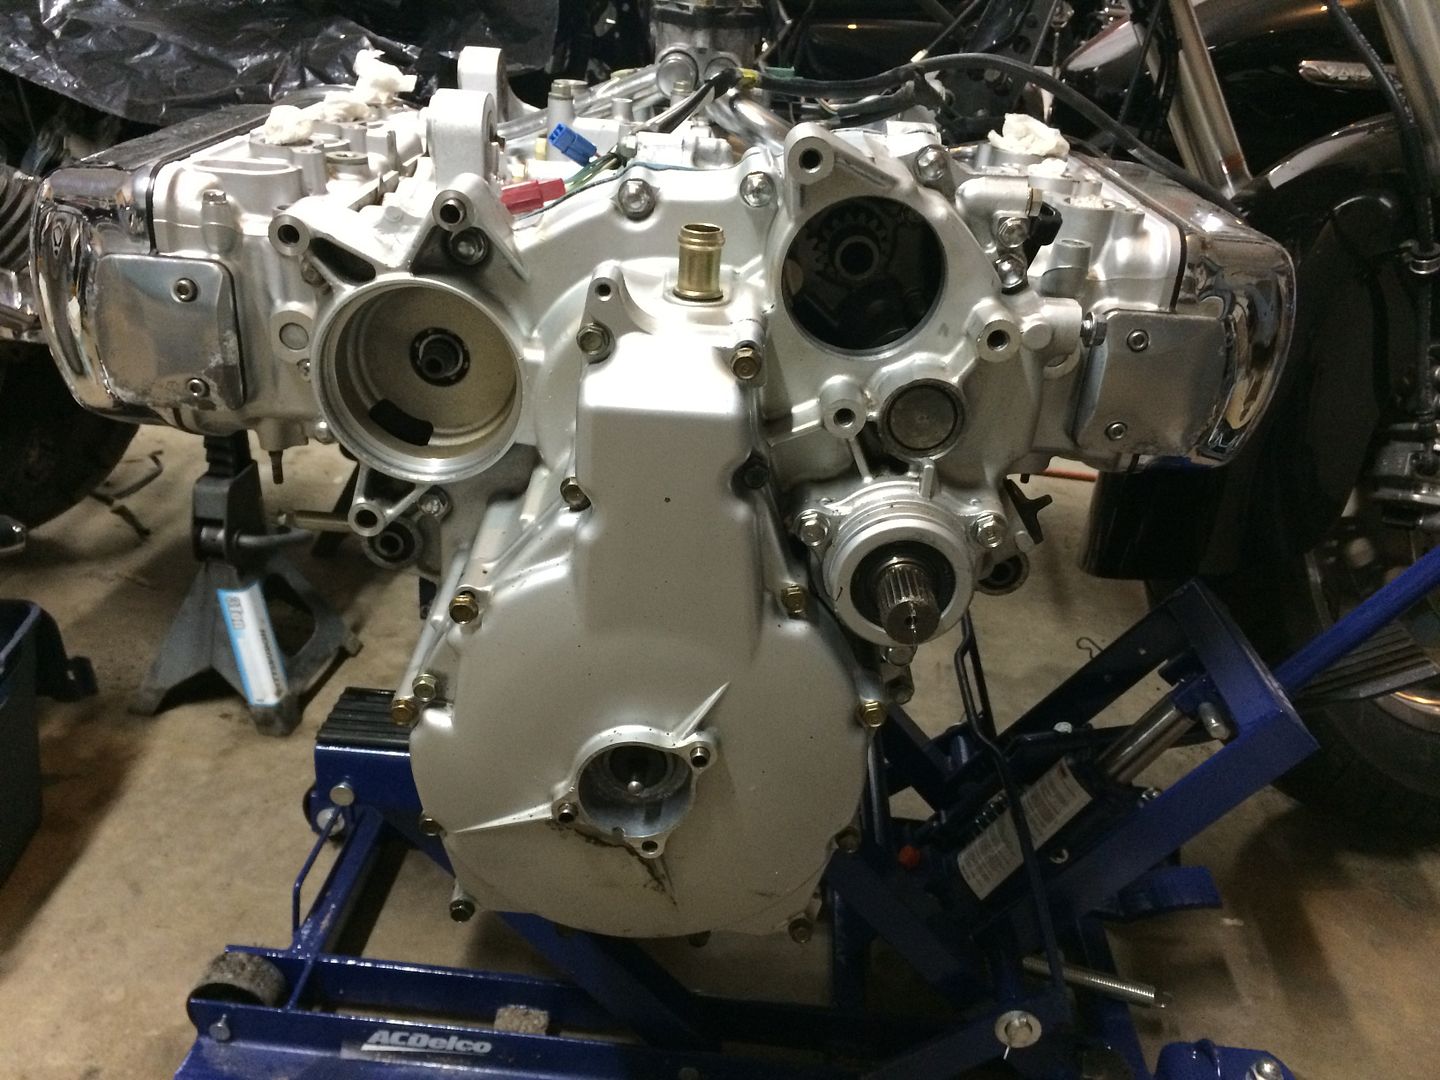
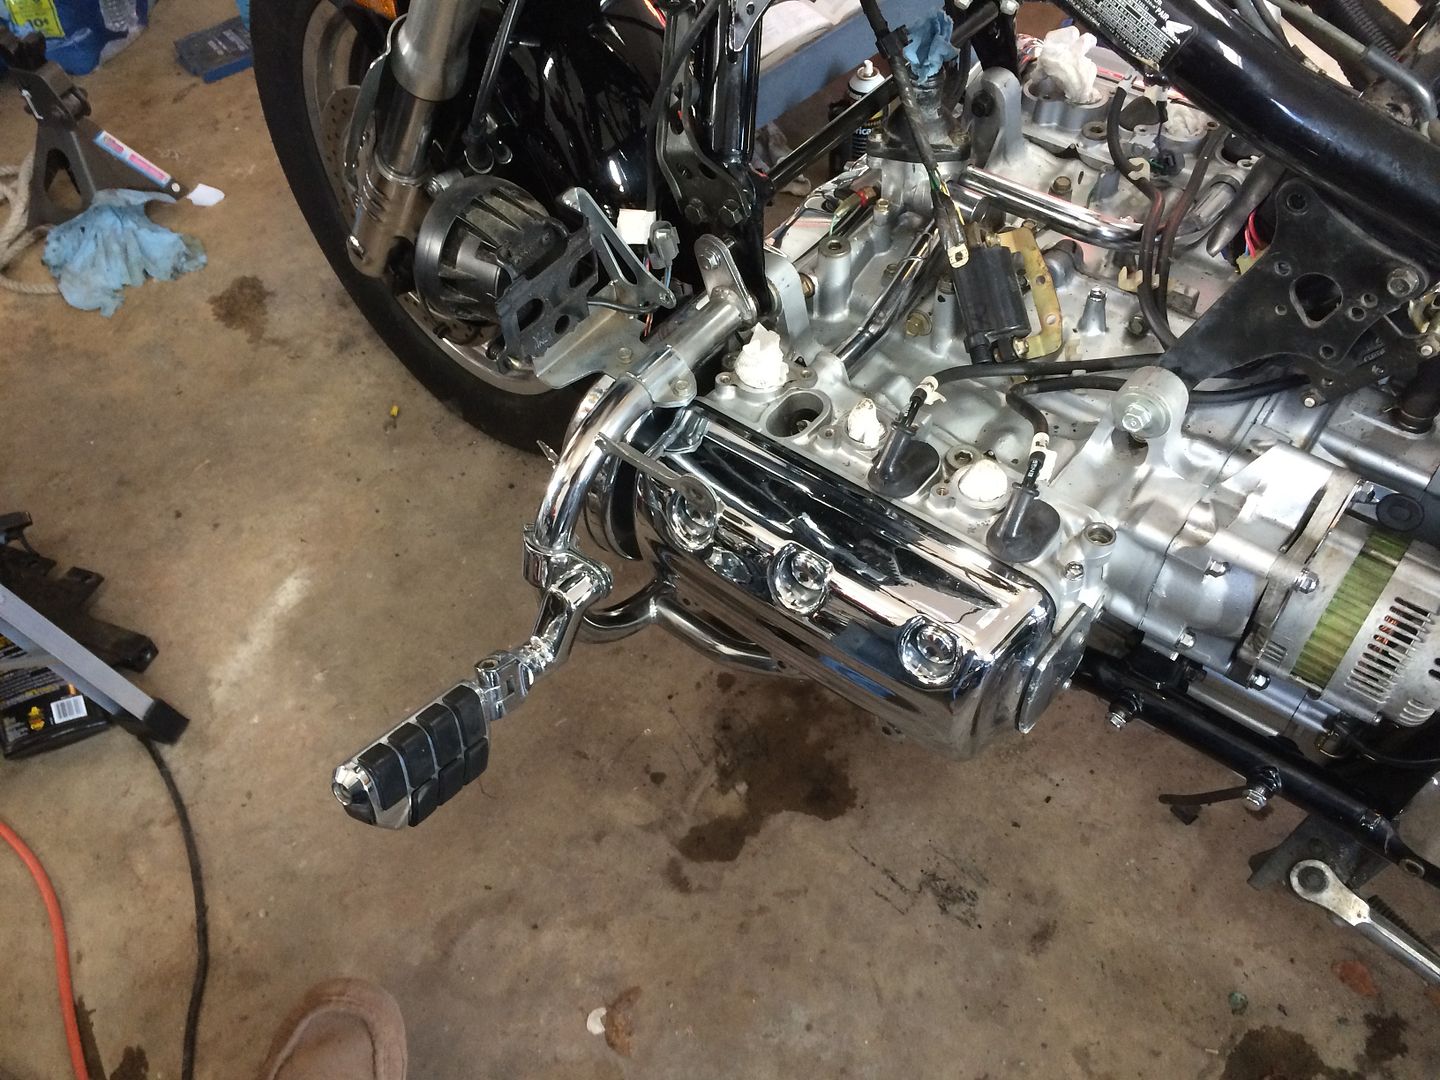
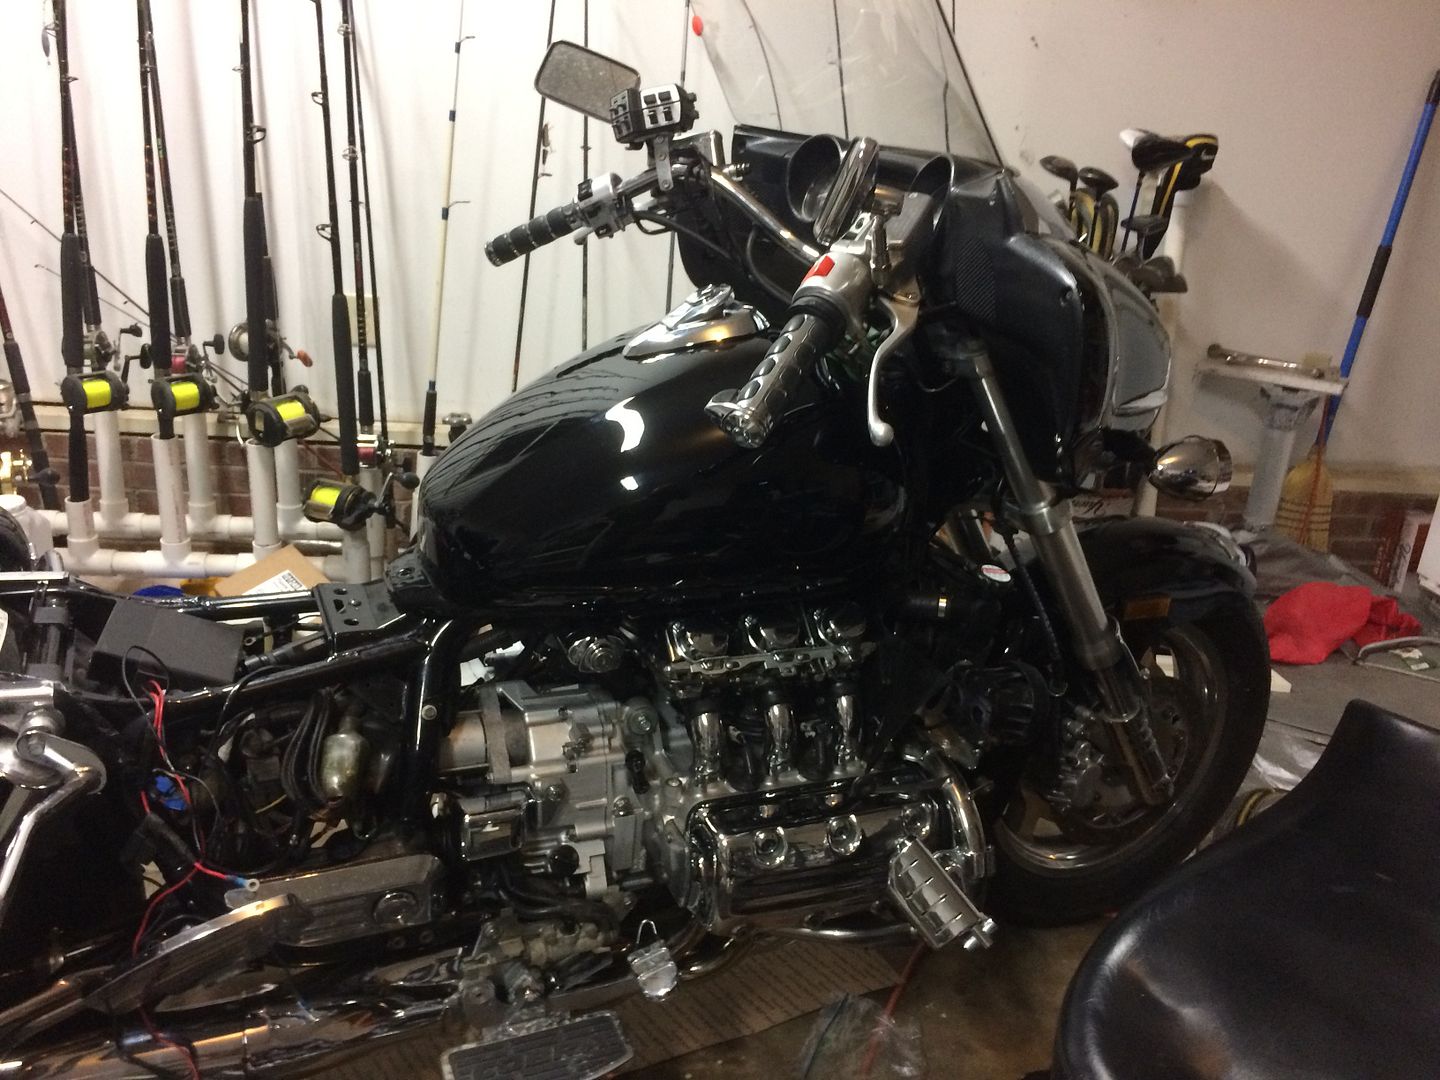
The girl sure looks skinny without her heart.

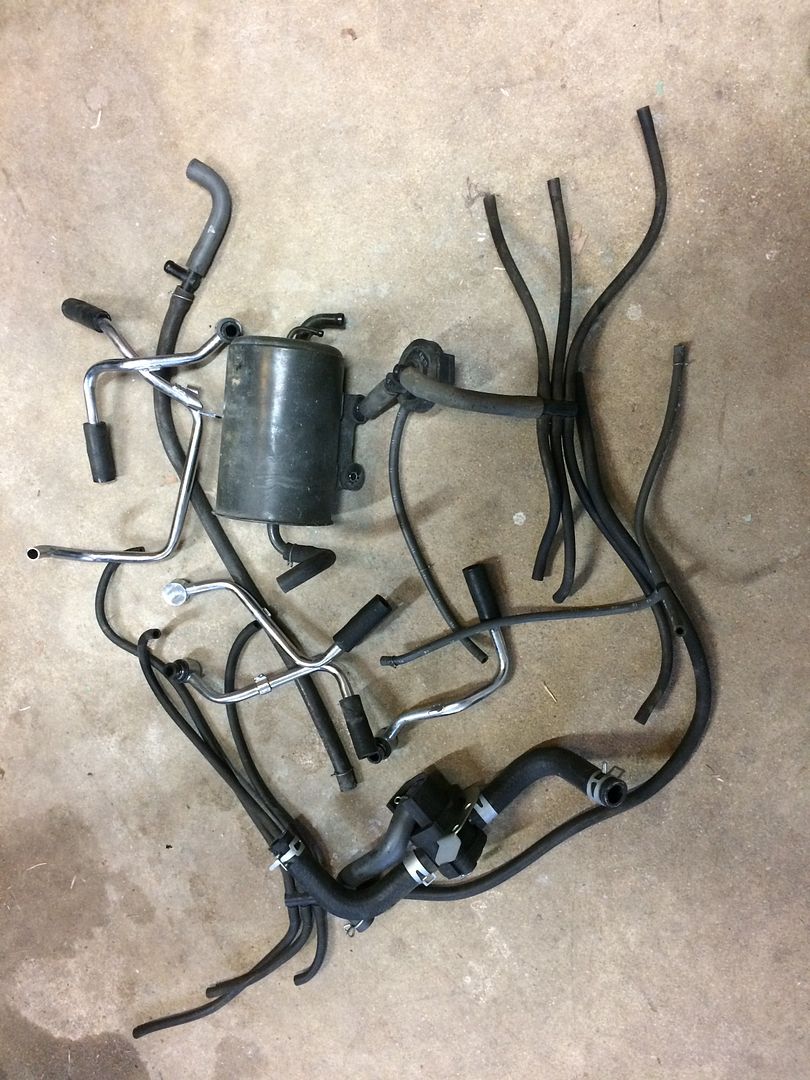
In my down time I have been continuing to read and discovered I need some sockets that I am not going to find at the local home depot, so I did as much as I could and went ahead and ordered all of the sockets. 4 new sockets and not bad. I think I bought all 4 for about 50 bucks online. While I was waiting on those to arrive I finished off the carbs with new needles and gaskets and clean jets. However, after a lot of reading I decided to go back with the #35 jets. So now I guess I have extras if I ever need them. In all of my reading I really dove into the de-smogging also, so all of the black spaghetti started coming of to clean up the engine too.
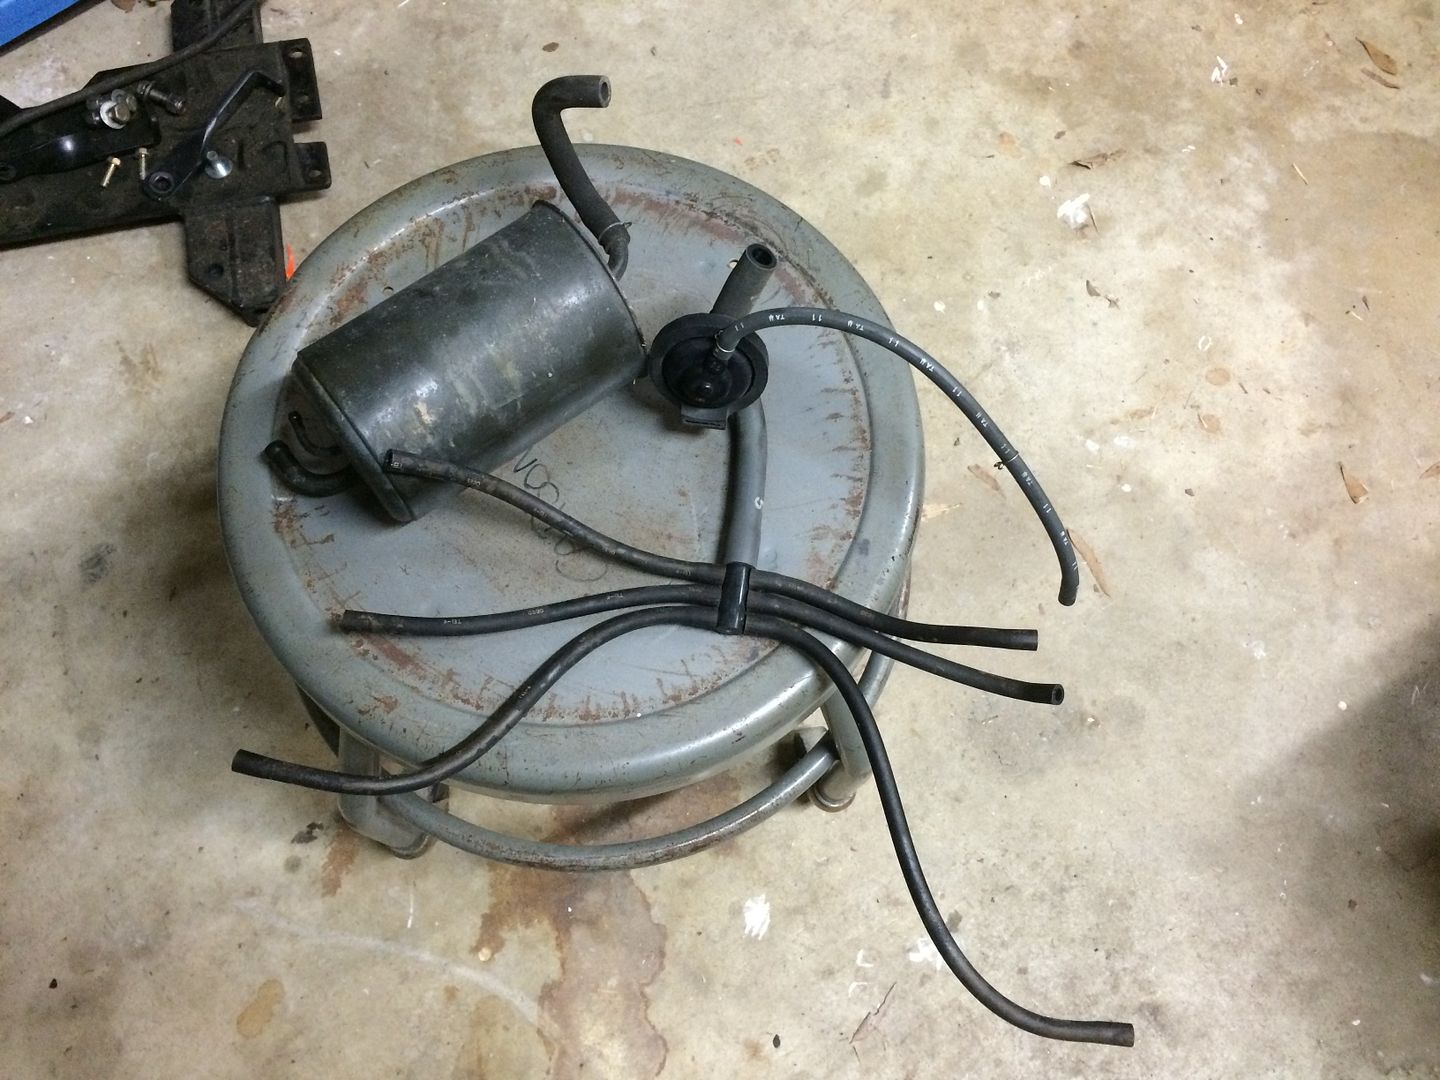
And of course I had the CA bike so I had to pull the canister and some extra hoses.
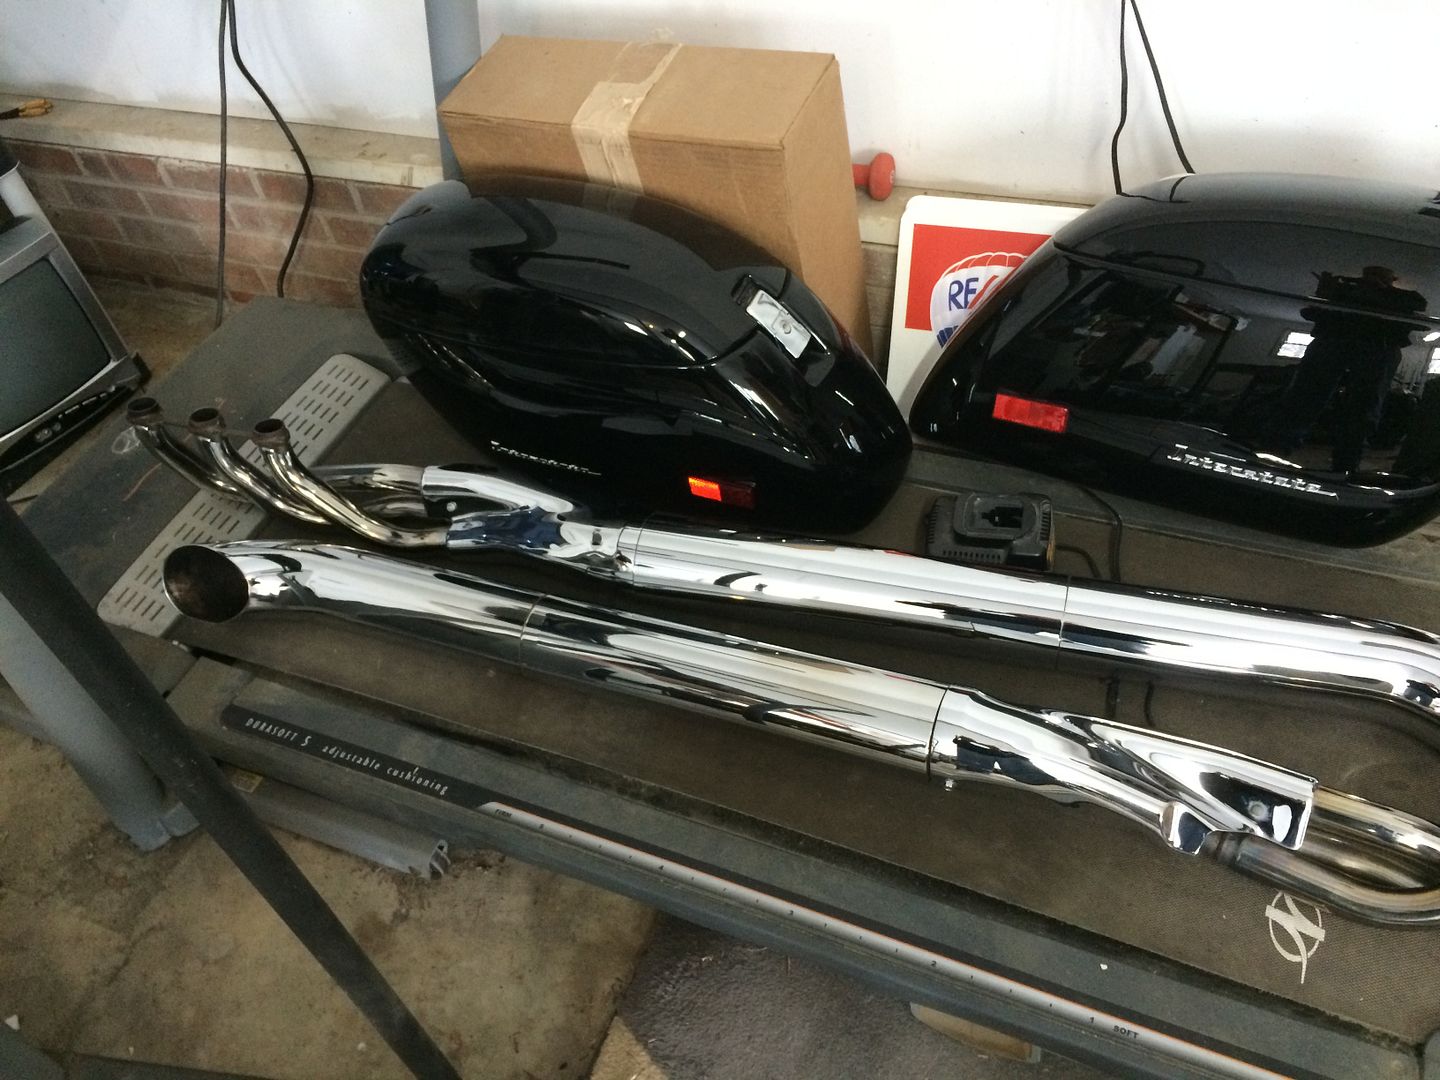
OK, so now we are in a holding pattern waiting on the new sockets to arrive. I also ordered a batch of parts and gaskets so hopefully I would have what I needed and not have another multi-day delay waiting on another shipment once the tools were here. So, during this time I decided to turn to the buffer shelf and start to give the girl a mild makeover.
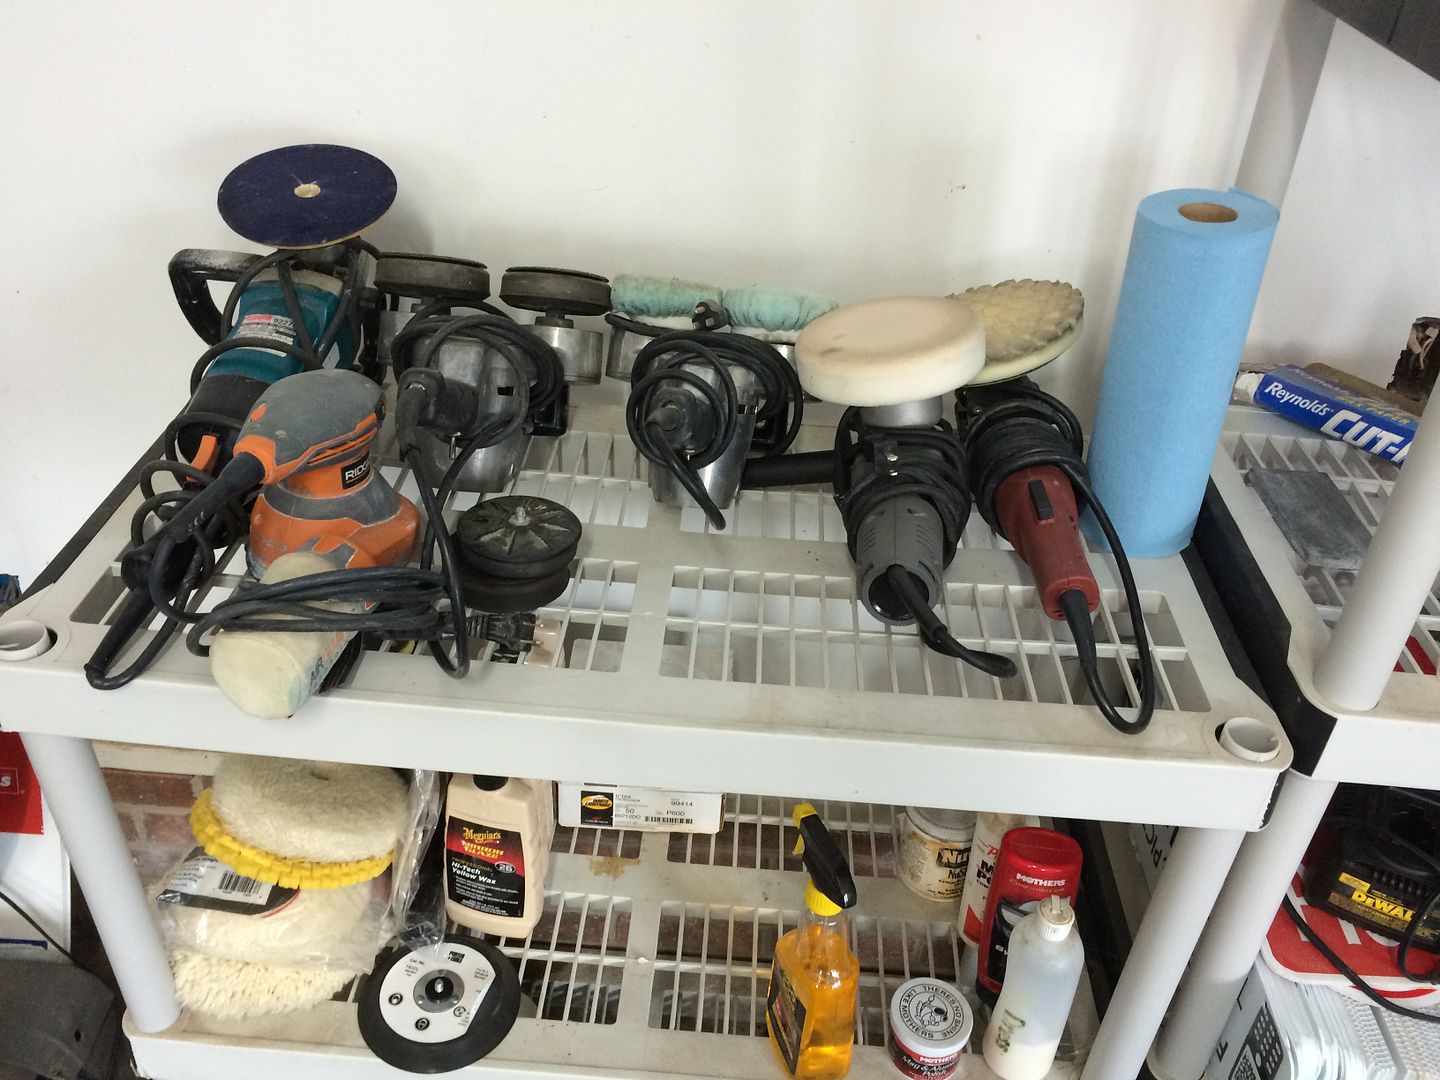
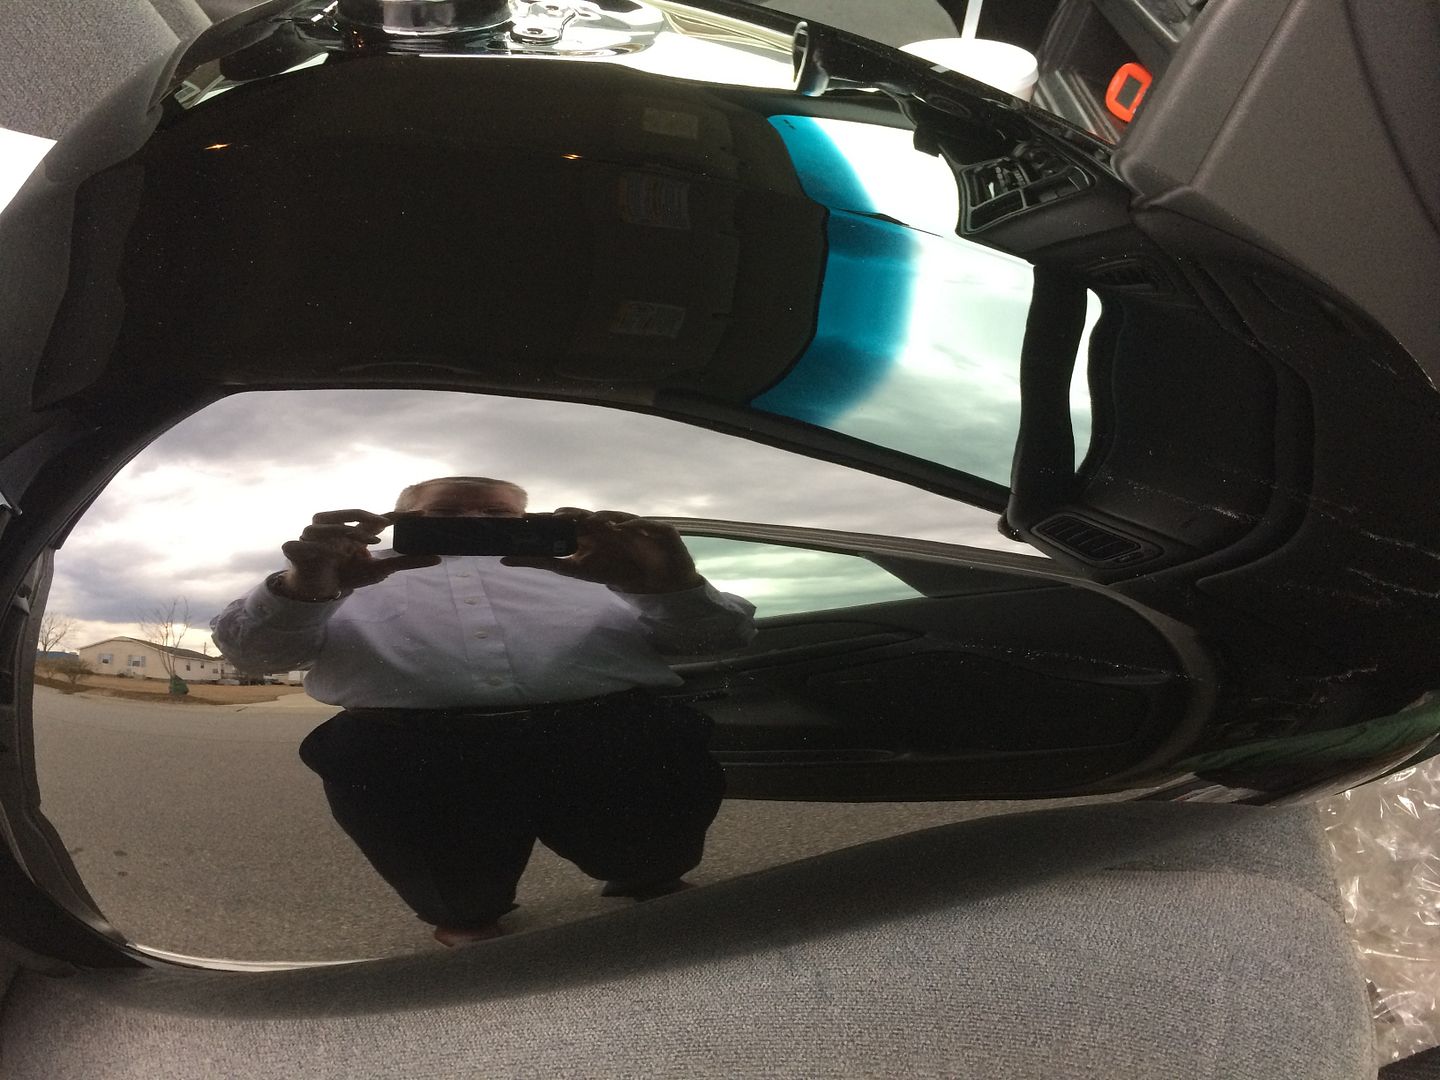
So, pulled the buffers, got out a bunch of pads and the meguire's and started digging in. And boy did the old girl have some shine left in her.
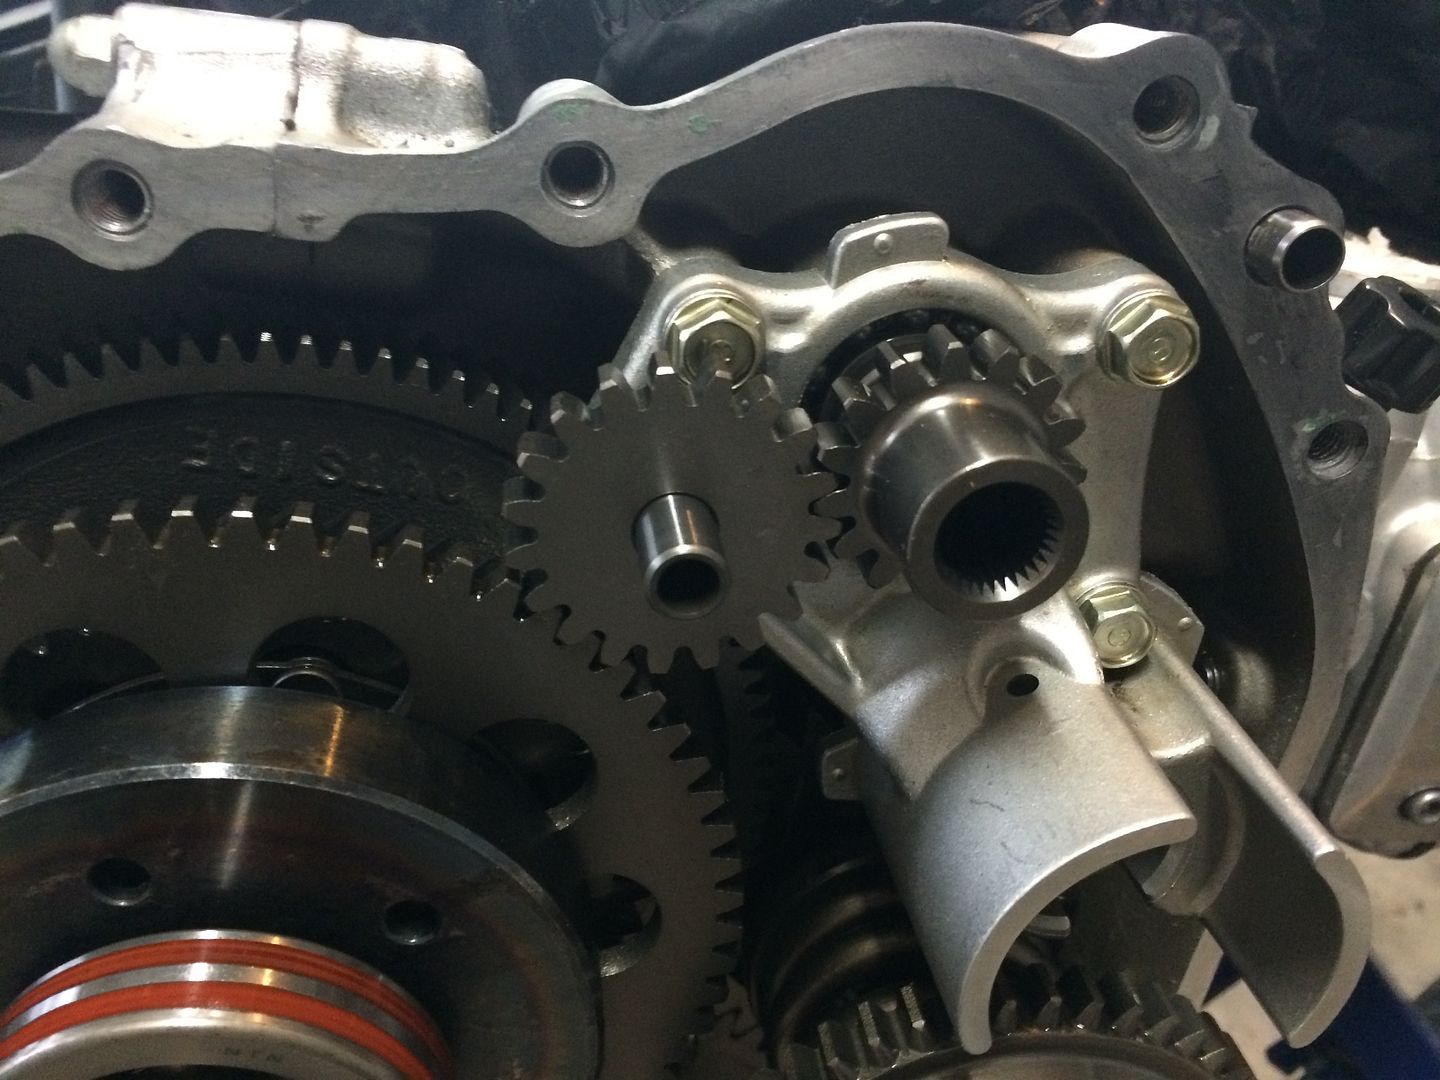
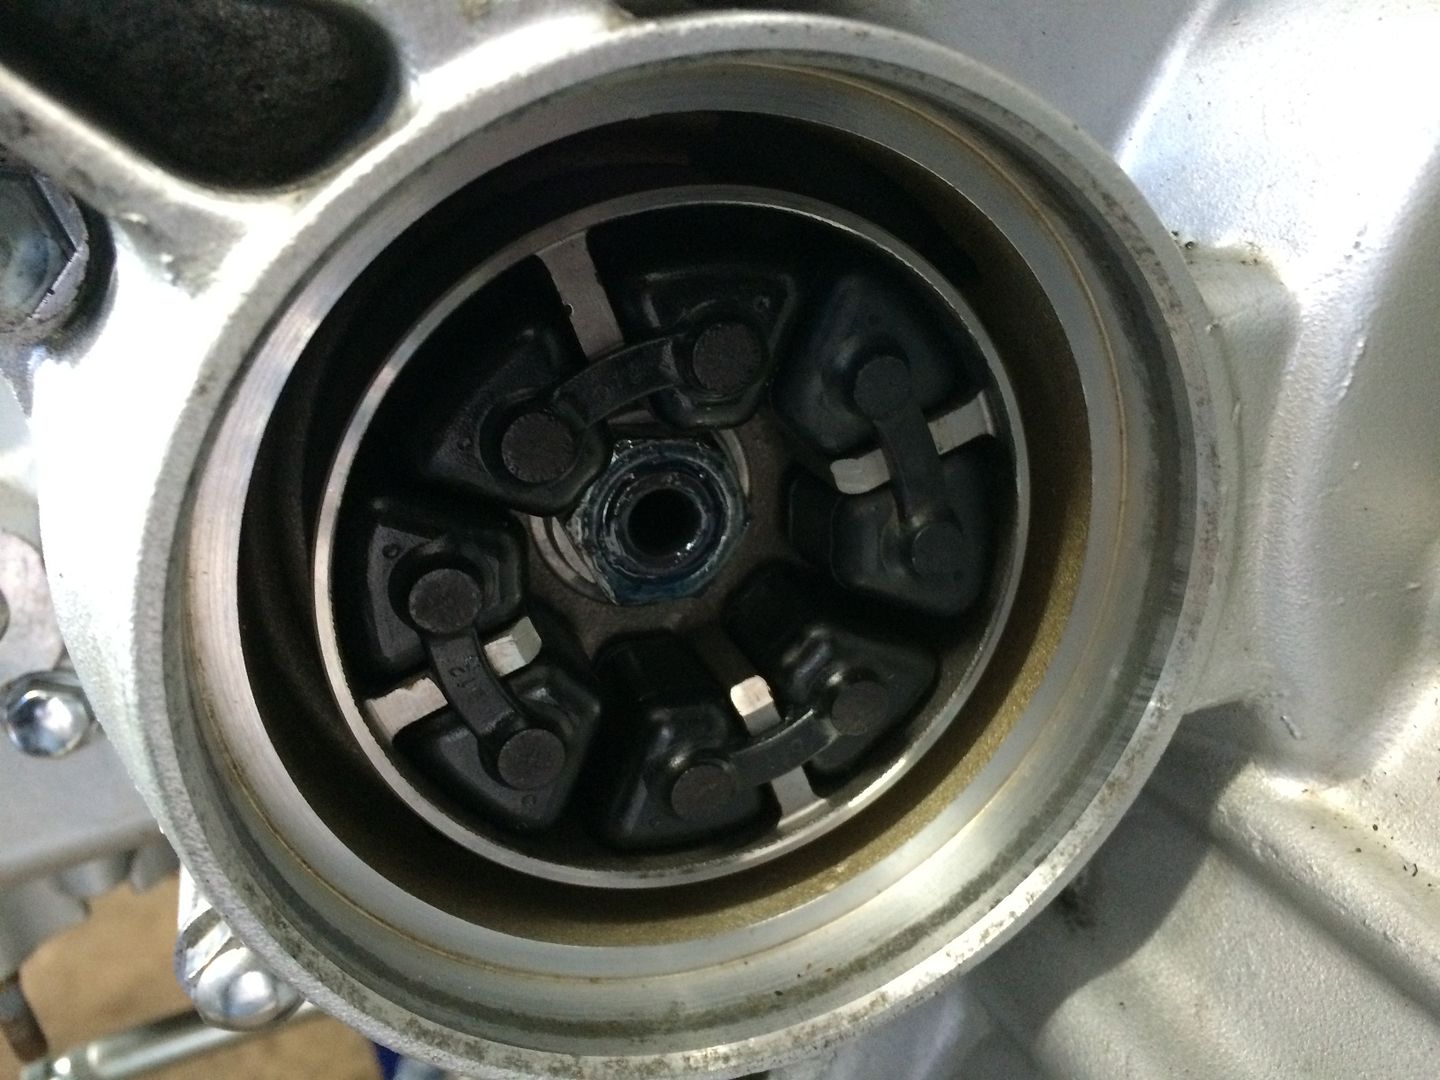
Well, tools finally arrived and I was able to break into the engine and dig in a little and see what I could screw up.

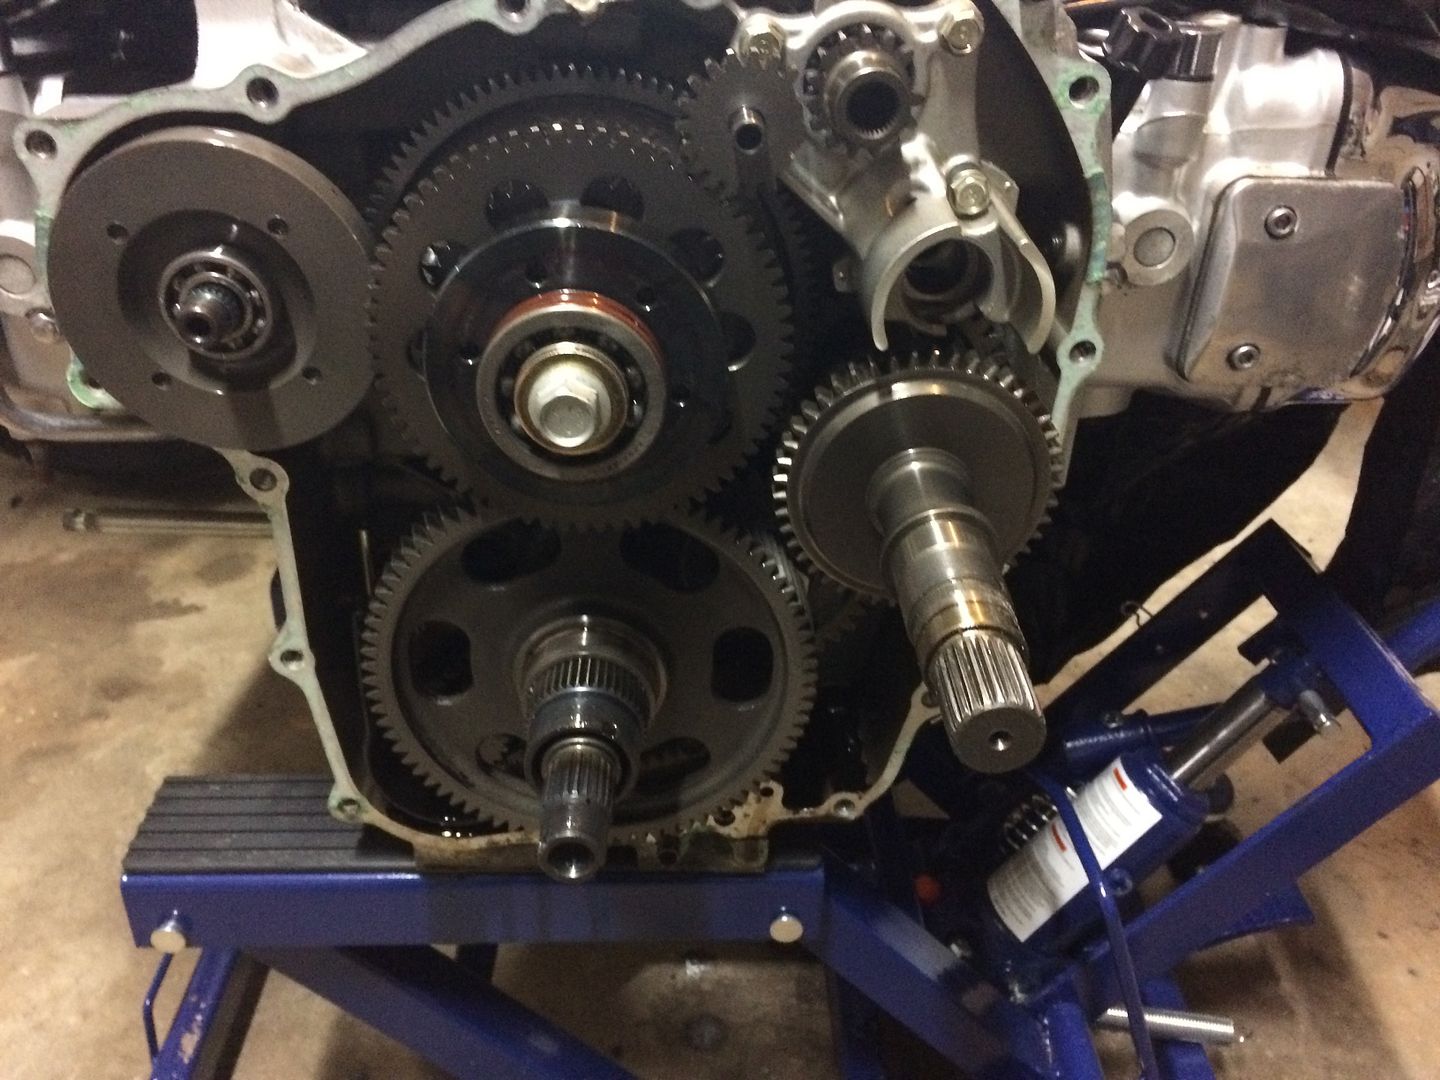

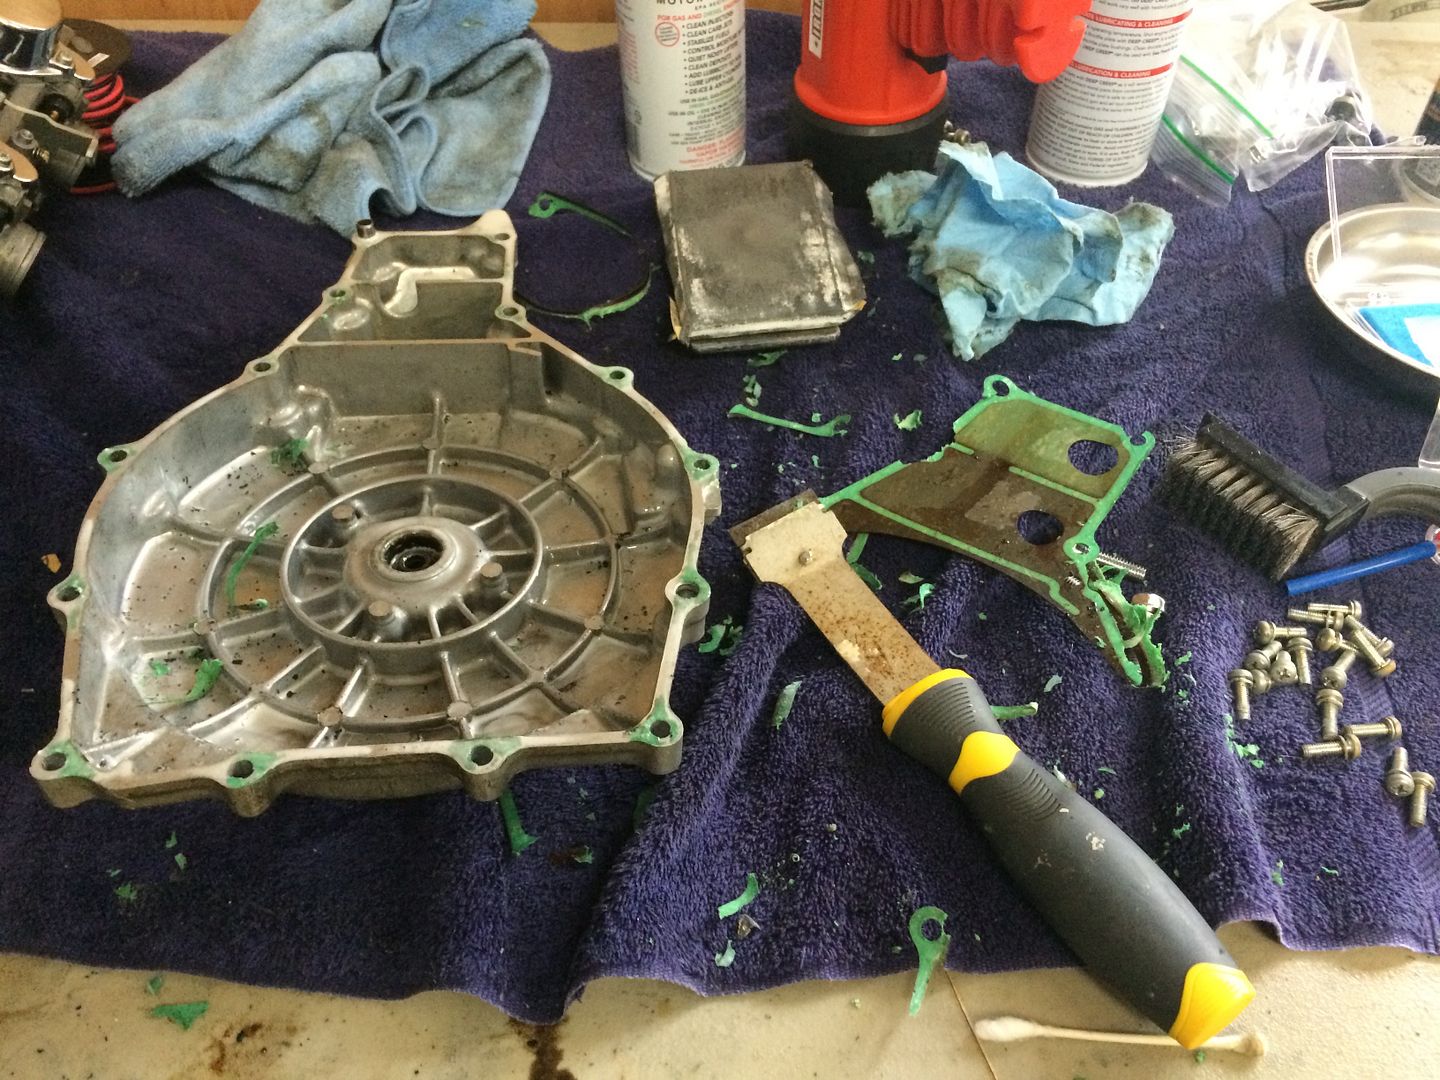
I pulled the busted gears and one had to be knocked out of the bearing. Those big new sockets came in real handy for that.

Then with the new gears in, it is time to start rapping the surfaces for gaskets. Wrap the engine real good to keep trash out first!
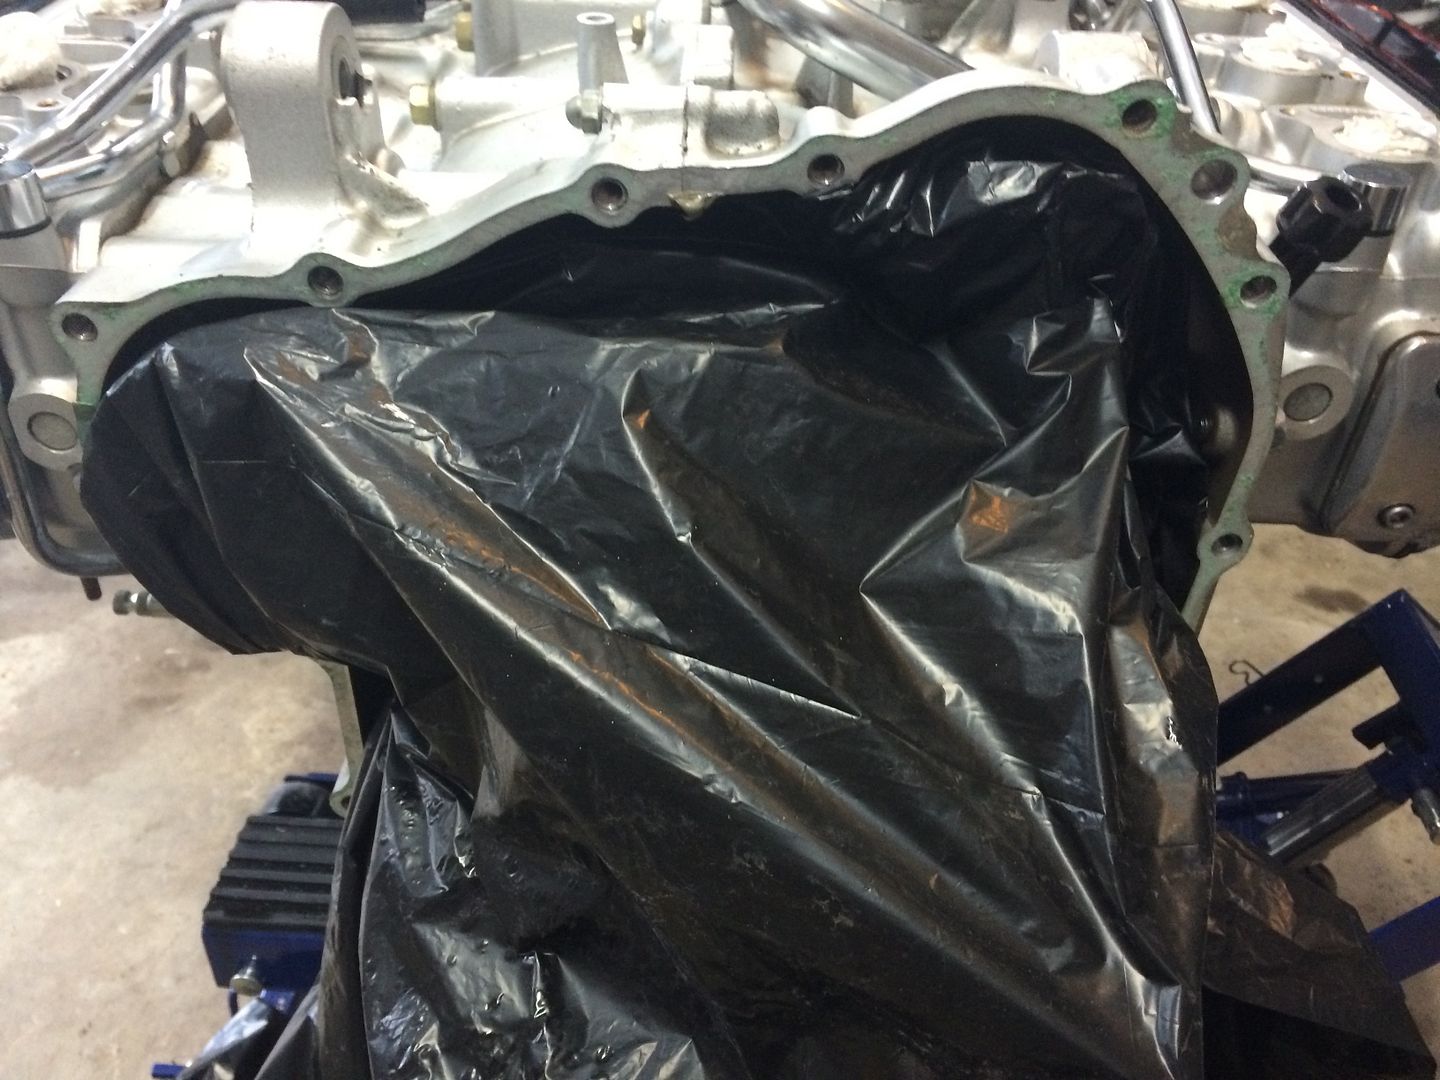
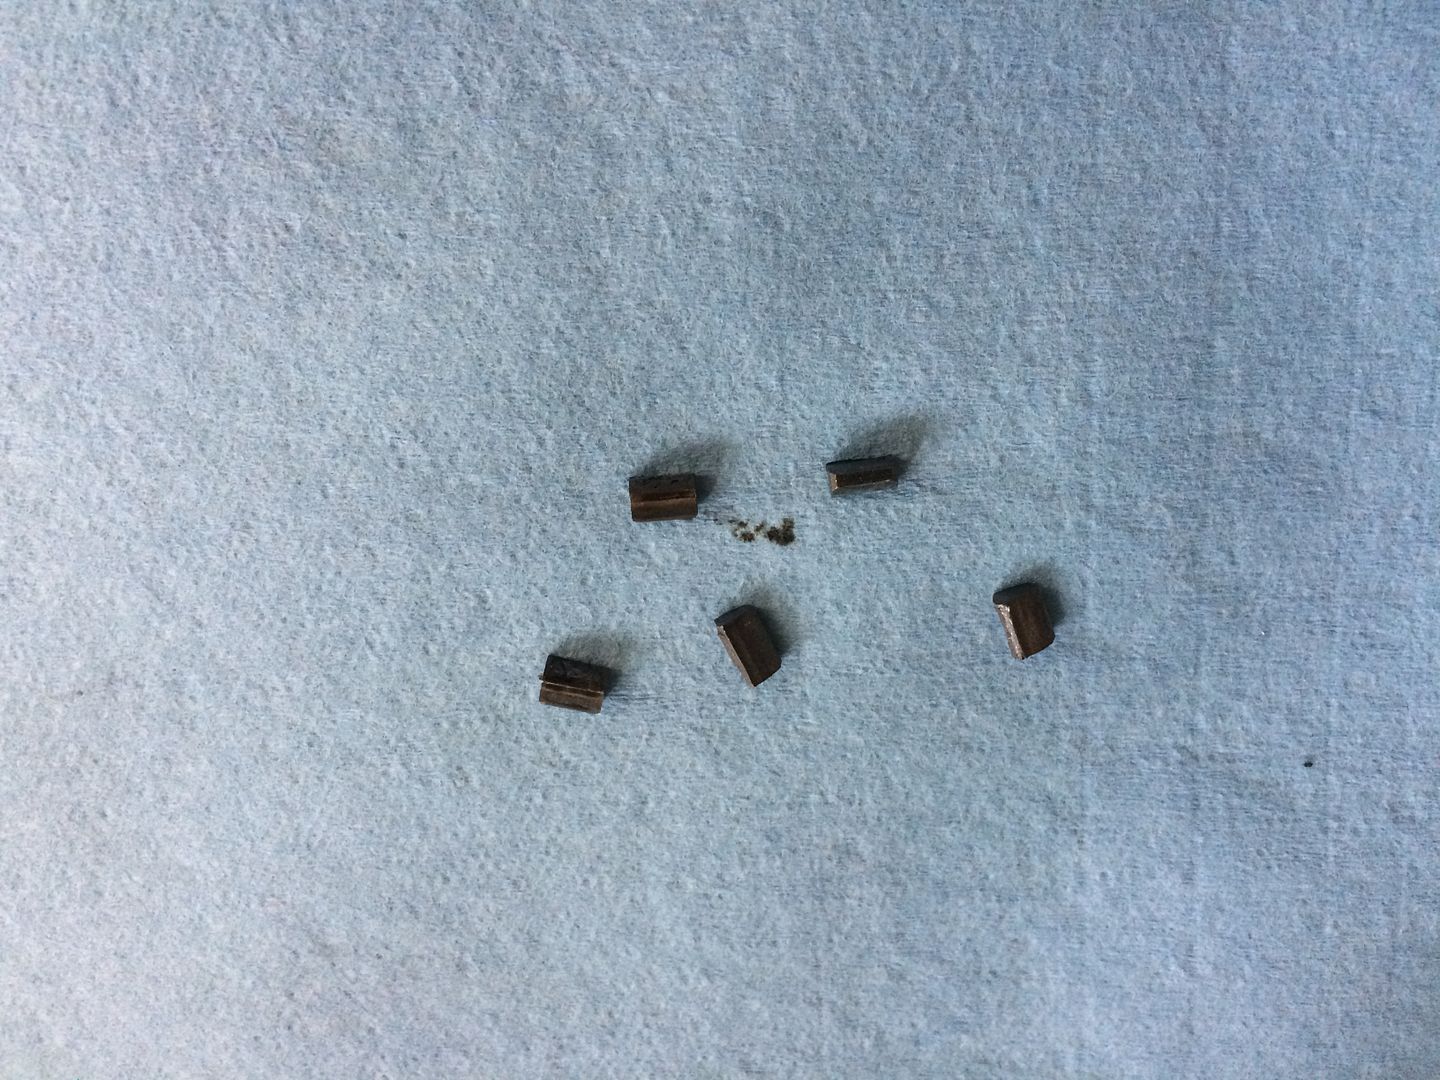
Oh, almost forgot. I found the old teeth so I do not have to worry about them rattling around in there and causing more damage.
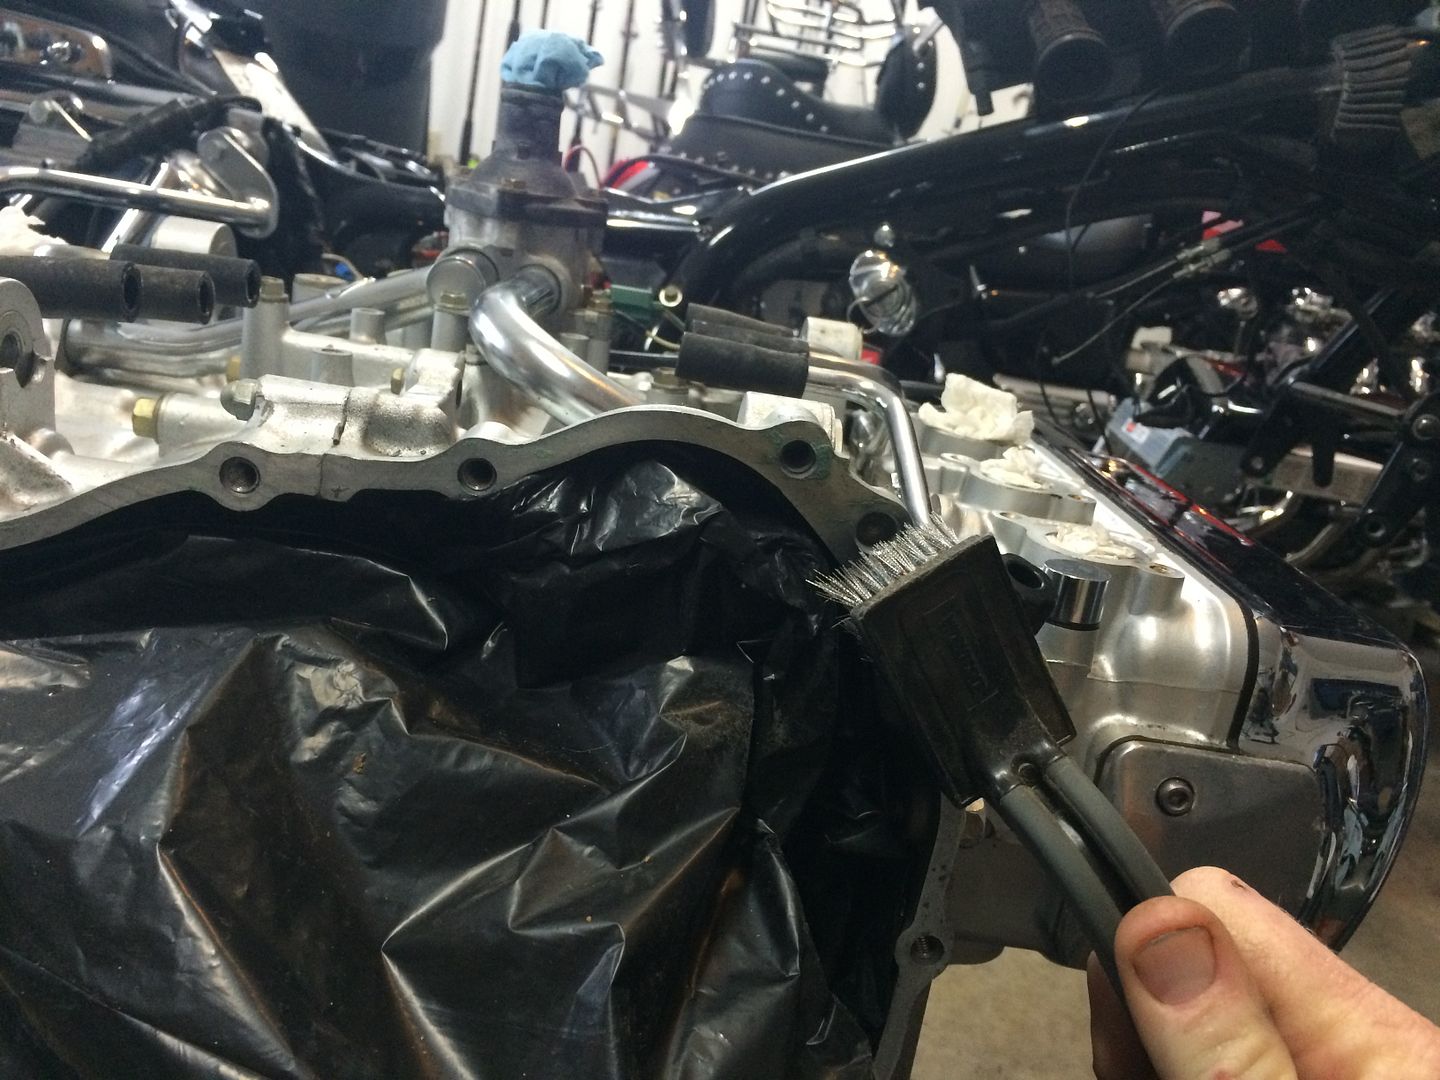
This also is where I went through a bunch more parts and carb cleaner to clean out all the old sludge out of the rear case. I also thoroughly cleaned the marriage surfaces to prepare for gaskets and cleaned up all the old grit and sludge everywhere I could get to.
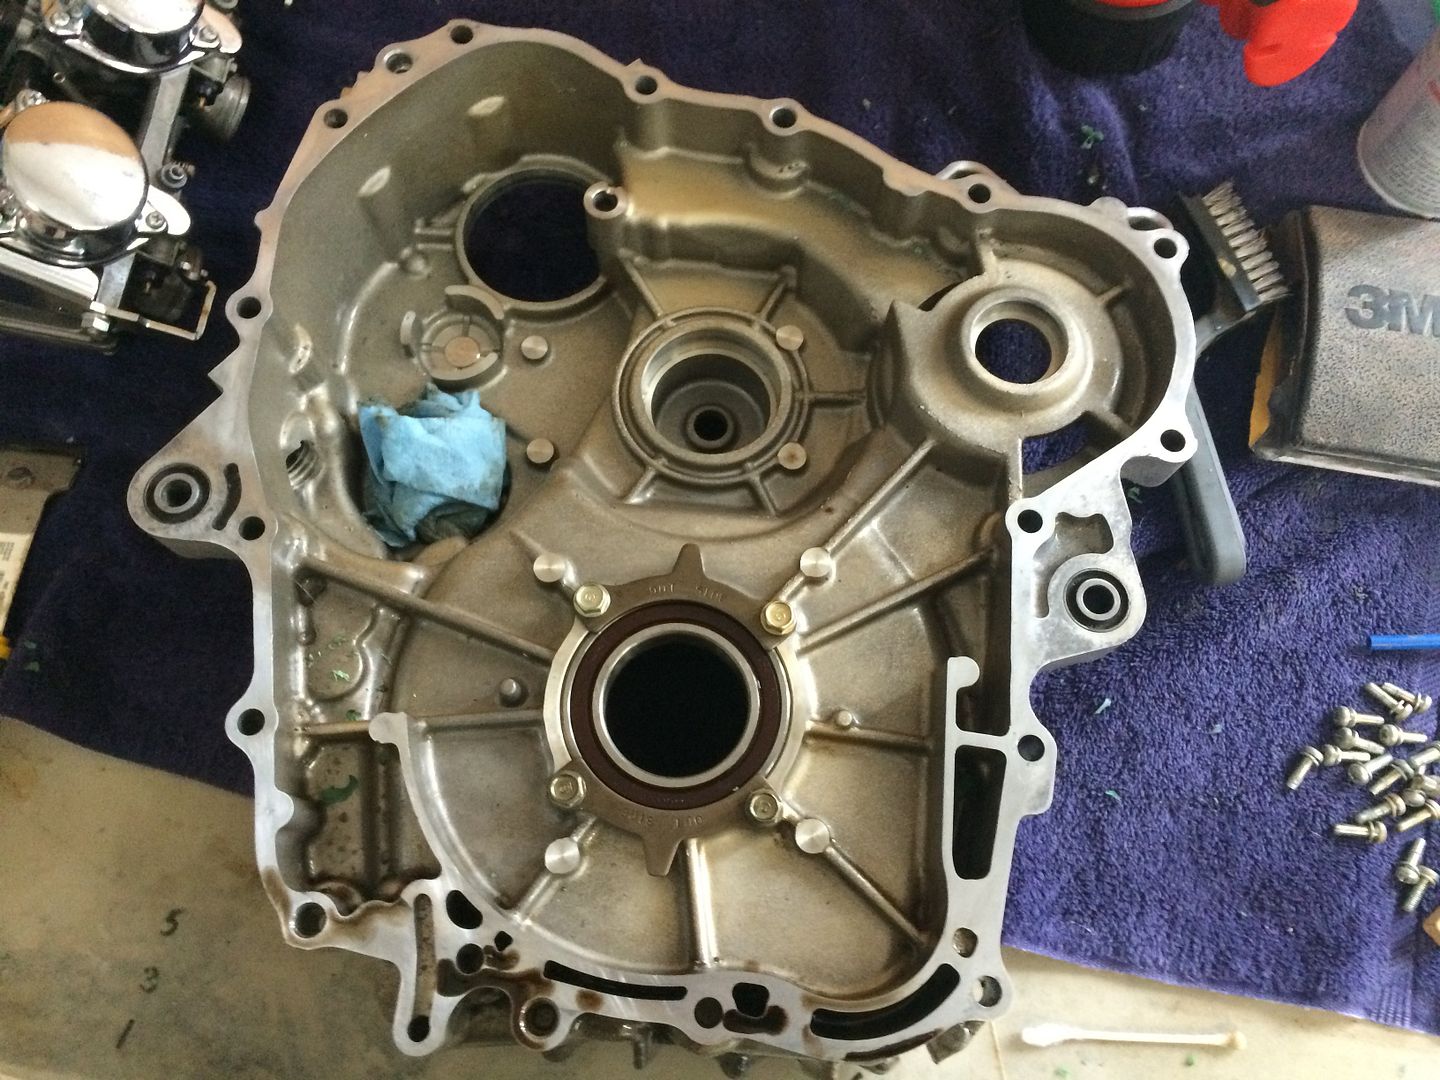

So with everything cleaned up and the new parts in......
It is time to start reassembly!!!!! I am getting excited now just thinking of hearing her breathe!!!!
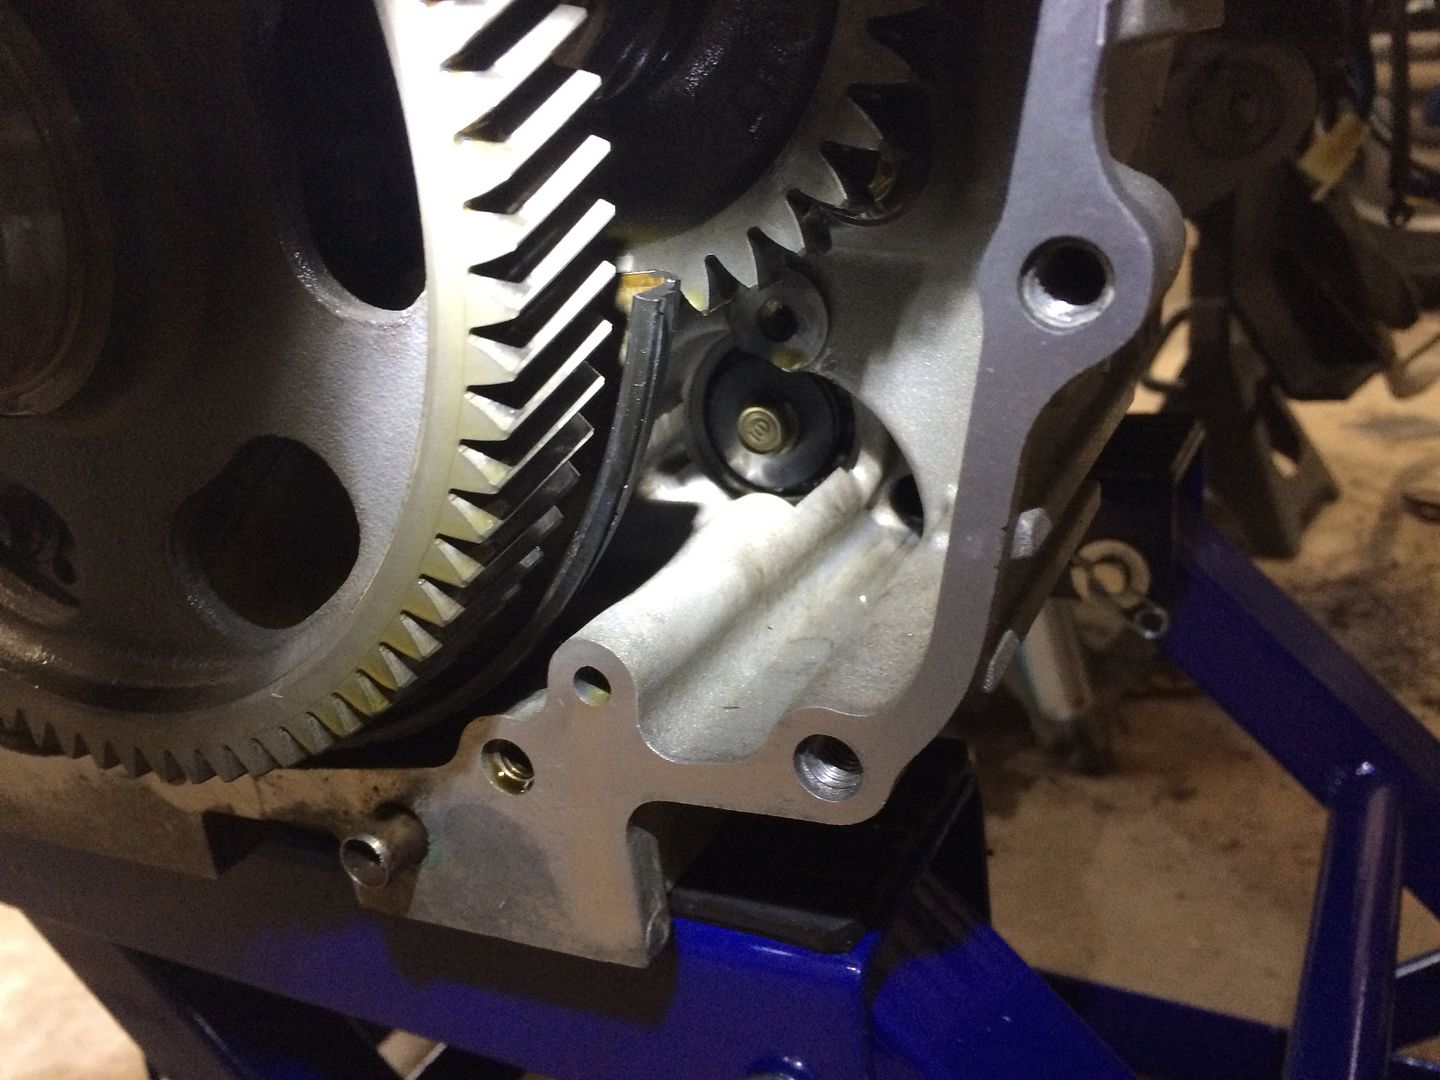
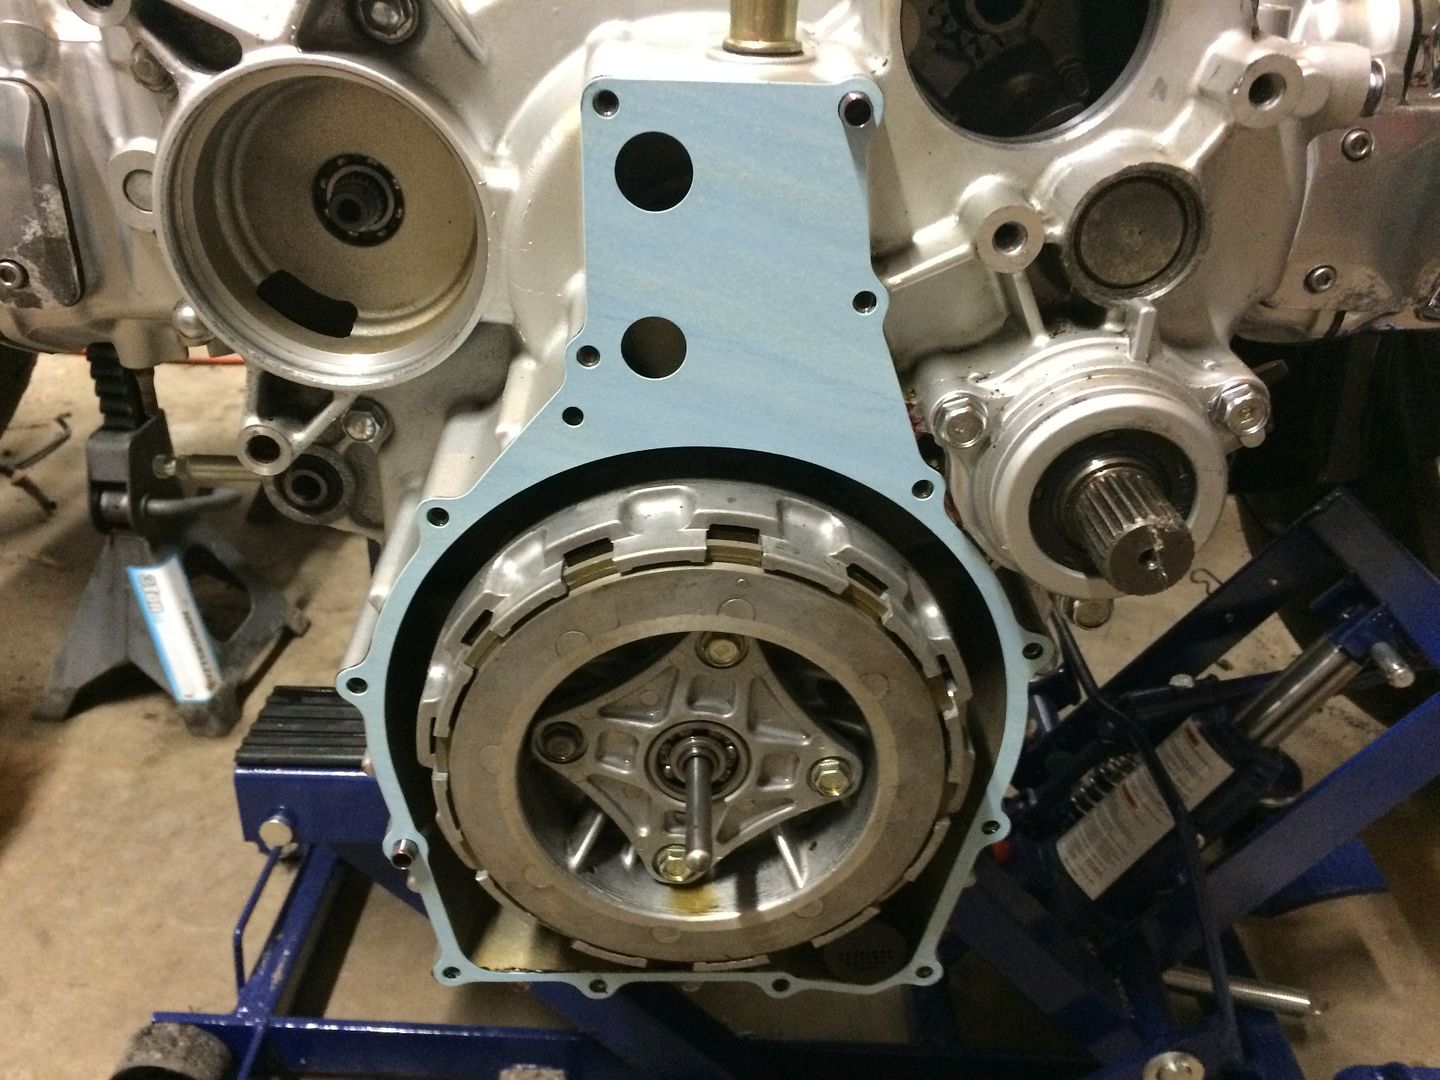
So I get the rear case compounded and gasket on and get it on and everything torqued down, and then time for the clutch cover. and.......... dammit. Where is that other dowel? Yep, that little SOB right there.
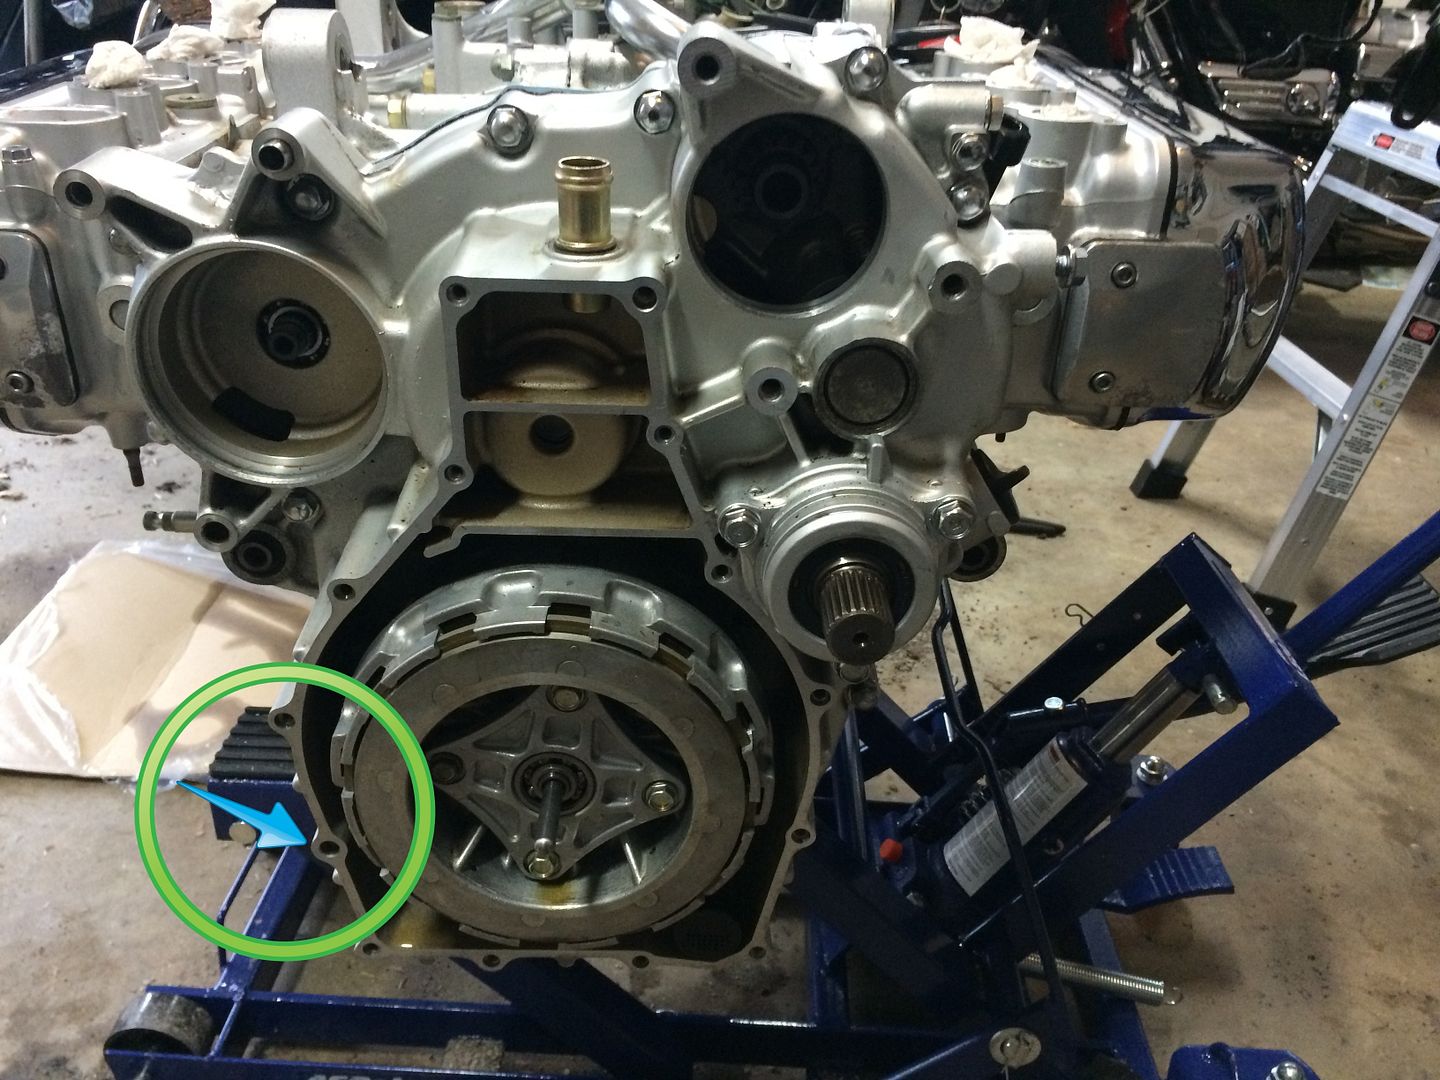
So, after probably an hour of searching I finally think, hmmmm, maybe. So I put the case on without the gasket to check it out and there is just no way. Way too much movement without that dowel. I would easily break the gasket seal and blow oil everywhere. SO..... back to internet for more parts.
and more coffee
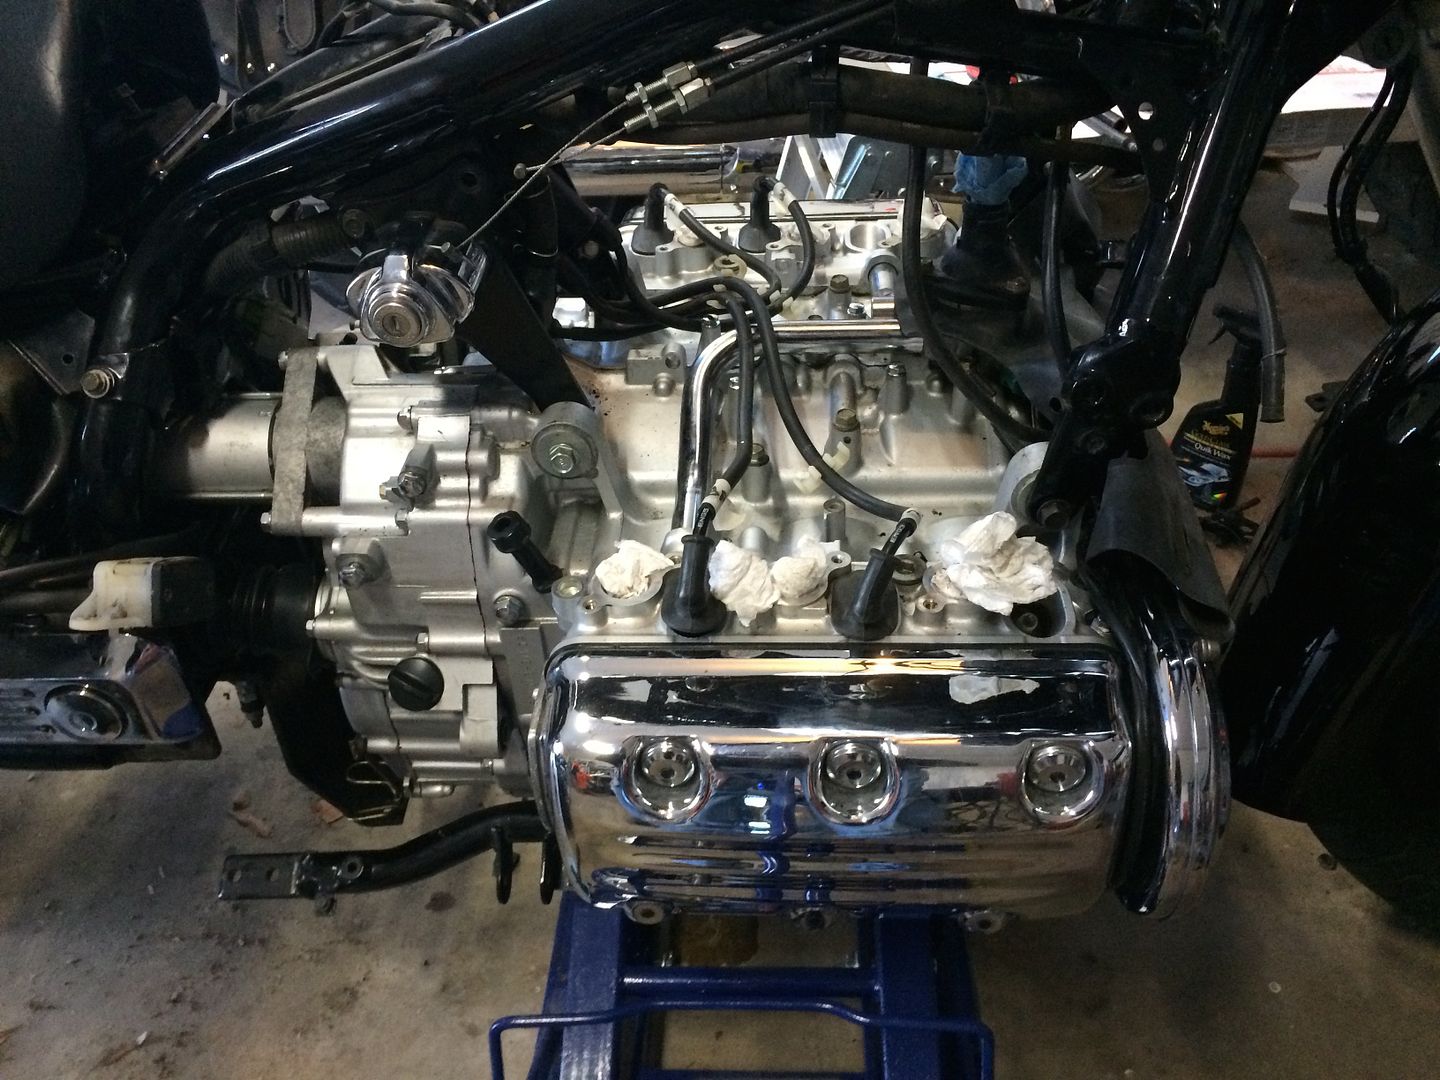
So, all I really have left that I can work on was to continue to de-smog so I pulled breather tubes and put freeze plugs in.
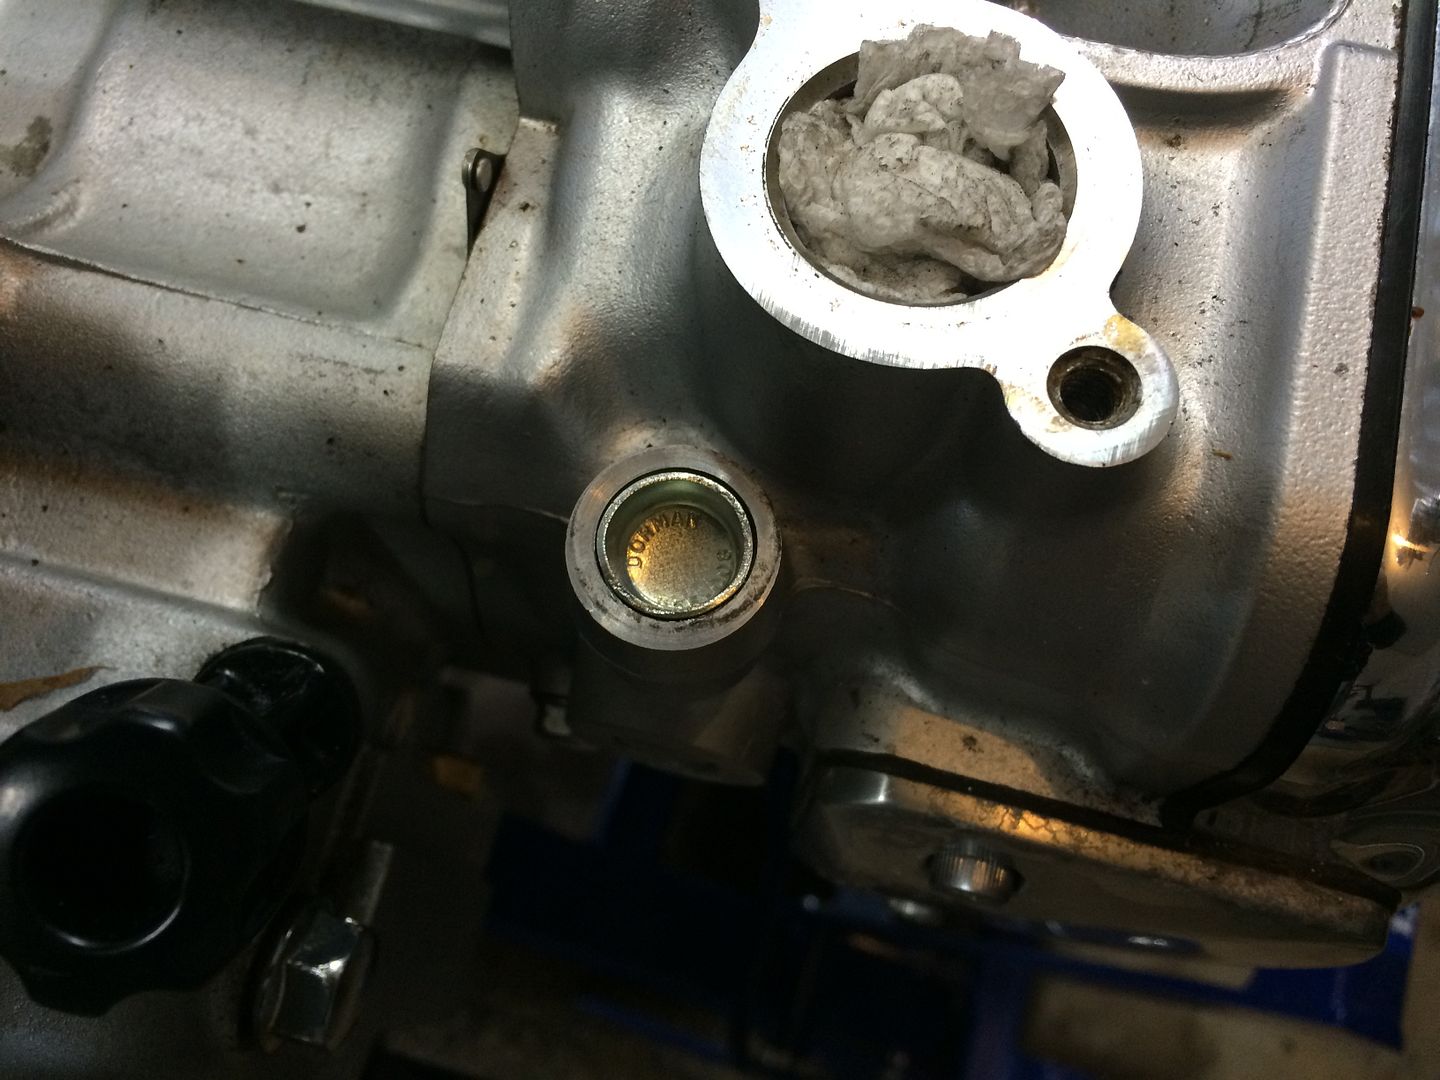
And that really cleaned things up aa lot! That should definitely make re-install much easier!!
SO.......... Now I am at a standstill until that dang dowel arrives. I thought since I couldn't work on it anymore, I could at least post up my story. So far I have been keeping count on everything and even counting the lift and new tools, right now I am into the bike for less than $1500. I am certain it will need new tires (thinking darkside!)
http://www.tirerack.com/tires/tires.jsp?tireMake=Dunlop&tireModel=Direzza+ZIIOf course new brake pads will be a part of the changeout, and it does need a new battery. SO..... Hopefully by the time it is all said and done, we will be in it for about 2k with the lift and parts really not being a part of the bike but something I can constantly re-use. More to come when the dowels show up. I can't wait to hear the old girl turn over and hopefully rumble to life be next weekend!!! It is really had to not buy new chrome and accessories until I hear her run. But I have that list ready also!!
Has anybody used Cee Bailey windshield replacements?
http://www.ceebaileys.com/honda/valkyrieinterstatews.htmlSorry to be long winded, but I had a full coffee pot and nothing to work on until the parts show up.
Well, today was a messy day. We were supposed to possibly get flurries with no accumulation, but of course the weather reports are always accurate, so by 9 am when I was leaving for my first appointment the roads were so covered that I couldn't get up the hill down from the house. So, back home and now we have a snow day to tinker on the Interstate.
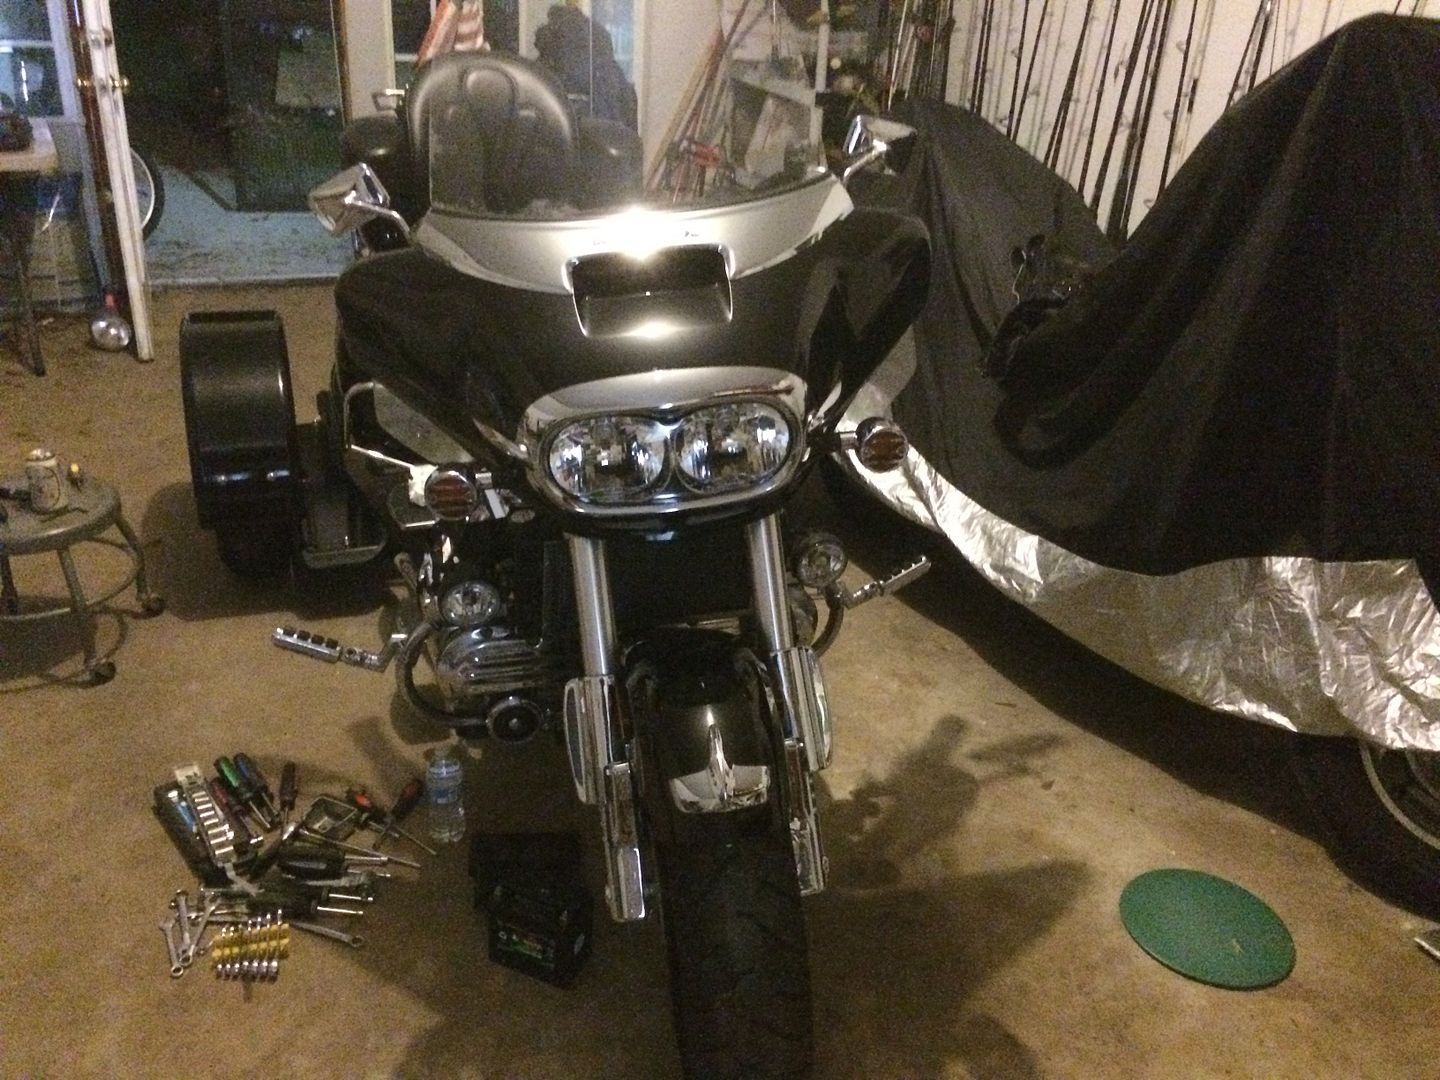
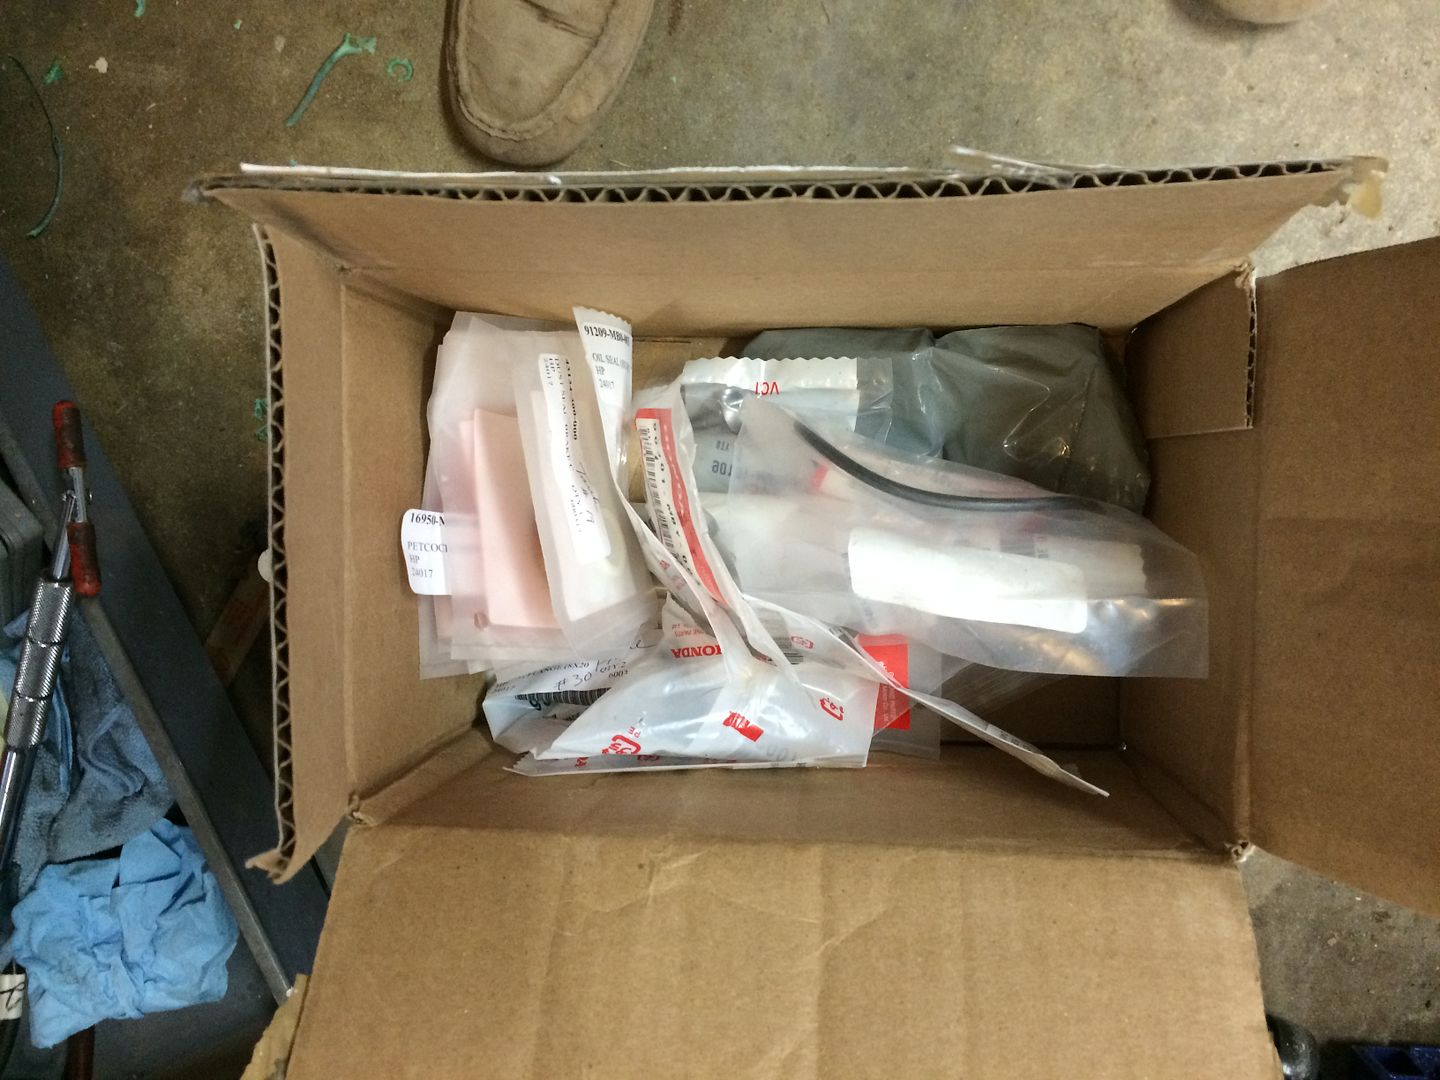
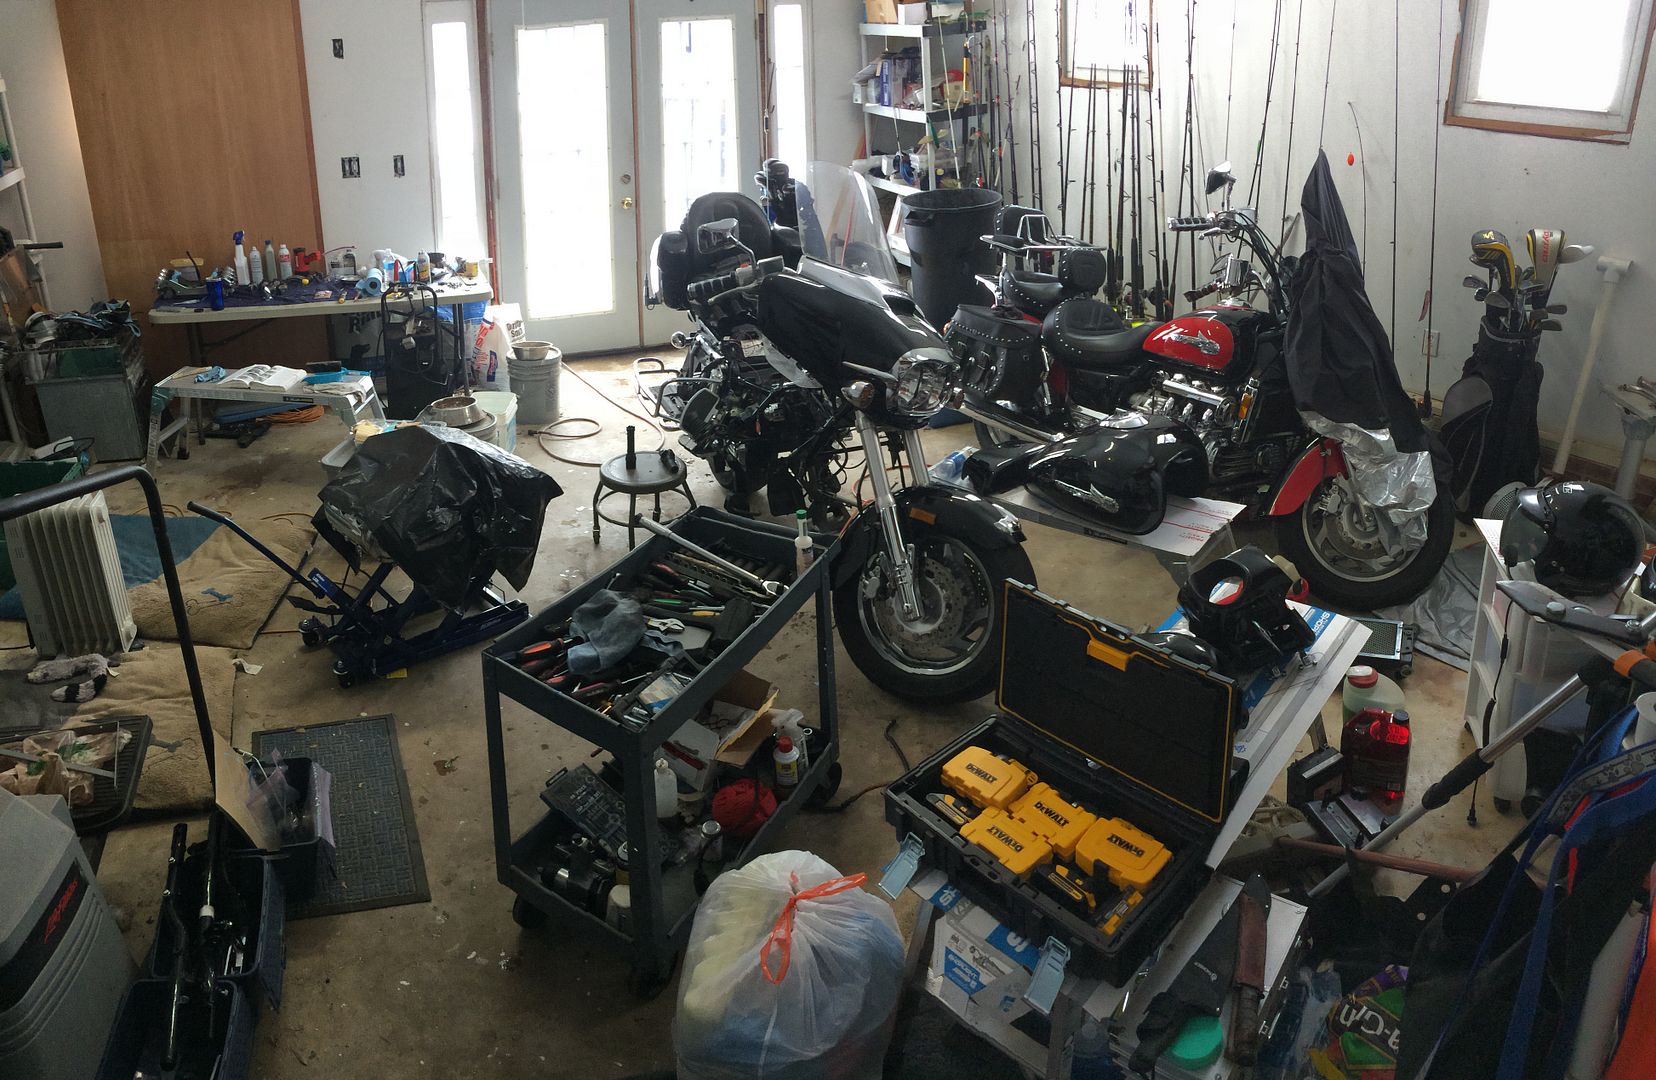
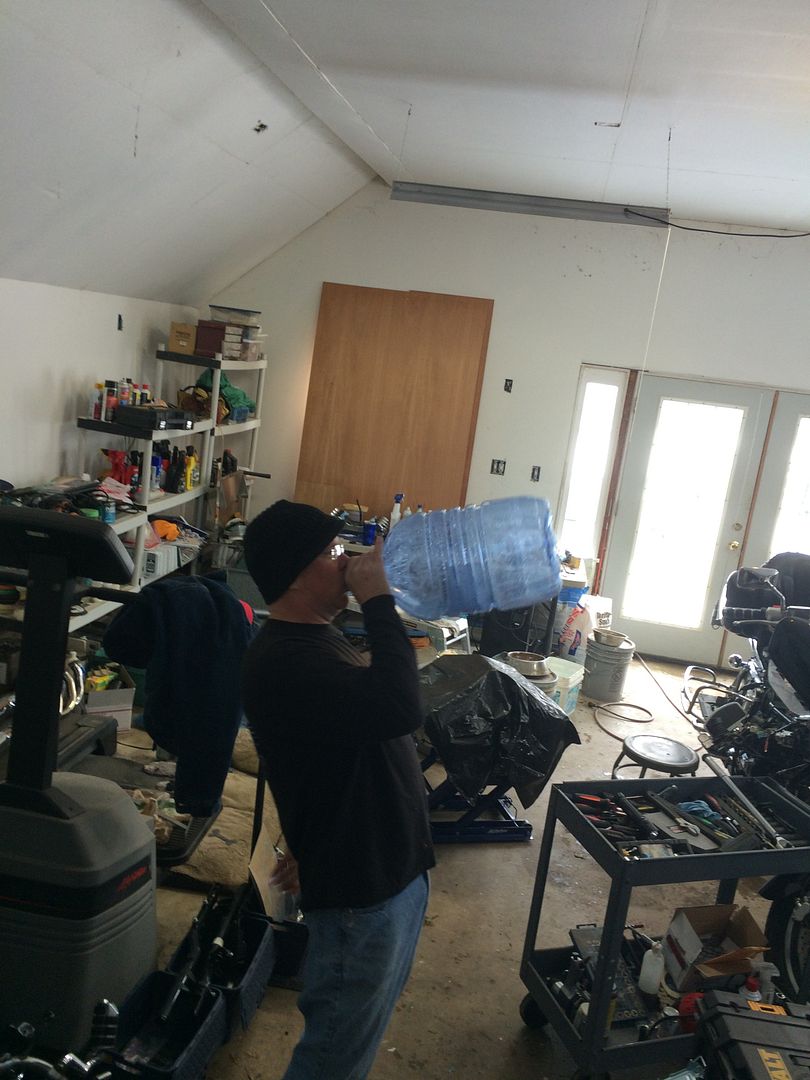
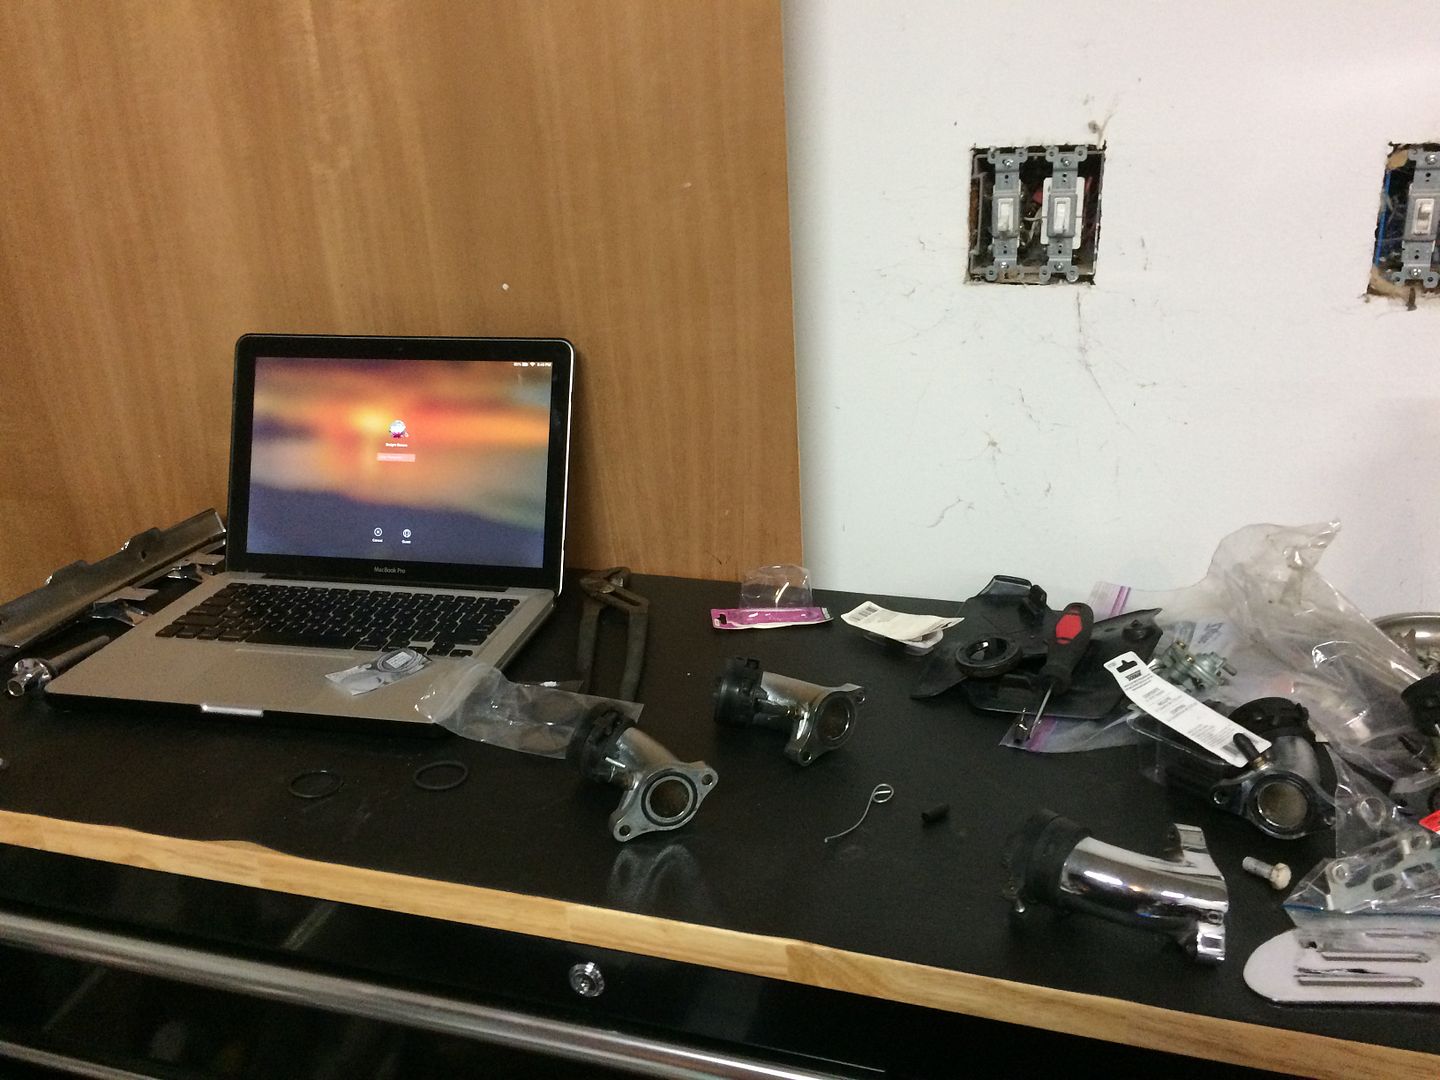
Of course, all of the new parts I ordered to finish out the installation have not shown up yet, so now I have to find something to keep my busy on the bike. That shouldn't be too hard. Projects never seem to disappear. So... first I walk out into the garage. Does everybody's garage look this junky?
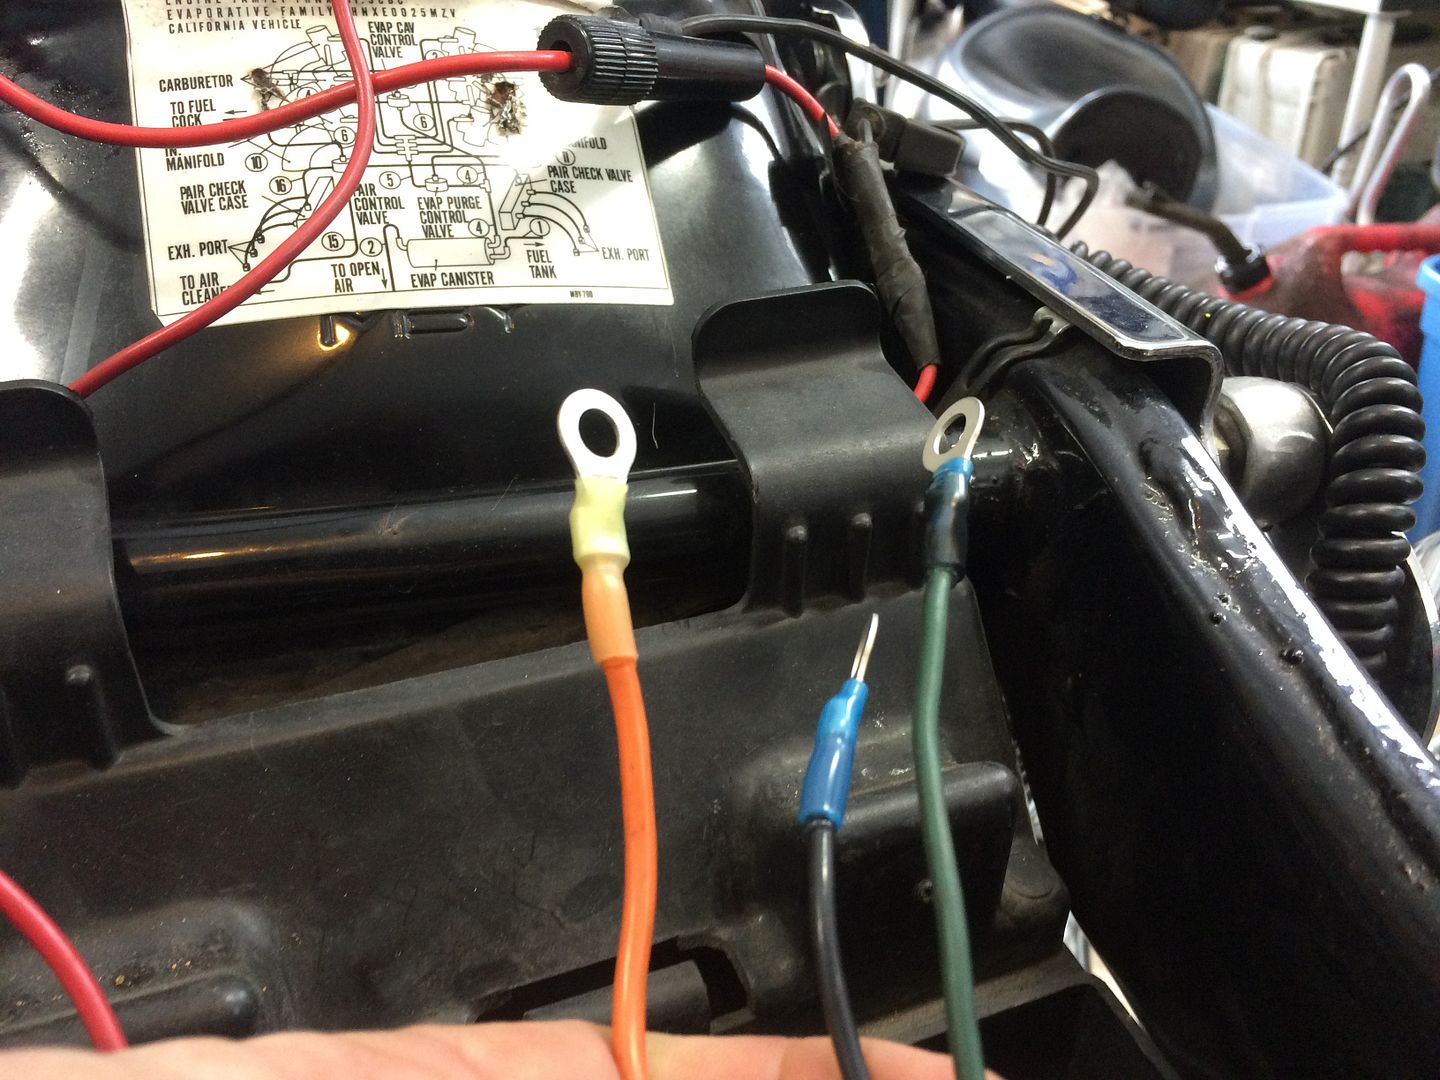
So one of my concerns has been getting a grip on all the electrical on the bike to make sure I had it all squared away when the girl got put together. So I sat down and jus moved everything out of the way and started going through all of the electrical to get a feel for what was what an what went where. One thing I did find was that many of the end connectors were frayed and in bad shape so I pulled out my electrical tool box and decided to replace a few of these connectors. As you can see, one thing I believe in is a touch of sealant and heat shrink connectors. Blame that on my love of boat tinkering also.
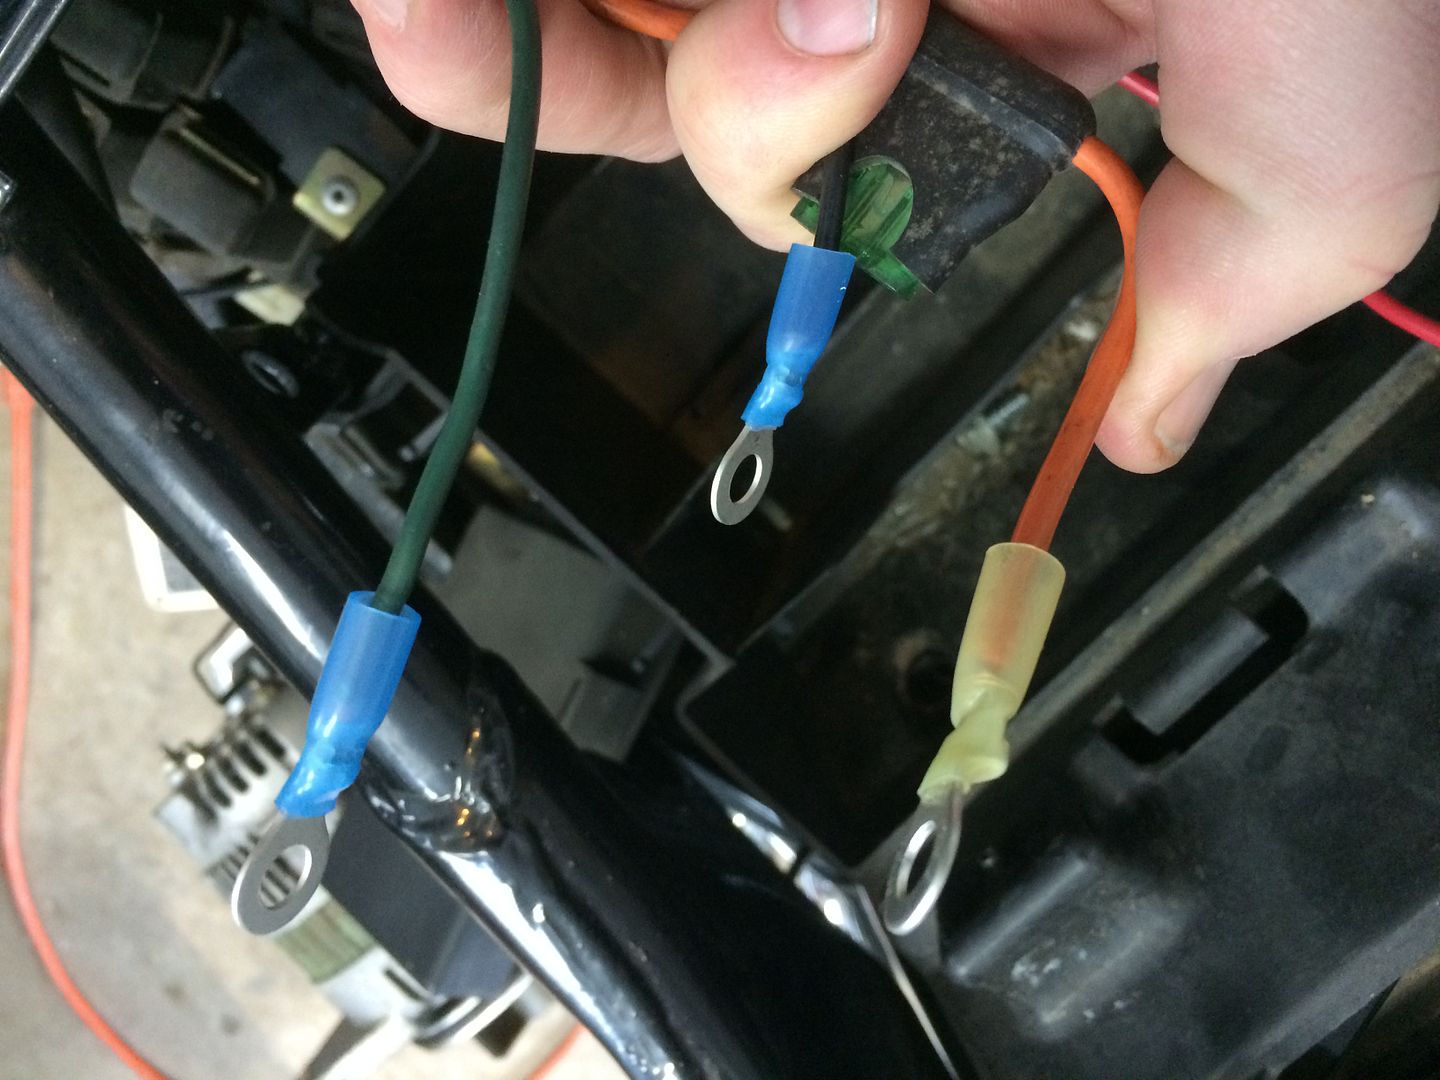
And then I since it was just three I tried to seal them with a lighter but.... that didn't go well so I had to break out the heat gun.
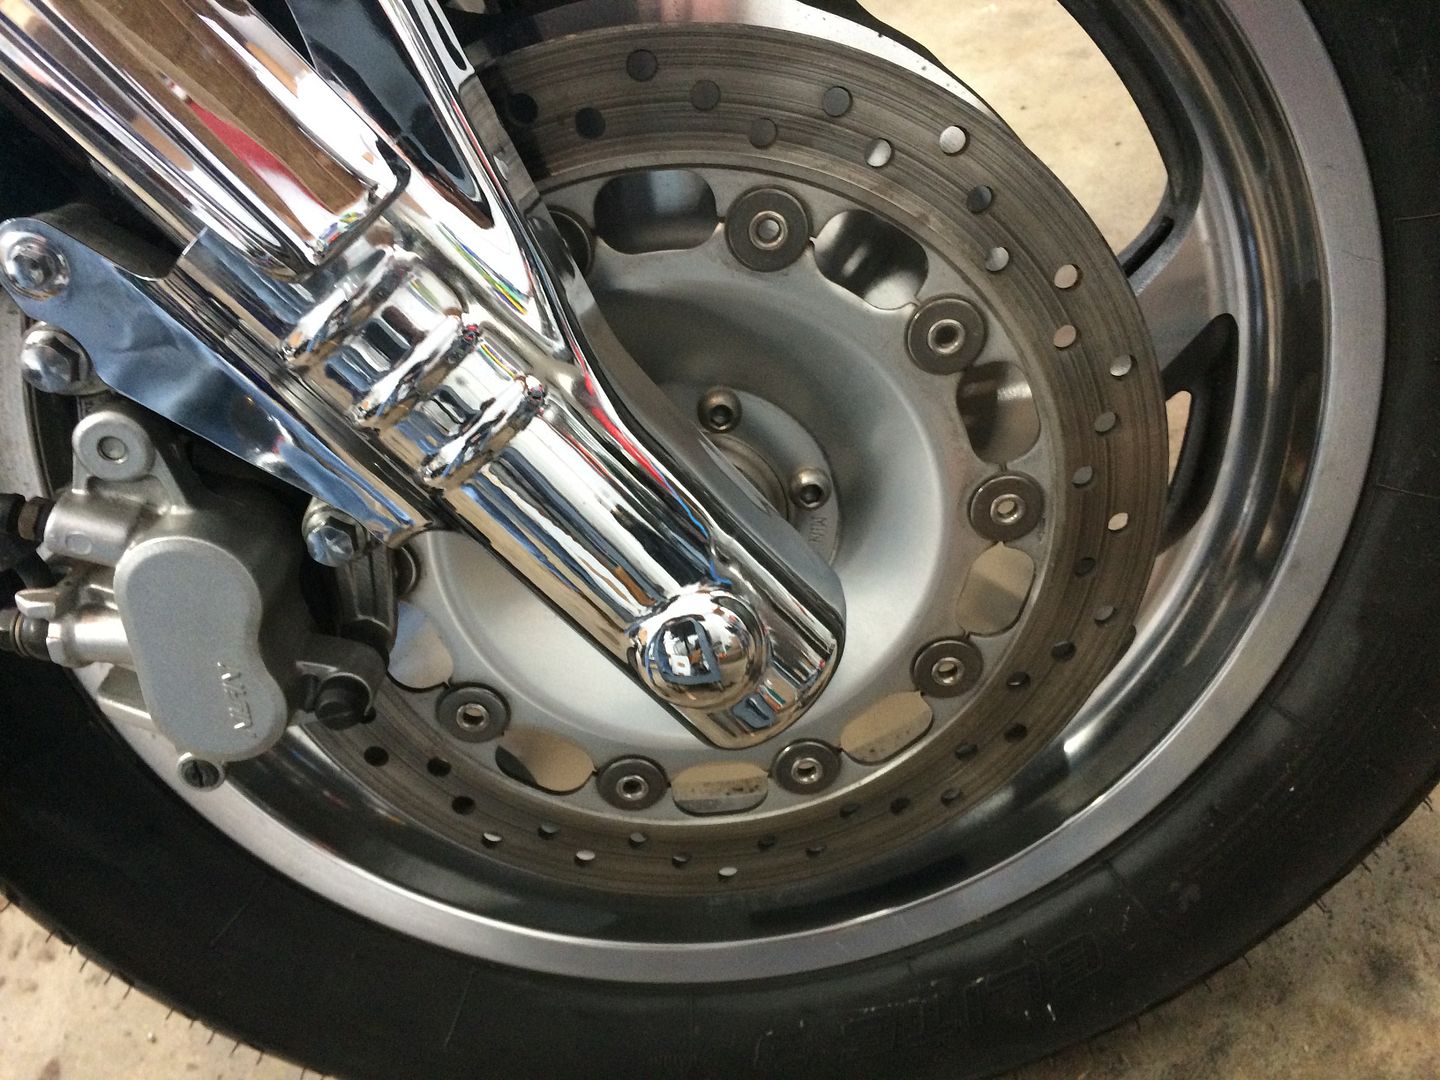
I had also been reading the three about using marvels mystery oil for a cleaning agent so I decided to give it a try. That sucked. But while I had it on my mind it was time to start some polishing on the horribly neglected front rotors and wheel. Forgot to take any pictures along the way, but this was my first time removing the front wheel and calipers so I was happy to have it go well. They turned out pretty good. I have always wanted sweet wheels on a bike but just can't justify the expense when the rotors pretty much cover it completely up.
By this time I was bored and started hitting the bottle pretty heavily.
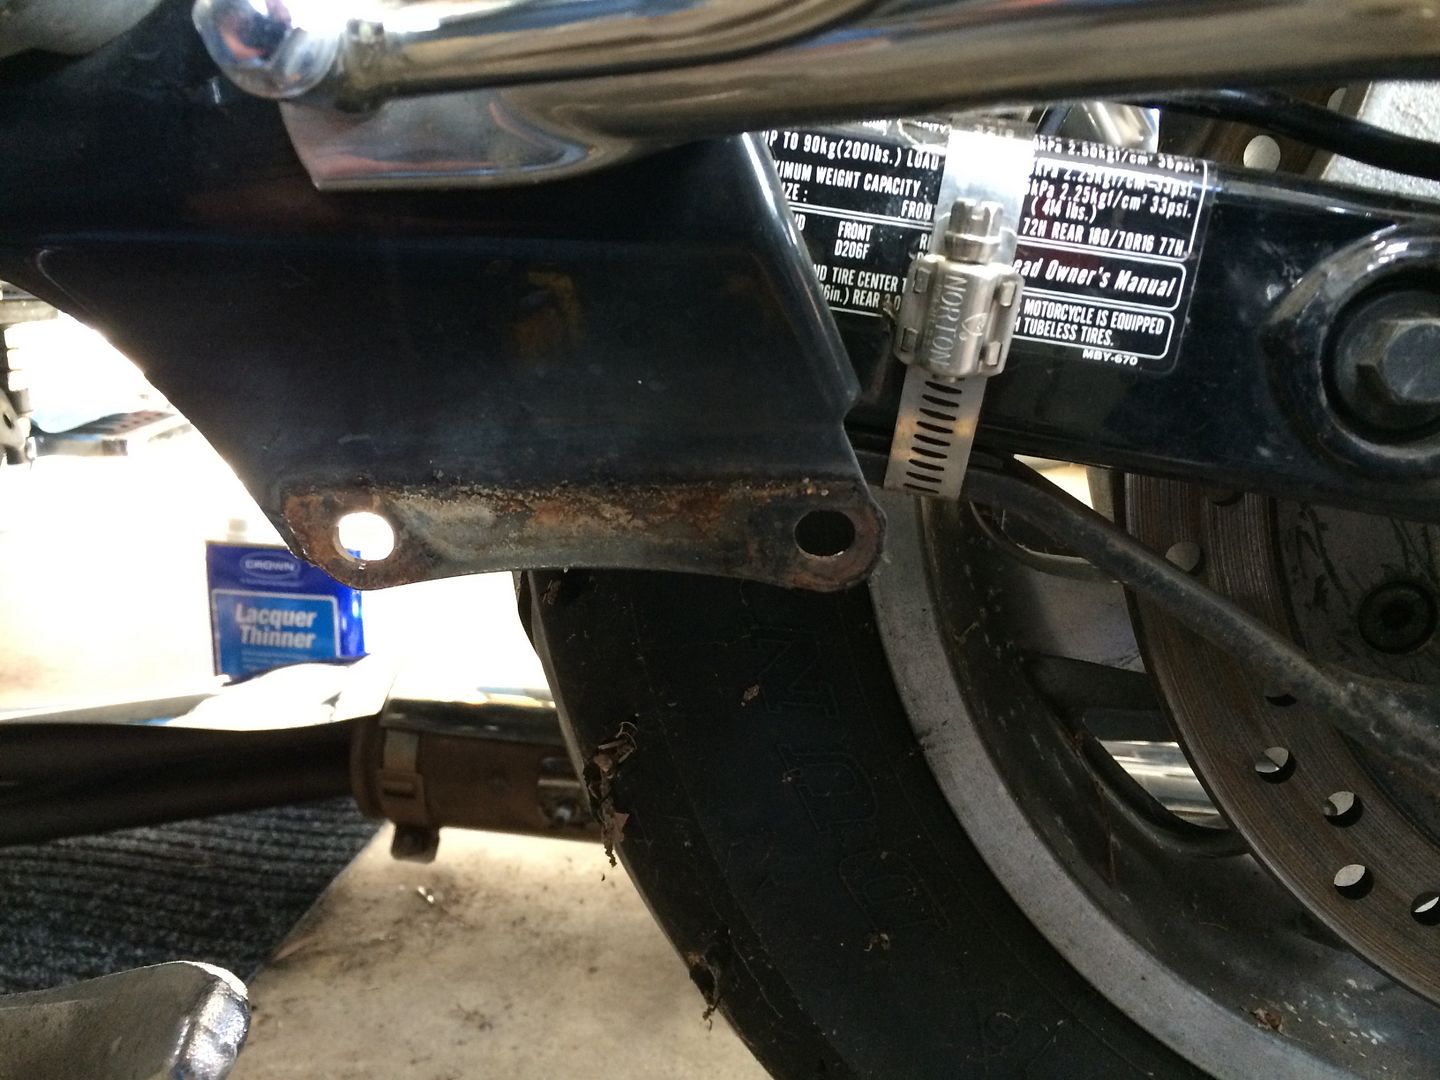
Well, when I was taking the bike apart and pulling the engine one thing I did notice was that there was a broken flange bolt in the right side hanger (is that what you call the thing the kew switch is mounted too?). So, while I didn't have parts I figured I would go ahead and try to use an extractor to pull that out. I sprayed it down good with some liquid wrench to see if that would help a little. I ran the first extractor through with no luck. So I moved up to a larger extractor bit, with no luck. I finally just drilled it out and tapped it for a new bolt.
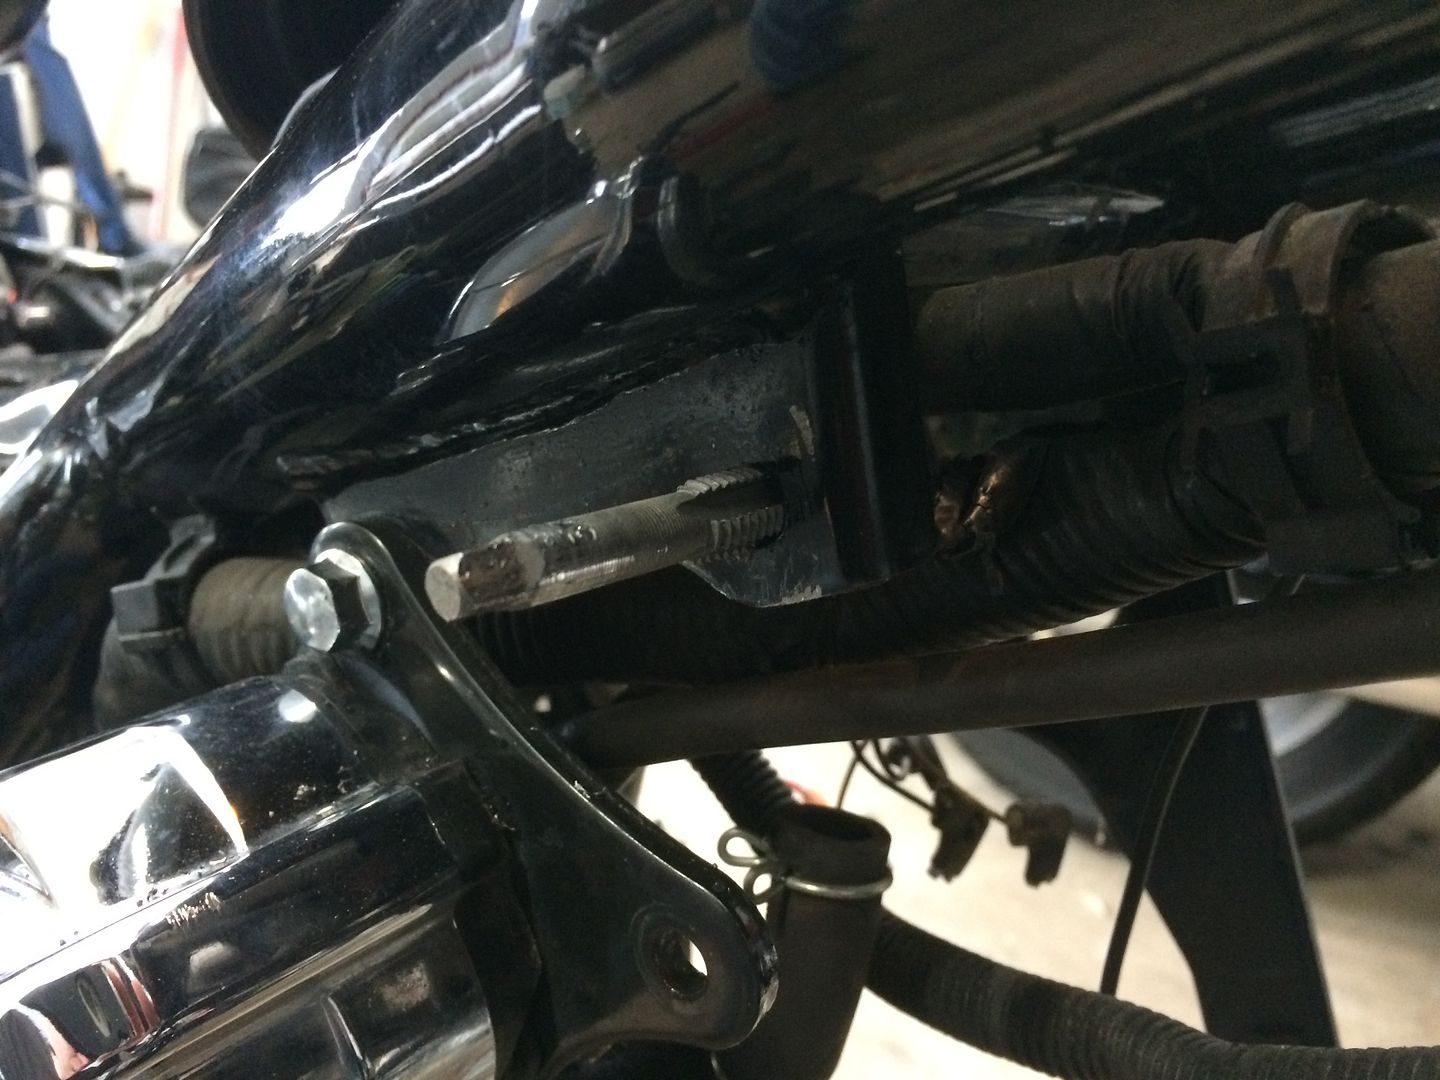
Of course I do not have metric taps so I will have to find an oddball. Or I may eventually just drill it out smooth and use the correct size flange bolt and use a cap nut on the back. This hole already had a nut spot welded on the back that had to be drilled back also.
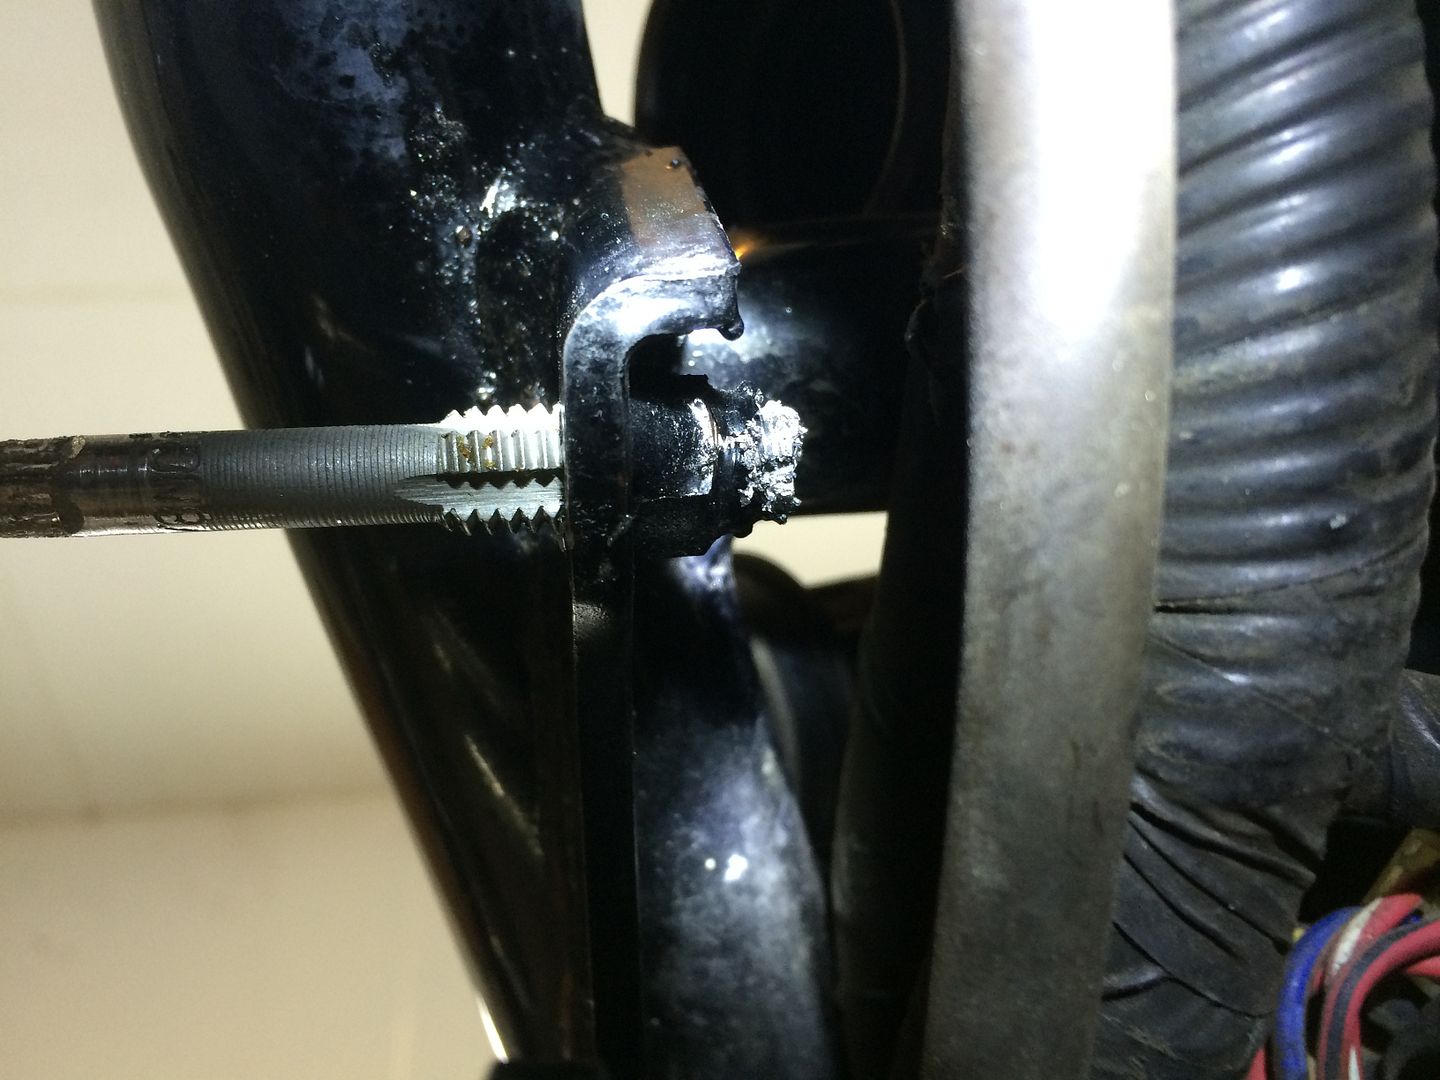
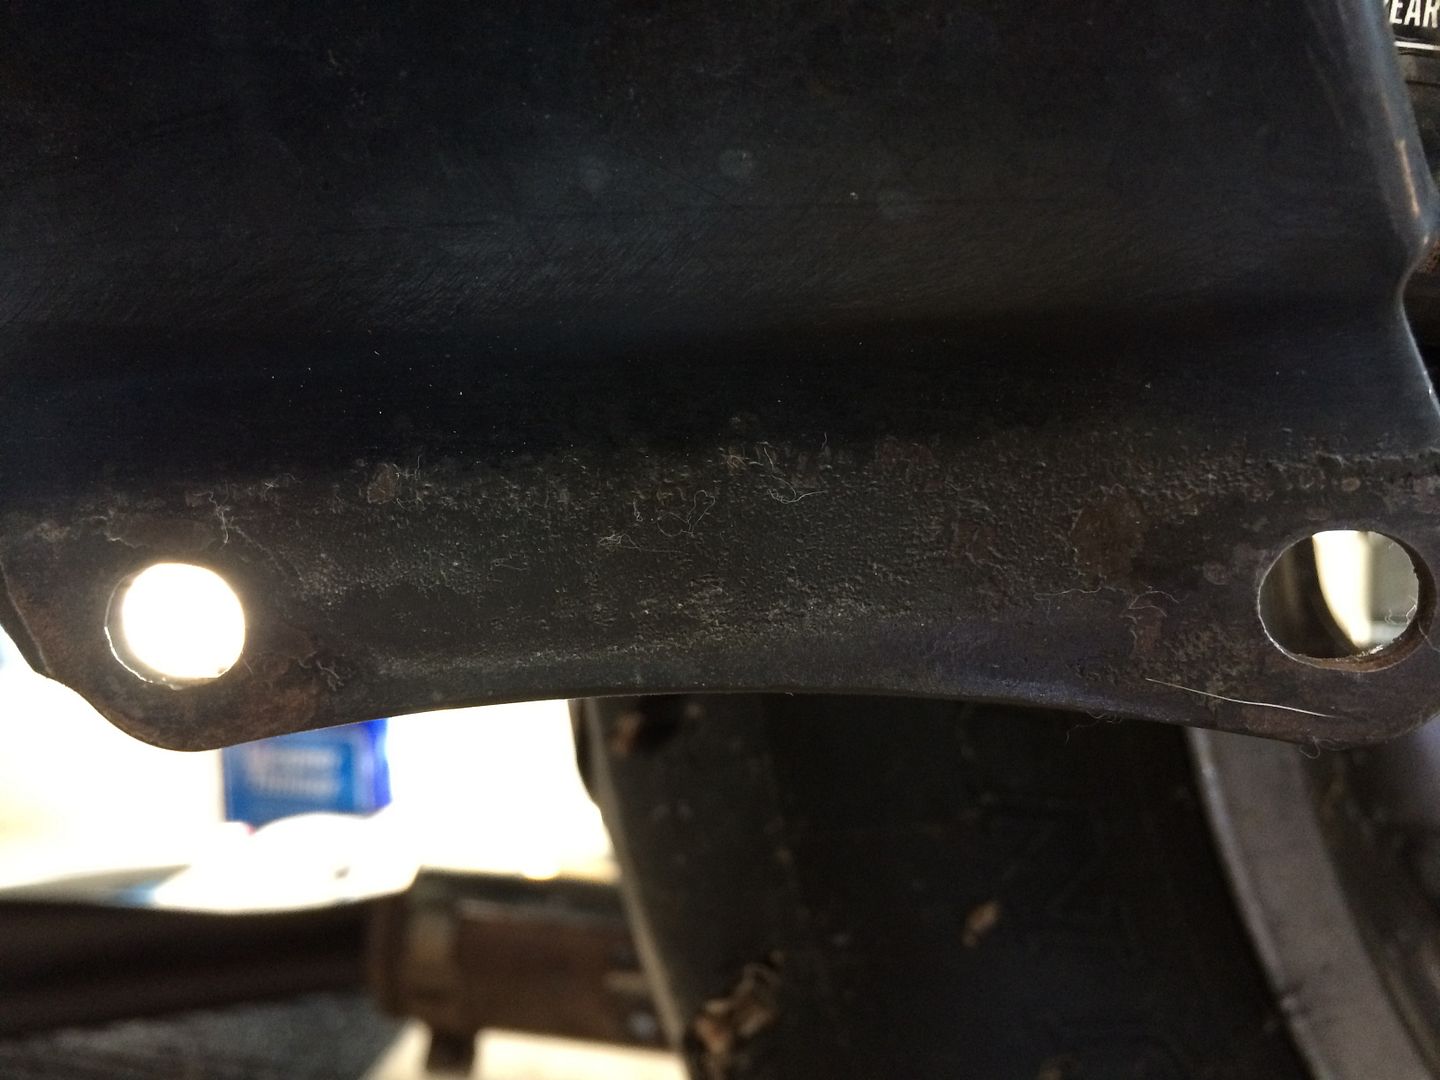
I finally got it tapped but the back side was pretty rough and it does press on the wiring bundle so I had to grind it down and smooth it out.
And here is how it finally turned out.
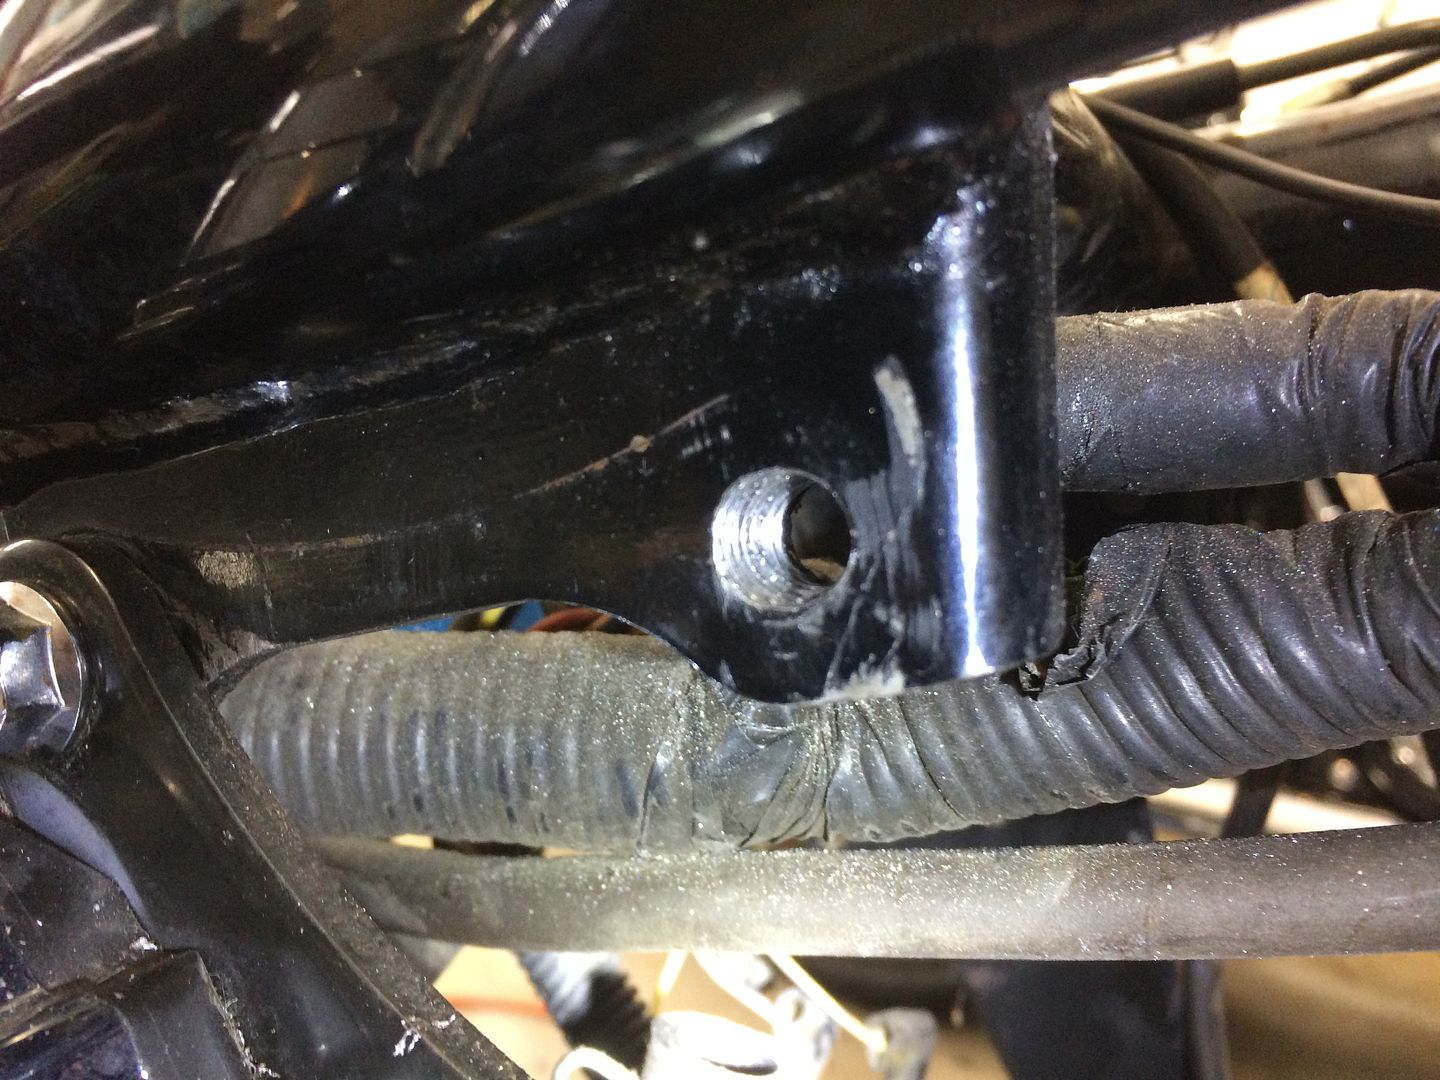
When I start putting it back together I may just grind the nut off the back and put a new flange nut on with the correct size flange bolt. Not sure yet.
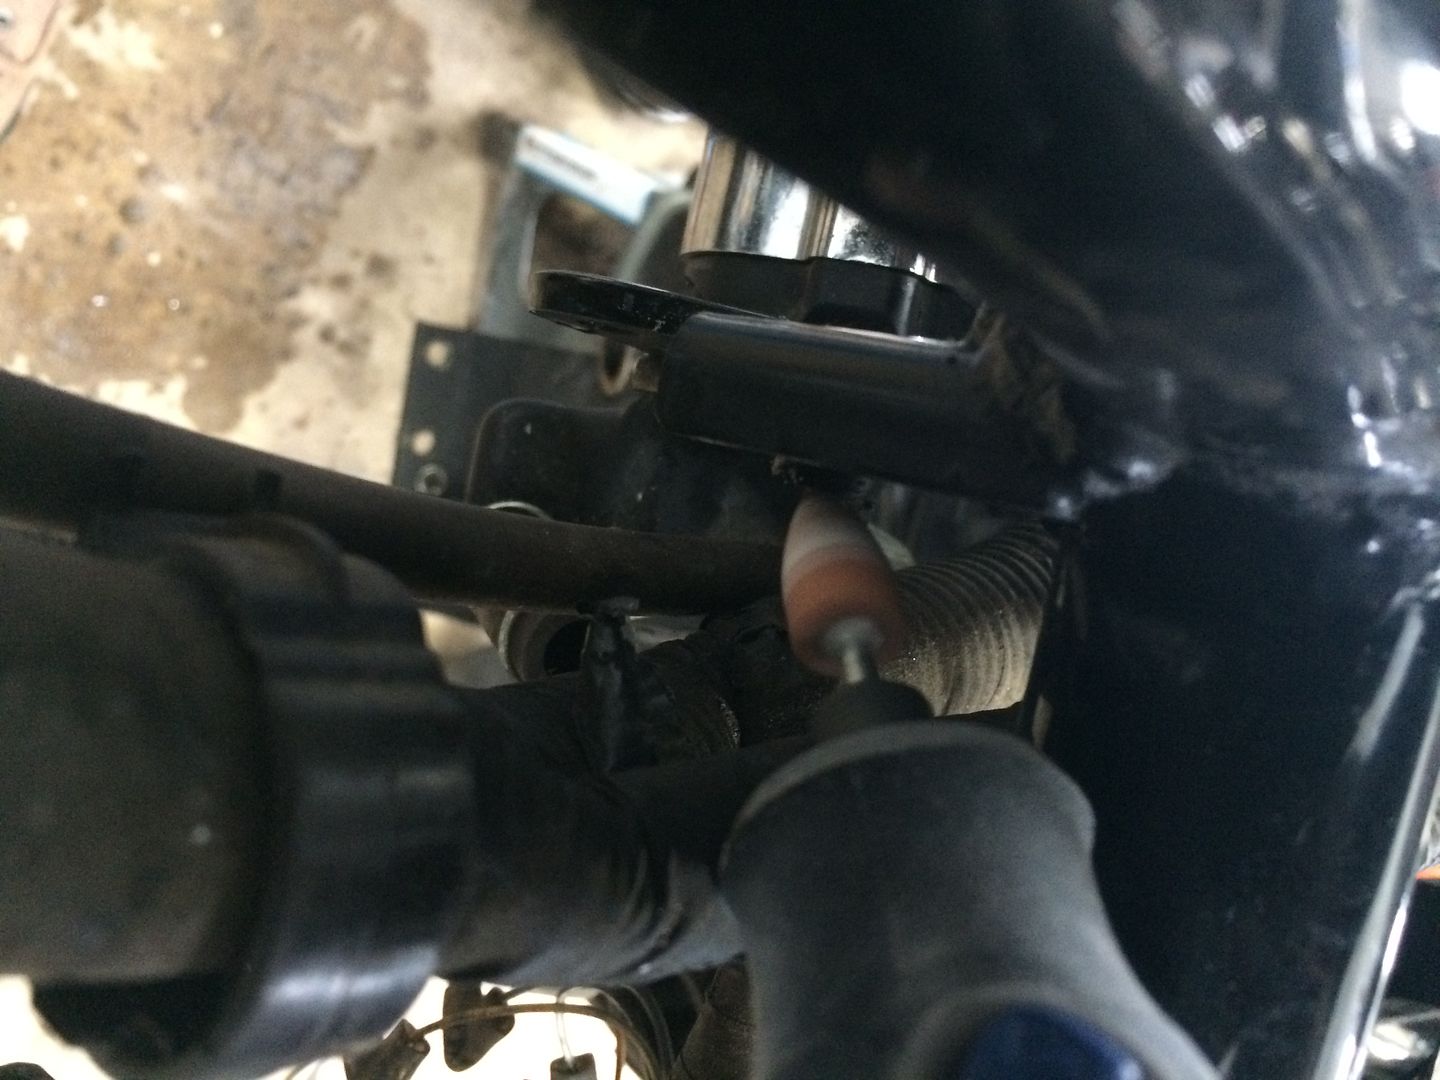
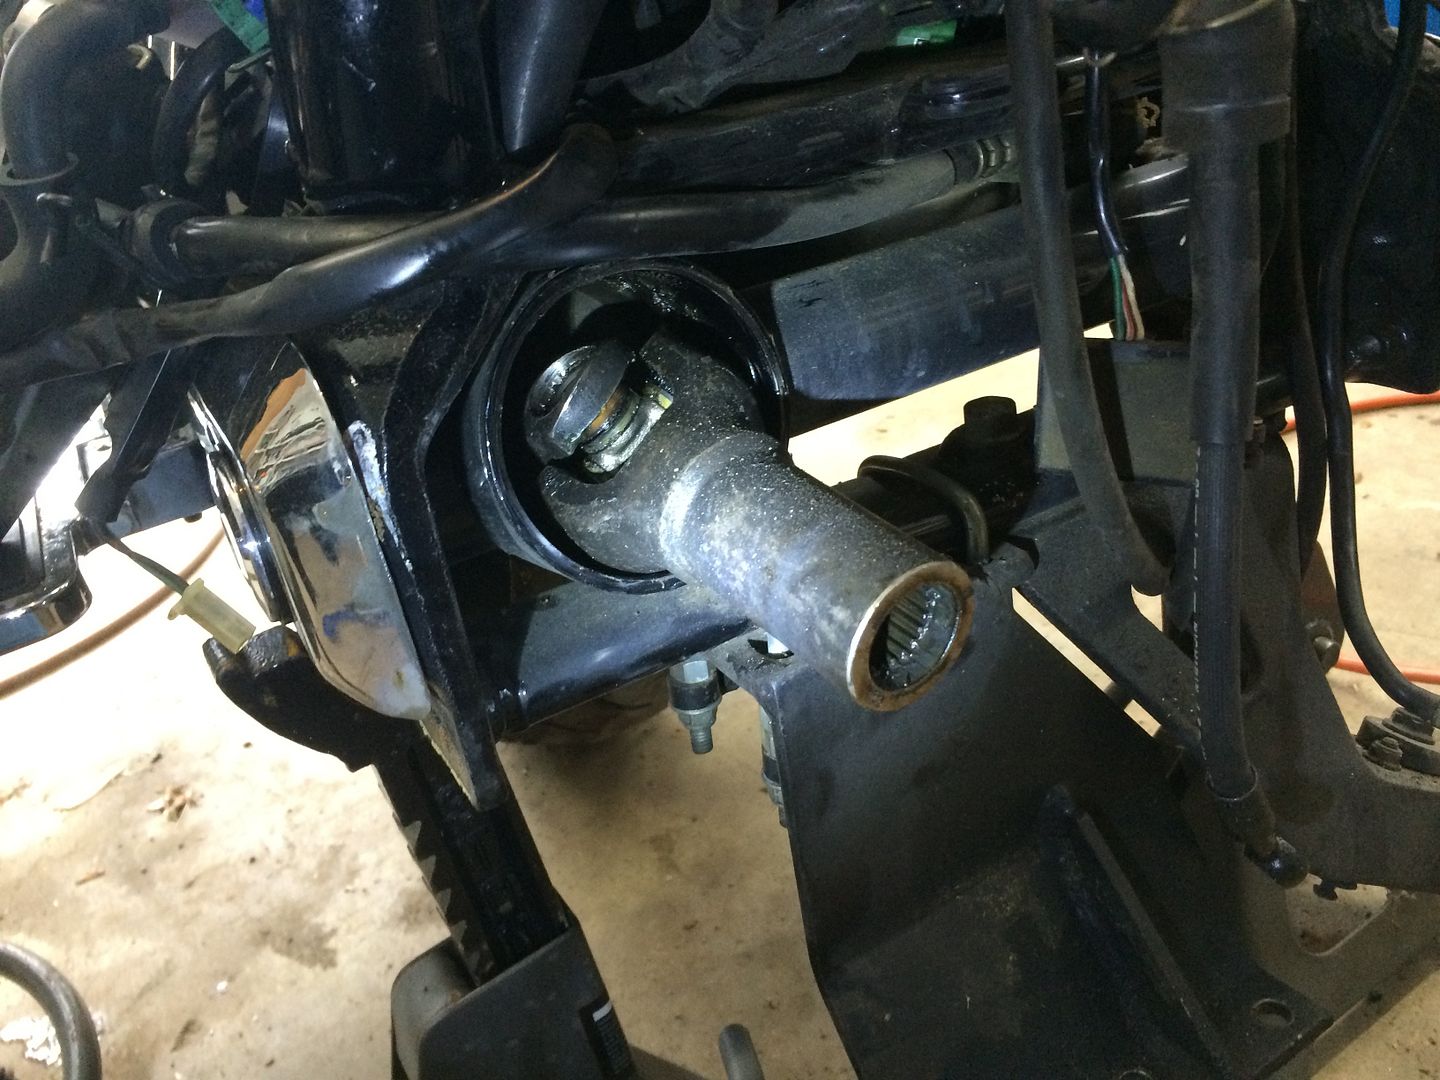
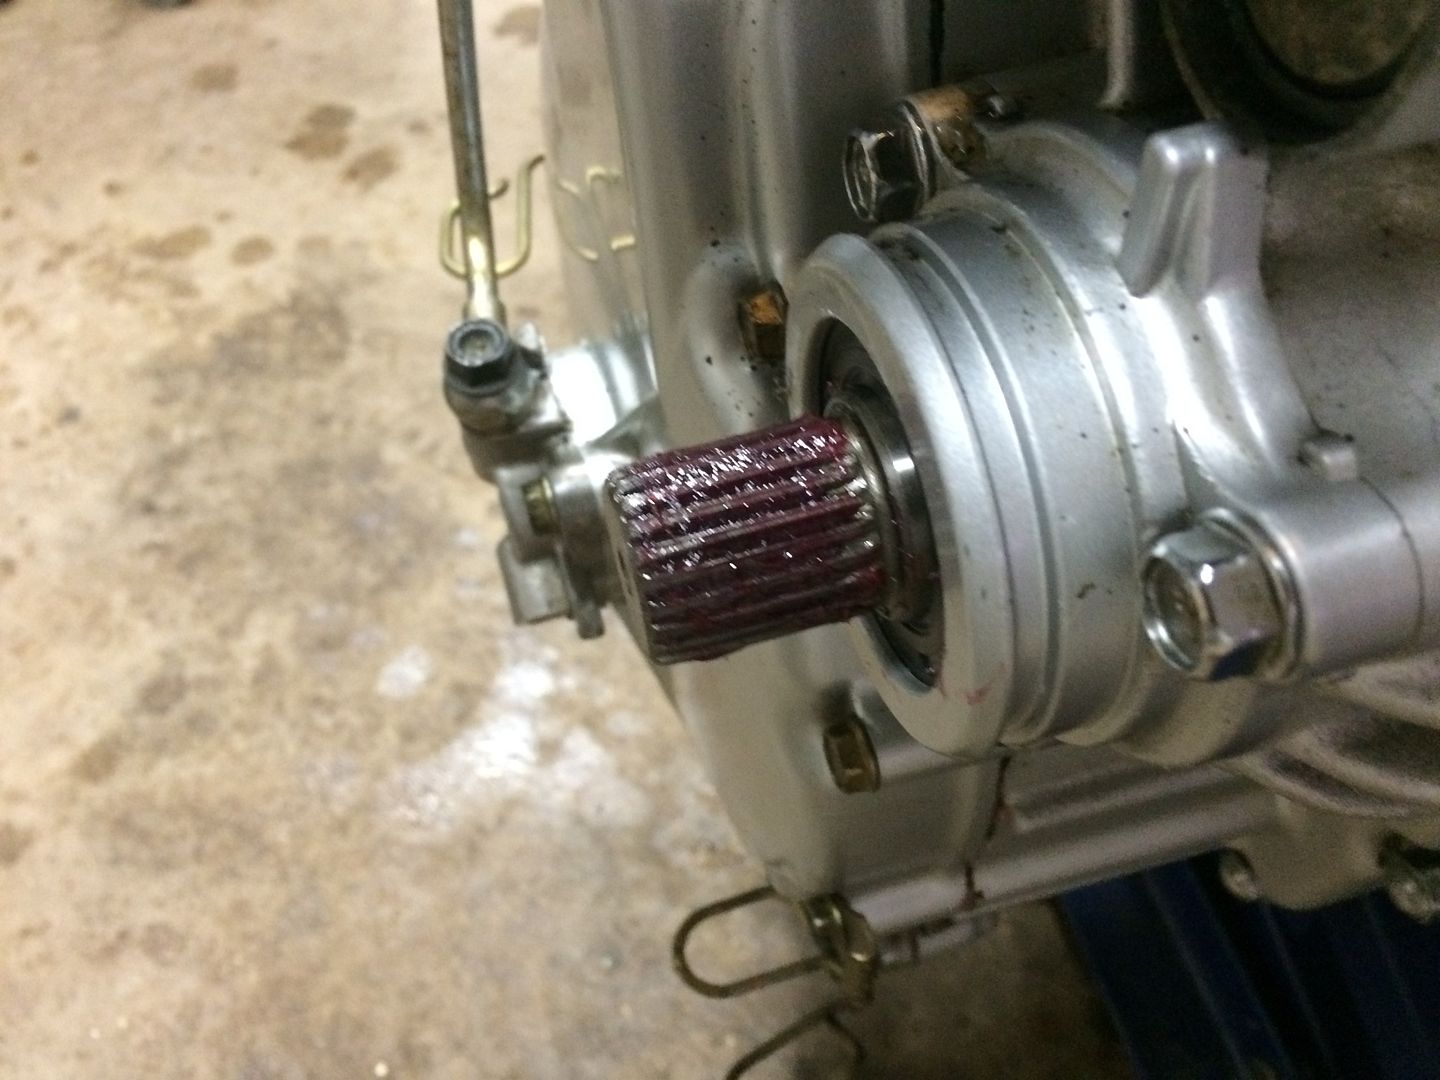
I also decided to pull of the U-joint and lubed up the splines to at least already have it done.
Then decided I could at least do a little cleaning. There are a bunch of little nooks and crannies to dig into when cleaning the motor!

One thing I also figured is that after cleaning the carbs up, another thing I need to pay attention to is the air supply. Dirty air will could up the carbs just like dirty fuel. So.... I decided to clean up the airbox really well before re-install. (actually I prefer to thoroughly clean anything before a re-install just as preventive maintenance if nothing else) So I broke out the gunk engine cleaner and a rag and went to work on the box. Much better!
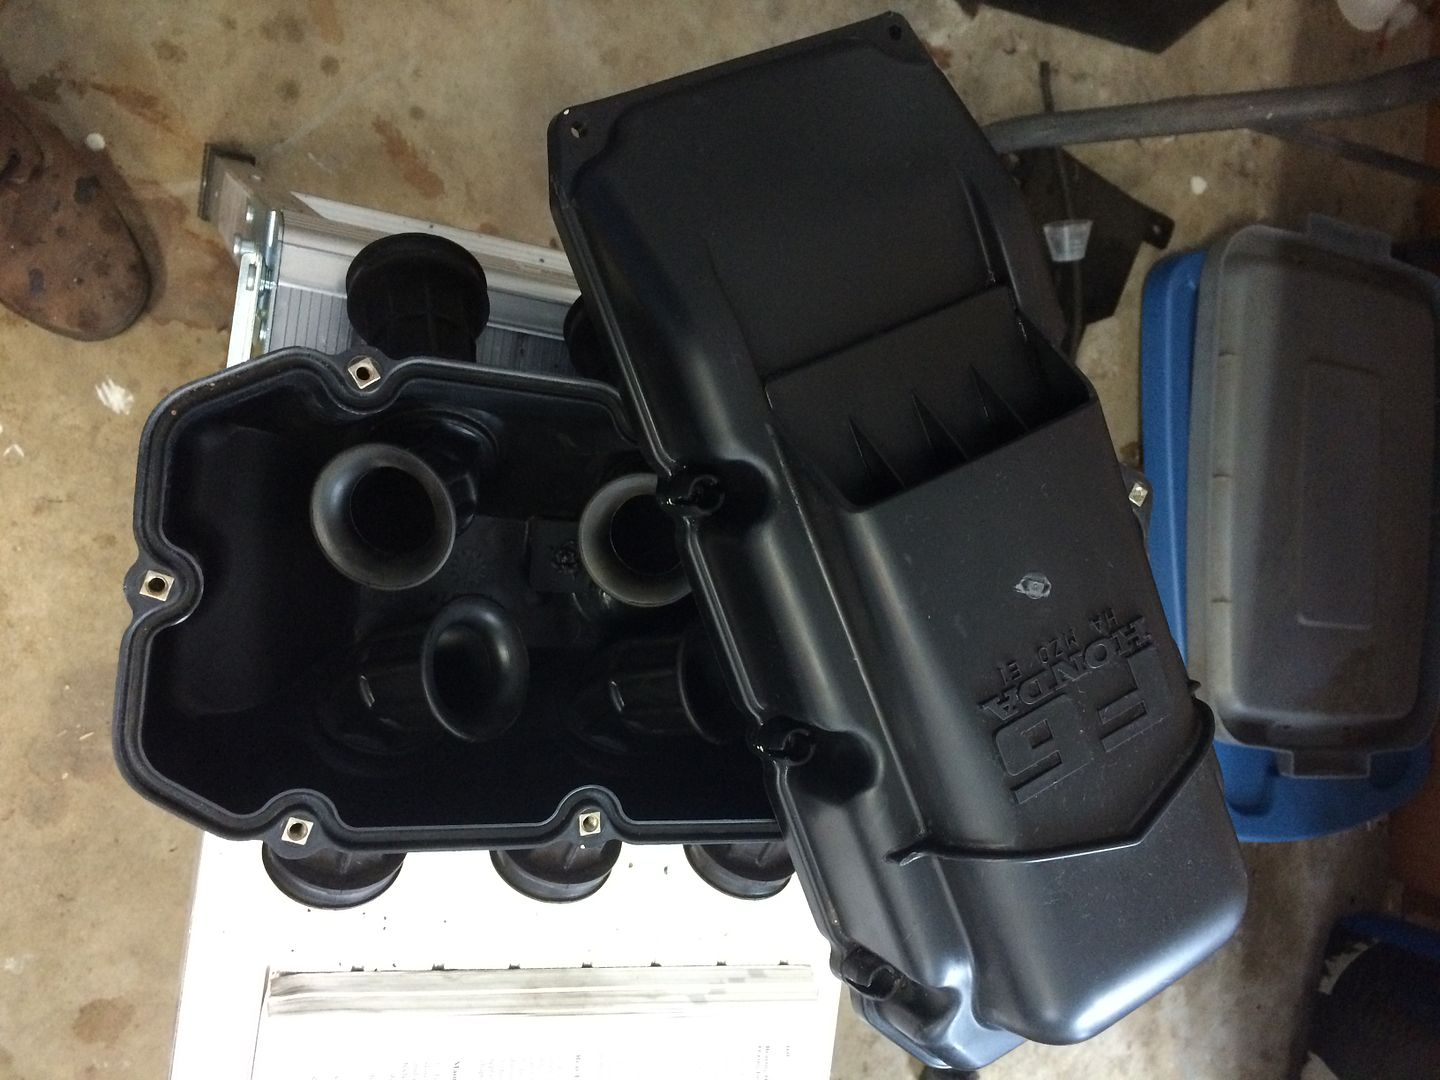
However, while cleaning it I noticed that the seals around the hoses are cracked and allowing air leaks to occur which are below the filter and could let dirty air in.

So, while everything is pulled apart I decided now is also the perfect time to correct this issue. First thing to do was to clean out all of the old glue and start prepping the surface for a new seal.
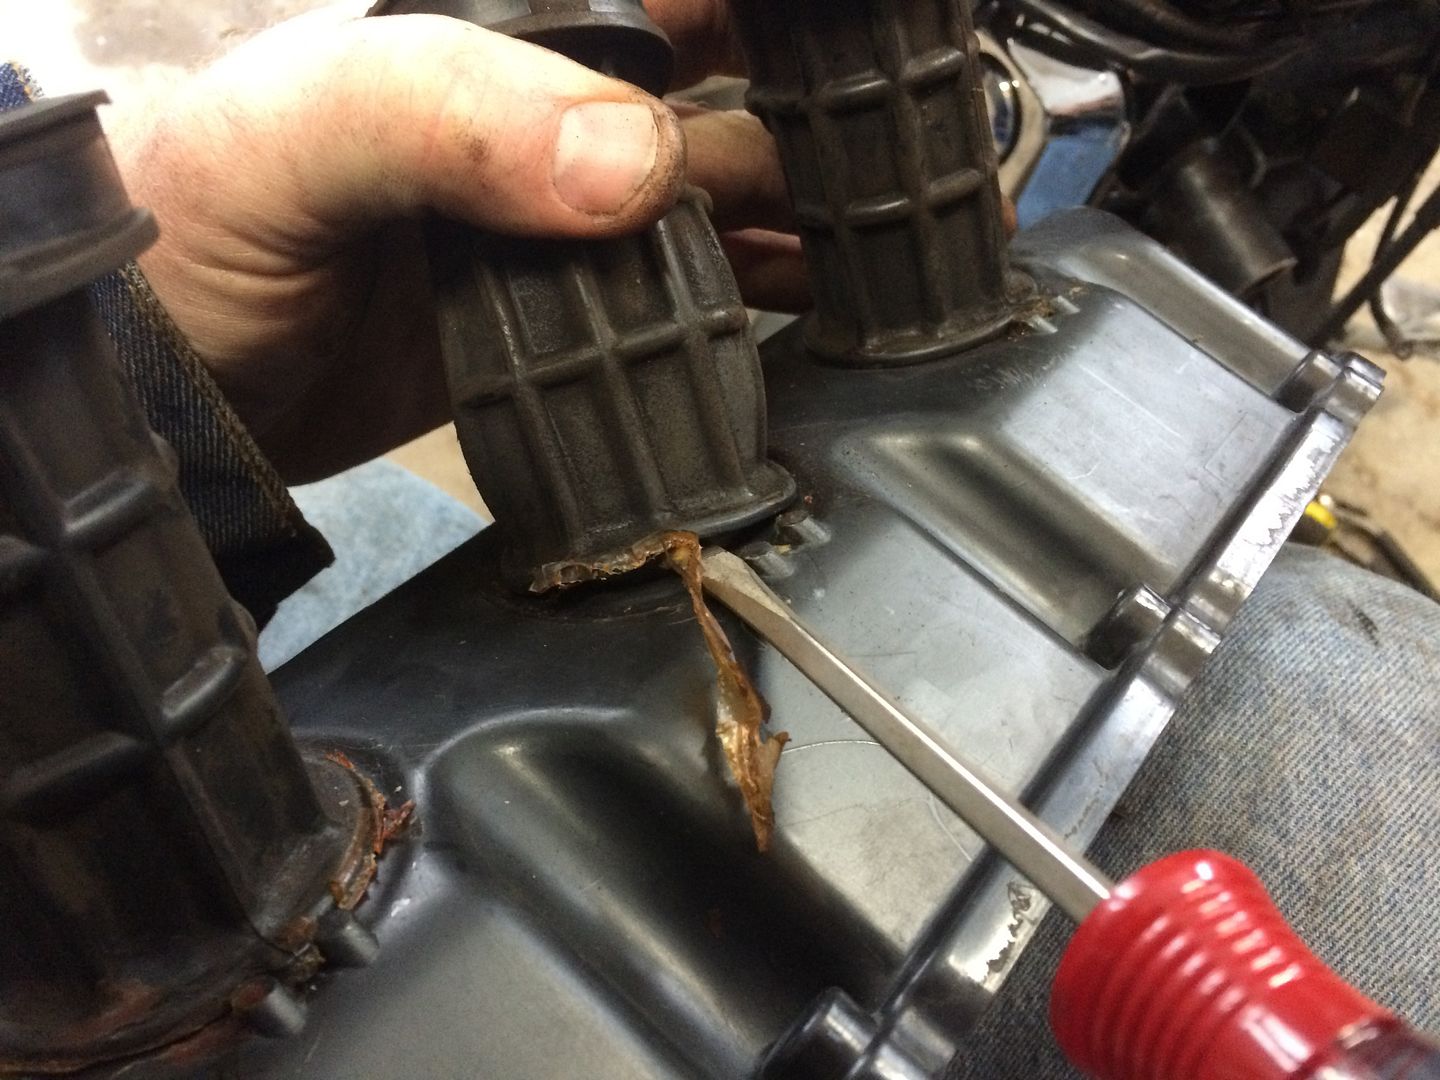
It took a while to get all of that goop cleaned up but it did finally all come out.
And I really was not sure on what to use to hold this together and did a lot of thinking a researching an reading and finally decided to try some gorilla glue because I know this stuff expands considerable and that expansion would allow it to fill in the gaps and actually expand down the joint inside the airbox joint also.
So, I prepped the surface with a light sanding and then a cleaning with some lacquer thinner (couldn't find my acetone).
And then I decided to do just one to begin with to see how it was going to turn out before jumping in and doing all 6 only having to clean them back out and start over. So, Did one, and let it cure out so see how strong it was going to be. I used Gorilla White to get a faster cure because I am impatient like that.

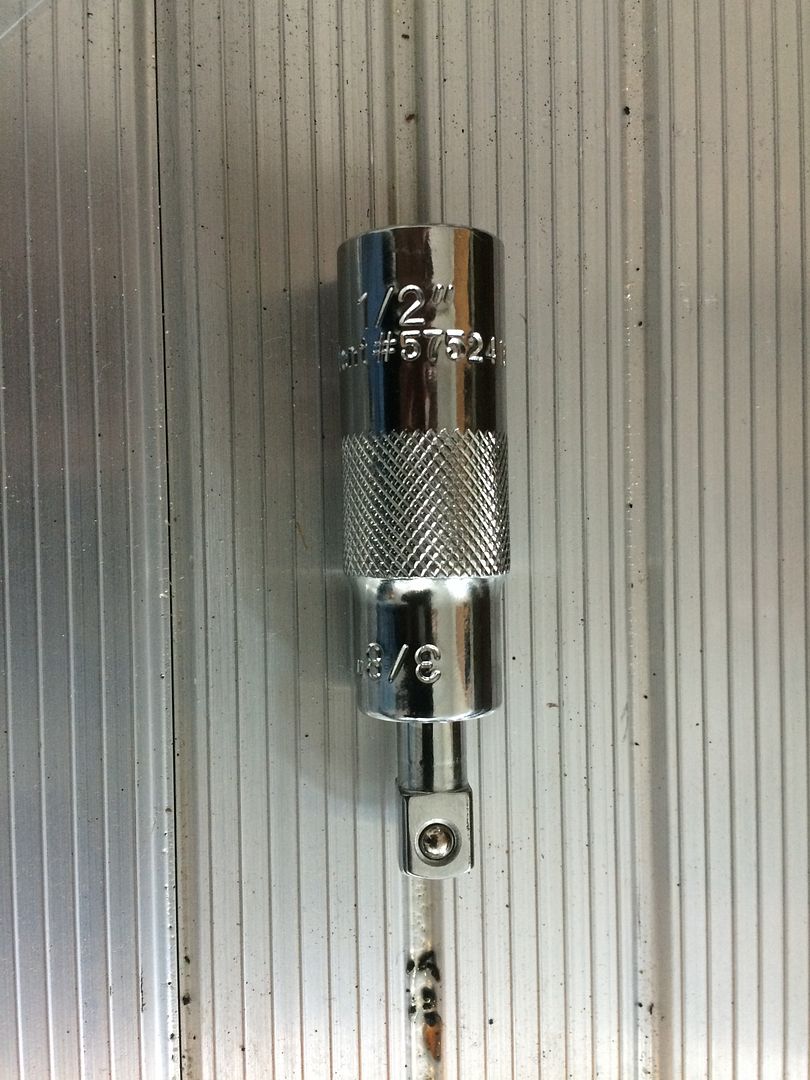
Oh, and while I was at the parts store I found this really cool adapter. Everybody but me probably already has one, but I had never seen one before and thought it would be perfect for the tool box. It is an adapter that has a sliding part inside and will work as either a 1/2 to 3/8 adapter, or slid it the other way and it works as a 3/8 to 1/2 adapter. Way cool!! Had to have it.

While the glue was curing out I decide to grab this box of engine guard parts and start polishing over them with some steel wool. Much easier when off the bike.
Before
After

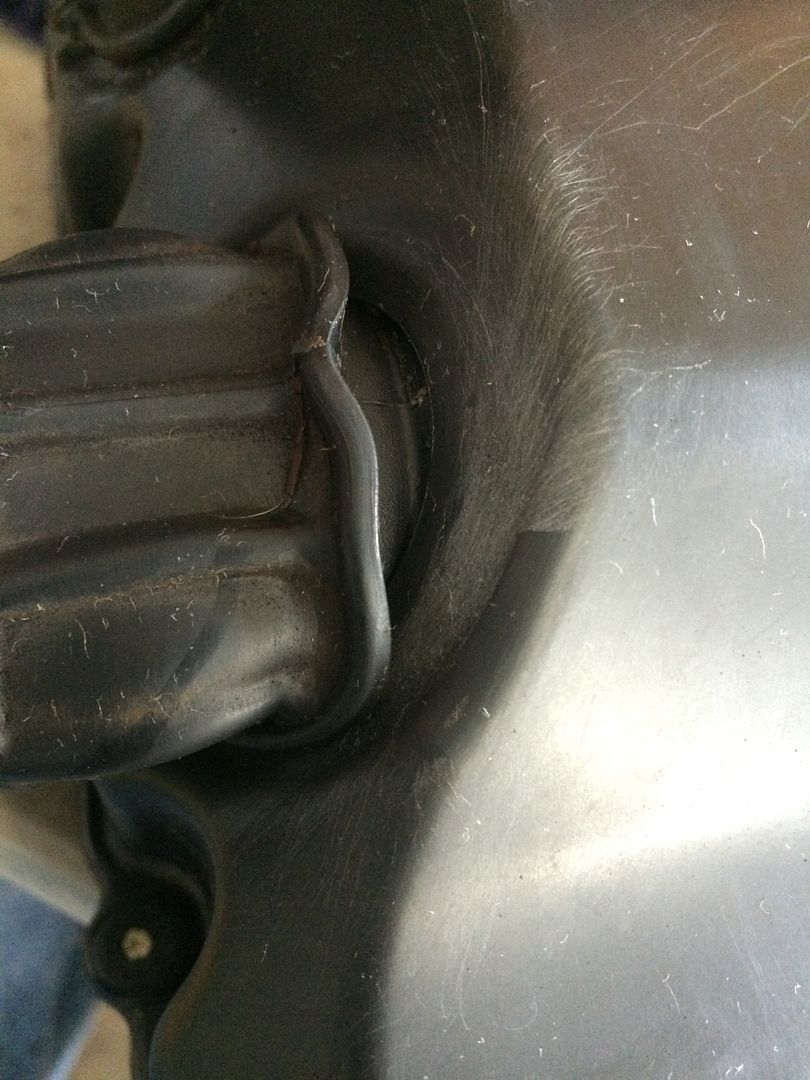
Well the gorilla glue cured out well and when I tried to bend the air tube way over the way I will have to in order to get the airbox installed the glue held without much trouble. So....... Seems like the thing to do. I went ahead and did the other six. one thing I did do was about 30 minutes after putting th glue in, when it had foamed up and skimmed over I go back and press it in a little better to get a little more density and better seal.
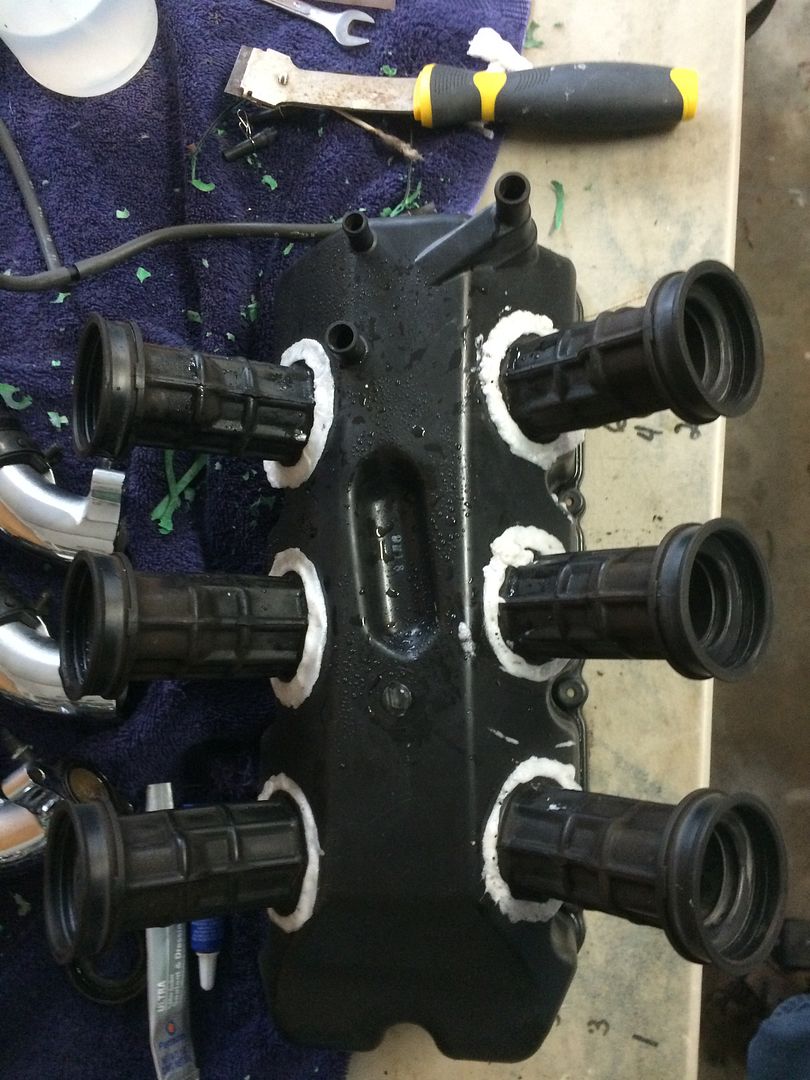
As you can see here, the gorilla glue's expansion properties caused it to creep down and into the joints on the inside of the airbox. I am pretty happy with this outcome.

Then, I finished all I had that I felt like I could tinker on today so........... Time to do some cleaning on the garage. New parts (including that stupid little dowel) have not even shipped yet. So time to put on the patience hat. I am not good at that. More snow expected to hit hard this afternoon with anywhere from 3 - 8" which means more days with no shipping deliveries and no work. So I REALLY need those parts. I may run by a nearby honda dealership today to at least get the dowel so I can get started on getting the engine back in.
Thanks for all your comments and compliments guys. I will continue the saga when I get more parts!!!
Well...... The tank is now a setback. Got knocked off the bench.
However, this project convinced me to go get me a new tool box/workbench that was probably way overdue
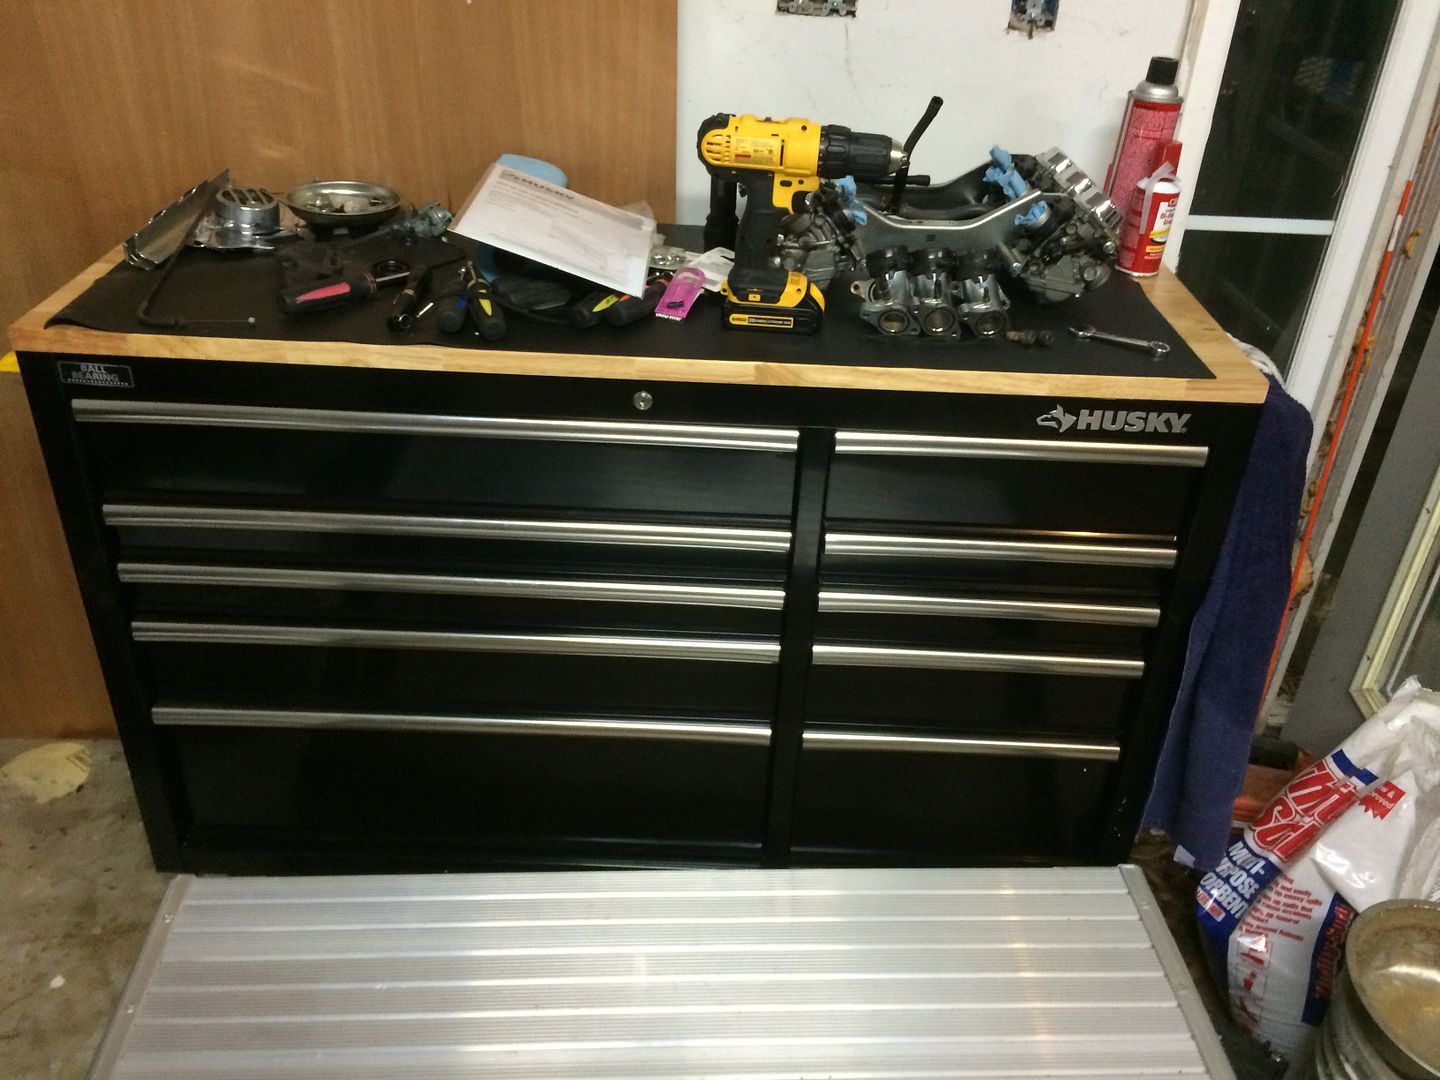
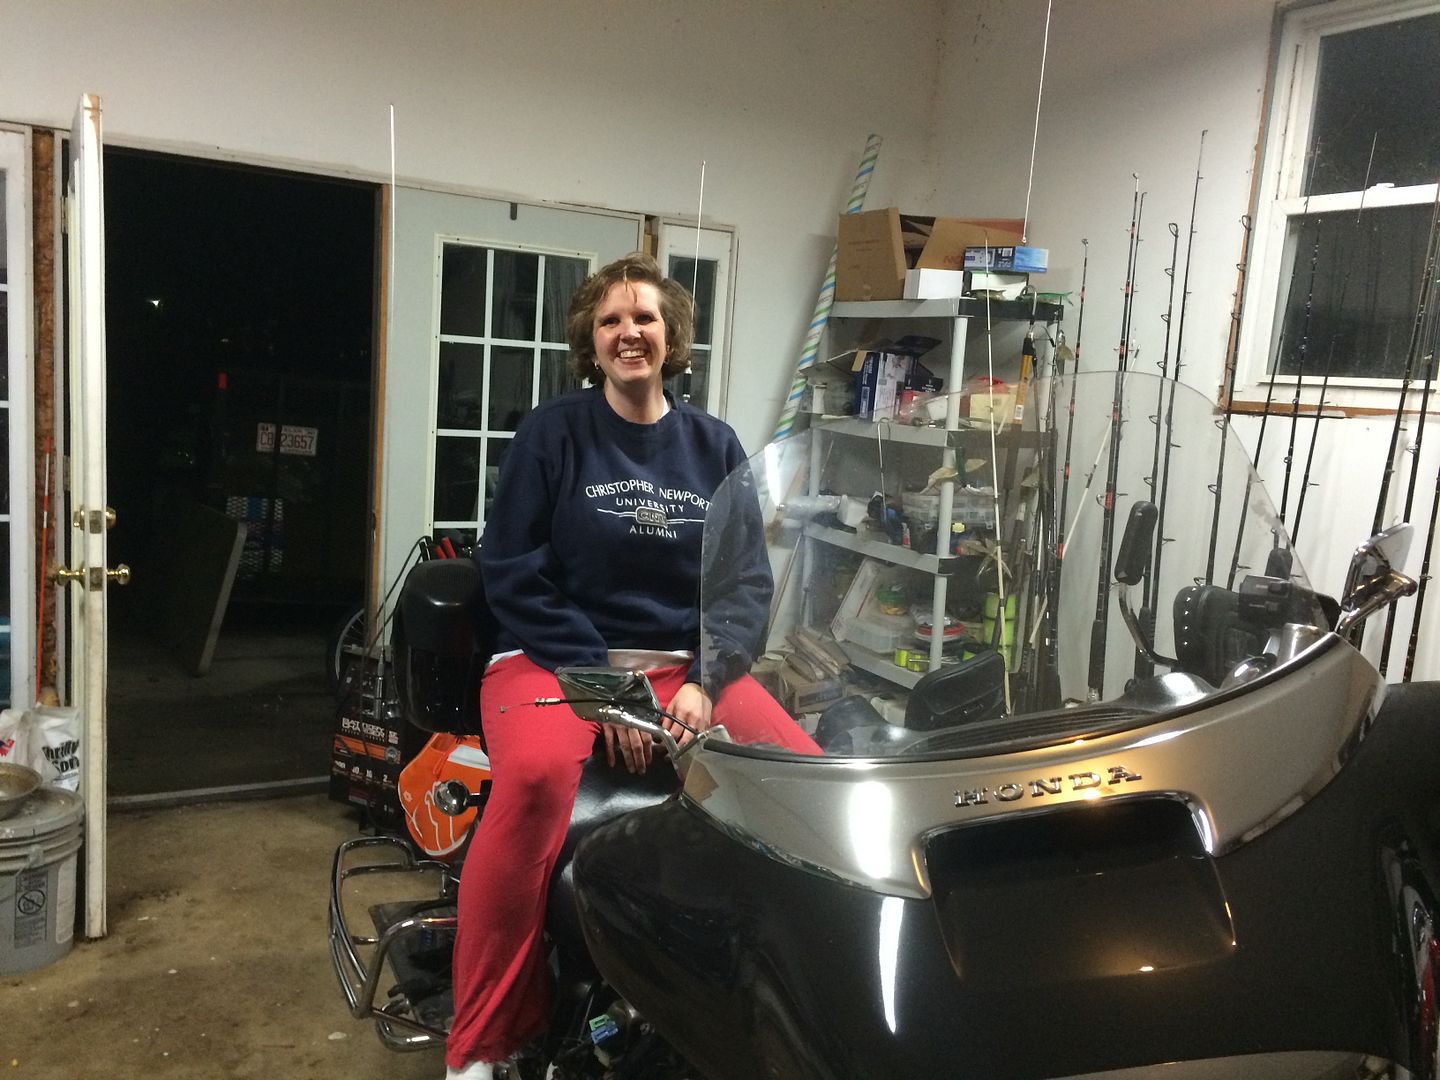
And.....the good thing is, the wife is starting to get excited so the budget on this tank (and toolbox that was bought while she was out of town

) hopefully will not be a big issue!
K, so not a whole lot of new updates as far as progress goes, since parts delays have been the bulk of my last week. I got all of the de-smog done with the removal of the ca smog crap off the bike.
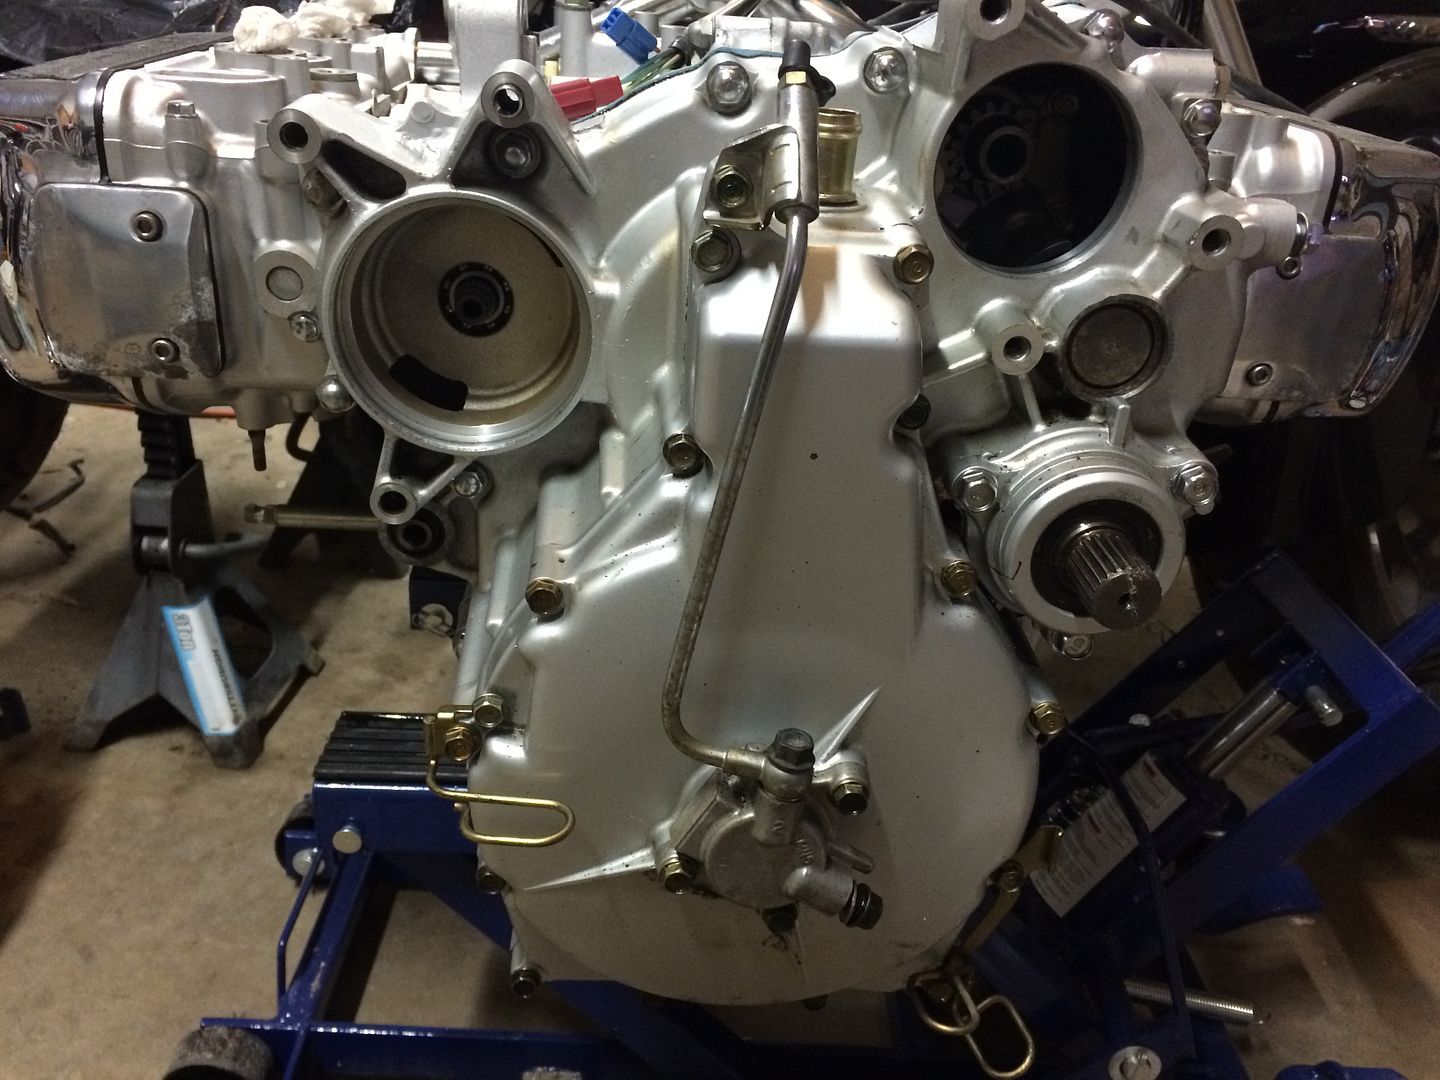
And the dowels finally showed up from the parts site so I was ready to put the clutch cover back on. I got the sealant on the engine and then got the gasket positioned…
and was then able to get the clutch cover coated with sealant and get the clutch cover in place and torqued down.

I actually did not rebuild the clutch slave while I was in the process but just cleaned it up really well and got it all back in place and got it re-mounted.
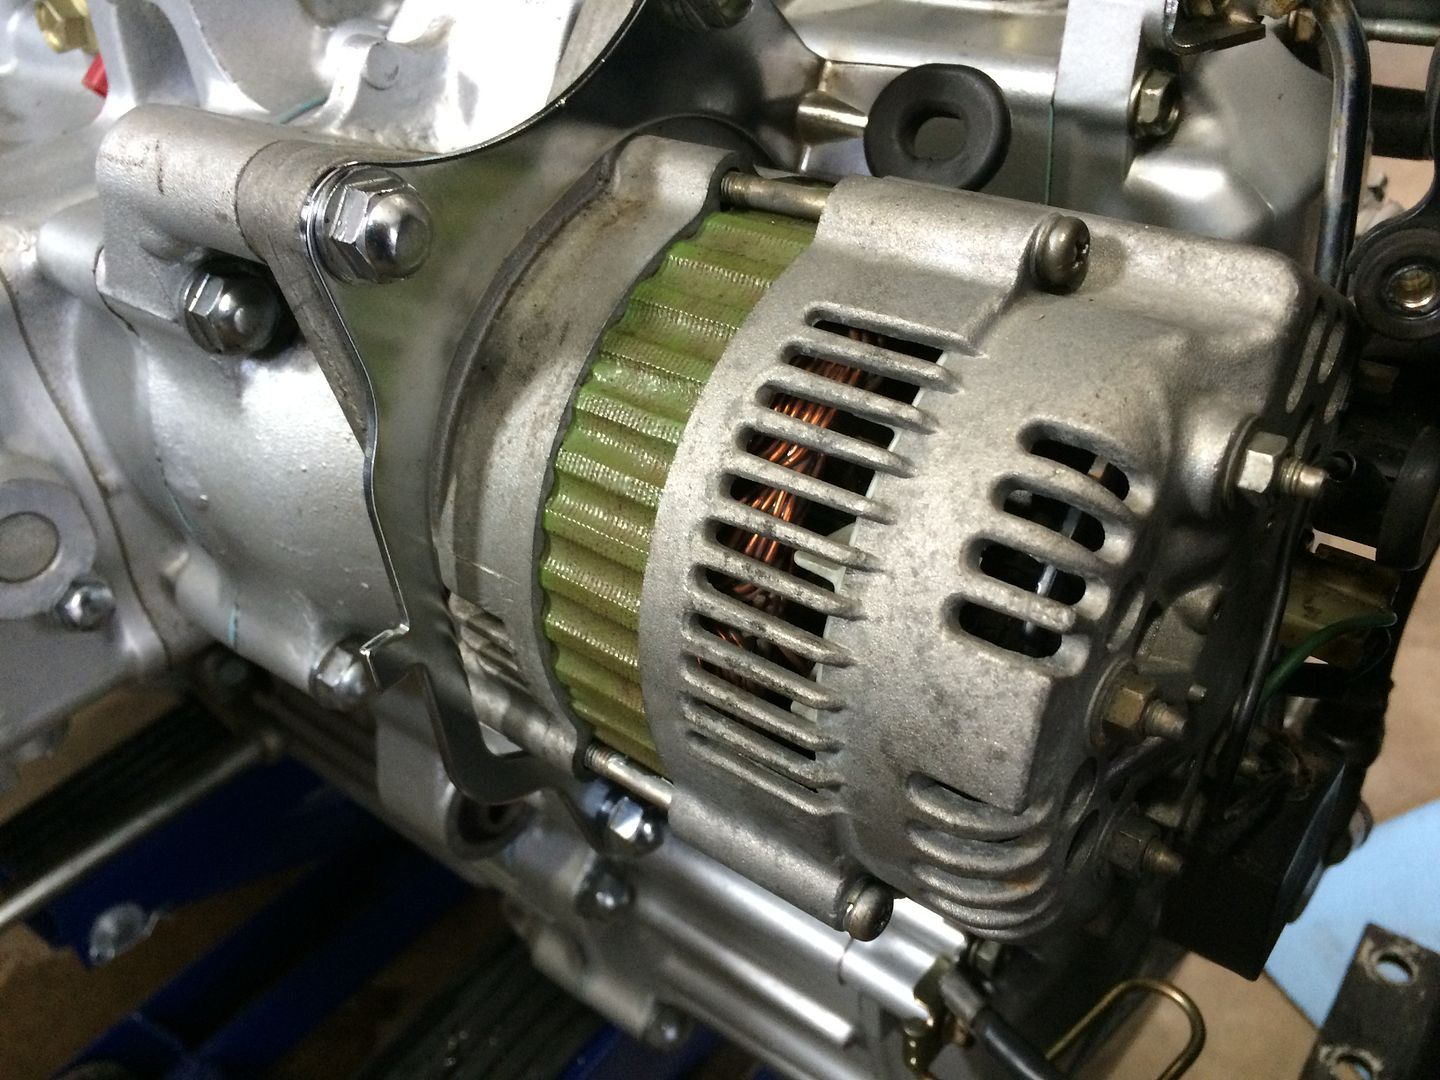
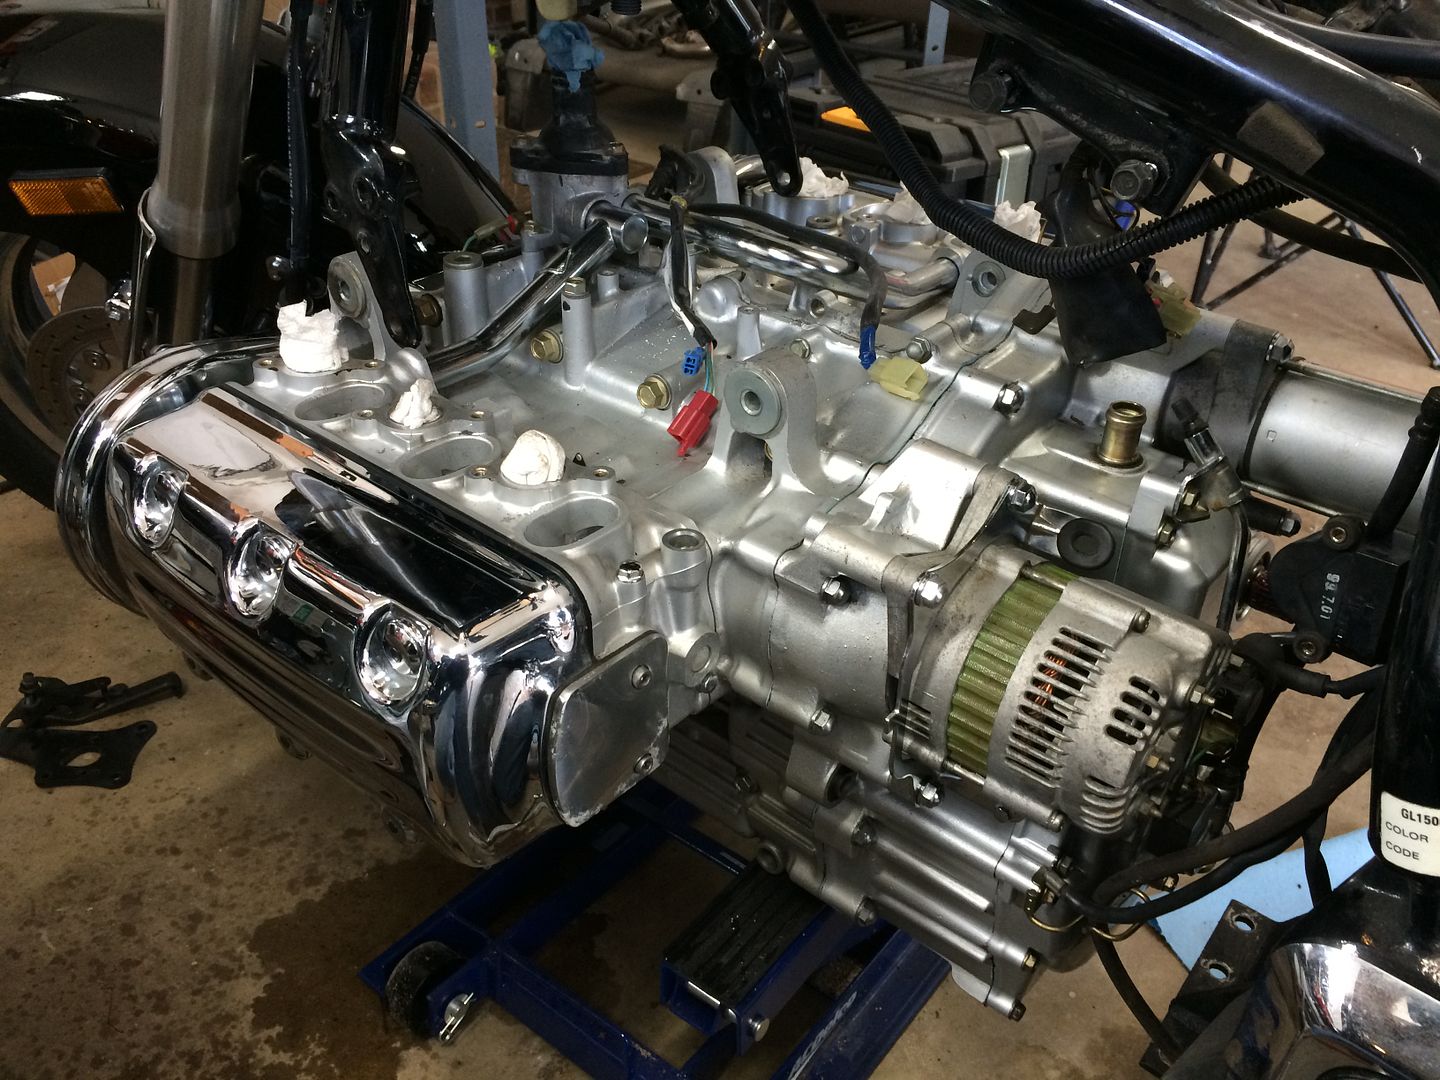
And while I was in the process it was recommended by a couple of guys to go ahead an break open the alternator and check out the brushes and clean the alternator up well, so I tore it down and cleaned it up as much as I could and checked the brushes.
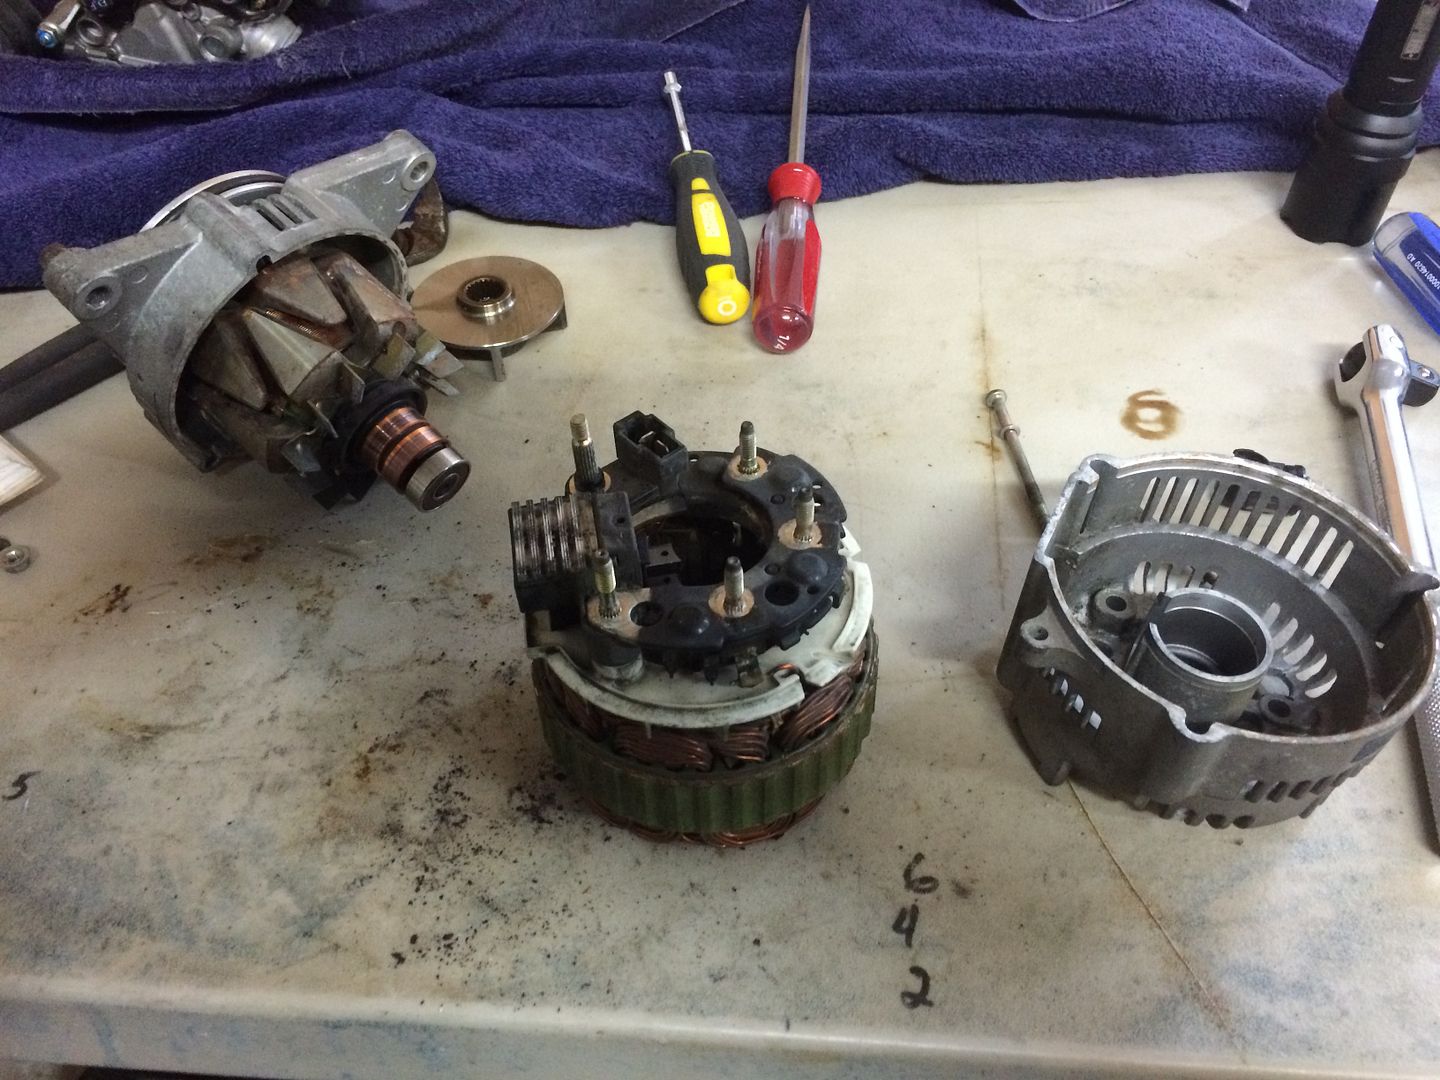
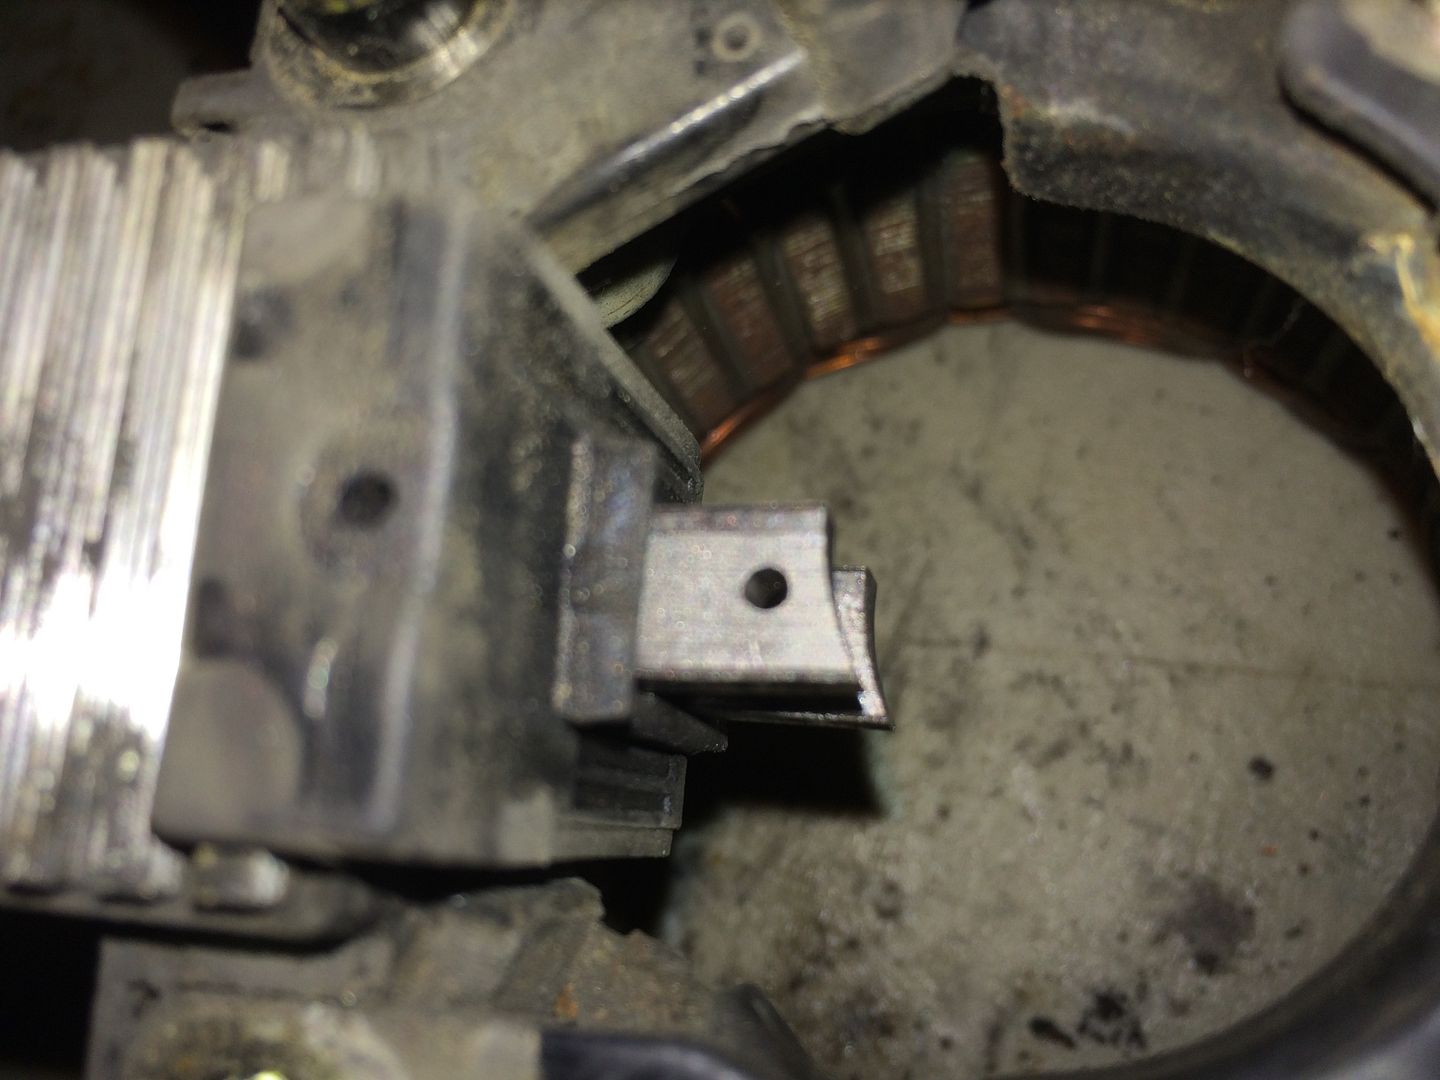
I had already ordered new brushes, and what I found when the new ones arrived is that very little of the brushes appeared to be worn. The new brushes were almost the same size as the ones currently in the alternator. So I left it alone. I just cleaned it up good. I did however break apart one of the rubber dampers when I was removing the alternator from the engine so I did replace all of them before reinstalling the alternator.
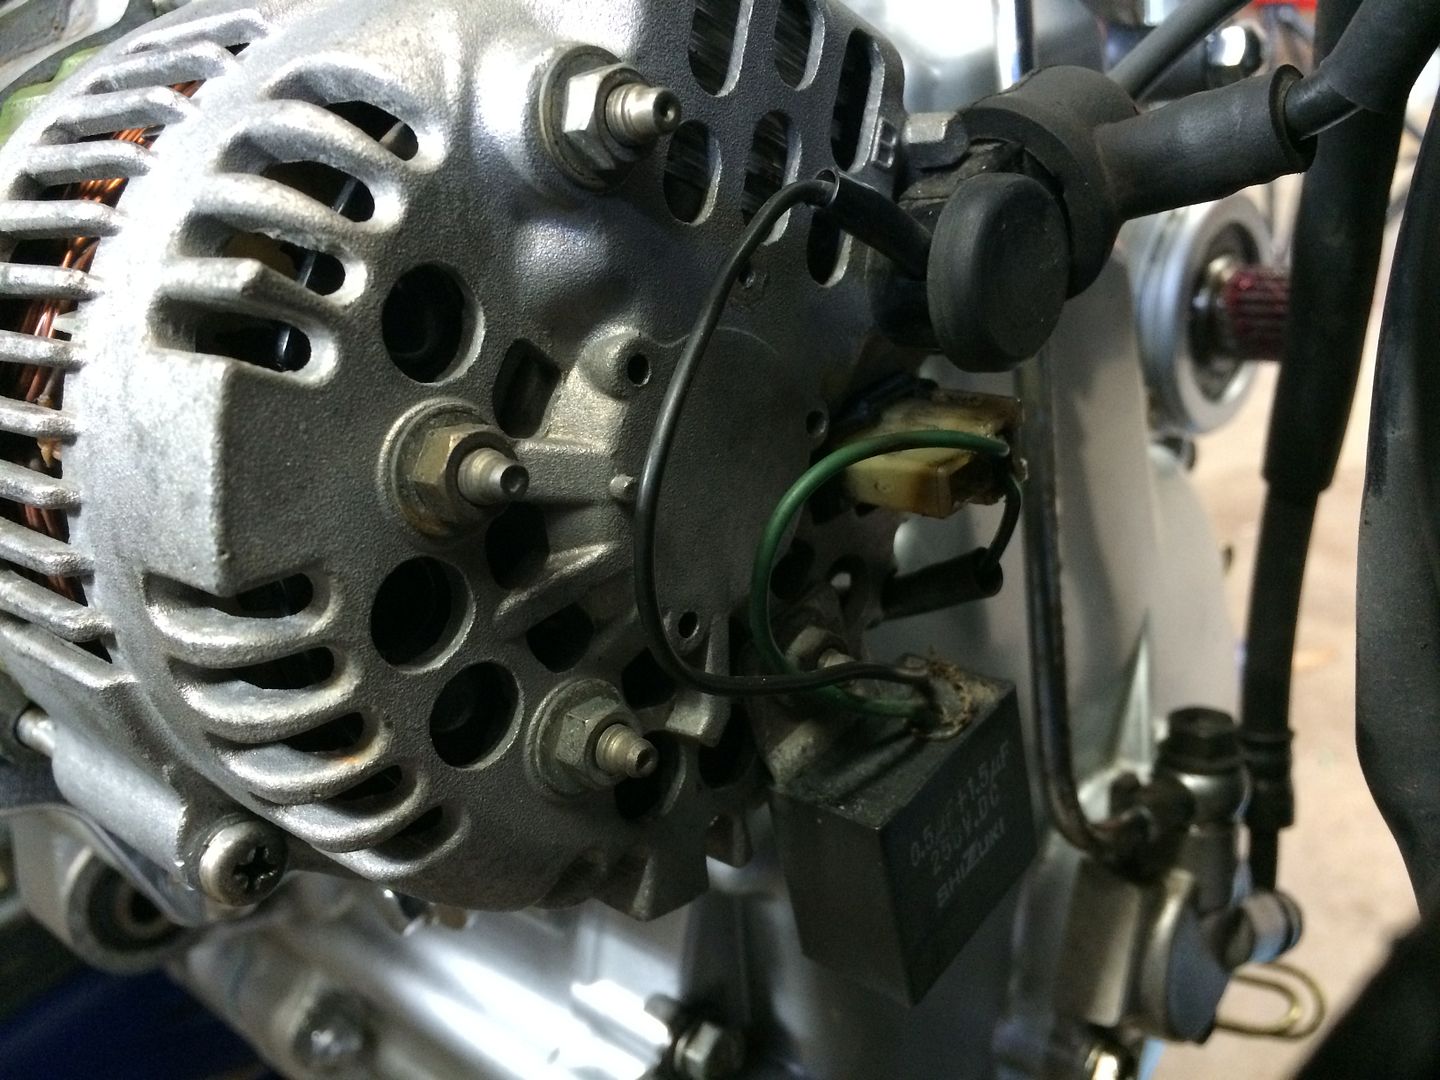
I then finished up mounting the alternator and connecting the wires and connections.
At this point I had moved the engine back into place and started getting everything connected to mount the engine.
a little moly on the shaft
Ready to go back into place.
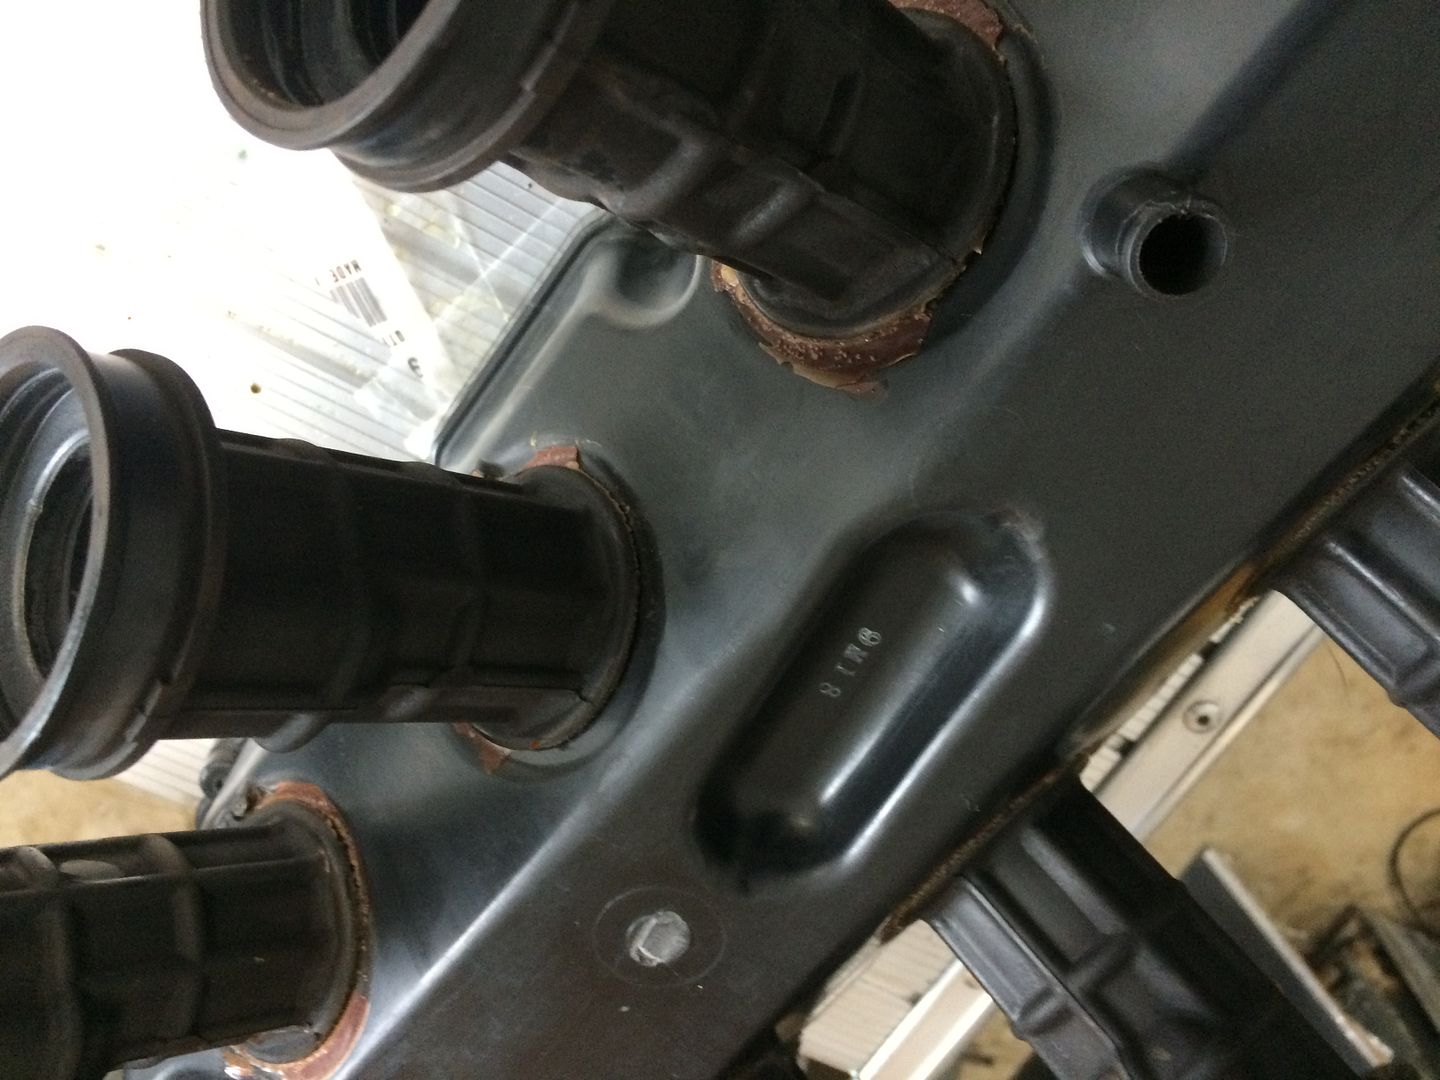
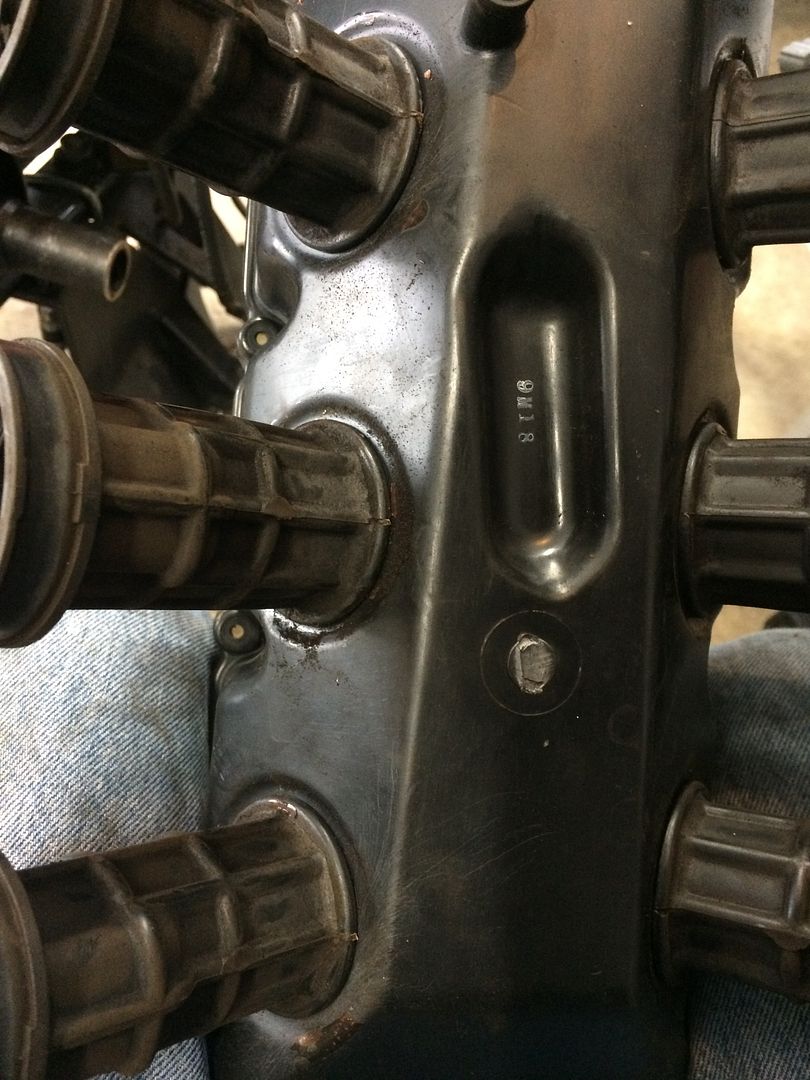
One thing I did decide though, and maybe this comes from boats, I hate any pocket in metal that can hold water and let any corrosion start. When removing the reed valves that leaves the holes that can hold water

So, in order to try to eliminate that I ordered some more chrome flange bolts and used them with a little thread lock to fill these holes and keep then from accumulating any dirt or water. Probably completely un-necessary but just looked like it needed to be done.
Then I had to tackle this little rubber boot sob
Which of course I tore and now have to wait on another one before I can move forward. So, I am in waiting mode, and come home for lunch today and find the tank laying on the garage floor upside down. It had fallen off the short bench I had it one and dented it and scratched the crap out of it. Damn that was an expensive lesson. Estimate from a body shop is 300 – 500. I priced out the paint alone and the combination of primer, base, clear, activator, and reducer was going to cost me almost 150 by itself, and that is without the dent repair. So….. I am dropping it off on Friday.
So….. Now I am in a holding pattern until the new boot shows up (hopefully tomorrow or Friday) and then the bike shop said we will have about a one week turn around on the tank. Hopefully I can get the engine back in and wired up and ready to go this weekend, and even if I have to move the tank from the Standard over to the IS to get it fired up this weekend, I really really want to hear to girl growl before the weekend is over!
Well, I thought tonight was the night…….. Close but no cigar.
Well lets backtrack. Last update and I had just gone three rounds with that damn drive boot, and I am not sure who lost but, I wound up stopping work to order a new boot. OK< well new boot finally arrived and I decided to use a ratchet strap to clamp down the rear seat as low as possible to move the swingarm enough to get the boot on, and IT WORKED!

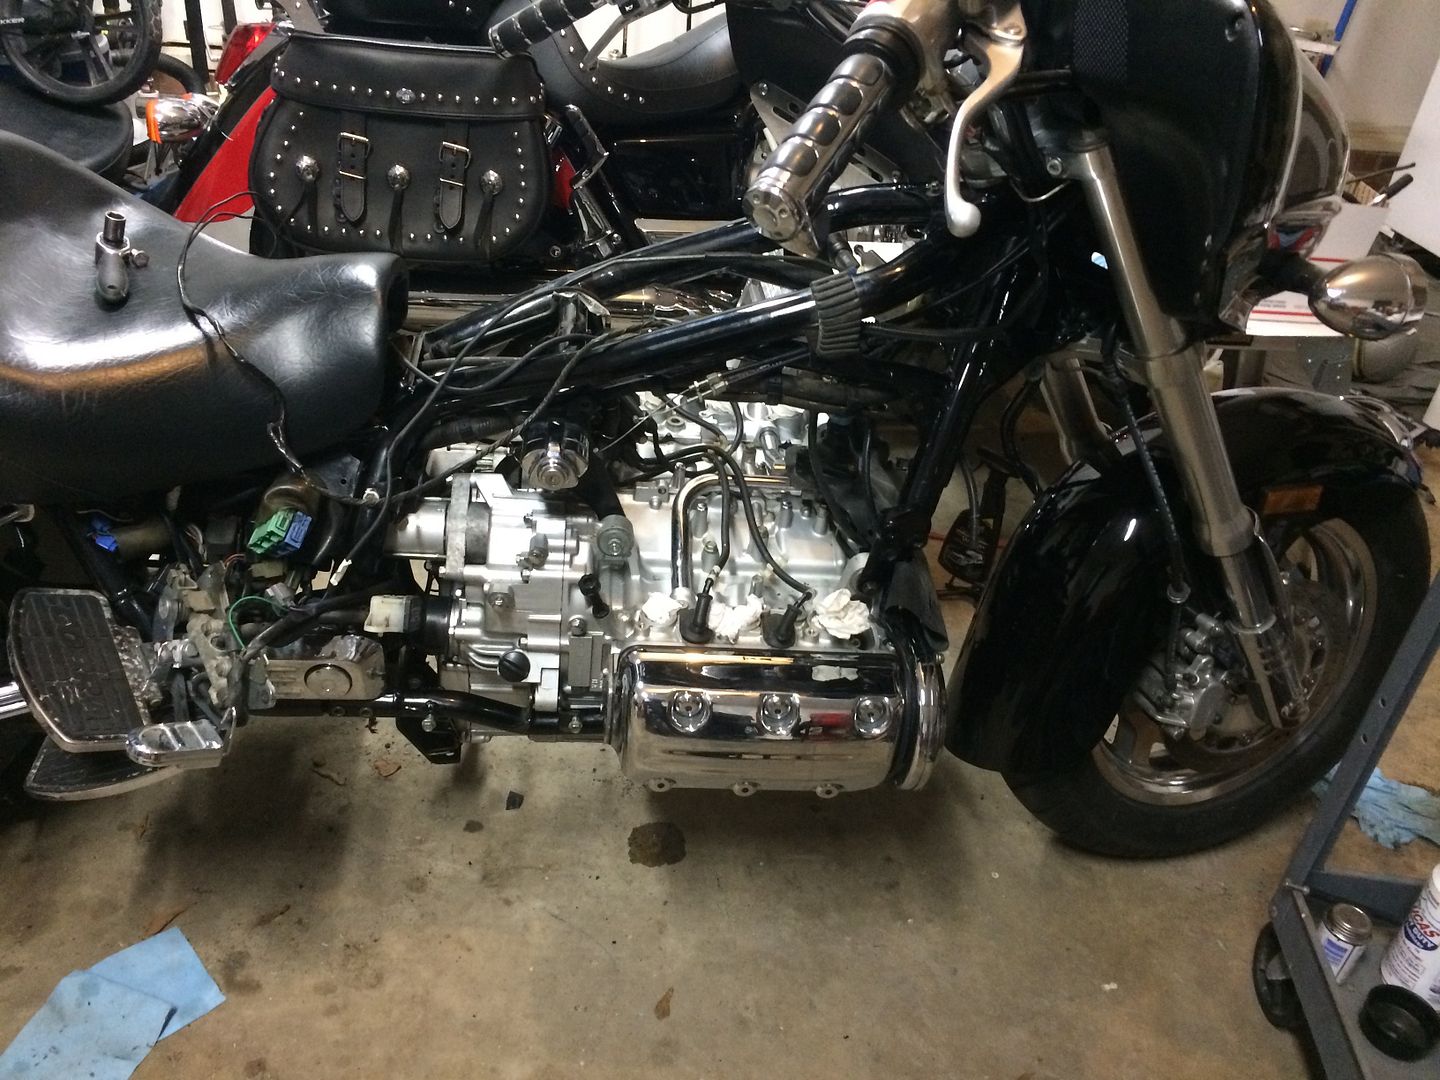
So, now with that boot on and the alternator on, it is time to slid the engine back in place.
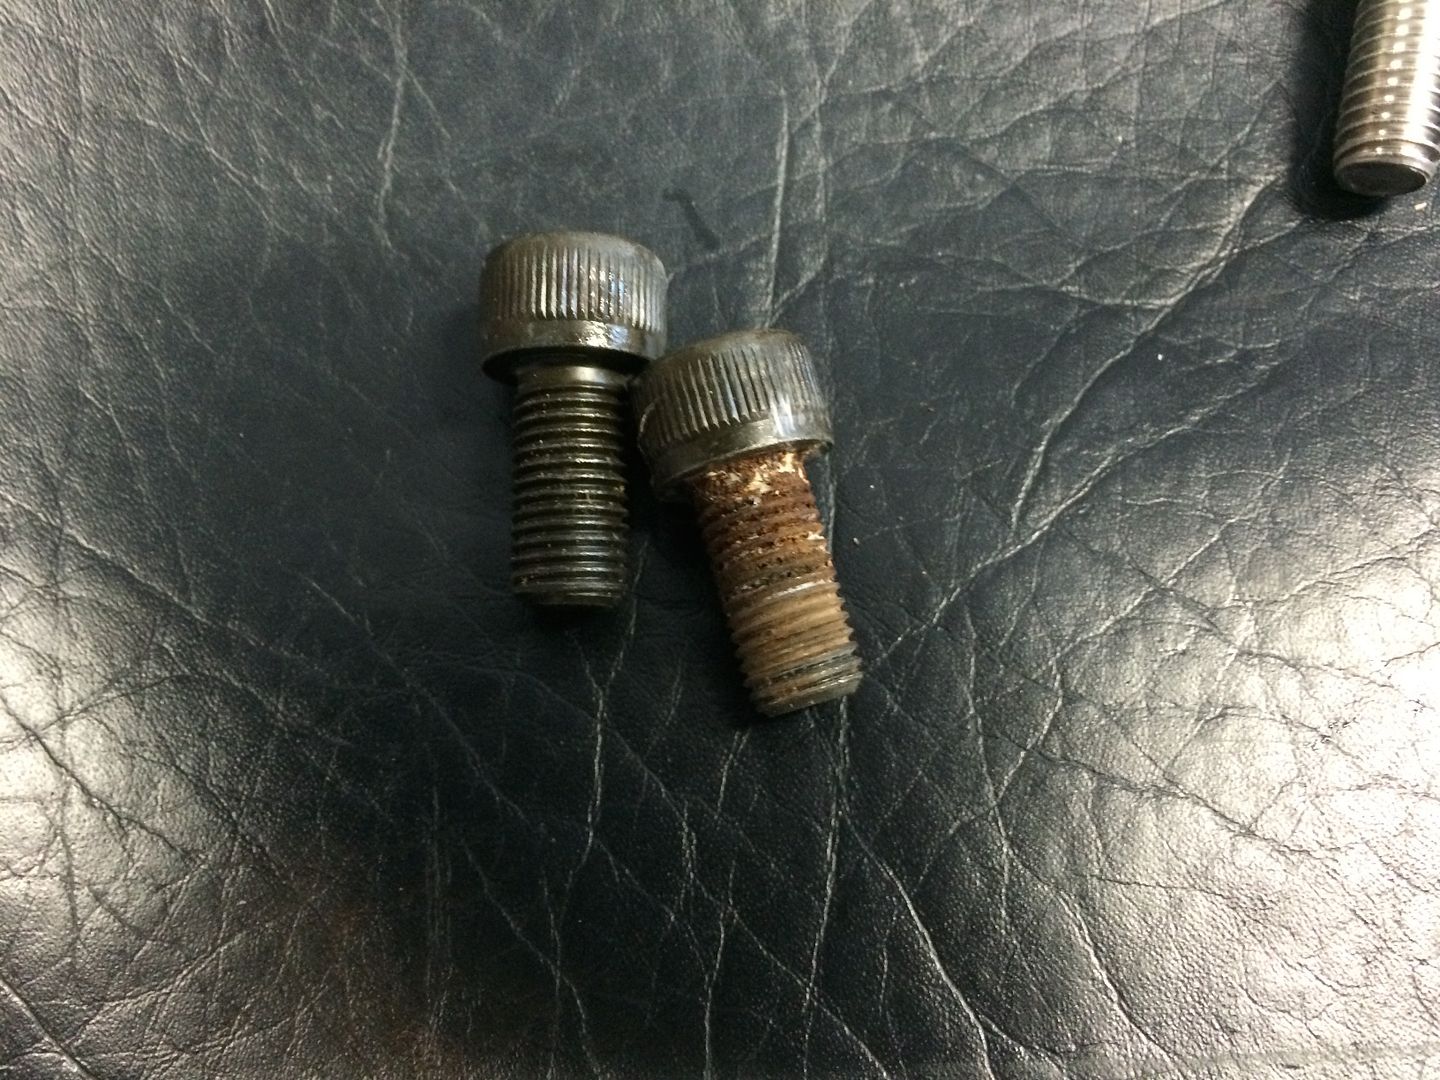
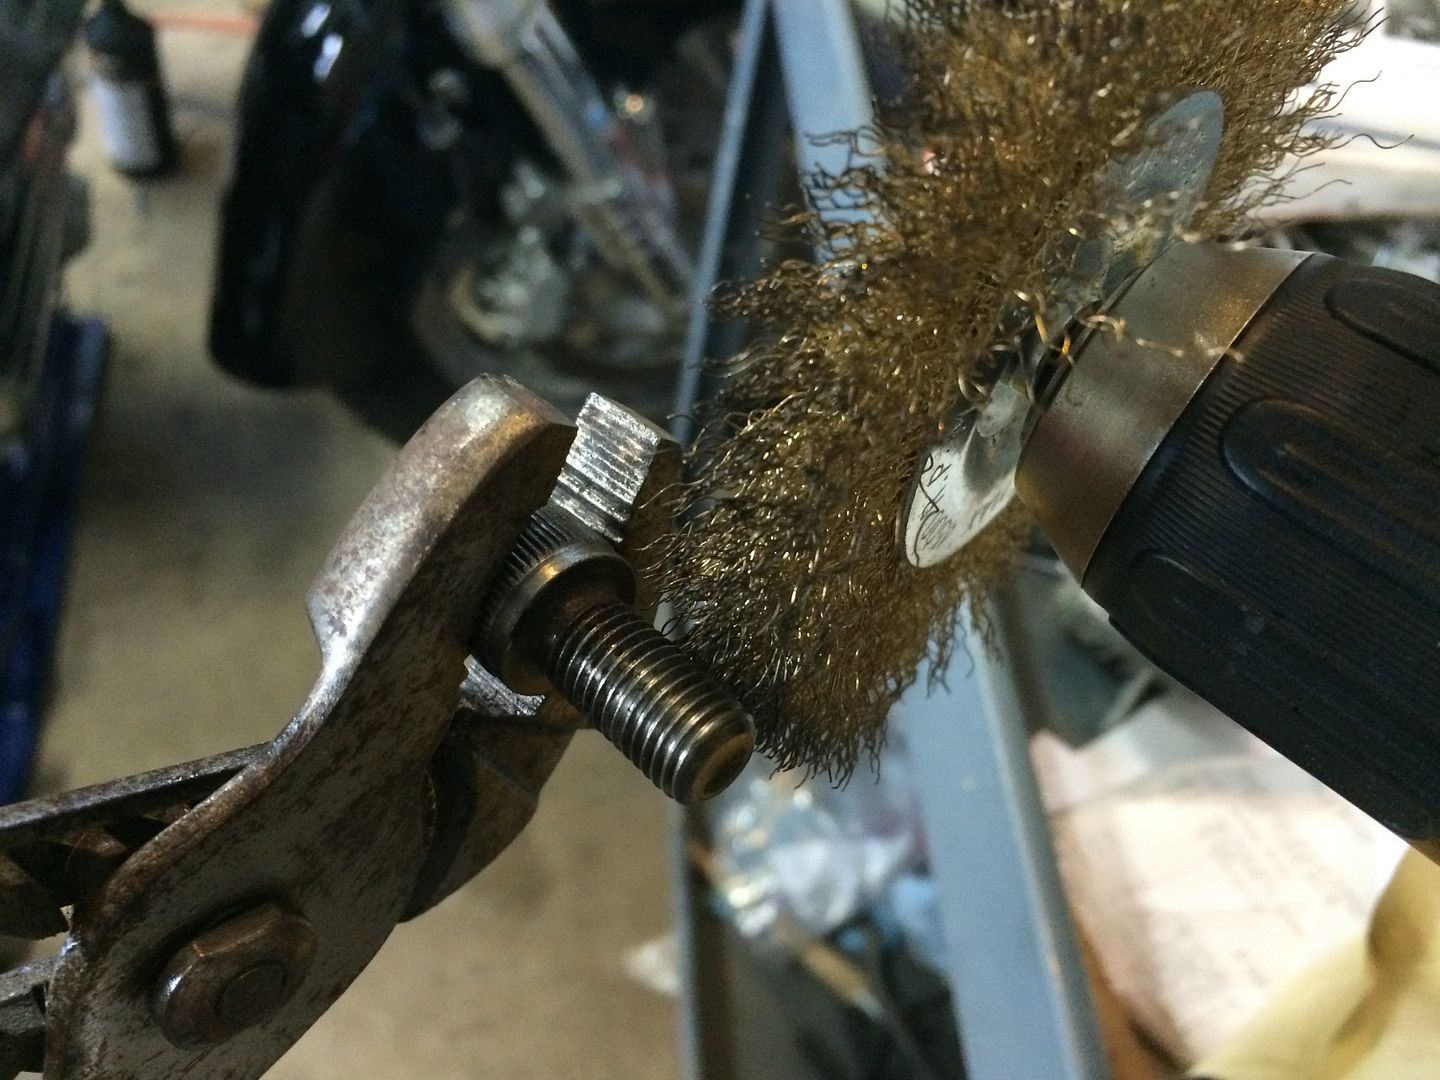
When I went to put the frame bolts back in though I noticed that they had a lot of rust on them, so I took a quick moment to clean them up with a brass brush on a drill. This cleaned up the threads quite a bit and made them much easier to go in.
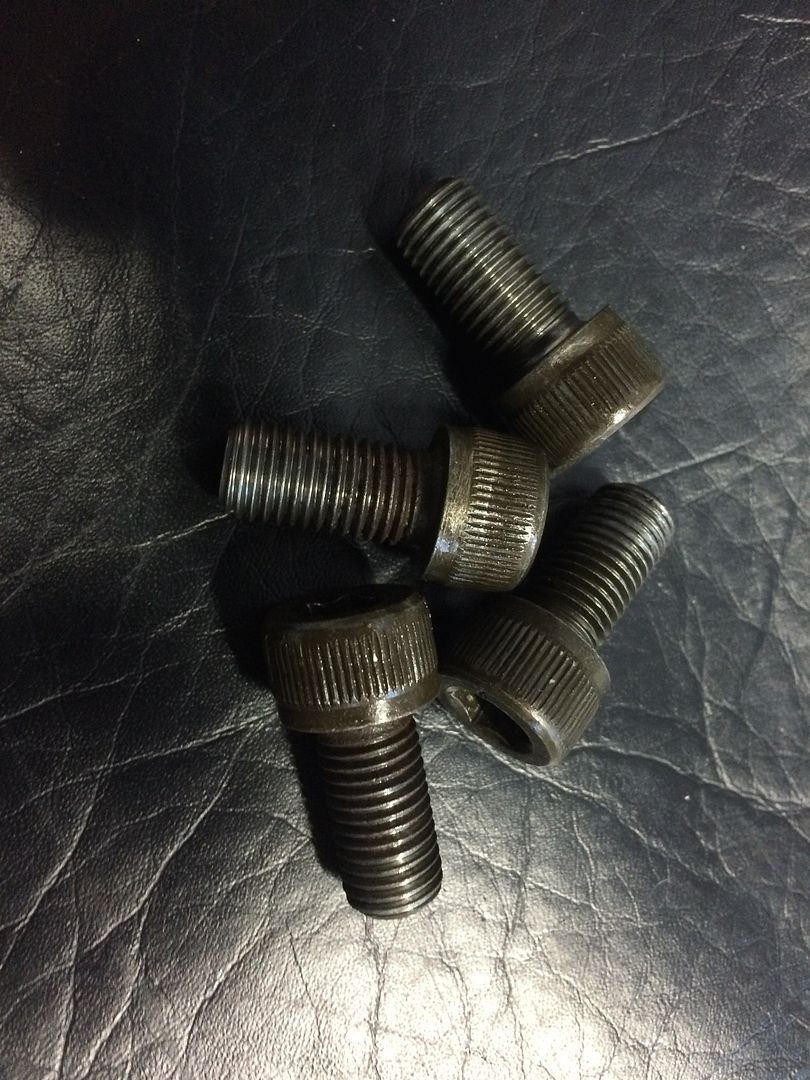
So now I got the engine back in place and all of the frame bolts and hangar bolts in, and remembered to put them all in loosely so I could get them all started and go back and tighten them up later after I am sure everything is fitted up.
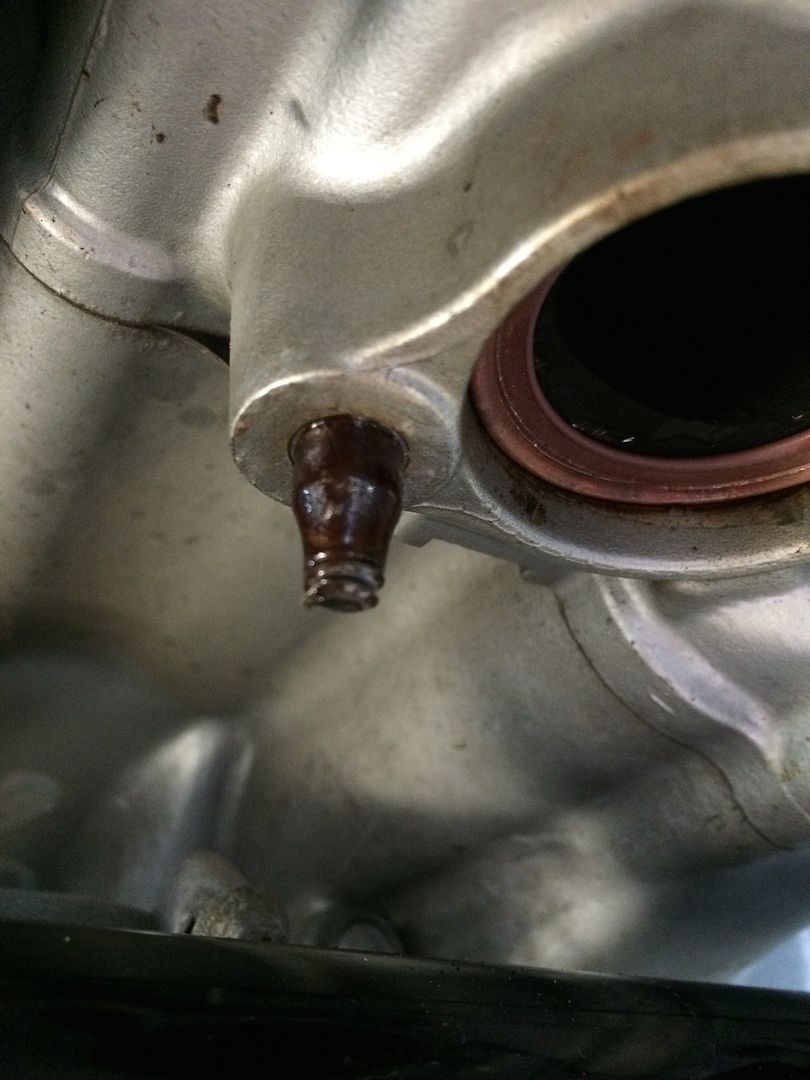
So now that the frame is back in place and the engine is hanging from the frame it is time to mount up the exhaust. So I crawl under the bike and start to dig out the old gaskets and at the same time notice that the mounting studs for the exhaust are corroded and could use a little bit of cleaning up also to keep them from seizing in the future.
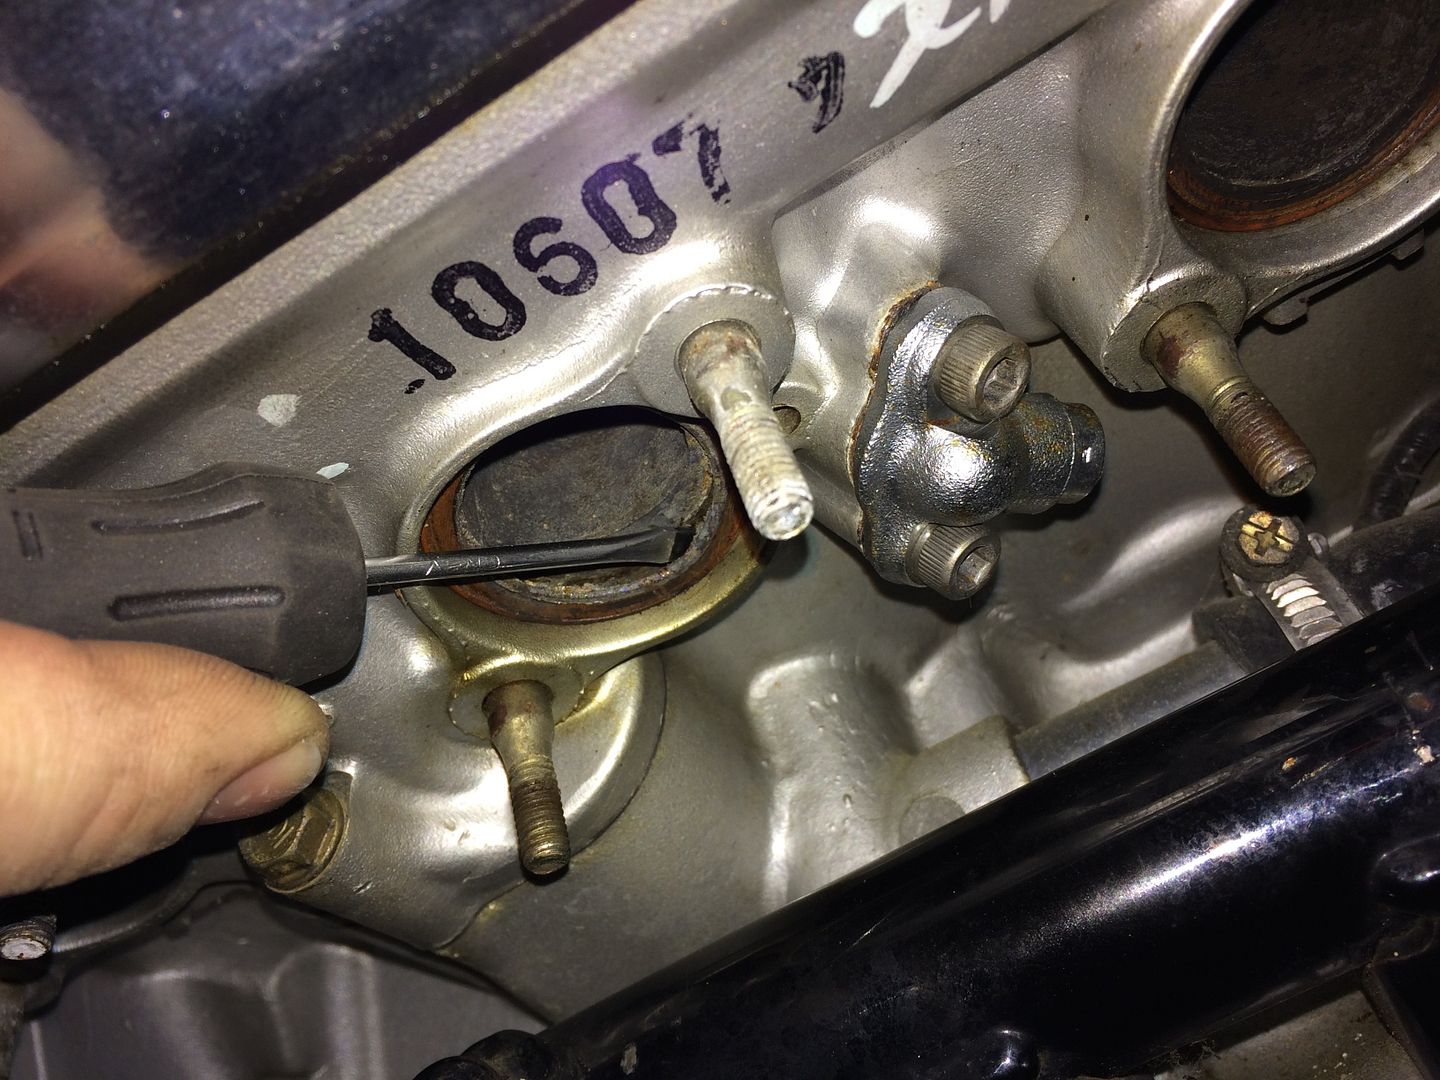
And then I checked out the mounting areas for the exhaust and decided to also clean up all the mounting areas with the brass brush on the drill and clean up those areas to again try to stop any corrosion that might be showing up.
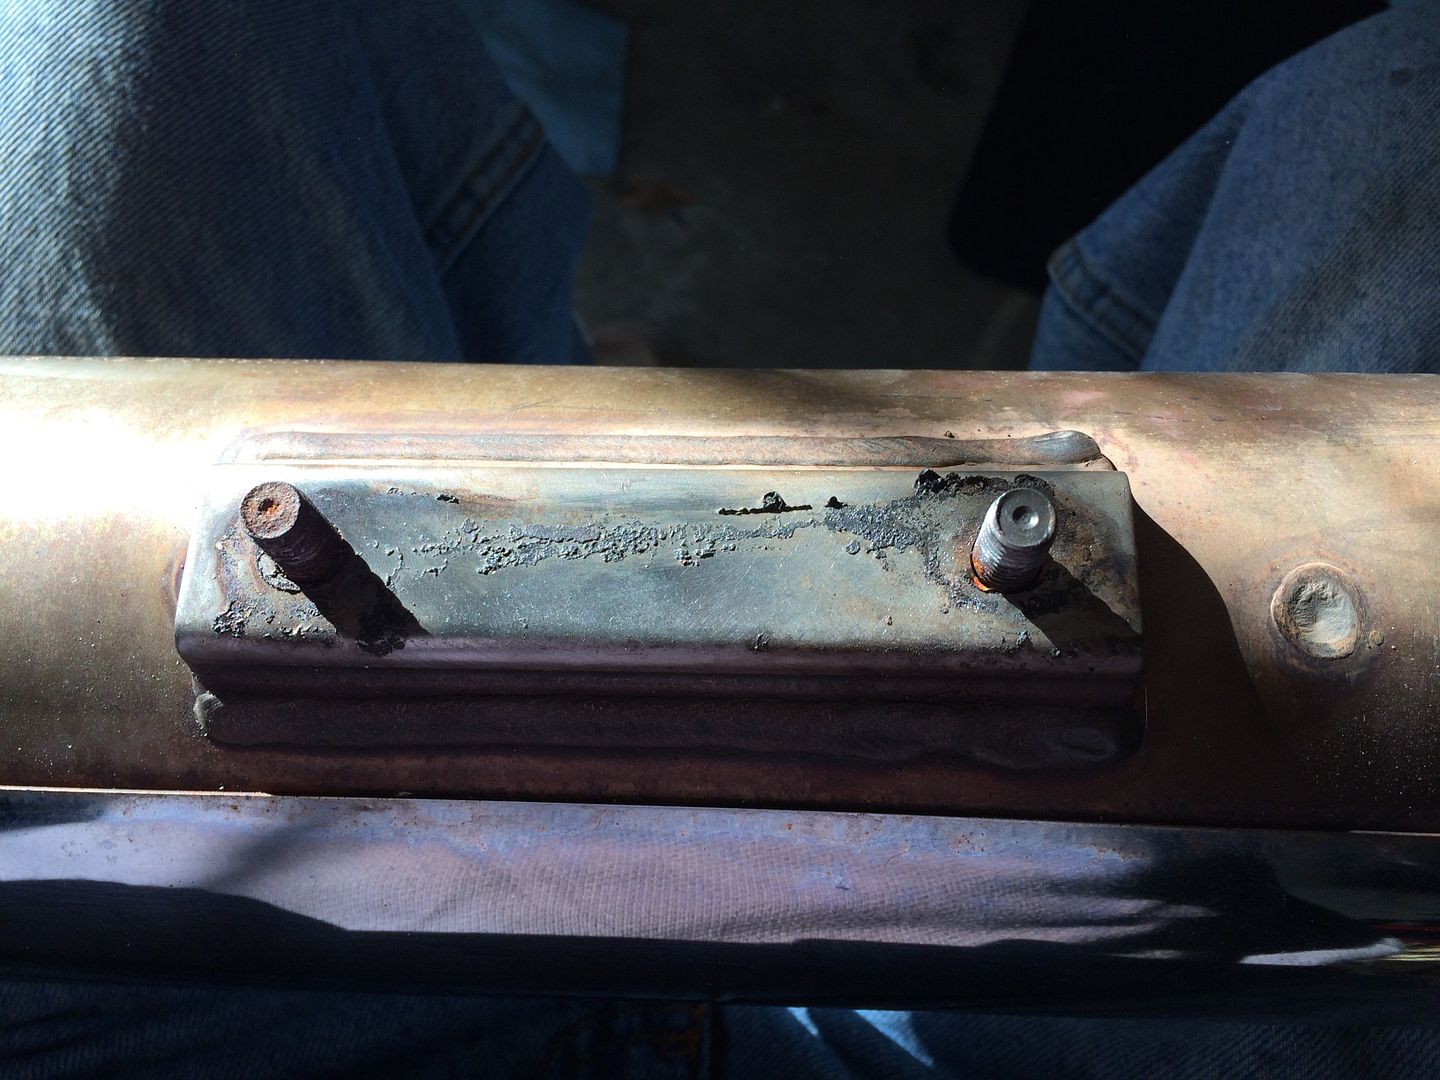
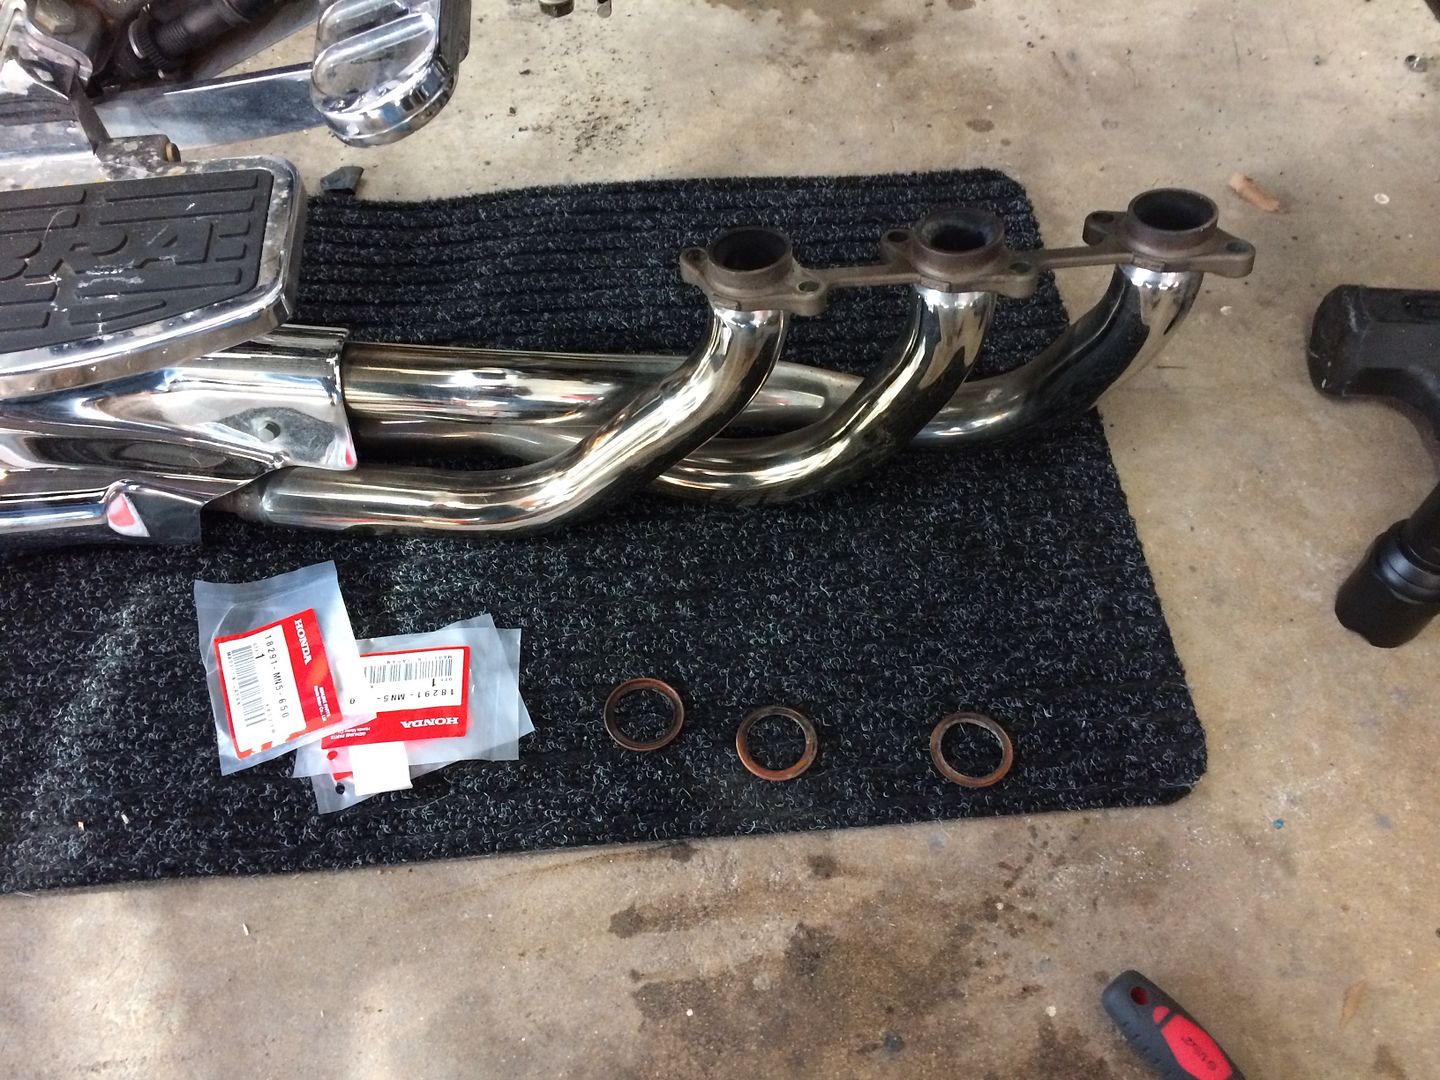
Then it was time to break out the old flexi extension to mount up the exhaust.
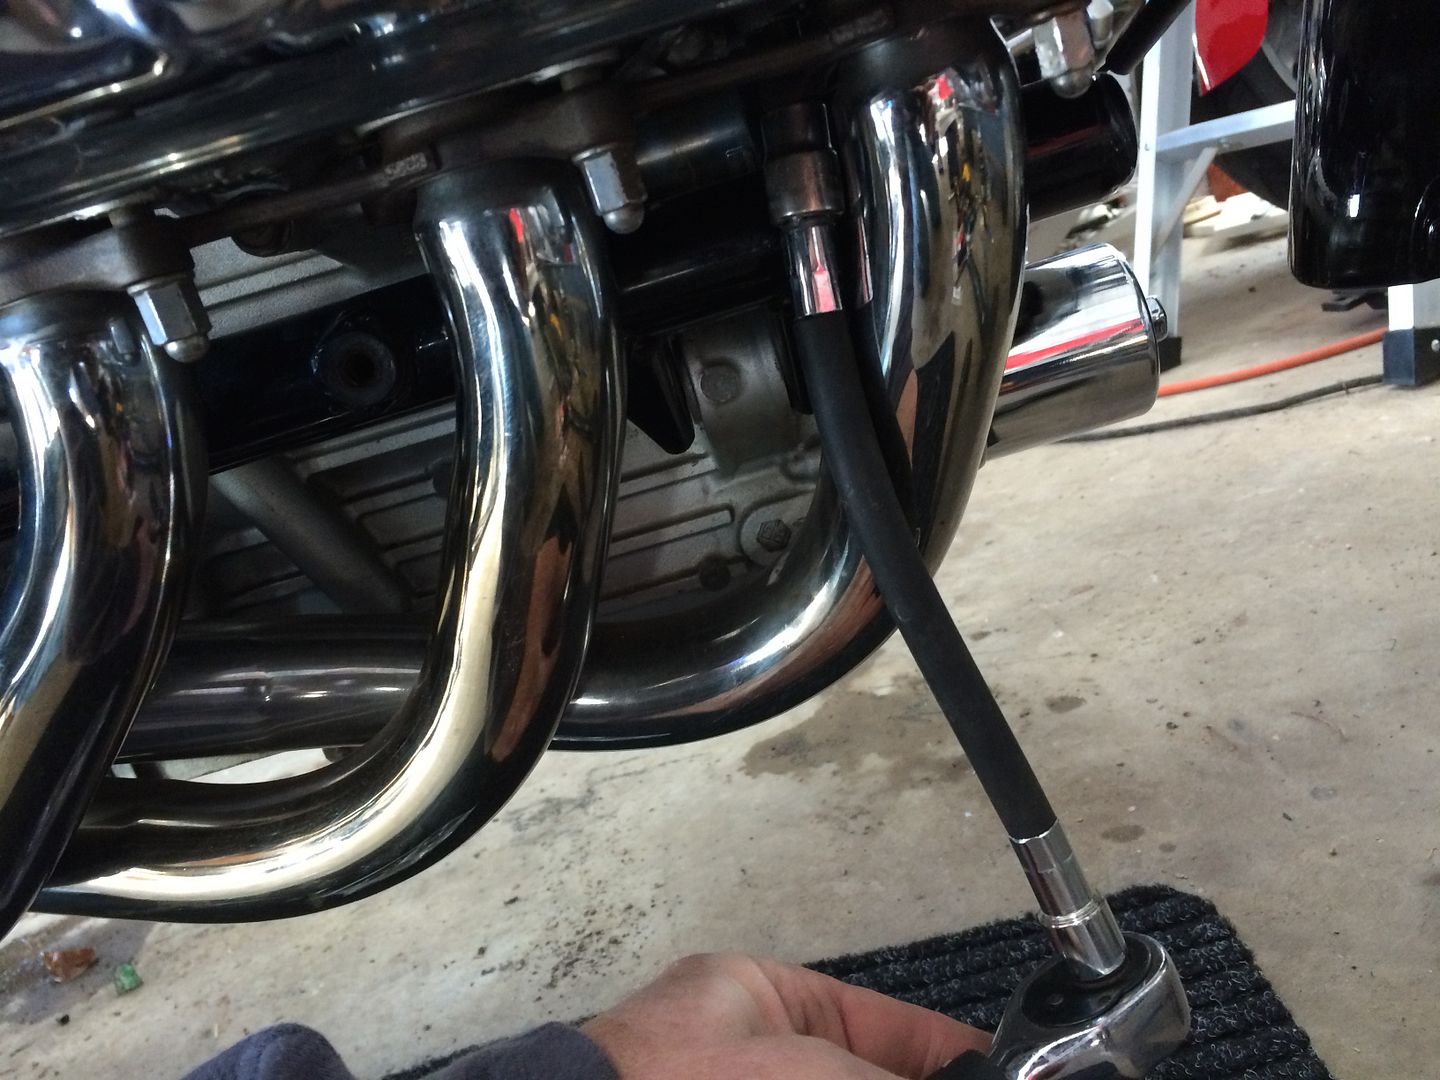
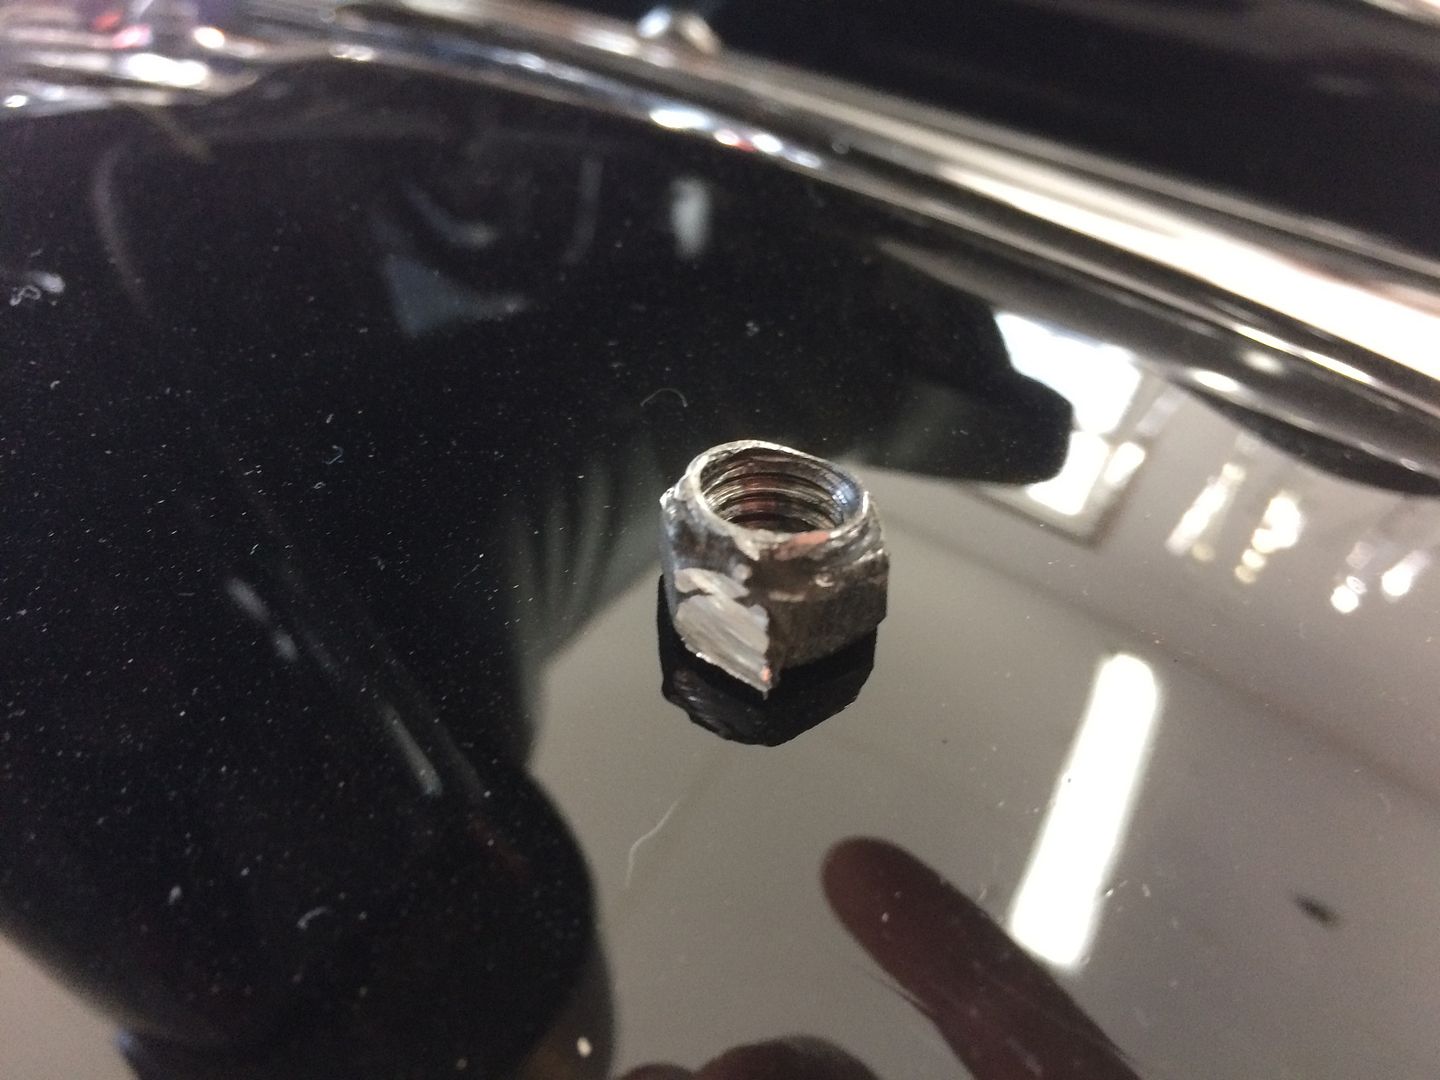
So, I got everything cleaned up and mounted up the right side and then was mounting up the left side and then……… pop. DAMN snapped the exhaust mounting stud. WTH. Grab the book and HOLY CRAP. Only 7 lb/lbs?
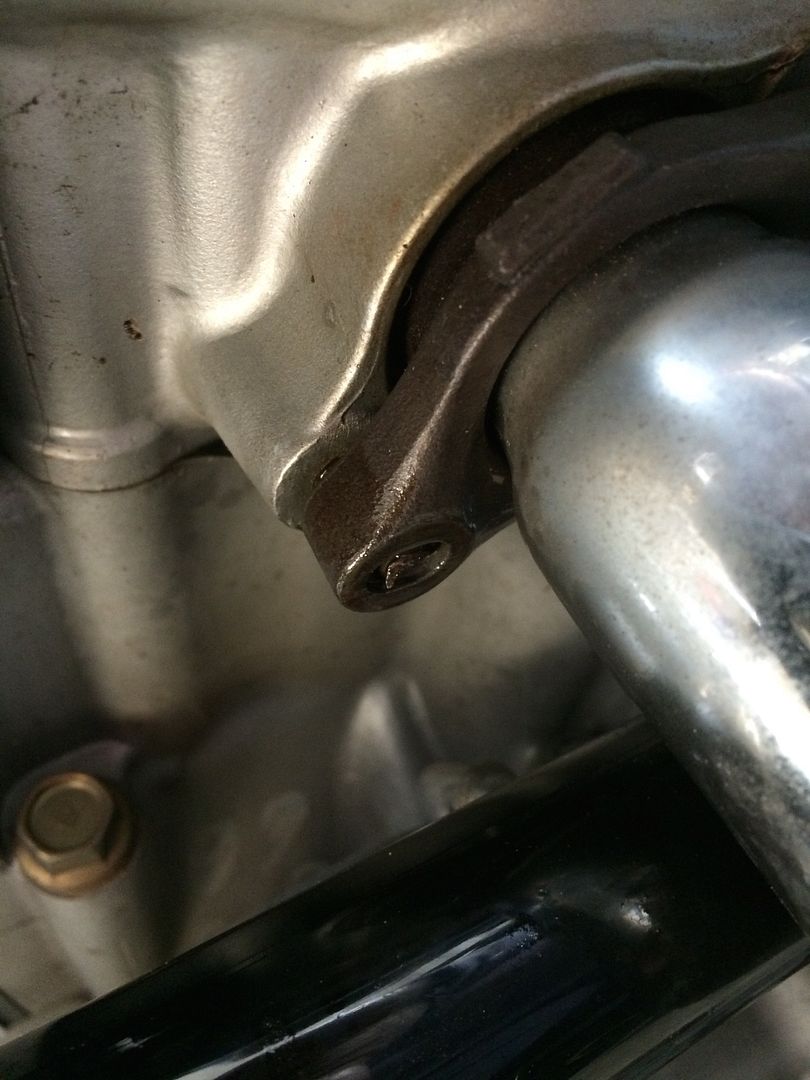
Well, 7 ft/lbs explains it. Definitely should read the manual first.
So, the preparation of the next parts list begins.
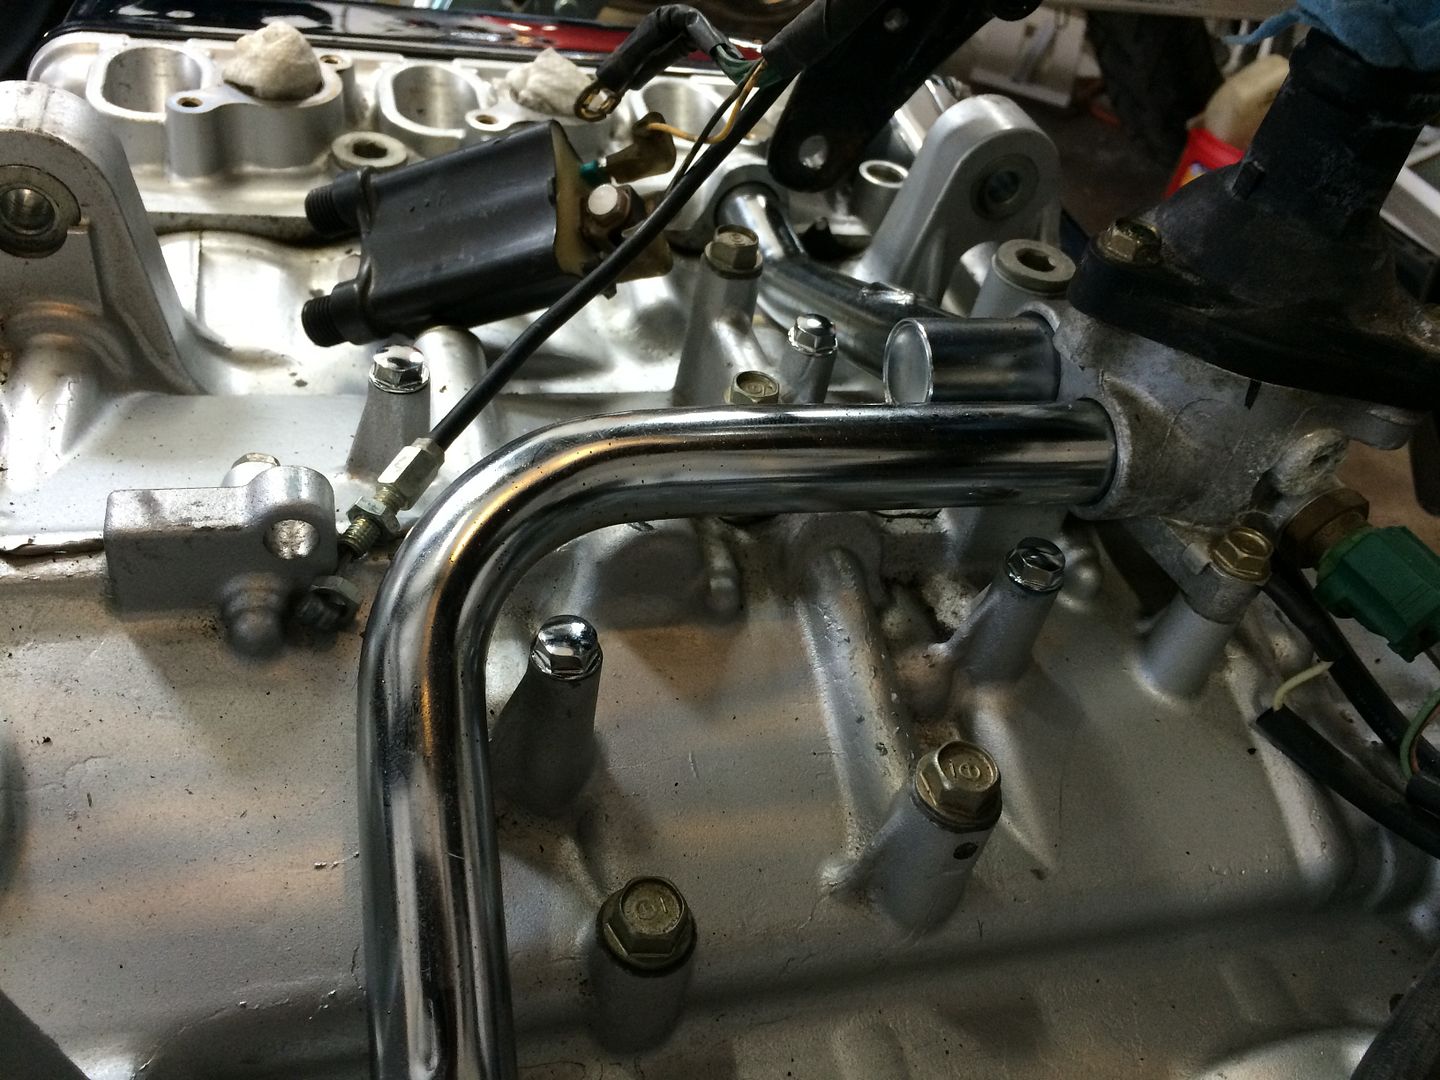
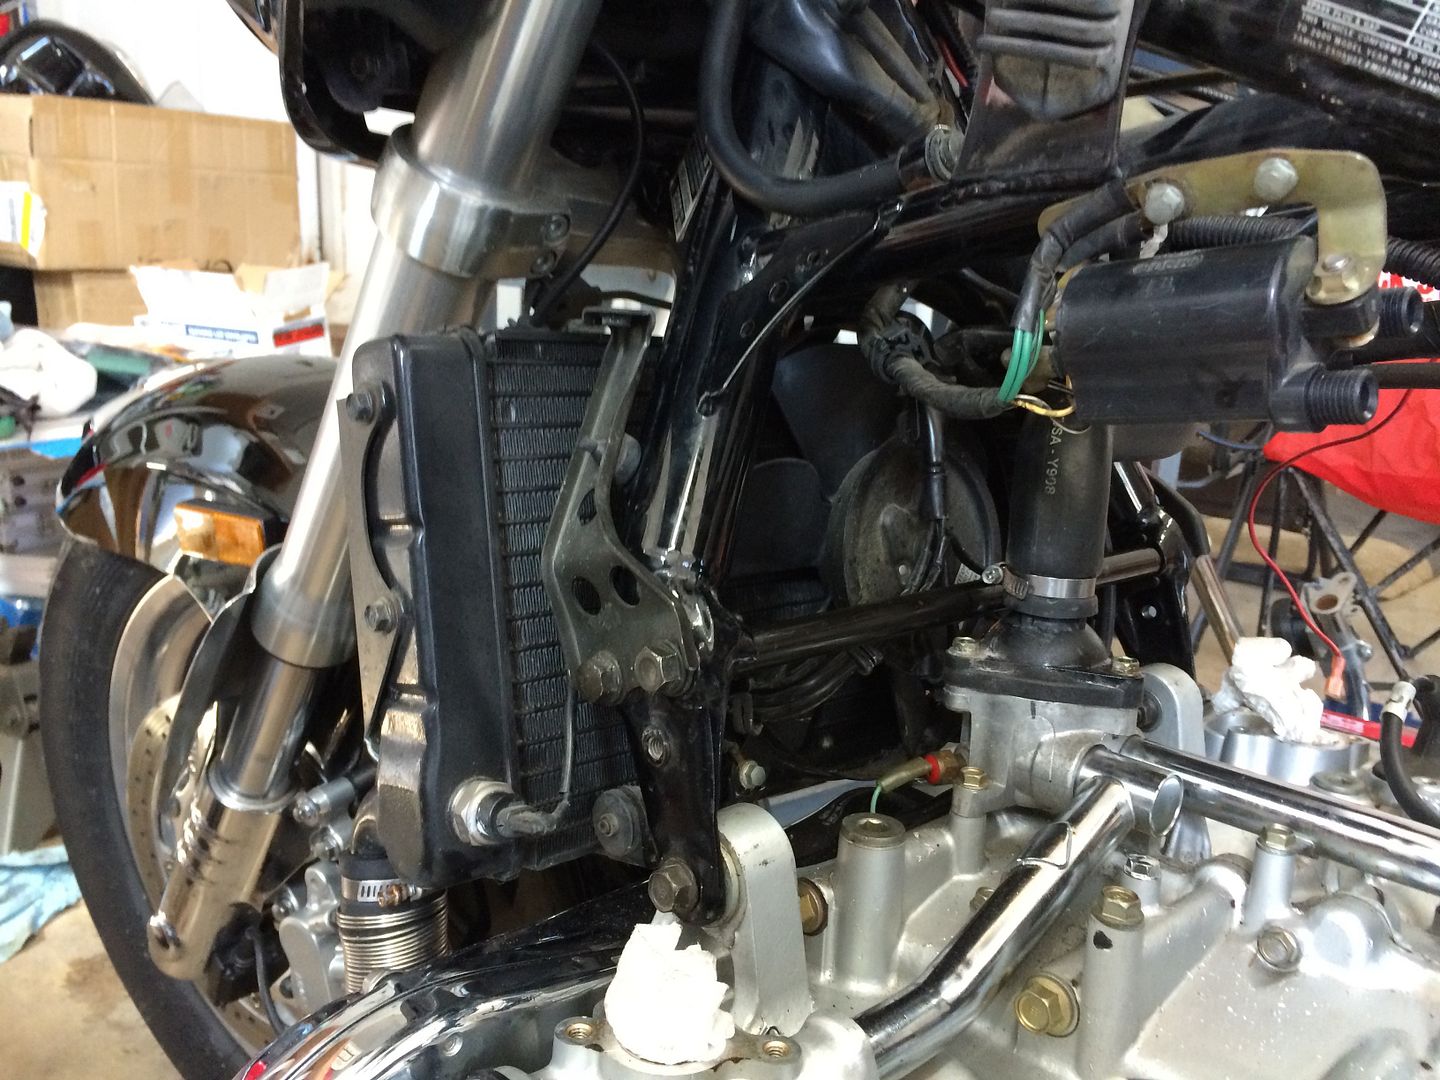
So next we got the radiator mounted up
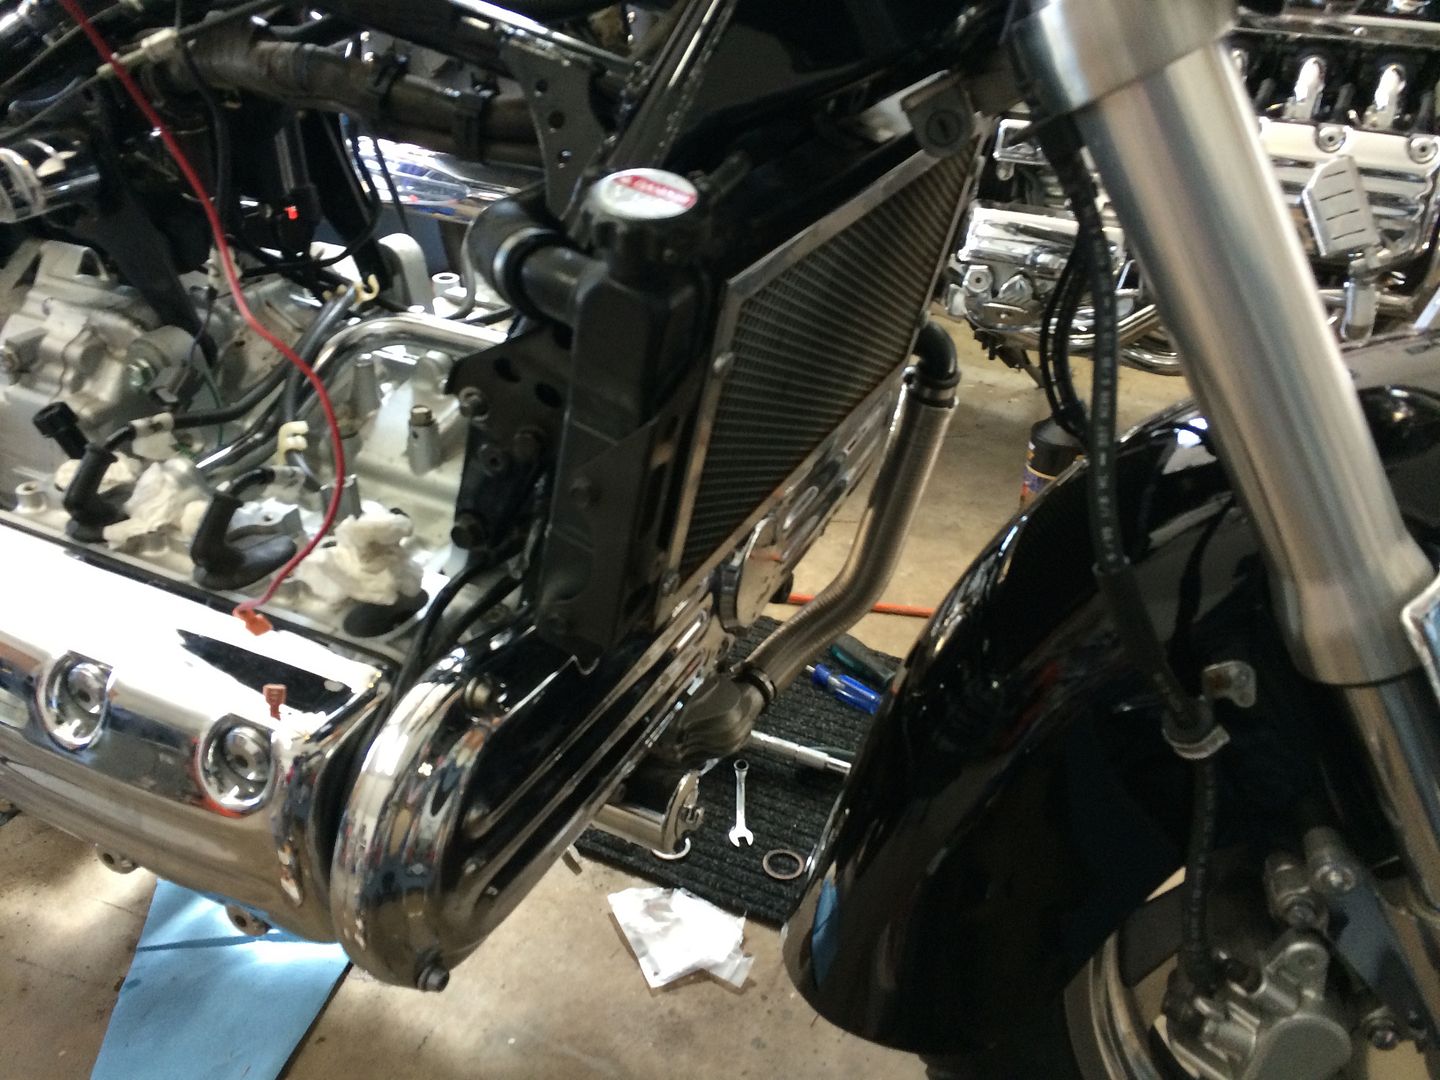
And the coils
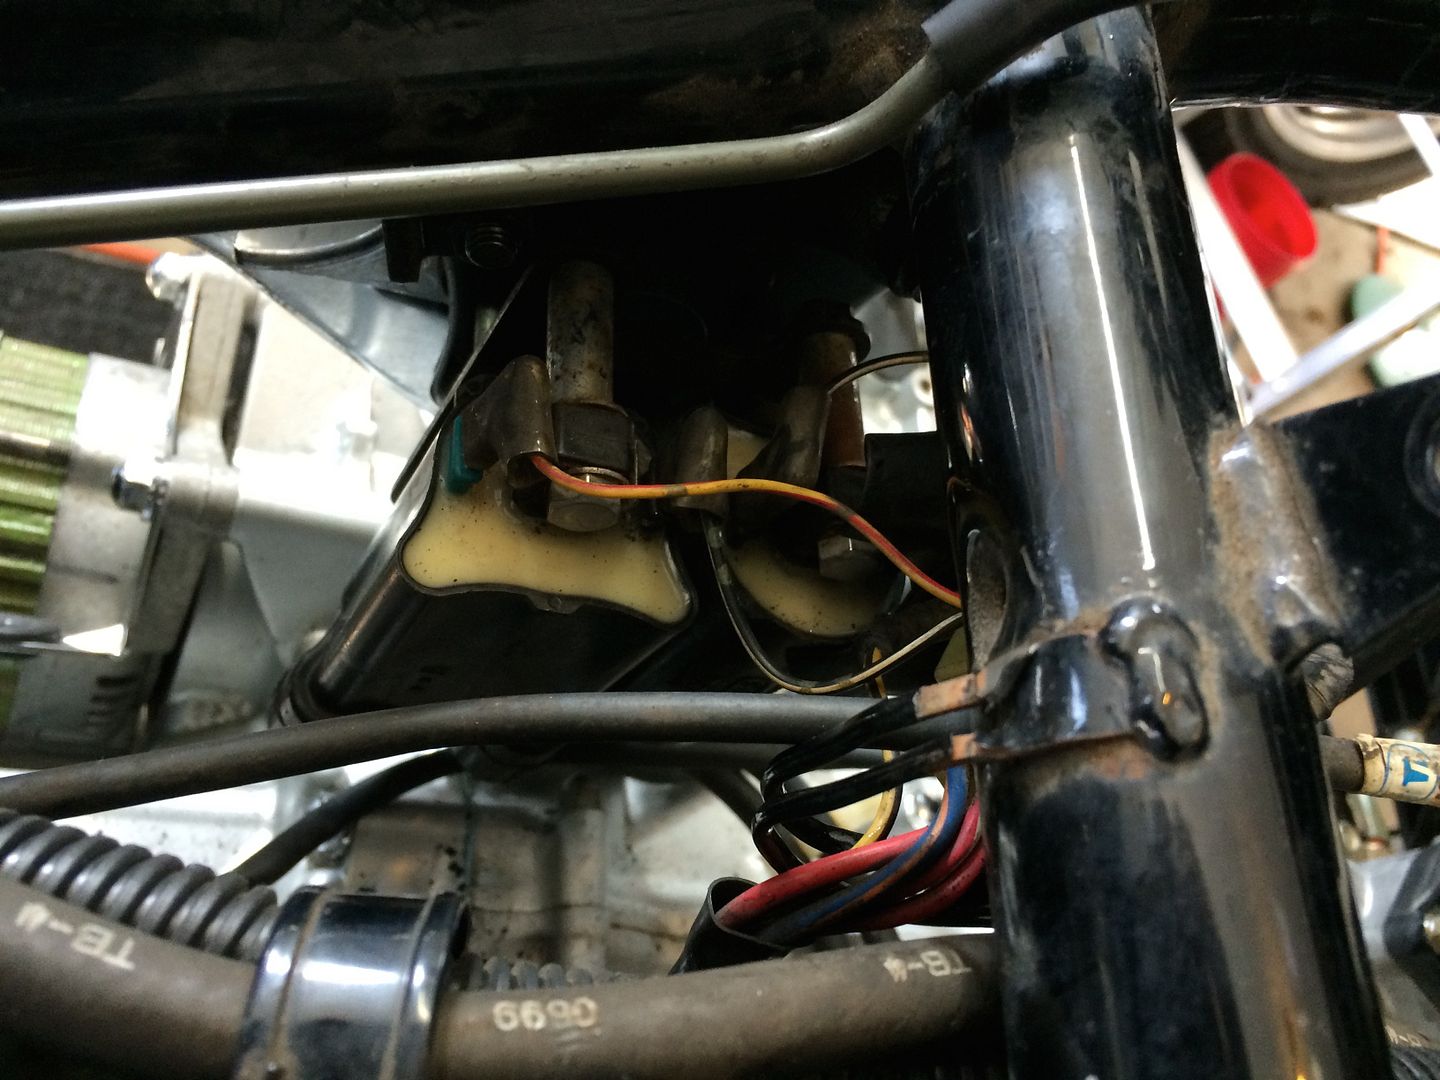
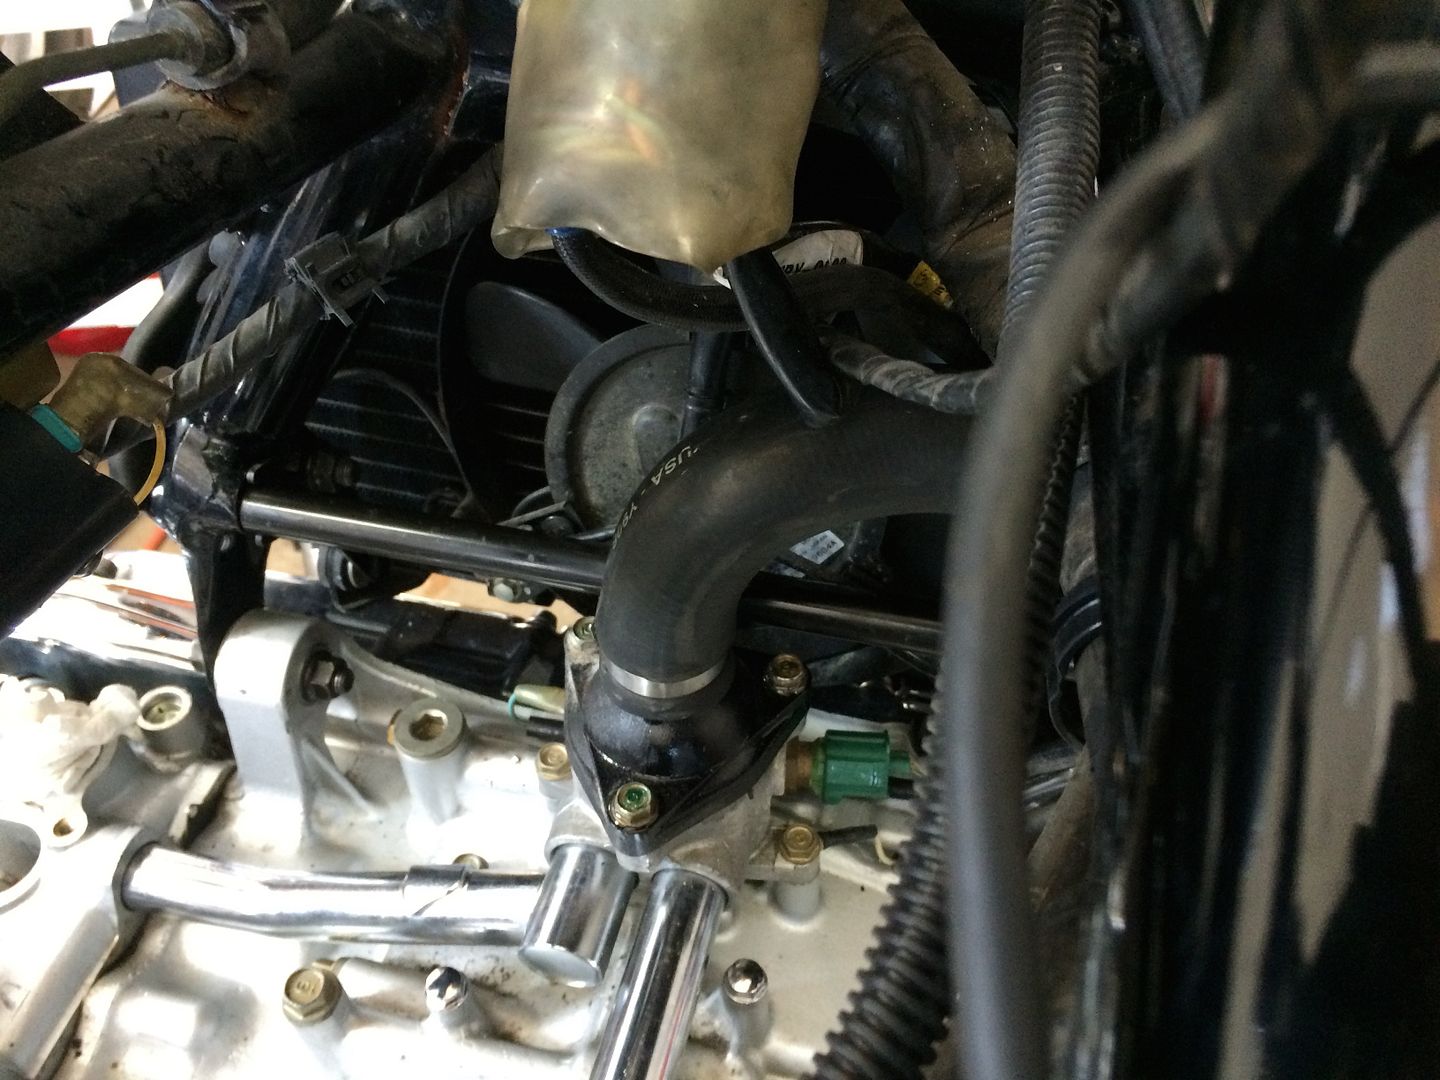
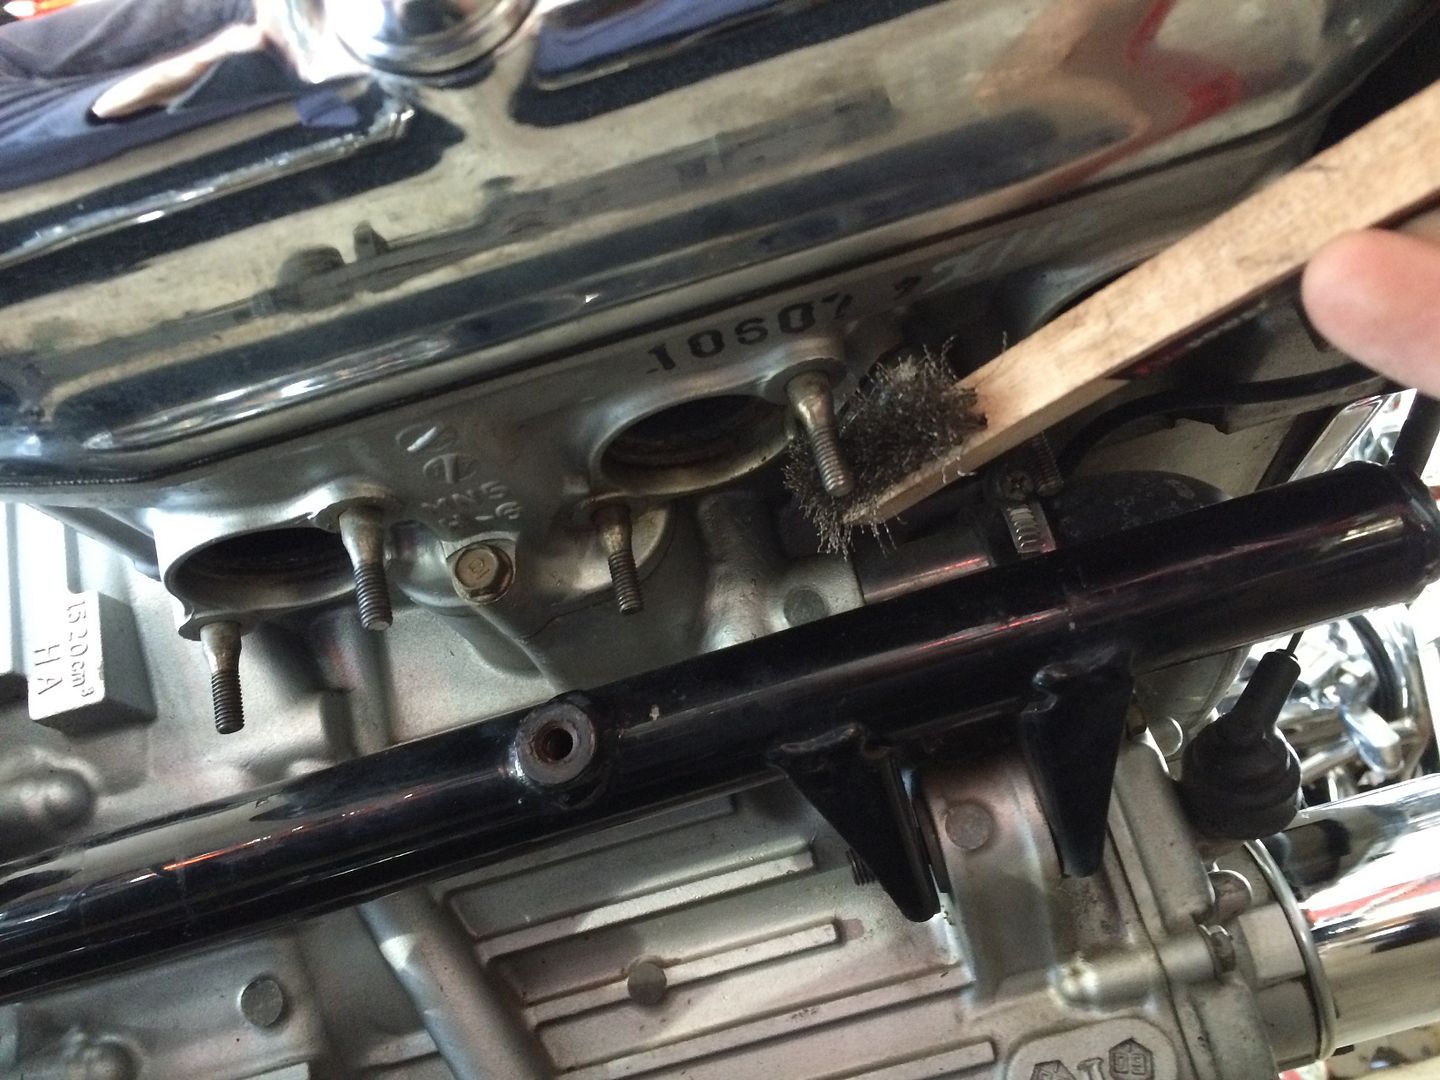
Time to start cleaning up the intakes and replacing the intake o-rings.
they were a little dirty and some corrosion
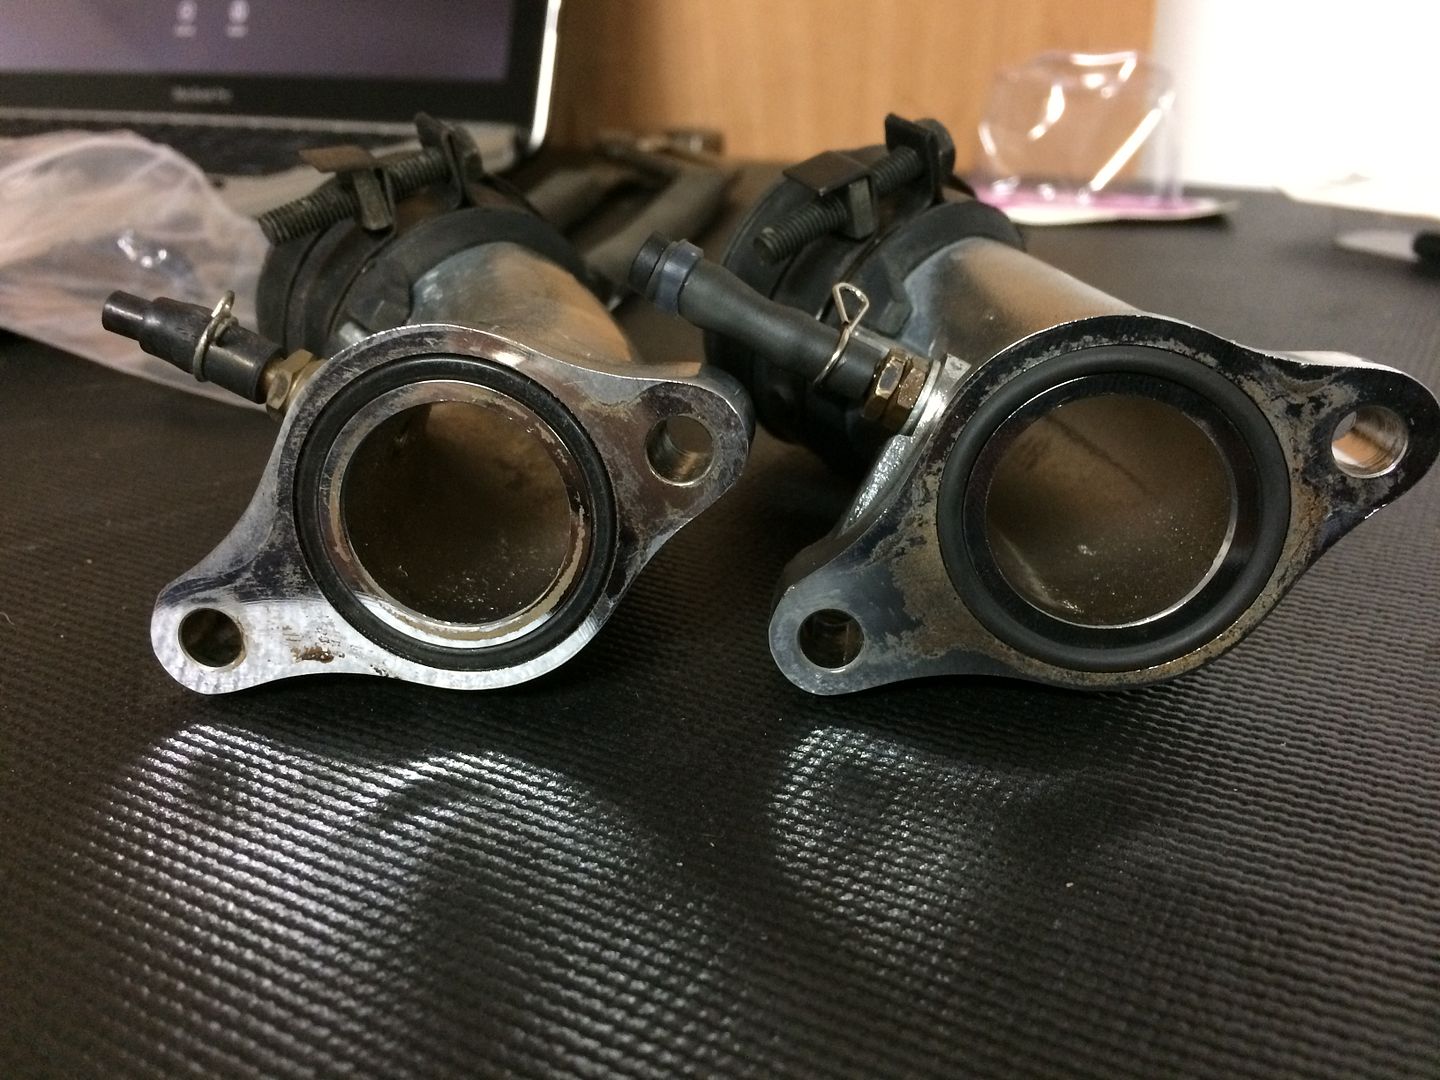
So I figured while they were off and I was replacing the O-rings I might as well take out the steel wool and clean up the lower mating surfaces. They polished up real nice

So with everything cleaned up nicely it is time to fit it up. Maybe it is the boat work or the carpentry work I enjoy but I prefer to fit everything up first for a trial run.

So, everything fitted up. Then I decided that I didn’t like the hole with the broken bolt that I had drilled off and tapped since it would be a different size and decided to go ahead and cut the spot welded nut off the back to I could put another nut on and use the same original size bolt. % minutes with a dremel took it right off. I will probably just use a regular lock nut from this point on instead of welding another not on the back.
So. All fitted up!!!! Everything fitting perfect!!! Oh poop. Did I remember to do a final tighten and torque on all the engine mounting bolts? Nope!
So, pull it all back out and tighten and torque all of the mounting bolts and frame bolts and then put it all back together again. Holy cow what a time consuming, and beer consuming screw up.
So! Finally!! Everything fitted up and bolted into place. Carbs in! Intakes in and seated! Everything tighted up! Whew. Finally get to start moving forward as far as I can anyway without the tank or key. LOL. Does anybody think it is that easy. Look at this picture and tell me what is wrong here.
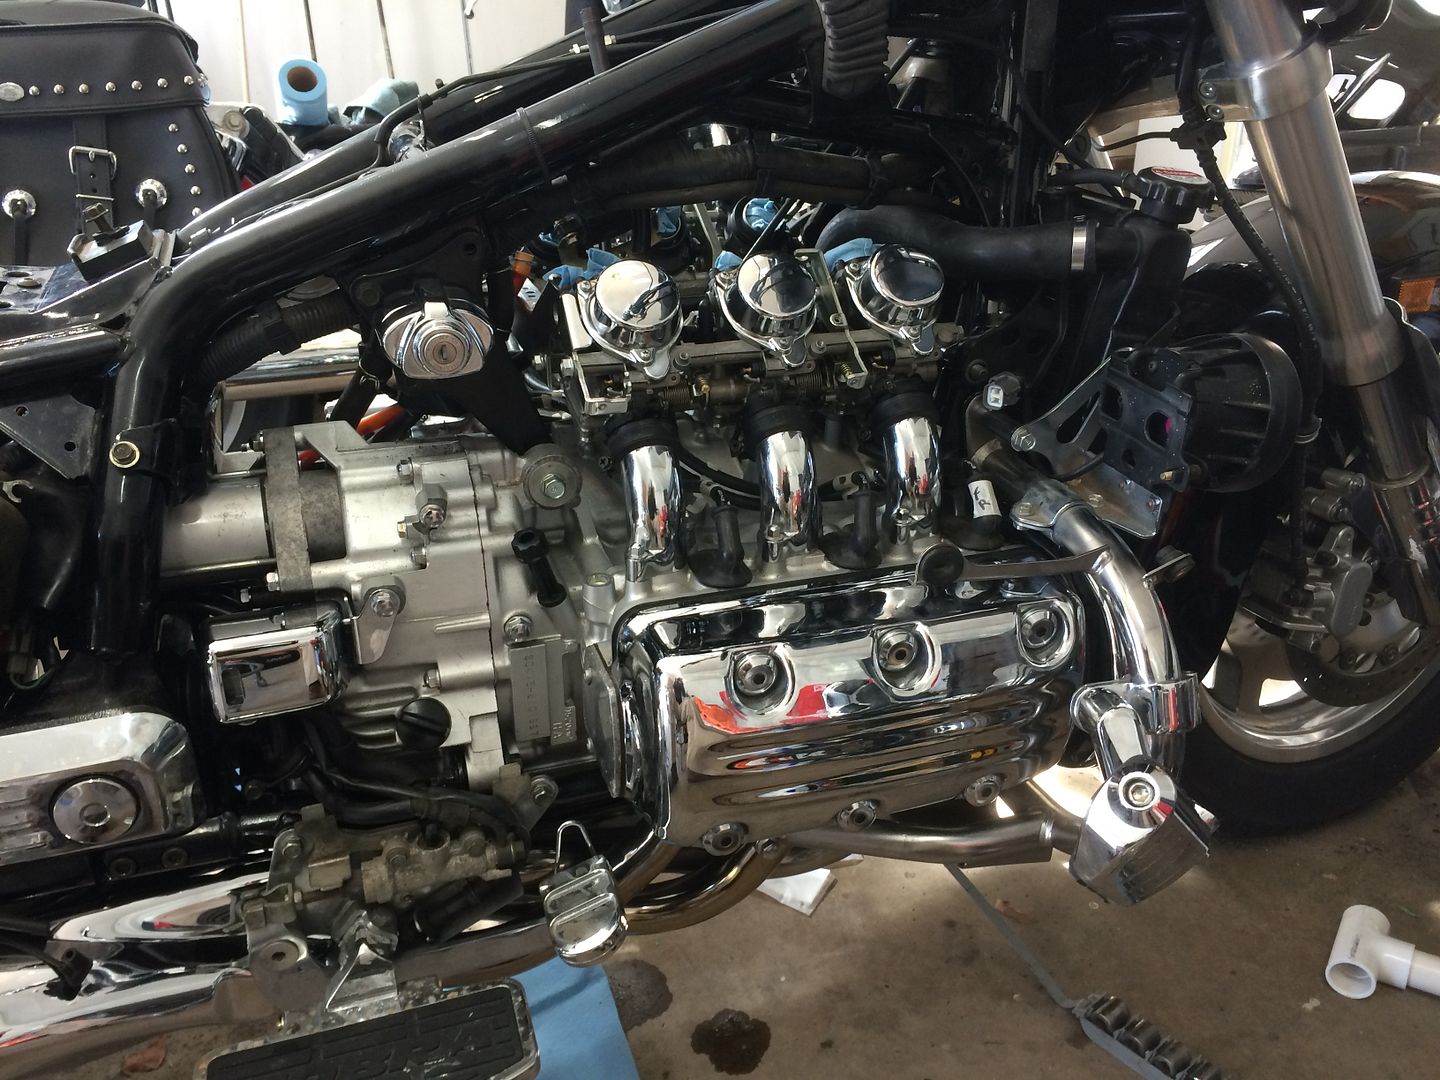
Anybody recognize that little sob right there that is smiling at me from the stool?

poop!!
Well, time to re-assemble everything AGAIN, so I can put that stupid little plastic thing back in. Holy crap what a pain in the but that little piece of plastic is. By this point, I am wondering if maybe I should start blaming this on the extra beer that the first re-assembly required.
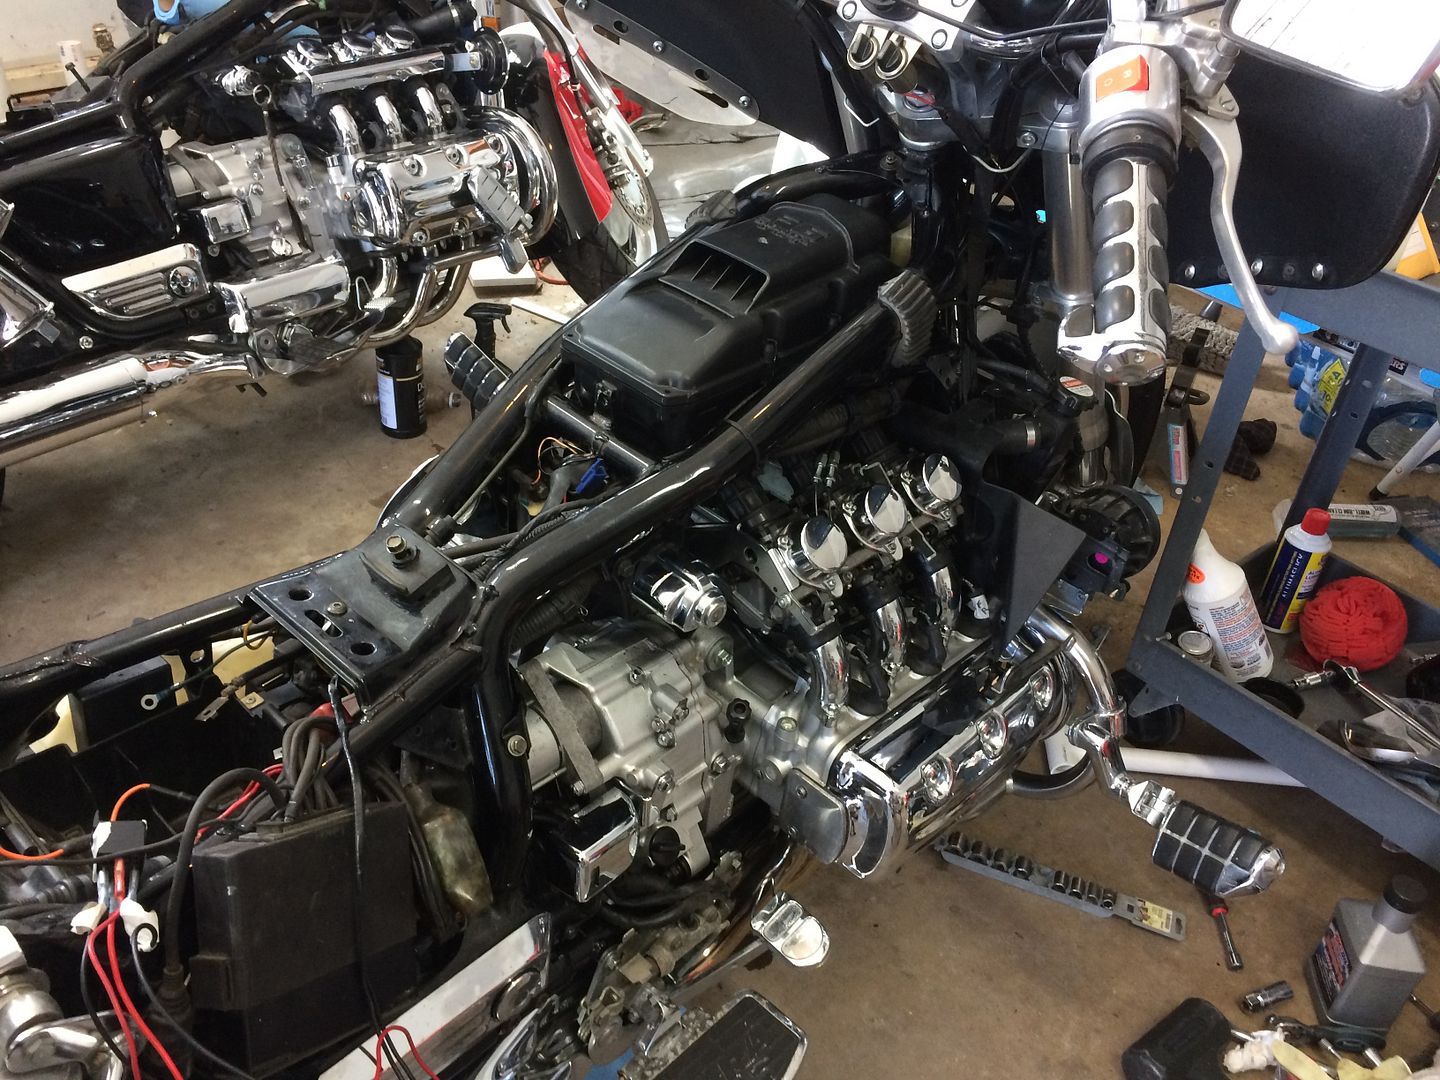
So….. finally back together and with the plastic shield.

Now for the airbox. I stretched out. I did my yoga. I practiced meditation. I did my breathing exercises, and then we got kinky with some bondage!

Not too bad at all. That little plastic shield was much more a PITA than the airbox. So all mounted up, and pretty much at a standstill until the tank is ready.

So, now here we are. Tank should be ready this week, so I am again in a holding pattern waiting on my new small batch of parts to replace what I have either lost or broken. It has already been quite an adventure and I am feeling much better about tackling this task, Now I am just ready to finish it up and put the girl on the road! I can’t wait to hear the old girl roar to life!!! Not much longer now!!
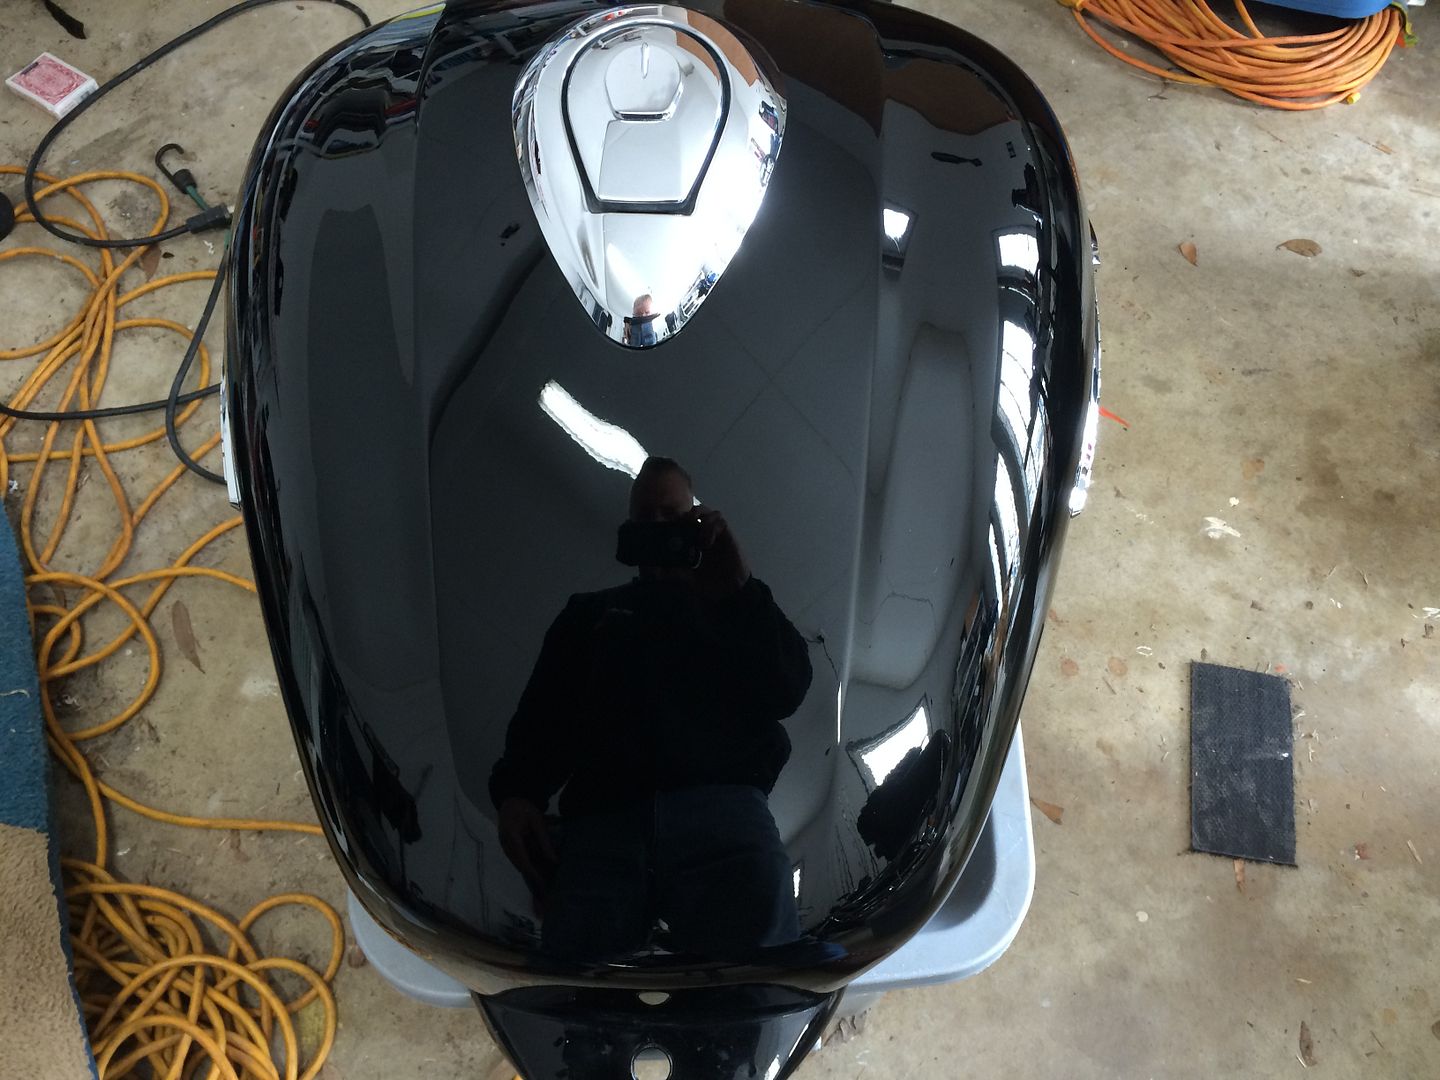
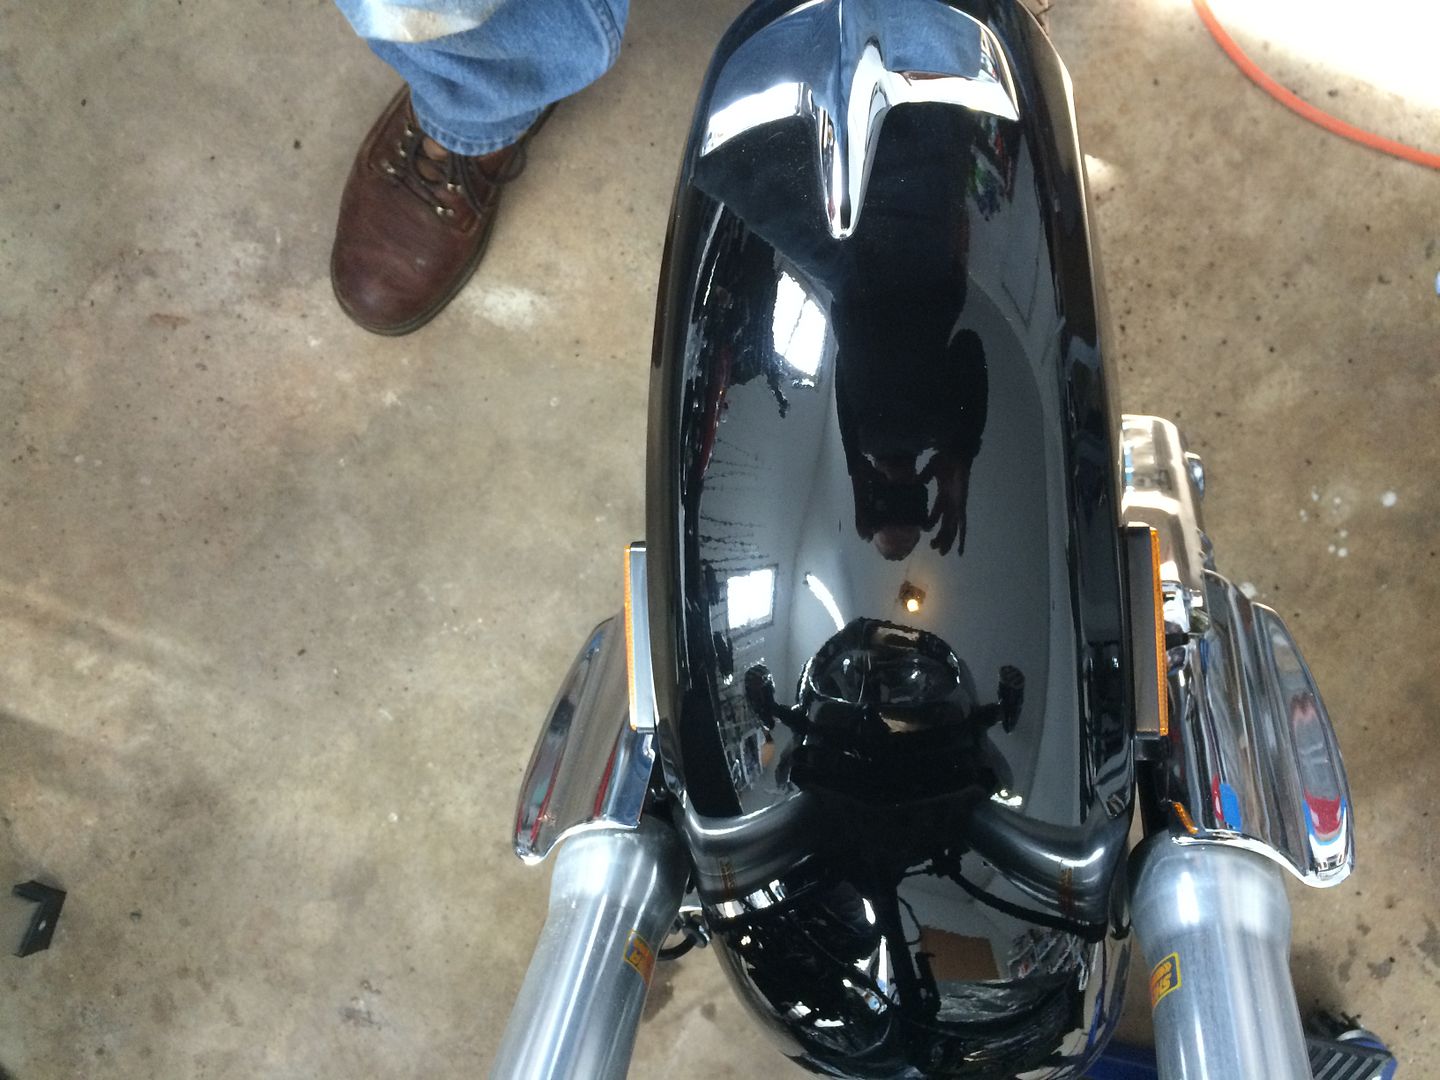
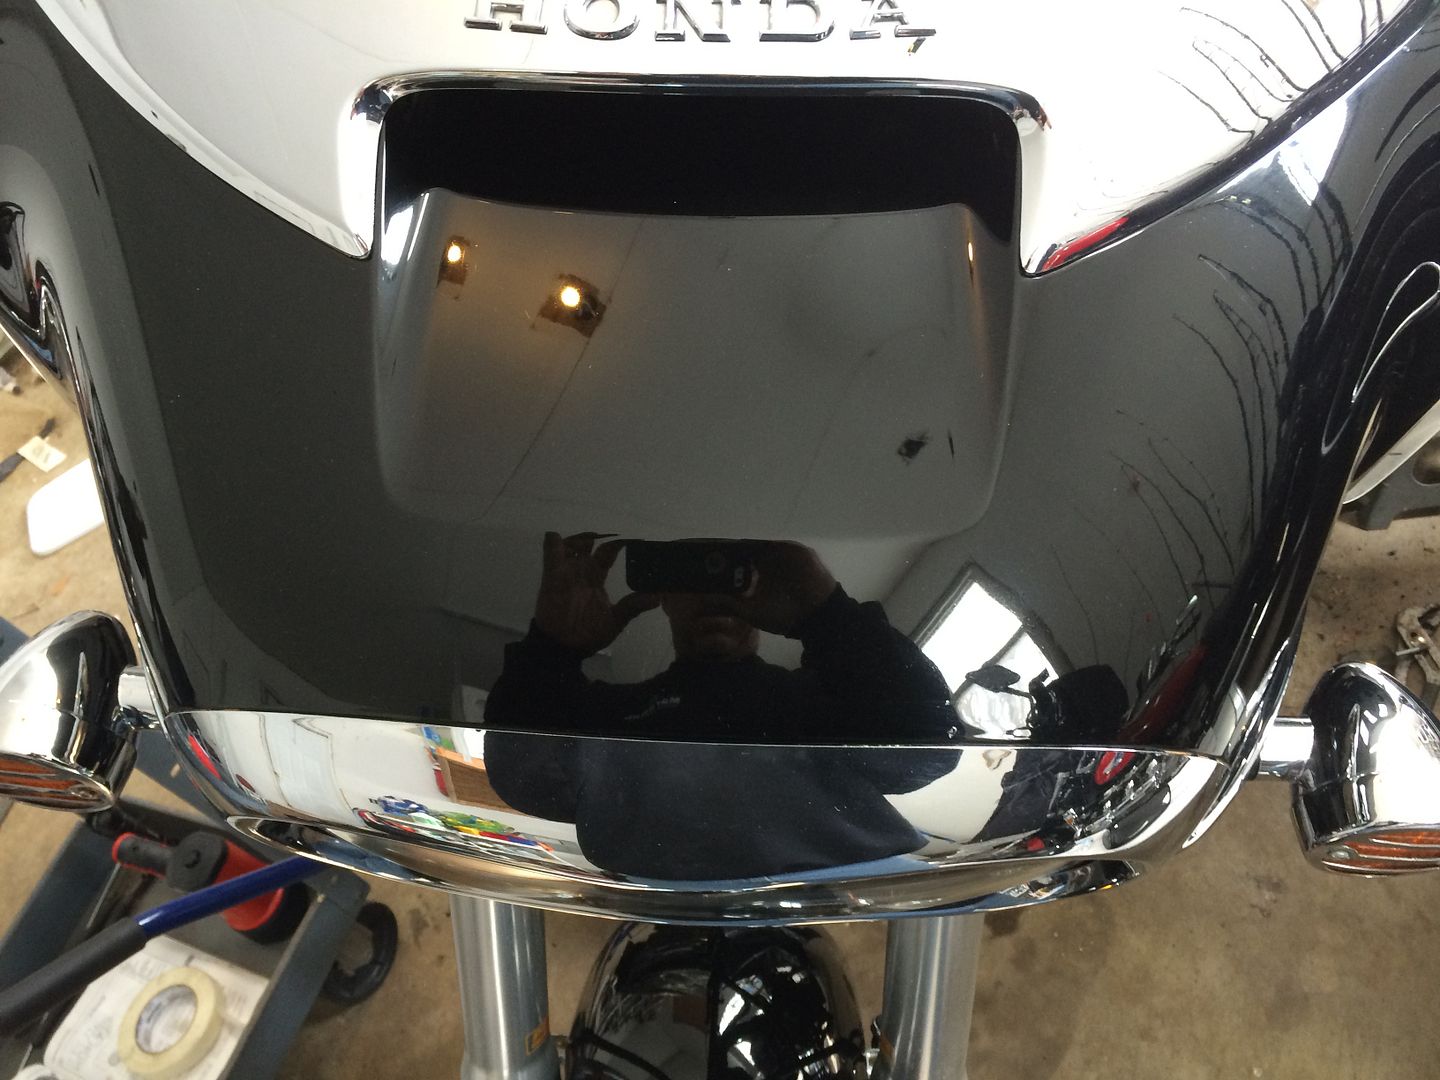
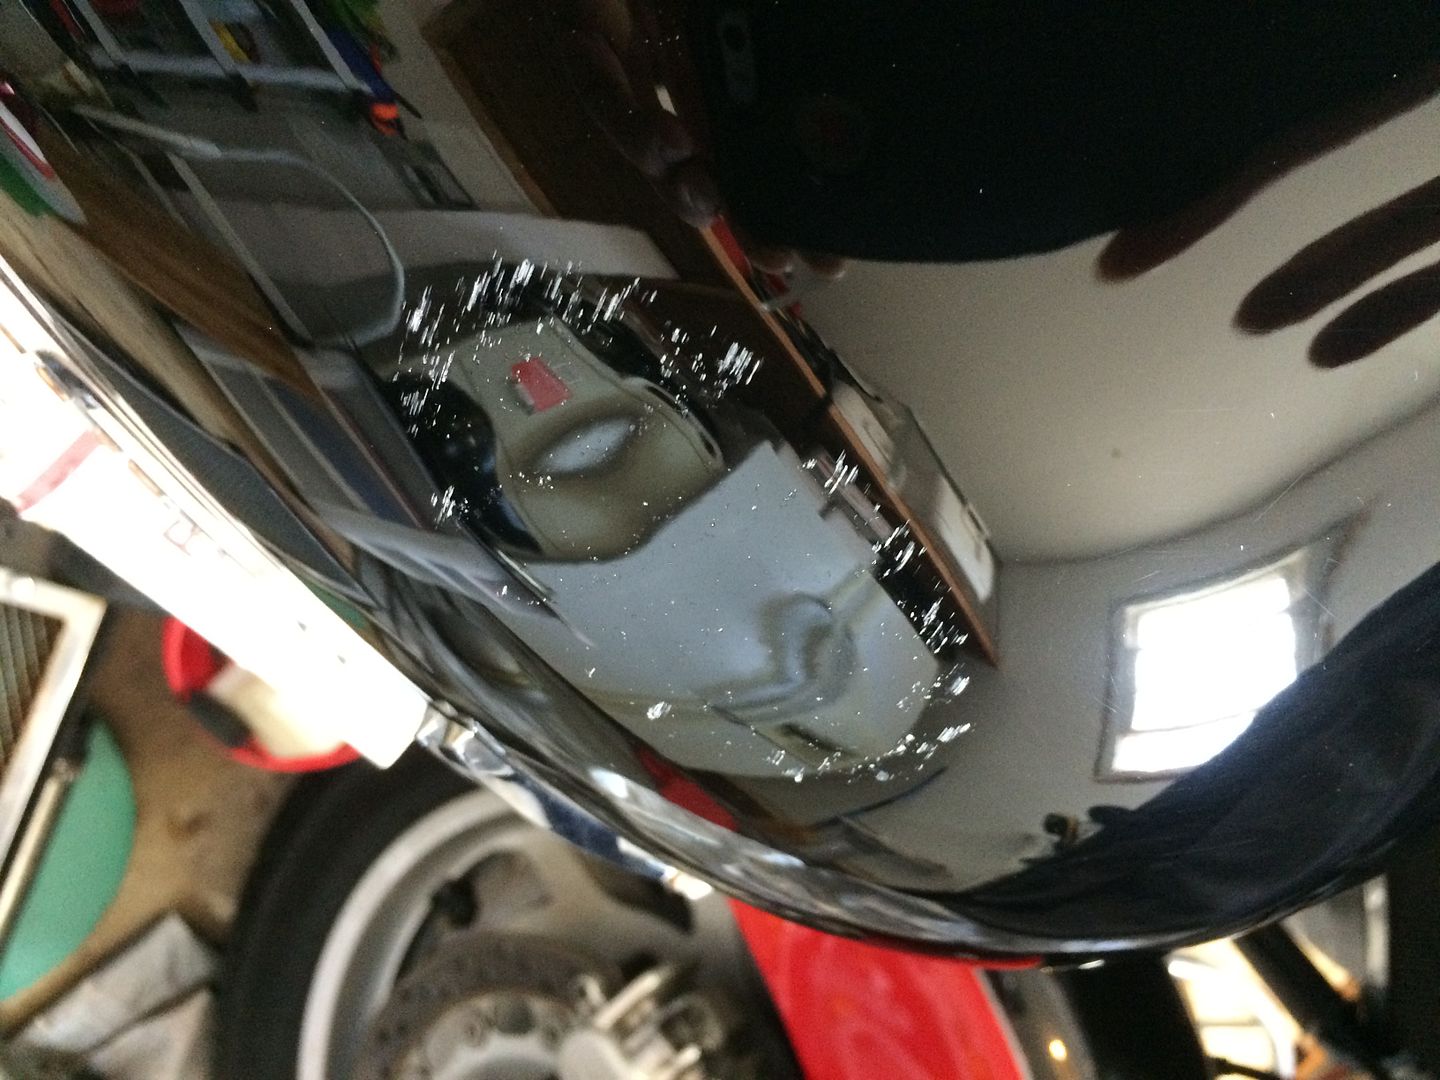
HOLY CRAP look at this tank!!!!!!!
I was seriously stoked when I picked up the tank today. This think was like a black mirror.
So I got home and of course was so stoked to finally have the tank back and be ready to hopefully find some fire in the old girl, I didn’t take any pictures of the re-assembly process of the tank, petcock, However, I did break a choke slide and had to order a new one of those. I am also still waiting on a few more parts and I am not able to ride until those parts are replaced, however I can at least get the spark!!
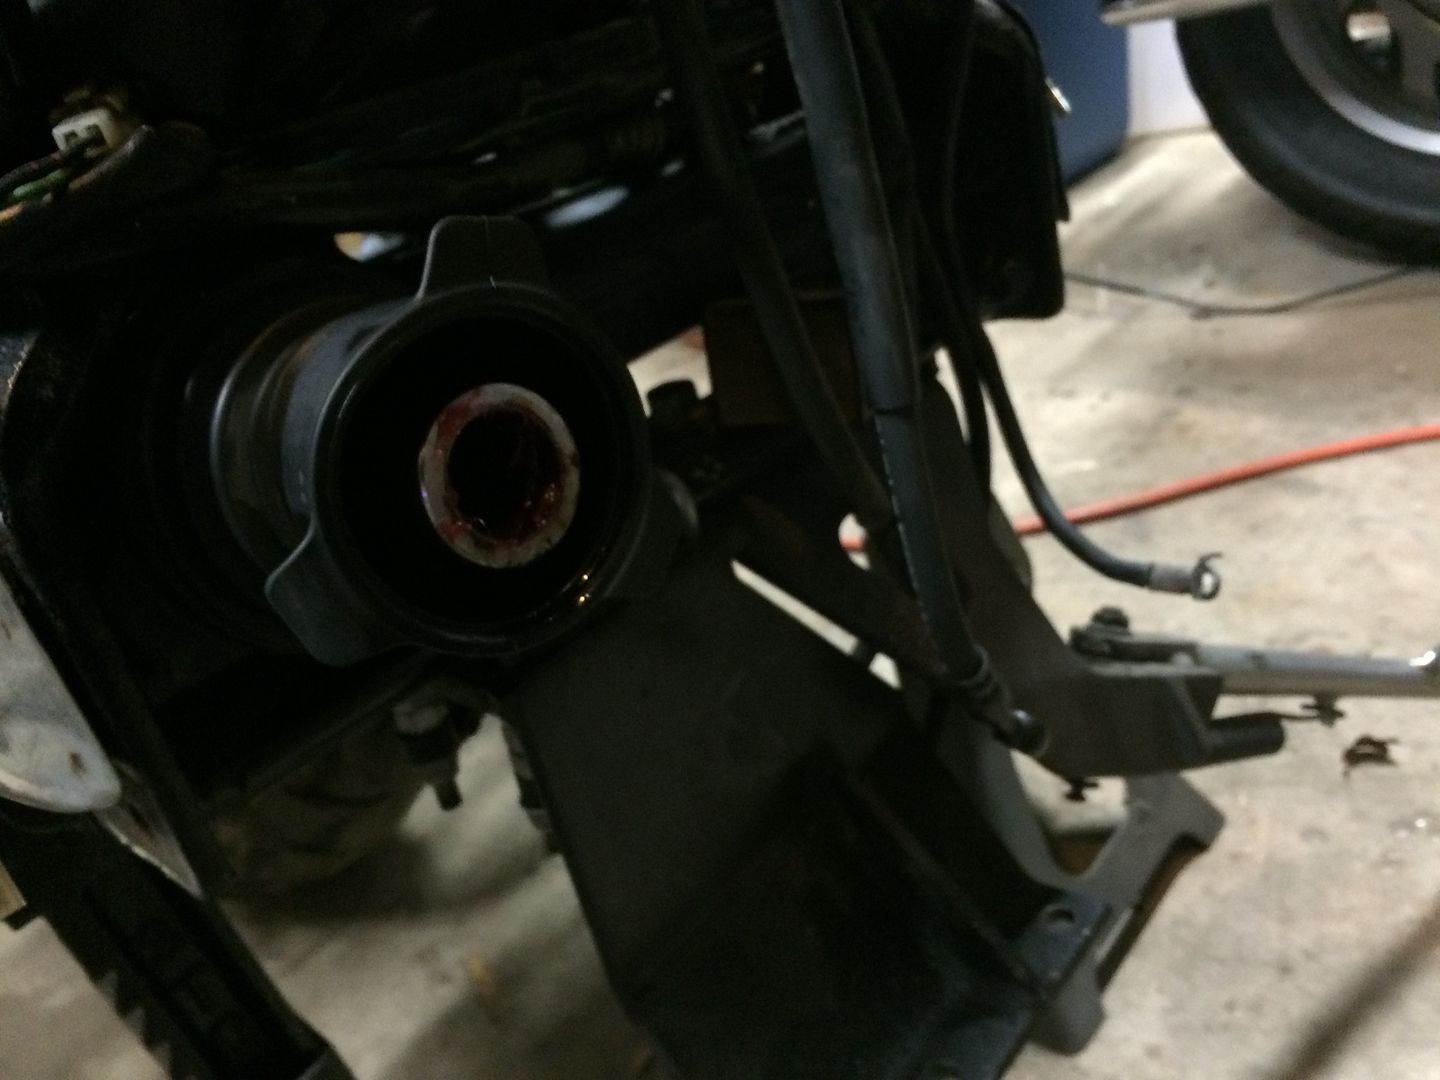
So I was excited to get everything back together, get the tank cap on, get the engine filled with oil, get the coolant in the radiator. Ok, back to the box that I bought home with the tank for the key, where is the key. Where is the damn key!!!! CRAP!!!!!!! Well, I now get to drive back to Raleigh.
OK, home again with the key. While I was gone I did get to put the battery on the charger and make sure it had a full charge. Tank on, vacuum tube hooked up, put a little gas in the tank, petcock on reserve, Exhaust back on temporarily…..
And then!
And…. Blew a freeze plug out. So, at least that is something I can run to the auto parts store to get.
WOW!!! So happy right now. Still a few more parts to come in to finalize everything, but I am feeling like the big work is finally done. Final count as of right now, with all of the additional parts it took to get it running and get everything in running order anyway puts me at just under $1400. (that does not include repairing the tank damage since that was all on me). I still need tires, new windshield, and possibly a new battery, but maybe I can trade in some of these leftover parts for partial credit?

It is supposed to be a beautiful day Sunday, so I may even take her out for a test run while still missing a few things just to check her out a little, but by next weekend!!!!!! She should be ready to stretch her legs. Almost there!!!


