|
desertrefugee
|
 |
« on: August 13, 2016, 10:59:11 AM » |
|
Dagnabit. Since the OEM bags I scored are STILL at the paintshop, I had time on my hands and fell across a very nice set of headers and 4" glasspacks. I even sprang for a pair of Grumpy's tips.
So, getting an early garage start ahead of the Phoenix heat later today, I installed the pipes. Then I had a wakeup call. Went to install the OEM brackets and plates in advance of getting the bags next week and found that the pipes ride too high to clear the bag mounts! After inventing some new four letter words - and using some of the old standbys, I concluded that all is not lost. I'm pretty sure I can fashion a bracket that will lower the cans the roughly 5/8" that I need to clear the mounts. For sure, it's a no-go with the factory bolt holes directly to the mufflers.
I cannot be the first to encounter this little bump, but I was wondering if folks have just used (or would recommend) use of a simple piece of 1" wide 1/8" thick flat bar stock to do the deed. Has anyone approached it differently?
I have retreated to the A/C and/or pool for the rest of the day, but might venture out early tomorrow morning to lick my wounds.
|
|
|
|
« Last Edit: September 09, 2016, 08:54:34 PM by desertrefugee »
|
 Logged
|
'97 Bumble Bee, '78 GL1000, '79 CBX, '78 CB750F, '74 CB750
|
|
|
|
Bighead
|
|
« Reply #1 on: August 13, 2016, 01:25:57 PM » |
|
Are your mounting brackets bent? Or maybe whoever built the Pipes didn't build them square/ level as they should have been. I just put 4" stacks on my bee and they fit just like the OEM.
|
|
|
|
|
Logged
|
1997 Bumble Bee
1999 Interstate (sold)
2016 Wing
|
|
|
|
desertrefugee
|
|
« Reply #2 on: August 13, 2016, 02:12:52 PM » |
|
...whoever built the Pipes didn't build them square/ level as they should have been... Bingo. Nice finish. Not so nice fitment. I think it might be the placement of the mounting slot on the mufflers that's off. On a Standard, it'd be a non-issue. On a Tourer, it's an issue. As I noted, I can make it work, but the only recourse (other than putting the Cobras back on) is to make an "adapter" that drops the muffler a little over 1/2". I am not happy about it, but I ain't going back to those Cobras. Plus, these glasspacks do sound sweet. Fired it up and the decision was made. Make it work! |
|
|
|
|
Logged
|
'97 Bumble Bee, '78 GL1000, '79 CBX, '78 CB750F, '74 CB750
|
|
|
|
98valk
|
|
« Reply #3 on: August 13, 2016, 02:33:53 PM » |
|
is it the heat shields or the bags? certain yr heat shields require a hammer fit. my shields did not look like the ones in the link. http://www.horseapple.com/Valkyrie/Tech_Tips/Interstate_Stacks/interstate_stacks.html |
|
|
|
|
Logged
|
1998 Std/Tourer, 2007 DR200SE, 1981 CB900C 10speed
1973 Duster 340 4-speed rare A/C, 2001 F250 4x4 7.3L, 6sp
"Our Constitution was made only for a Moral and Religious people. It is wholly inadequate to the goverment of any other."
John Adams 10/11/1798
|
|
|
|
Roidfingers
|
|
« Reply #4 on: August 13, 2016, 03:12:14 PM » |
|
I may be wrong but I think when Mark T makes his, he has a different mounting so will clear bags.
|
|
|
|
|
Logged
|
|
|
|
|
desertrefugee
|
|
« Reply #5 on: August 13, 2016, 03:18:22 PM » |
|
I have no idea who made these, but it really doesn't matter. I will need to improvise. ...is it the heat shields or the bags? certain yr heat shields require a hammer fit. Unfortunately, both the front and rear mount brackets will not clear with the mufflers in the "normal" position bolted directly to the factory bracket. Nothing is bent, twisted or otherwise mutilated. Just no worky. If I am ambitious, I'll get out there in the morning and knock it out. I'll take photos this time. Too aggravated this morning to. |
|
|
|
|
Logged
|
'97 Bumble Bee, '78 GL1000, '79 CBX, '78 CB750F, '74 CB750
|
|
|
MarkT
Member

Posts: 5196
VRCC #437 "Form follows Function"
Colorado Front Range - elevation 2.005 km

|
|
« Reply #6 on: August 13, 2016, 05:02:42 PM » |
|
If he had built them using the stock exhaust, and retained their original configuration (where the rear studs are, and did not cant the headers in relation to the rear hanger), they would fit. Apparently he moved the rear mount points down. For 5" stacks going on an Interstate (the bag frame is lower than a Tourer), the larger stacks won't clear the bag frame - I modify the rear brackets to lower the holes 0.4". You can make a 1/8" X 4 1/2" X 1" piece of bar stock with the holes duplicated, and weld it to the outer face of the OEM rear hangers, so the holes are lowered the amount you need. Make the holes a bit oversize to allow for adjustment; likely the pipe builder didn't get them exactly the same.
|
|
|
|
|
Logged
|
|
|
|
|
desertrefugee
|
|
« Reply #7 on: August 14, 2016, 07:32:33 AM » |
|
Well, sometimes you get lucky - even a blind squirrel finds a nut. So, in the interest of full disclosure, I didn't mention yesterday that I could not get both bolts on the muffler to line up. It seems that the angle coming off the collector canted the mufflers up at the rear. Enough to prevent mounting either front or rear bag brackets. Well, the front inlet of the mufflers "accidentally" got adjusted (i.e. bent) during some spirited application of pressure. It doesn't take much of an adjustment to change the angle dramatically. Long story short, no custom adapter was necessary. Got 'em on. Now I wait for the paint shop . . .  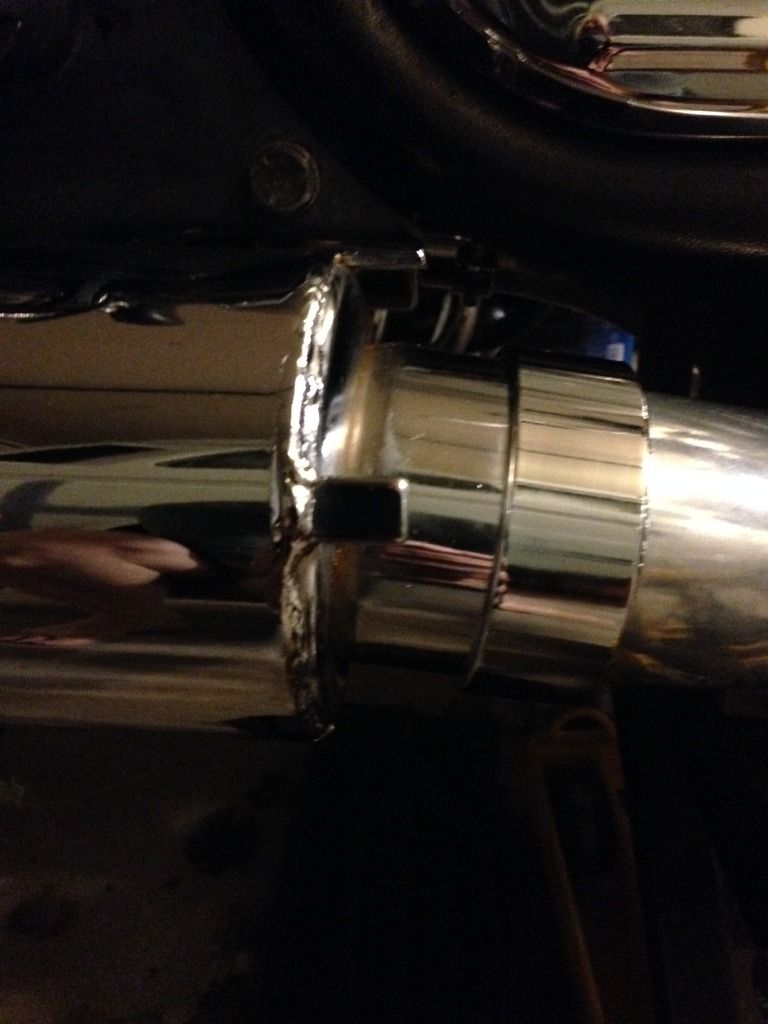 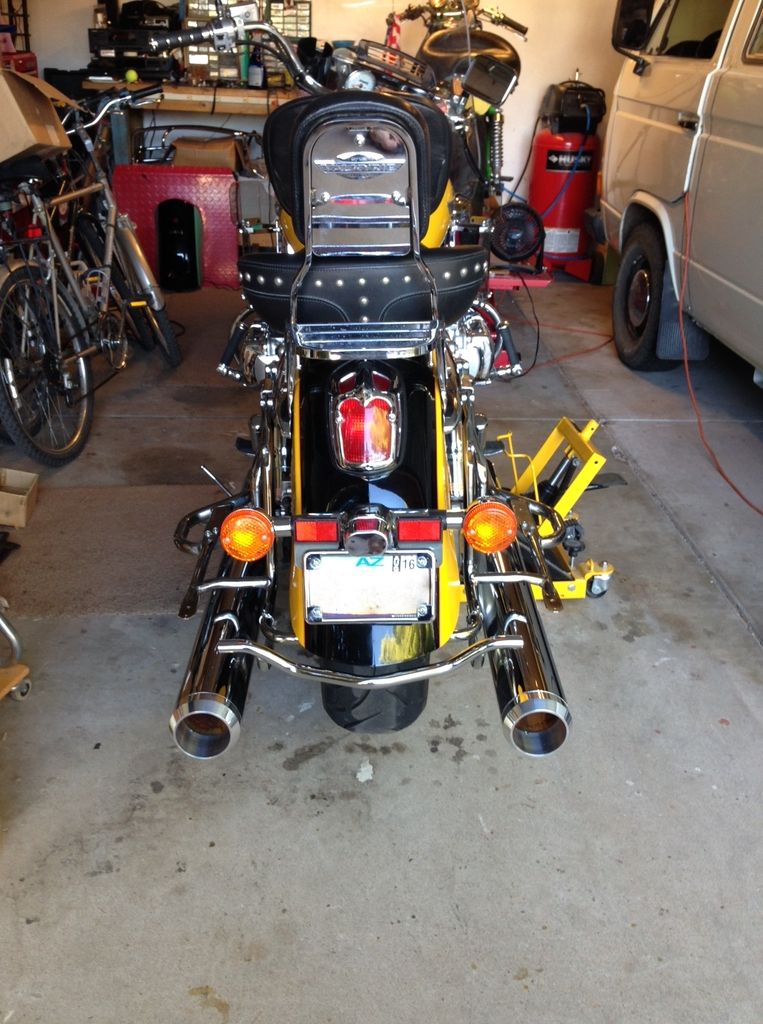 |
|
|
|
|
Logged
|
'97 Bumble Bee, '78 GL1000, '79 CBX, '78 CB750F, '74 CB750
|
|
|
|
desertrefugee
|
|
« Reply #8 on: August 22, 2016, 05:27:51 PM » |
|
Finally, the paint guy called today at lunchtime and got me so excited and distracted I couldn't work. The bags were ready! I left work early. Just about an hour of sweat later I have a very rare bumblebee Tourer. Except that since they never made one, I'm not sure I'm going to put the badges back on the bags. Just because. In any event, they did a fabulous job, the pearl really pops and pictures don't do it justice. In my stupidity, I had looked at the lids and said to myself they look great and didn't have him do them. Turns out there is a spider webbing in them but I think I can buff it out with my DA polisher. Compared to his beautiful work, they don't look as good as I thought they were. My right side pipe still riding too low and I need to adjust it. I guess that's the extent of what's left. But I am a happy camper and I'm itching to get it out now !! 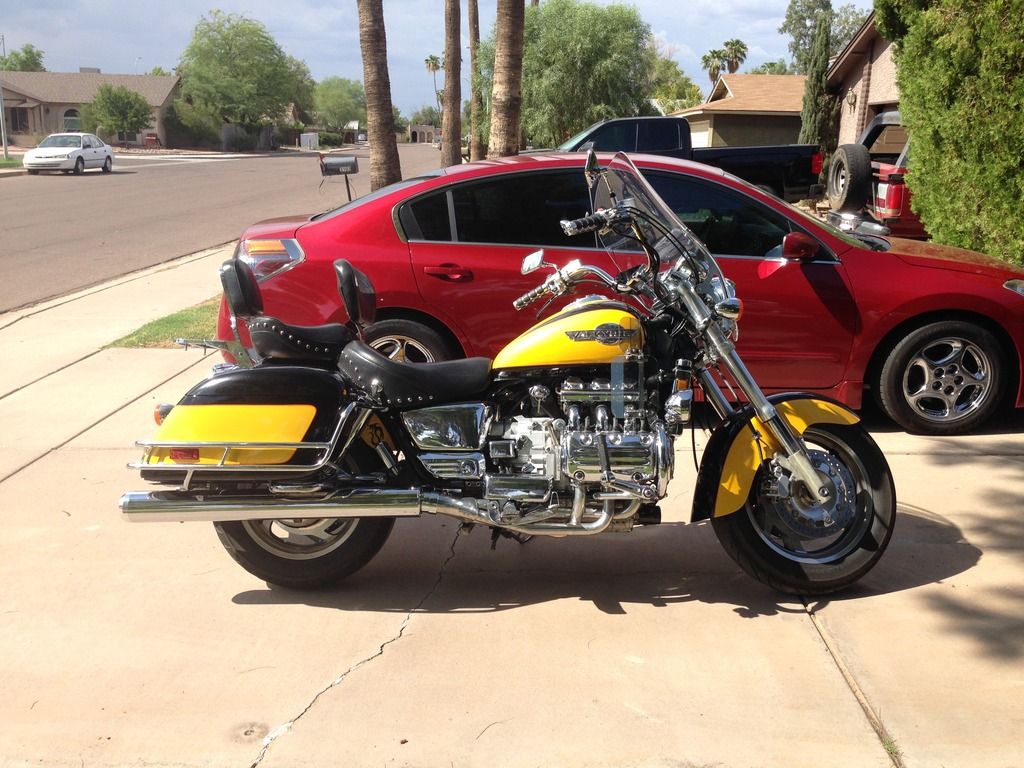 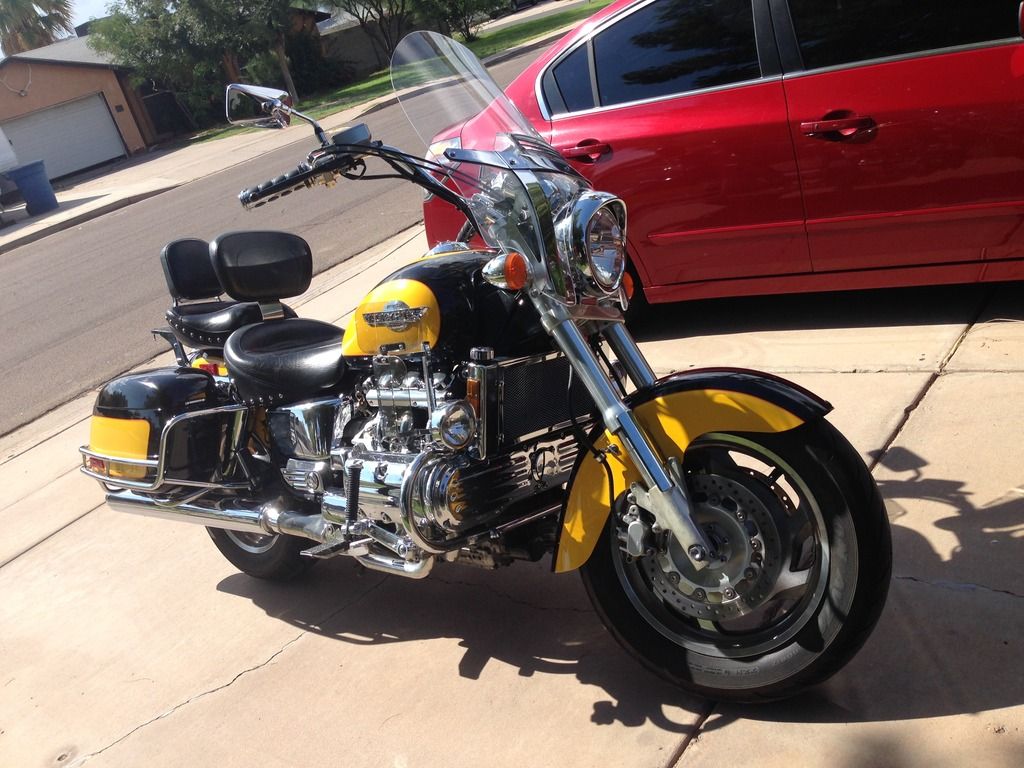  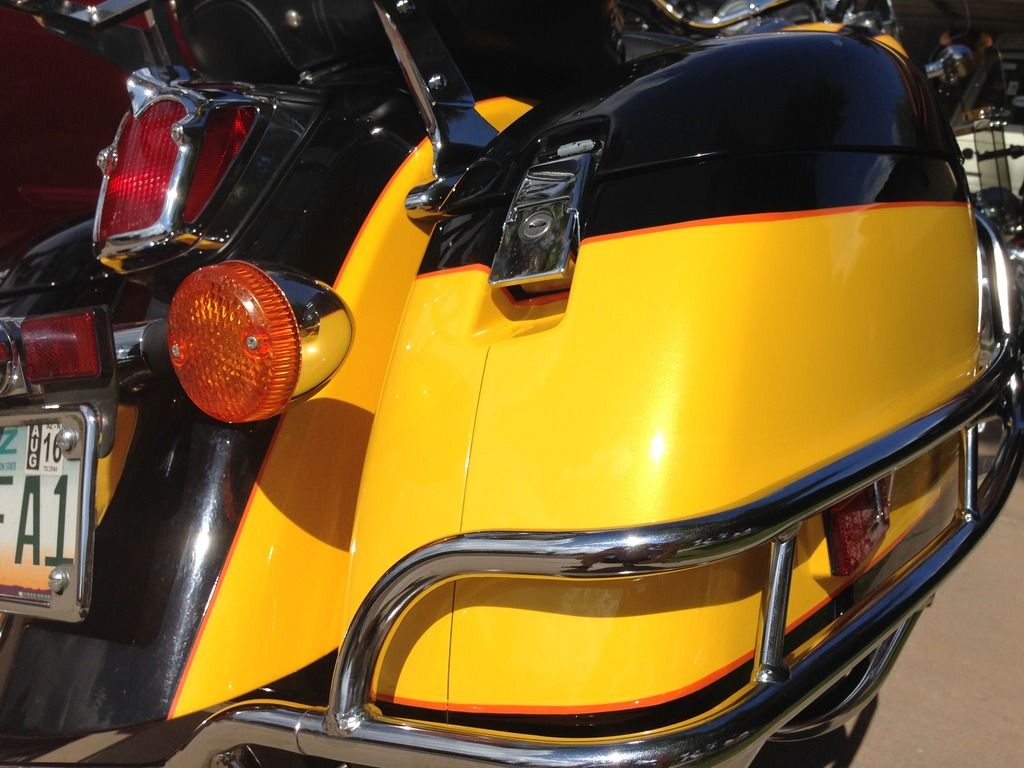 |
|
|
|
|
Logged
|
'97 Bumble Bee, '78 GL1000, '79 CBX, '78 CB750F, '74 CB750
|
|
|
|
Bighead
|
|
« Reply #9 on: August 22, 2016, 05:33:19 PM » |
|
Looks good  the 97 Bee is my fav. How could one tell?  I need to ask about your backrest. It looks like you have a mustang seat. My backrest is half that size, yours looks like a passenger rest? Do tell. |
|
|
|
« Last Edit: August 22, 2016, 05:35:34 PM by Bighead »
|
Logged
|
1997 Bumble Bee
1999 Interstate (sold)
2016 Wing
|
|
|
|
desertrefugee
|
|
« Reply #10 on: August 22, 2016, 06:18:17 PM » |
|
Well, truth be told, the rider's saddle is Mustang. Believe it or not, I have it paired with an Ultimate passenger seat. The big backrest is an ebay item. Fellow said it was homemade. It sports a Mustang cover and the frame is well made, but they definitely did not start out life together.
For $20 SHIPPED, I couldn't argue.
|
|
|
|
|
Logged
|
'97 Bumble Bee, '78 GL1000, '79 CBX, '78 CB750F, '74 CB750
|
|
|
|
Bighead
|
|
« Reply #11 on: August 22, 2016, 06:23:23 PM » |
|
Well look at the pad on it and the passenger pad on mine looks like the same pad. Maybe I can modify mine |
|
|
|
|
Logged
|
1997 Bumble Bee
1999 Interstate (sold)
2016 Wing
|
|
|
|
desertrefugee
|
|
« Reply #12 on: August 22, 2016, 10:16:28 PM » |
|
You know, I just realized that the pipes I picked up (for a song) turn out to be Vikings! I've read some pretty good things about them - most notably that they've been out of business for almost 10 years. I knew the ceramic coated, equal-length headers were a good thing. You can see them in the photos above.
So, if what I've read is true, I was down on power with the Cobras, the Vikings were reported to add a few HP/ft lbs, then I should maybe feel a pick-up in power. That'd be nice.
I'm guessing, though, that finding a set of heat shields would be like looking for a needle in a haystack...
|
|
|
|
|
Logged
|
'97 Bumble Bee, '78 GL1000, '79 CBX, '78 CB750F, '74 CB750
|
|
|
|
Bighead
|
|
« Reply #13 on: August 23, 2016, 06:28:23 PM » |
|
Yes the headers do appear to be Vikings. Lay one of your OEM sheilds up there and see if there maybe a way to modify it to fit. Maybe not but can't hurt.
|
|
|
|
|
Logged
|
1997 Bumble Bee
1999 Interstate (sold)
2016 Wing
|
|
|
|
98valk
|
|
« Reply #14 on: August 23, 2016, 07:06:08 PM » |
|
You know, I just realized that the pipes I picked up (for a song) turn out to be Vikings! I've read some pretty good things about them - most notably that they've been out of business for almost 10 years. I knew the ceramic coated, equal-length headers were a good thing. You can see them in the photos above.
So, if what I've read is true, I was down on power with the Cobras, the Vikings were reported to add a few HP/ft lbs, then I should maybe feel a pick-up in power. That'd be nice.
I'm guessing, though, that finding a set of heat shields would be like looking for a needle in a haystack...
I have Vikings. factory heat shields are used. |
|
|
|
|
Logged
|
1998 Std/Tourer, 2007 DR200SE, 1981 CB900C 10speed
1973 Duster 340 4-speed rare A/C, 2001 F250 4x4 7.3L, 6sp
"Our Constitution was made only for a Moral and Religious people. It is wholly inadequate to the goverment of any other."
John Adams 10/11/1798
|
|
|
|
desertrefugee
|
|
« Reply #15 on: August 23, 2016, 09:20:33 PM » |
|
Yo! Thanks for that tidbit. Makes my search lots easier!
|
|
|
|
|
Logged
|
'97 Bumble Bee, '78 GL1000, '79 CBX, '78 CB750F, '74 CB750
|
|
|
|
98valk
|
|
« Reply #16 on: August 24, 2016, 06:19:46 PM » |
|
here are the instructions.
Directions for Installing VMC Exhaust
Thank you for purchasing your Viking Motorcycle Exhaust System. This system is a direct
replacement for the stock system so there are no special tools needed. If you have a stand it
will make it easier for you to do the job yourself although it is not necessary.
Parts included:
Item
Ceramic Coated Headers
Chrome Plated Mufflers
Exhaust Gaskets
Stainless bolts for side covers
Stainless Exhaust Clamps
T-Bolts & Flange Nuts
Tools Needed:
Tool
Open End Wrench
Ratchet * Extension
Sockets
Ouantit)'
2
2
6
2
2
4 ofeach
Size
10mm, 12mm
lOmm, l2mm, 13mm, 7 ll6sae
Removing stock exhaust svstem
Right Side
. Remove two mounting bolts of the Right rear passenger foot peg
r Remove two nuts on rear side of the Right Muffler
r Remove rear connecting bolt and spacer for Right side of crash bar
o Remove right foot peg mounting bracket
o Remove all six Header Nuts and remove exhaust system
o Remove stock brass exhaust gasket from cylinder head
o Remove small chrome collector cover from Stock exhaust system, save for use on
your new VMC exhaust
Left Side
o Remove left rear foot peg
r Remove left front foot peg
o Remove bolt from shifter head and slide off shifter shaft
e Remove rear connection bolt and spacer for Left side of crash bar
. Remove all six Header Nuts and remove exhaust system
. Remove stock brass exhaust gasket from cylinder head
. Remove small chrome collector cover from Stock exhaust system, save for use on
your new VMC exhaust
Installins Vikins Motorcvcle Exhaust Svstem
Right Side
o Insert new exhaust gaskets into cylinder head
o Note: Use a little dab of high-temp silicone on each of the gaskets to help hold them
in place during installation.
o Install Header LOOSELY as to not crush gasket completely
. Note: When snugging down header be sure to tighten all bolts evenly in order to set
header flat on cylinder head
o Install stainless exhaust clamp on muffler with bolt facing inside of bike and facing
down
r Insert two T-Bolts into rnuffler channel bracket
. Slide muffler onto header
r Install rear foot peg onto muffler and frame
o Tighten muffler clamp
. Tighten header bolts being sure to tighten evenly
o Install stock chrome side cover onto muffler and header
e Note: To insure tight fit of stock side cover, you may have to slot the mounting hole
to allow cover to slide onto muffler completely, this is not necessary in most
applications
o Re-install crash bar bolt and spacer
o Re-install foot peg and cover
Left Side
r Insert new exhaust gaskets into cylinder head
r Install Header LOOSELY as to not crush gasket completely
o Install stainless exhaust clamp on muffler with bolt facing inside of bike and facing
down
o Inseft two T-Bolts into muffler channel bracket
r Slide muffler onto header
o Install rear foot peg onto muffler and frame
o Install left chrome cover on I{eader with supplied mounting bolt
e Note: To insure tight fit of stock side cover, you may have to slot the mounting hole
to allow cover to slide onto muffler completely, this is not necessary in most
applications
r Tighten muffler clamp
o Tighten header bolts being sure to tighten evenly
e Re-install crash bar bolt and spacer
o Re-install shifter head and tighten bolt
o Re-install left foot peg
Disclaimer
Products from Viking Motorcycle Company LLC are intended for use in off-road vehicles only and hold:
.NO WARRANTIES, EXPRESSED OR IMPLIED, INCLUDING, BUT NOT LIMITED TO WARRANTIES OR
MERCHANTABILITY FOR A PARTICULAR PURPOSE."
Viking Motorcycle Company LLC will not be held liable for any failure or damage caused directly or indirectly from use of these
products. The installation and use of these products shall be conclusive evidence that the user assumes full responsibility for any
damage caused directly or indirectly by the use ofthese products.
Needle JEt Installation
l-Siock Ports
Y Vikins
ÆeSlots E-Clip Wosher m@
Stock
Wosher
Viking Porl.s l_J
1 ,lf you ore instolling this kit on on lnterstote model, remove the "oir vent pods"
in order to get to the corburetors, {,ffi
2.RemovethechromechokelinkogecoVers(bothsides).ffi
3,Remove the choke slide by removing the two Phillips heod screws, Removing the right side
first will moke this process eosier,
4,Remove the corburetors top ond slide spring by removing the 3 Phillips heod screws
S,Remove diophrogm ond slide from corburetors by hond.
6,Then use one of ihe corburetor's top Phillips screw to remove the center of the diophrogm
by threoding thot screw into the center hole (1) ond pulling gently,
7,From the diophrogm with the center token out, remove the needle,
S.Ploce the E-Clip on the fourth slot from shorp tip of the new Viking Needle,
9,Put the existing stock wosher on the needle under the E-Clip ond the Viking supplied
wosher on top or obove ihe E-Clip,
l0,Then ploce the needle ossembly bock into the diophrogm,
I 1 Ploce the Center of diophrogm bock into corburetor until it clicks, remove the Phillips screw.
l2,Reploce the diophrogm into the corbureior being very coreful not to domoge
the needle ond to line the needle up with the receiver (or moin jet),
l3,Moke sure the diophrogm edge fits securely bock into the groove oround the outer ring
of the corburetor.,
l4,Reploce the slide spring ond corburetor top.
15,Repeot for eoch corburetor,
16, For technicol ossistonce go to VikingMotorcycle,com/instoll or for fudher help coll our
technicion of 909-9 46-6837, Pleose leove your ncme & number if our technicion is
not ovoiloble,
|
|
|
|
|
Logged
|
1998 Std/Tourer, 2007 DR200SE, 1981 CB900C 10speed
1973 Duster 340 4-speed rare A/C, 2001 F250 4x4 7.3L, 6sp
"Our Constitution was made only for a Moral and Religious people. It is wholly inadequate to the goverment of any other."
John Adams 10/11/1798
|
|
|
|
desertrefugee
|
|
« Reply #17 on: August 25, 2016, 06:33:00 PM » |
|
Thanks CA. It's really good to know these things accept the factory shields. Means I have a fighting chance to find a pair. Have a WTB in the classifieds.
|
|
|
|
|
Logged
|
'97 Bumble Bee, '78 GL1000, '79 CBX, '78 CB750F, '74 CB750
|
|
|
|
desertrefugee
|
|
« Reply #18 on: September 09, 2016, 08:54:04 PM » |
|
I may be preaching to the choir, but I am seeing that good used parts can be challenging to find for the Valkyrie. The last GL1500C rolled off the line 13 years ago. Mine is 19 years old. The danged things are getting old. Used parts are getting more used. I noted in this thread that, as part of the Tourer conversion, I found and installed a set of Viking pipes. They were lacking the header collector covers and I had resigned myself to going without them...until CA pointed out that the factory shields were used on the Vikings! Boy, was I happy. Had they been Viking-specific, I'd have been screwed. Unobtanium. But, then I found that even a decent pair of OEM shields were not exactly common. A number of rusty and otherwise damaged examples were available on ebay, but nice ones were scarce. I ended up finding the left and right sides from separate sources. Admittedly, sourcing components in time-frames of weeks rather than months or years is not too bad, but it IS a sign of things to come. So, I'm done. Really. No more. Time to ride, yessir, not another item. (Not counting the upcoming LED conversion...) Before: 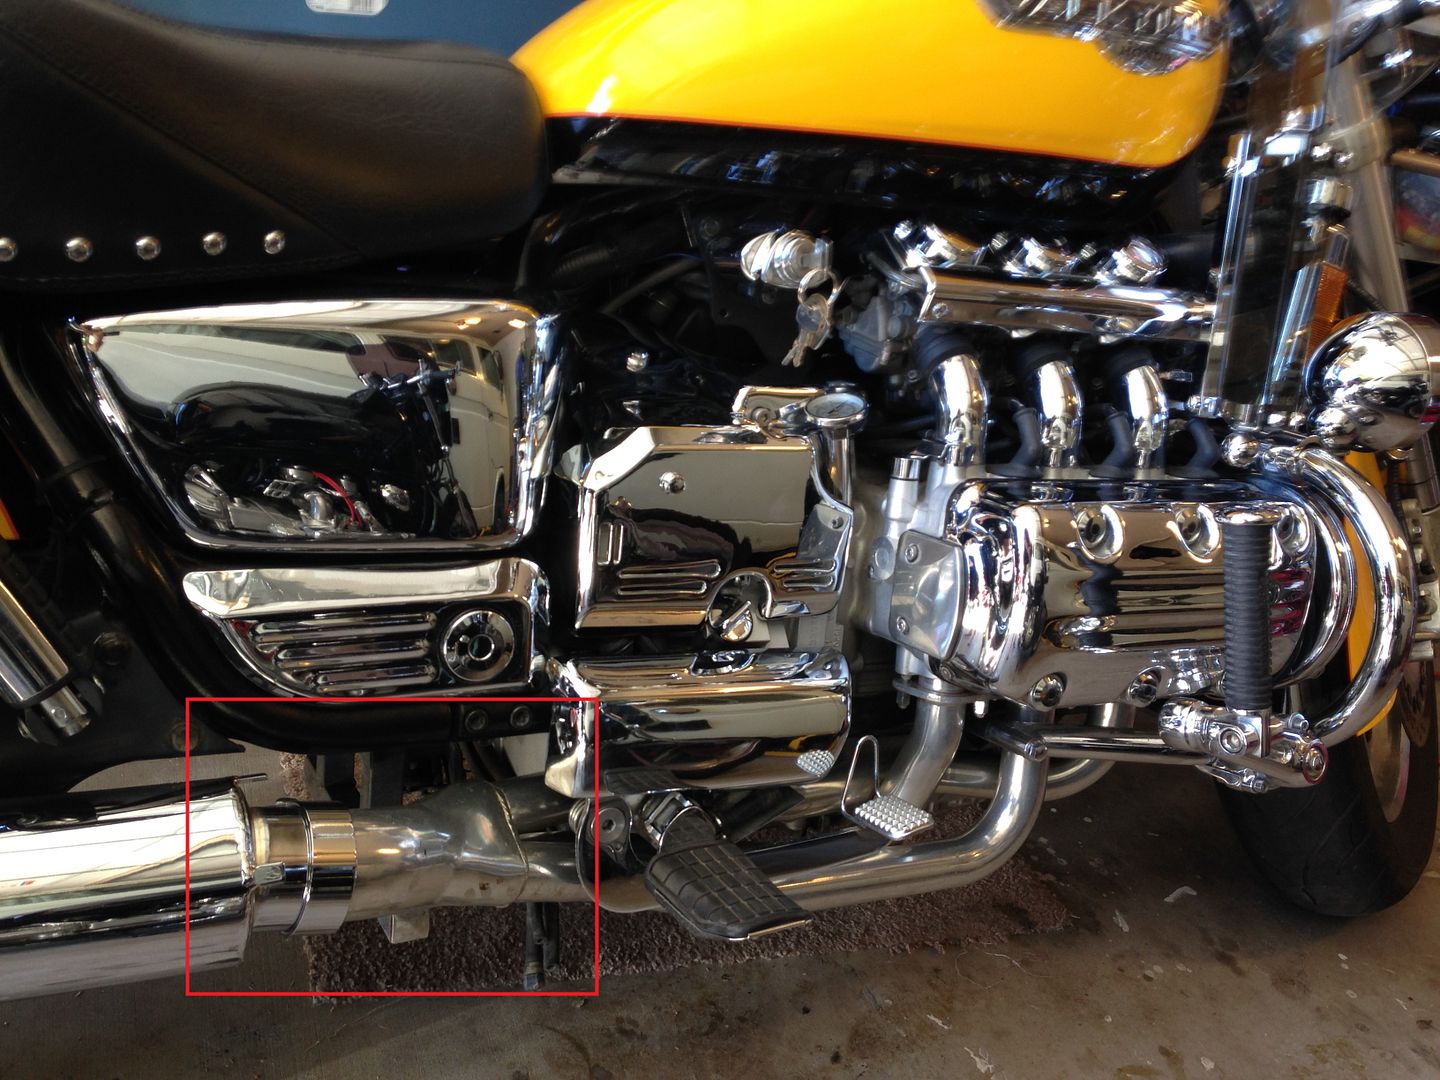 After: 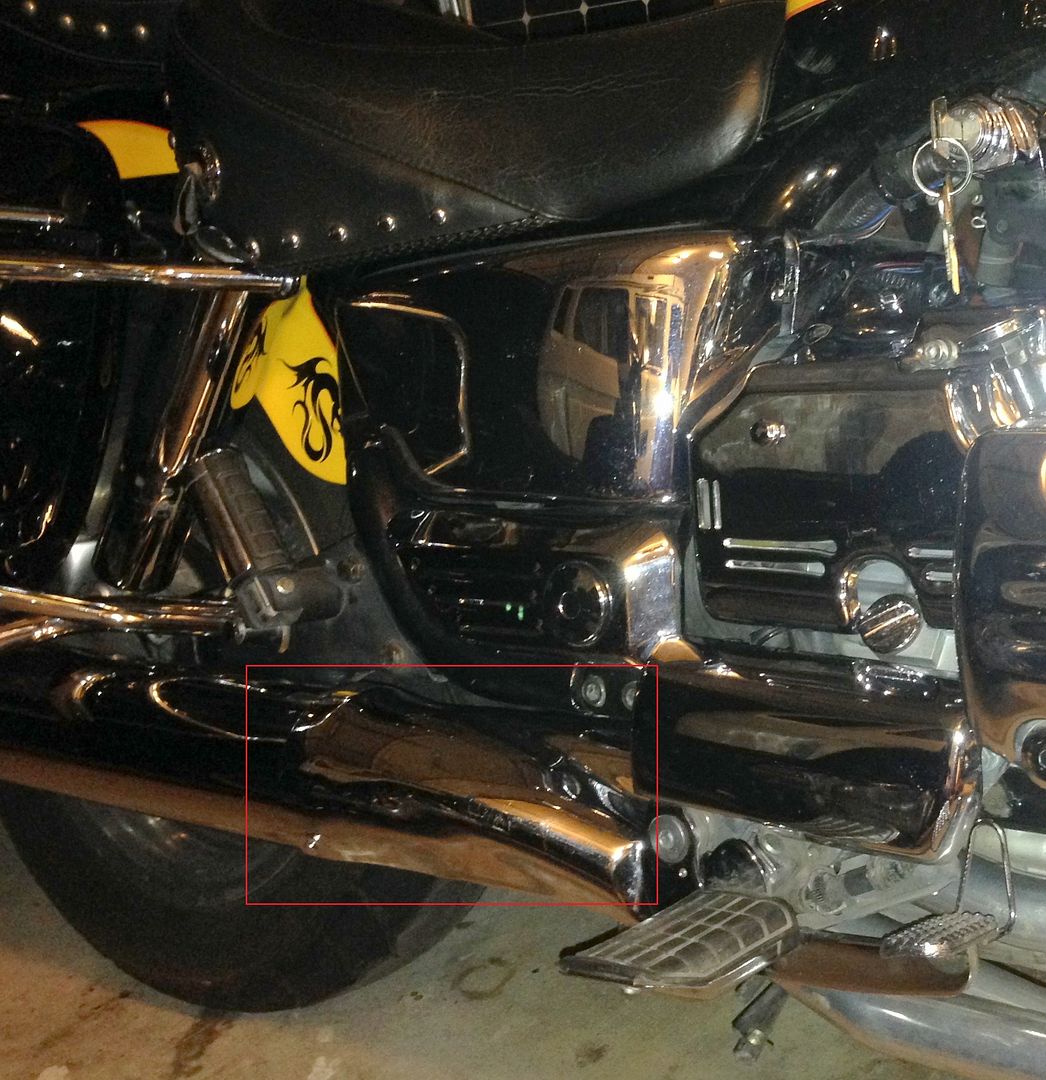 |
|
|
|
|
Logged
|
'97 Bumble Bee, '78 GL1000, '79 CBX, '78 CB750F, '74 CB750
|
|
|
|
dconstruct55
|
|
« Reply #19 on: September 09, 2016, 09:24:17 PM » |
|
Great looking bike! Love the backrest plate, where did you find that?
|
|
|
|
|
Logged
|
|
|
|
|
desertrefugee
|
|
« Reply #20 on: September 09, 2016, 09:31:21 PM » |
|
Thanks! That plate was on the bike when I got it. PO must have installed it.
|
|
|
|
|
Logged
|
'97 Bumble Bee, '78 GL1000, '79 CBX, '78 CB750F, '74 CB750
|
|
|
|


