|
Davemn
|
 |
« on: March 15, 2017, 09:37:19 AM » |
|
Replacing bearings at 52,000 miles. I have it all apart. I don't want to ding anything up. Not much room in there. Do they drive out with a punch? Best for the dealer to do? I don't have a puller. Thanks.
|
|
|
|
|
 Logged
|
|
|
|
|
Bone
|
 |
« Reply #1 on: March 15, 2017, 10:22:38 AM » |
|
My 98 Tourer has 145K with all the original bearings.
Don't know how a dealer removes the bearings.
|
|
|
|
|
 Logged
|
|
|
|
|
Hook#3287
|
 |
« Reply #2 on: March 15, 2017, 12:22:18 PM » |
|
Driving them out is not that big a deal, I've used a 1/2 drive socket extension from the opposite side, working around the bearing tapping with a hammer.
Installing is trickier, you don't want to hit on the inside race of the bearing. I've used a deep socket just the right size to engage the outside of the bearing race but inside the bearing pocket on the hub. Tapping lightly and they go in. Some will put them in the freezer for a couple of hours before install, but I've never needed to.
Don't forget the spacer on reinstall.
|
|
|
|
|
 Logged
|
|
|
|
|
Avanti
|
 |
« Reply #3 on: March 15, 2017, 12:28:41 PM » |
|
There is a spacer sleeve between the two bearings. All though it is compressed between the bearings it is possible to move it off center. Move it off center by reaching in past one of the bearings, at that point you will be able to push the opposite bearing out. Remove spacer and push other bearing out. Remember to press bearings in with the appropriate tool so as not to damage new bearings or you will get to do it all over again. Using a bearing puller is the best method. Taking the bearing out or putting it in not square to the machined fit opening will cause galling (friction welding) and the bearing will no longer have the proper press fit. This does not mean that you can not do it yourself.
Remove and replace bearings square to the machined fit opening remembering to replace the spacer sleeve between the bearings!
You might want to check the manual.
|
|
|
|
|
 Logged
|
|
|
|
|
Jess from VA
|
 |
« Reply #4 on: March 15, 2017, 12:37:17 PM » |
|
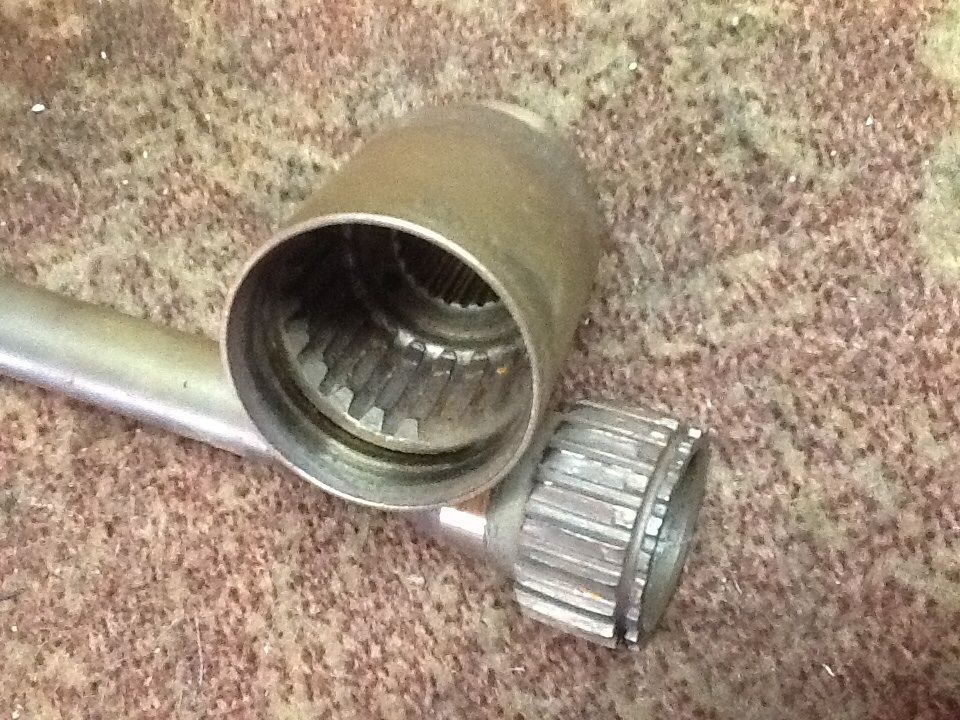
Just for general information, I discovered just by happenstance, that my new (reserve) pinion cup is exactly the perfect size to tap in a wheel bearing. It is a very hard steel, and the wide mouth just touches the very outer edge of the wheel bearing. I froze mine, and a few gentle taps with a rubber mallet on the pinion cup put the bearing perfectly in the bearing pocket. That was over 20K ago, so all is well. I know that beating bearings in is bad business, but taping one in gently from the outer edge is fine.   |
|
|
|
« Last Edit: March 15, 2017, 12:38:50 PM by Jess from VA »
|
 Logged
|
|
|
|
|
Davemn
|
 |
« Reply #5 on: March 15, 2017, 12:55:53 PM » |
|
Ok I drove them both out. Heated slightly around the cup, still came out pretty hard. I put the new ones in the freezer and drove them in with a big socket. Keeping square going in is the key. Still went in pretty hard but happy with the results I guess.
I bought the new bearings a few years ago to have on hand before a long trip. Decided to put them to use. No problems with the original bearings.
Thanks for the help.
|
|
|
|
|
 Logged
|
|
|
|
h13man
Member
    
Posts: 1892
To everything there is an exception.
Indiana NW Central Flatlands
|
 |
« Reply #6 on: March 16, 2017, 07:08:18 AM » |
|
I use 1/2" all thread setup to" draw" them in place. This includes a socket or sockets and washers for friction plates to clear the inner race/seal on opposing side. As far as removal, a long piece of 1/2" CRS round stock using the tap method as others do.
|
|
|
|
|
 Logged
|
|
|
|
Skinhead
Member
    
Posts: 8753
J. A. B. O. A.
Troy, MI
|
 |
« Reply #7 on: March 16, 2017, 09:03:58 AM » |
|
You remembered the Spacer right?
|
|
|
|
|
 Logged
|
 Troy, MI |
|
|
|
Davemn
|
 |
« Reply #8 on: March 16, 2017, 12:20:31 PM » |
|
The spacer is IN. Although it's a bit tighter. I won't live long enough to have to replace them again.
|
|
|
|
|
 Logged
|
|
|
|
|
old2soon
|
 |
« Reply #9 on: March 16, 2017, 02:43:15 PM » |
|
The spacer is IN. Although it's a bit tighter. I won't live long enough to have to replace them again.
When atticrat did mine coupe years ago he drove them out Carefully and then had a fairly long piece of all thread and a goodly selection of washers. I'm thinkin-do NOT say it-that the all thread was a fine thread as opposed to a coarse thread. He had also put the new bearings in the freezer the night before. I'm thinkin U-joint and rear wheel bearing on my 99 I/S at 93000 miles or so. RIDE SAFE. |
|
|
|
|
 Logged
|
Today is the tommorow you worried about yesterday. If at first you don't succeed screw it-save it for nite check. 1964 1968 U S Navy. Two cruises off Nam.
VRCCDS0240 2012 GL1800 Gold Wing Motor Trike conversion
|
|
|
Attic Rat
Member
    
Posts: 446
VRCC # 1962
Tulsa, OK

|
 |
« Reply #10 on: March 16, 2017, 08:09:47 PM » |
|
Dennis that was a one inch bolt and the washers were 1 inch thick which makes a good press to press the wheel bearing back in. Guess your memory is going too LOL
|
|
|
|
|
 Logged
|
The Attic Rat Performance Works
|
|
|
gordonv
Member
    
Posts: 5766
VRCC # 31419
Richmond BC
|
 |
« Reply #11 on: March 16, 2017, 09:36:05 PM » |
|
This is the tool I use at work for bearings. https://www.youtube.com/watch?v=ZxS8SE7XINYYou can see the bearing coming out at around the 1 min mark, and going back in at 2 min. Video is 5:37 long. Same basic principal of the threaded redi-rod. Or I think it is, from all I've read. |
|
|
|
|
 Logged
|
1999 Black with custom paint IS   |
|
|
|
|
|
Harryc
|
 |
« Reply #13 on: March 17, 2017, 07:03:46 AM » |
|
In case anyone is interested since I did look them up, the Honda part numbers for the bearing removal set are;
Bearing Removal Head - 07746-0050600
Bearing Remover Shaft - 07746-0050100
|
|
|
|
|
 Logged
|
|
|
|
|
Roadog
|
 |
« Reply #14 on: March 17, 2017, 09:27:48 AM » |
|
I always use the old bearing to drive in the new bearings. The outside races are same so easy to drive using outside races. no issues on damaging the inside races doing this Works for me.
Ride safe
Roadog
|
|
|
|
|
 Logged
|
|
|
|
|

