PC8 Install and Layout
Hey Folks,
When I bought my ‘98 Standard, it already had some electrical add ons and I had more in mind but I do not like electrical octapuses. From the tangled clutter of wires and fuse holders to a little less tangled cluster of wires and a more organized electrical center for fuses and relays. I saw a photo several years ago of a hinged panel under the right side cover. I liked the idea. What follows is my solution:
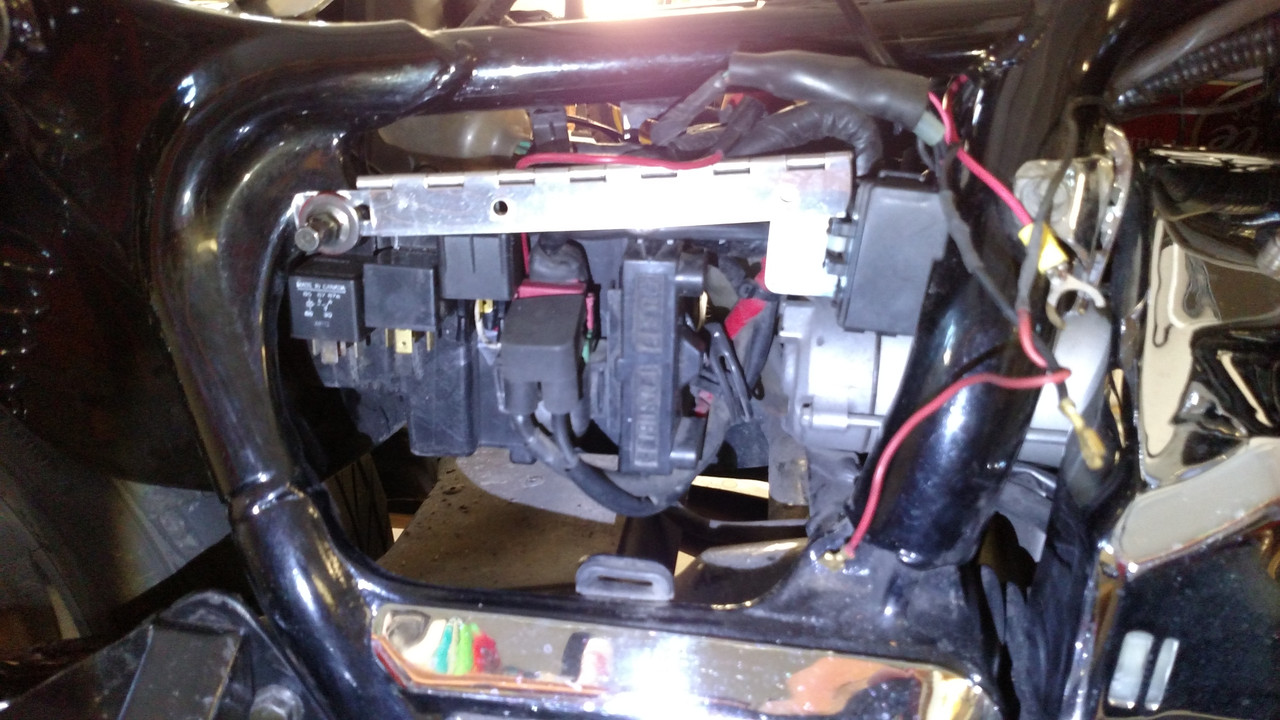
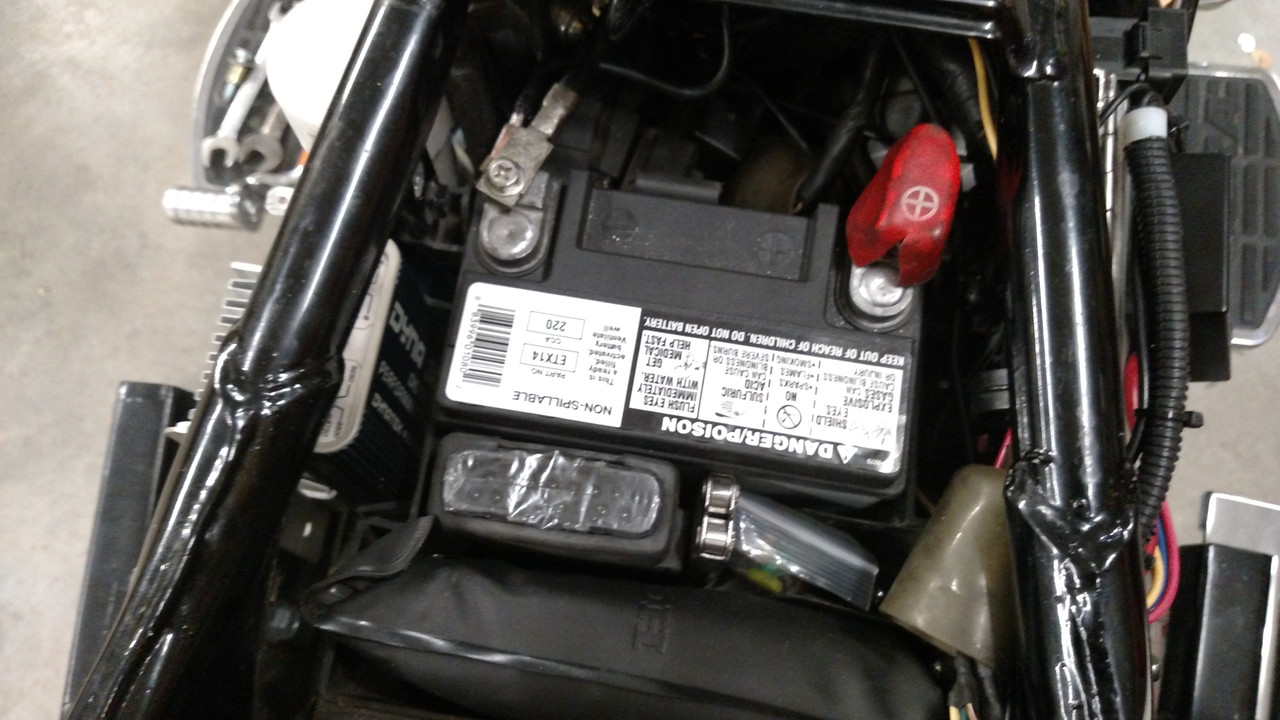
What I had under the seat and battery cover:
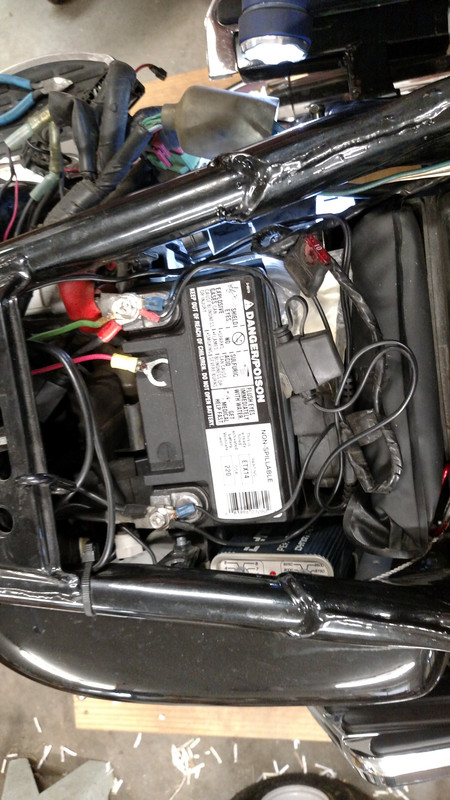
Under the side cover:
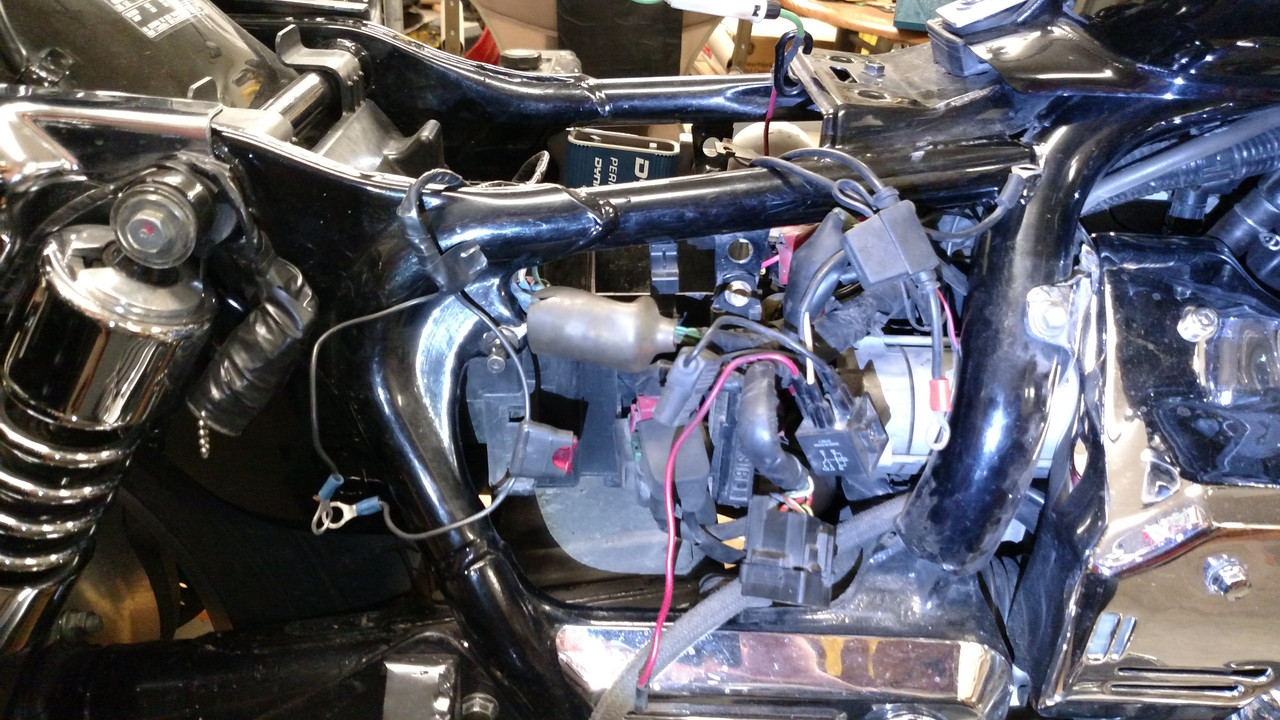
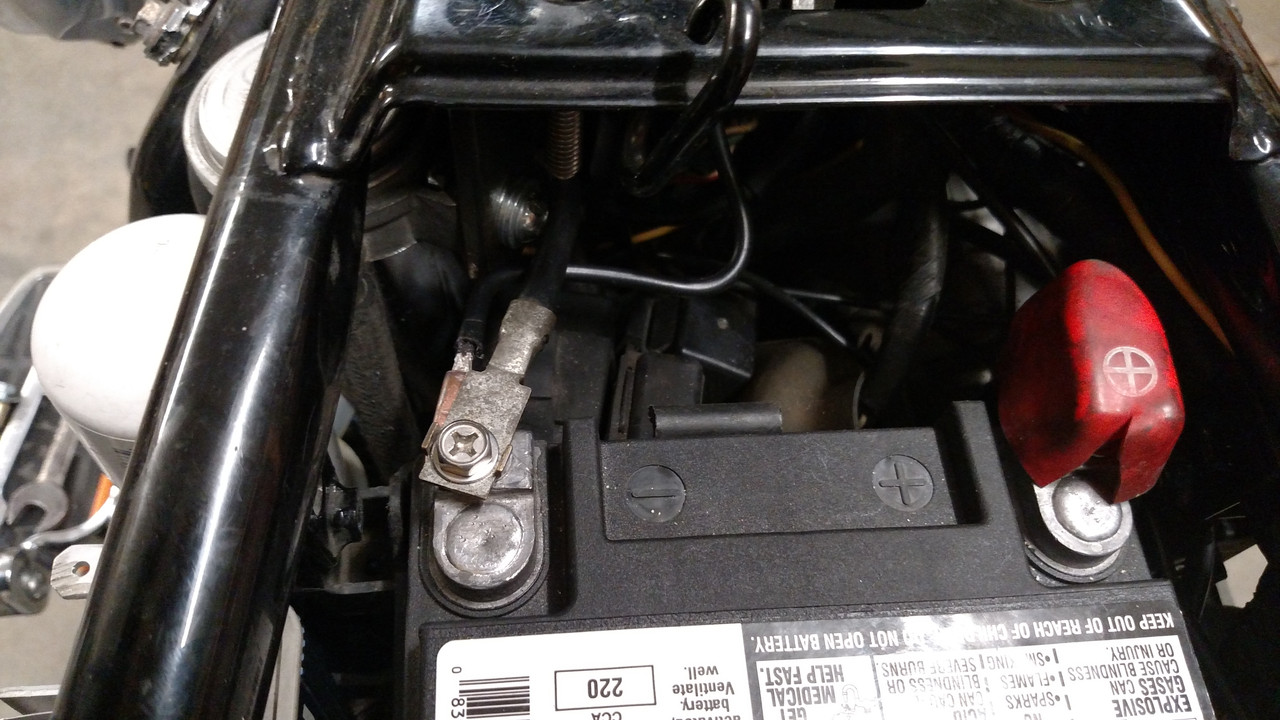
I pulled some stuff out and shined a bit of light in there to see how I could arrange things.

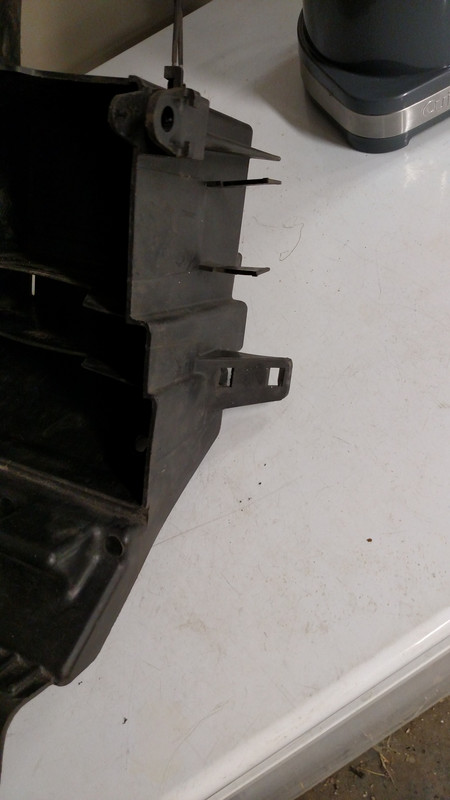
Pulled the battery box and cut off the tab that held the OEM fuse block. Not the ones in the top of the photo, but the one with the 2 square holes. I decided I would move that OEM fuse panel so would not be using that long tab you see on the side of the box.
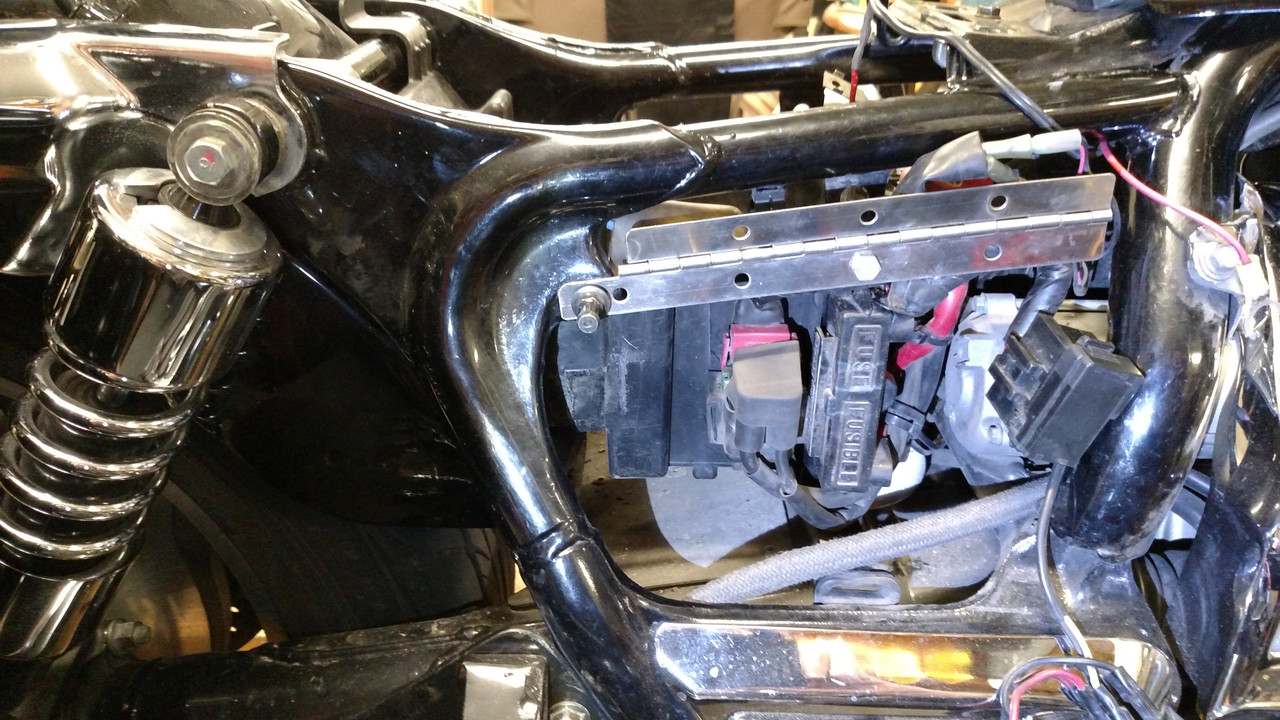
I bought a 12 inch piece of stainless piano hinge at the hardware store and trimmed it to fit my application. I put a long bolt thru one of the hinges original holes and used a spacer to hold the hinge out for clearance. This bolt replaces the battery box mounting bolt on this side. The left side of the hinge is held by the side panel catch post. I had to cut a little more off the right side of the hinge after this photo to make room for the OEM fuse panel.
In this photo you can see the OEM fuse panel attached to the right side of the hinge. I used a very short piece of aluminum angle to form this attachment point.
In this photo, you can see 3 of my relays mounted on the side of the battery box. I don’t remember exactly right now but I am thinking 5 more went in that area by the time I was done.
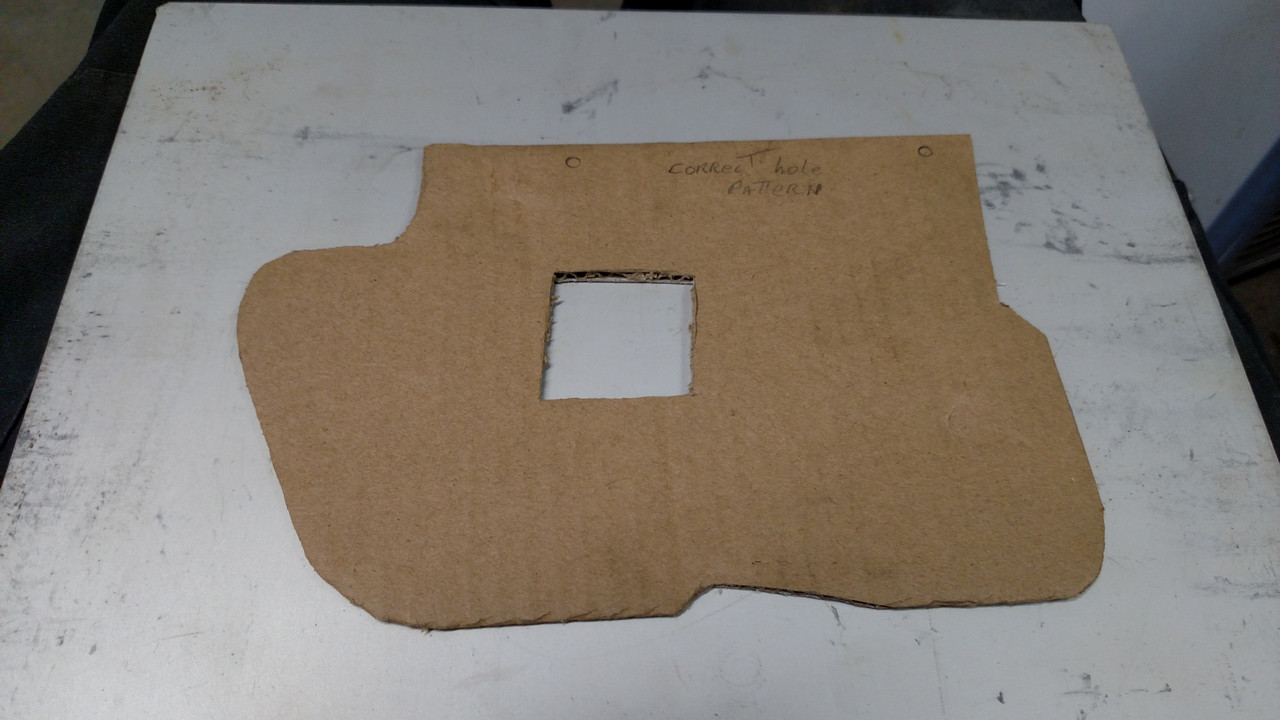
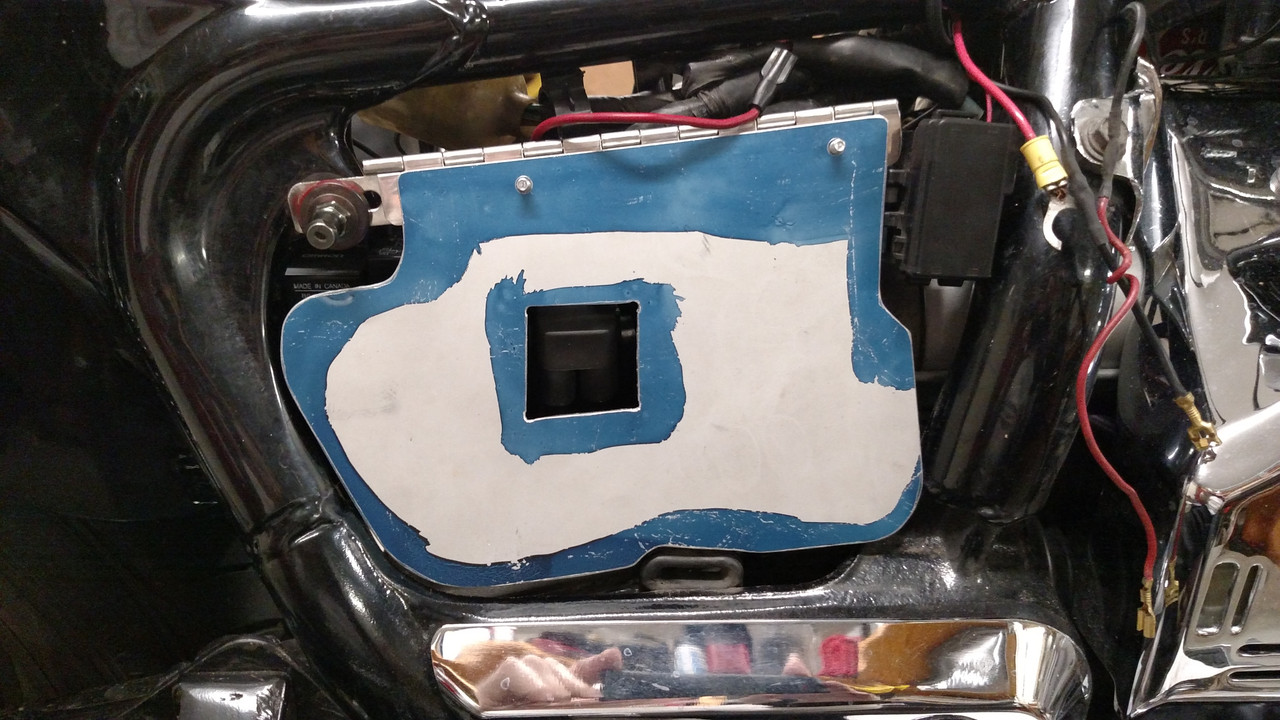
Now the fun part! I took a piece of cardboard and cut and trimmed it until I had the shape I wanted for the hinged panel. I marked for the mounting holes using the existing holes in the hinge. Also, since my panel was going to be aluminum, I cut a window in the panel around the top of the starter relay. I probably don’t need that window since it would be very difficult for the panel to get hit hard enough to short out the start relay but I did it just for insurance against such ugliness.
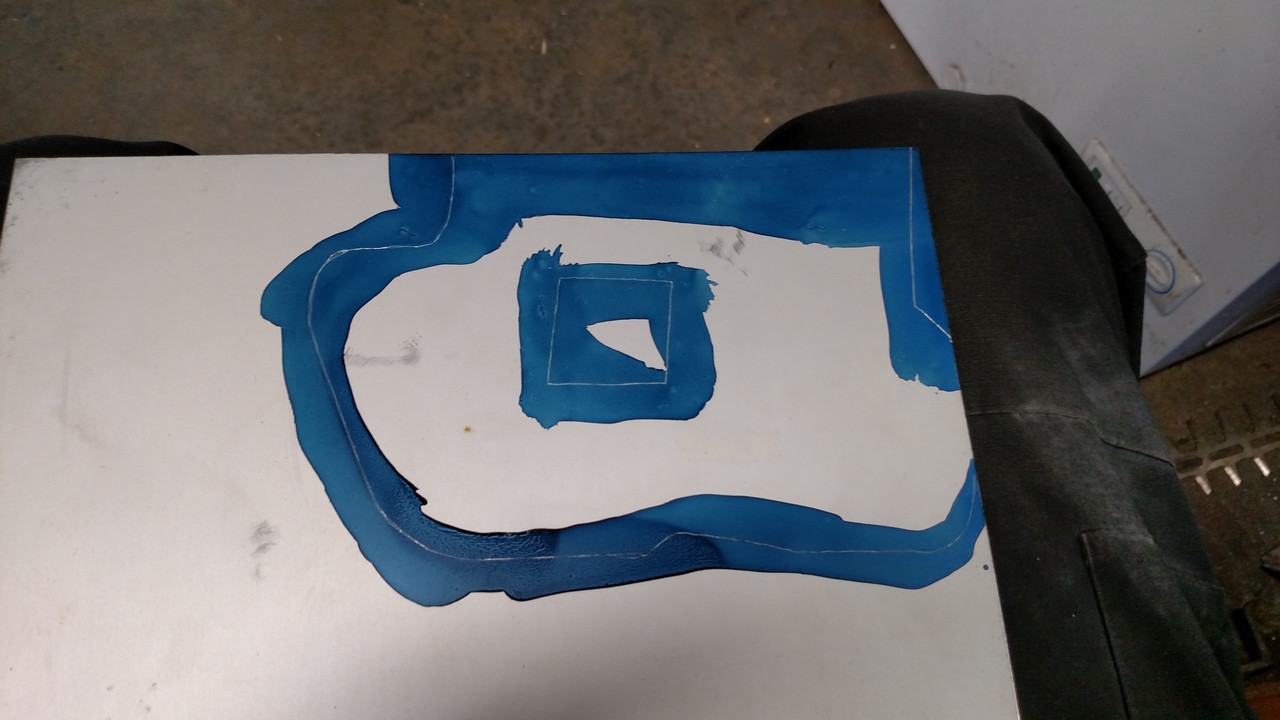
Transfered the pattern to the aluminum.
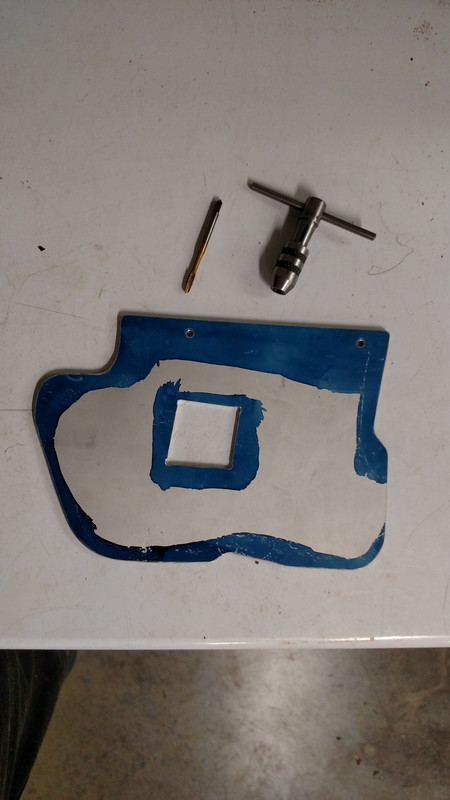
After cutting the panel out, I drilled and tapped the mounting holes so that I could use button head screws from the inside of the hinge out thru the panel leaving enough bolt sticking out to use a nut on for wire clamps.
Panel bolted to the hinge and with a bit of final trimming and filing fitting nicely. Note; the bottom right corner of the panel hits against the frame when closed. This is the stop that keeps the panel from being pushed in to far.
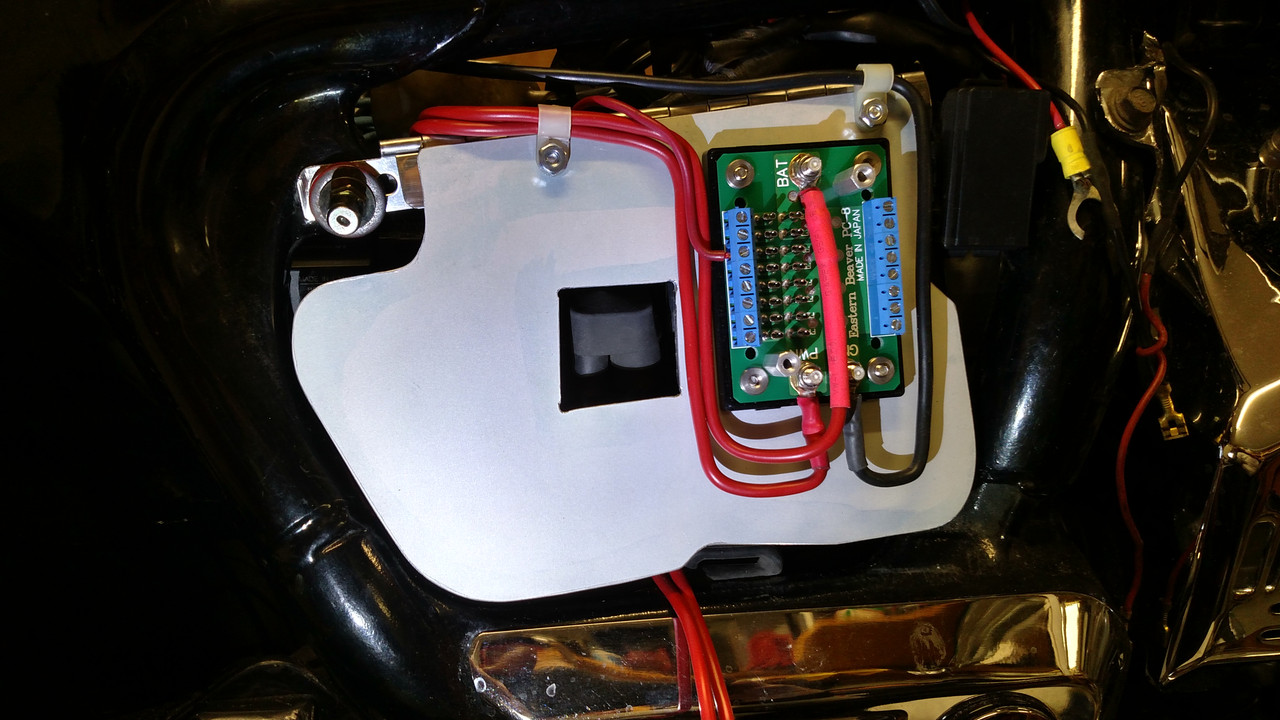
Finally had the PC8 mounted and began the task of wiring. Both main hot circuits are fused and one is on all the time while the other is on only with the key on.
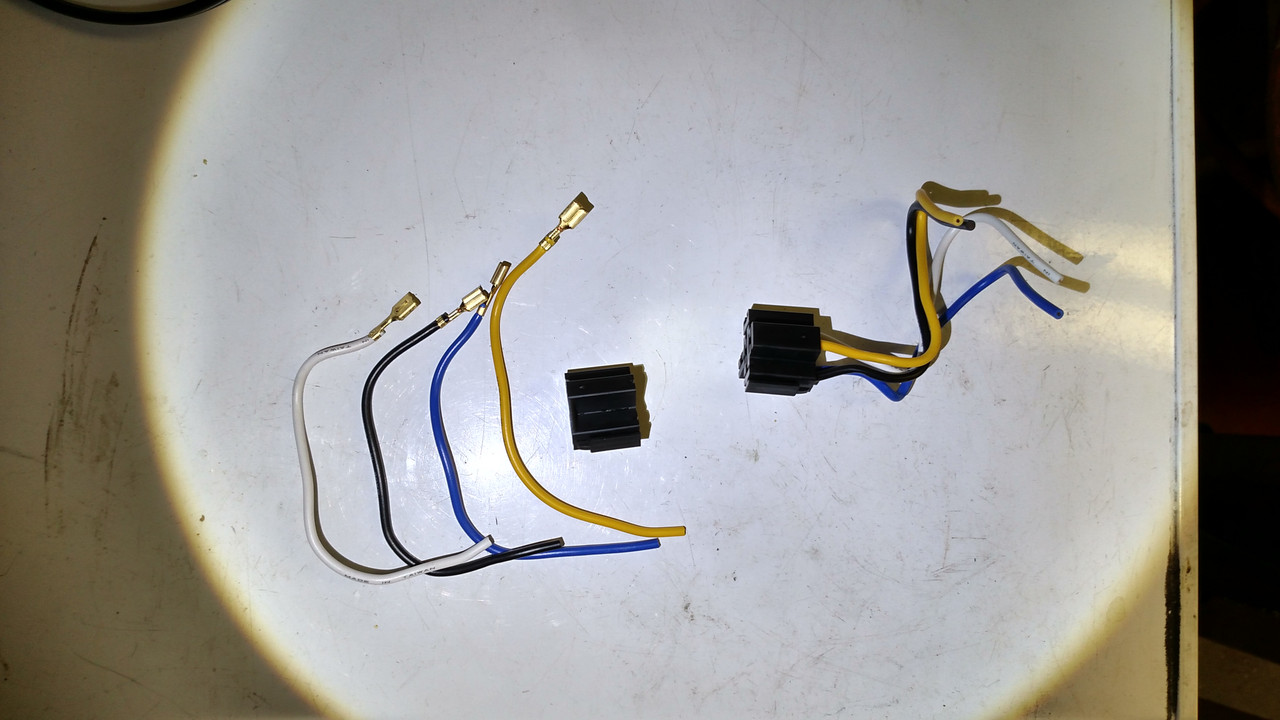
I bought these pig tails for relays but did not want splices everywhere so pulled the wires out. I soldered brass connectors (from Digikey) to the correct length of wire for each circuit I was making. These new connectors just snap right into the black plastic housing so good plug and no splices.
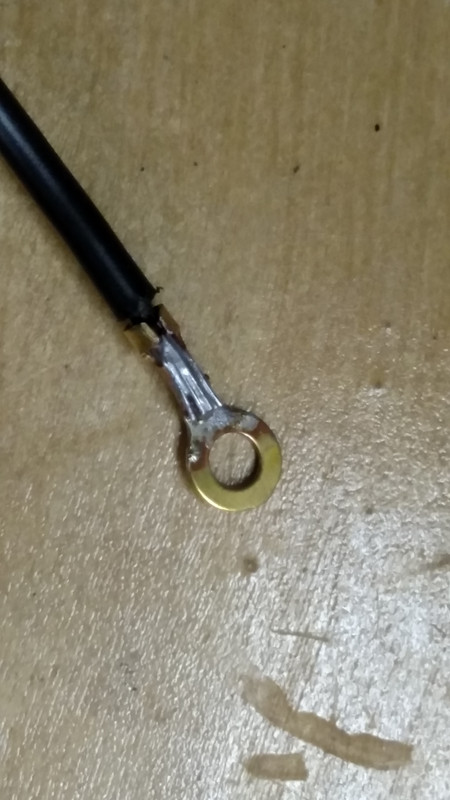
A crimped terminal is an electrical problem just waiting for the most inopportune time to fail. So....I solder them all.
The finished panel and a look inside the battery box after this loving exercise was completed.

I also added a short pigtail under the seat to be able to plug in for lights on a trailer. Never thought I would use that but..........I have. Hmmmm.....I had a photo of that too but don’t have it uploaded now. Maybe later.
Hope this is helpful to some.
Bigwolf


