|
Savago
|
 |
« Reply #40 on: June 02, 2023, 08:54:03 PM » |
|
Anyway, I'm proceeding with inspecting/cleaning the final drive/pumpkin this weekend. I'm starting to feel a bit more optimistic about the whole ordeal. This time, I hope that by doing the job myself, it will be done properly.  |
|
|
|
|
 Logged
|
|
|
|
|
RonW
|
|
« Reply #41 on: June 02, 2023, 09:11:52 PM » |
|
"I'm not a specialist, but my guess is that the spacer is gone..."Agreed! I see in the pic you're got 90° metal stems. 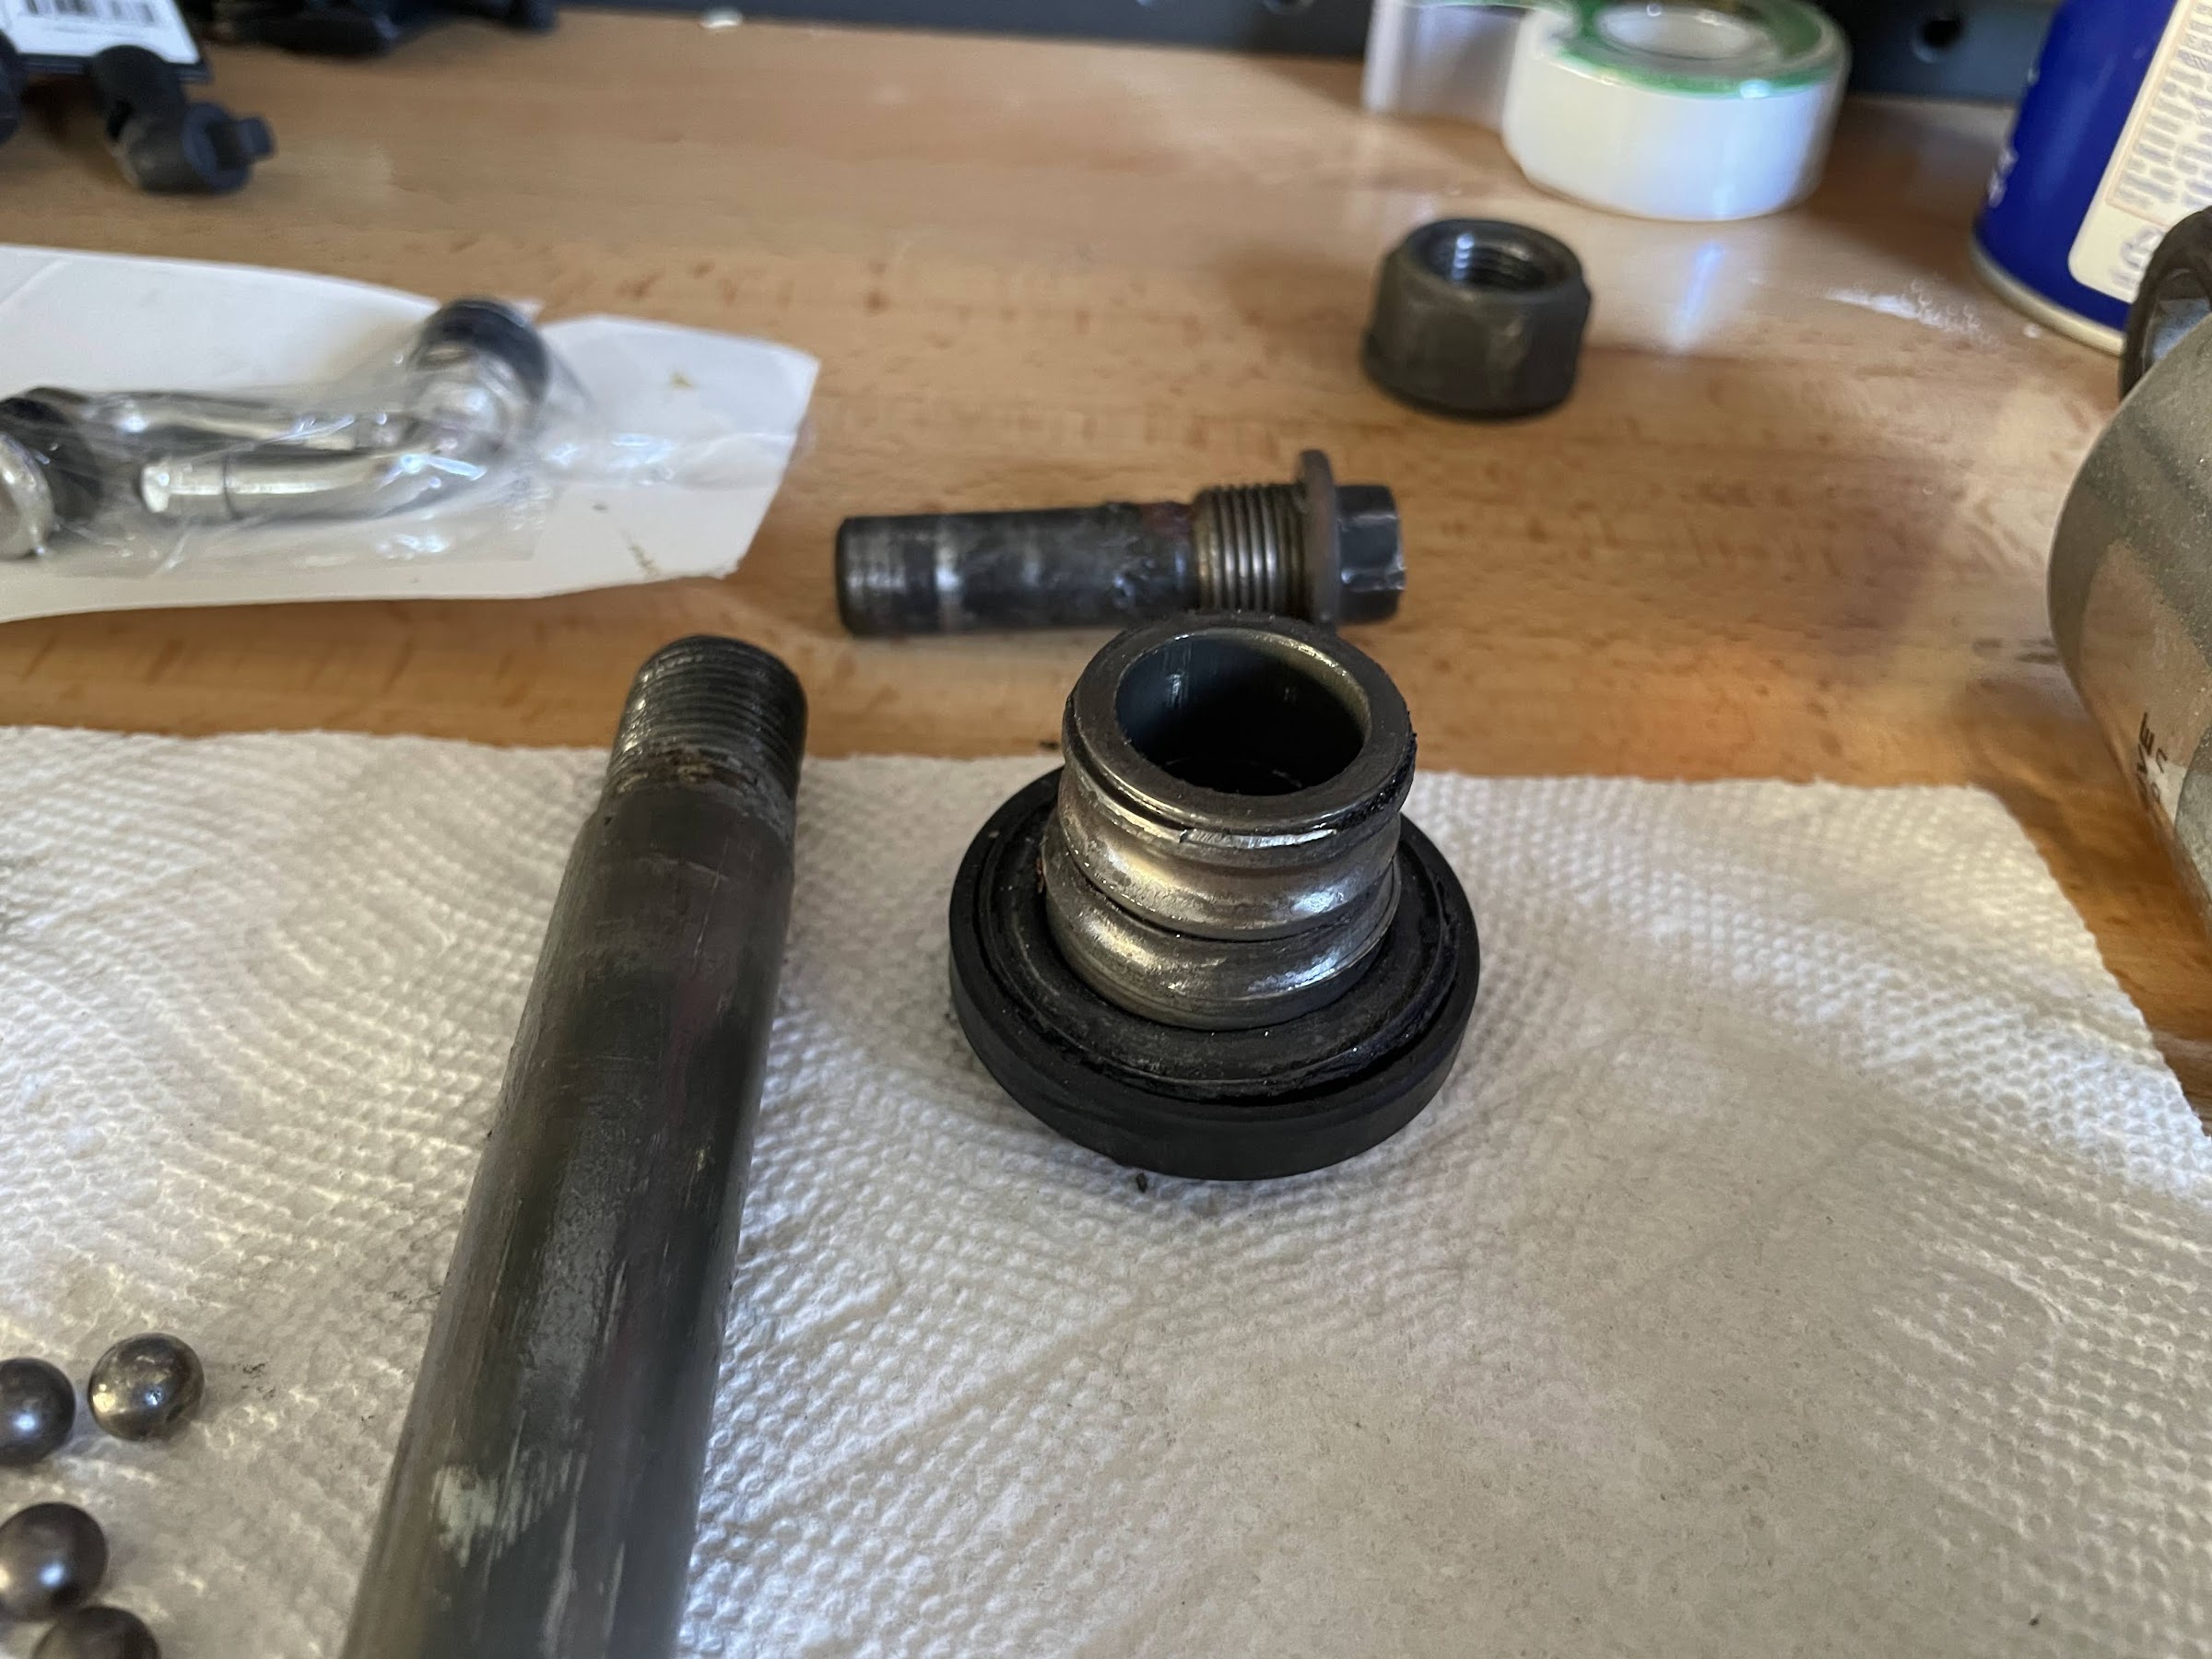
|
|
|
|
« Last Edit: June 02, 2023, 09:38:08 PM by RonW »
|
Logged
|
2000 Valkyrie Tourer
|
|
|
|
Savago
|
|
« Reply #42 on: June 02, 2023, 09:26:51 PM » |
|
@Ron: about the valve metal stems, it was courtesy of 'da prez'.  |
|
|
|
« Last Edit: June 02, 2023, 09:28:27 PM by Savago »
|
Logged
|
|
|
|
|
Savago
|
|
« Reply #43 on: June 02, 2023, 11:49:08 PM » |
|
I already got a replacement rim complete from @da prez. Assuming the final drive/pumpkin is still in order, the missing parts would be: 1) The 3 o-rings of death (because if you don't replace them, your final drive will eat itself alive): 91302-MA6-003 - O-RING (61X2) 91356-MG9-003 - O-RING (39.5X2.4) (ARAI) 91358-MG9-003 - O-RING (50.5X3.5) (ARAI) 2) Colar/spacer: 42313-422-000 COLLAR 3) Dust seal: 91253-443-761 DUST SEAL (30X47X8) (ARAI) I'm basing myself on the part numbers listed on: https://www.partzilla.com/catalog/honda/motorcycle/1999/gl1500cf-a-valkyrie-interstate/rear-wheel |
|
|
|
« Last Edit: June 02, 2023, 11:52:15 PM by Savago »
|
Logged
|
|
|
|
|
|
|
Savago
|
|
« Reply #45 on: June 03, 2023, 12:00:27 AM » |
|
|
|
|
|
|
Logged
|
|
|
|
|
luftkoph
|
|
« Reply #46 on: June 03, 2023, 06:00:38 AM » |
|
Something I learned many years ago with BMW’s, Heat and cold to fit close tolerance parts, on press fit wheel bearings like on our Valk’s every time that bearing comes out and is replaced it tears and rips minute bits of aluminum from the wheel, not a lot you can do about bearing removal, but on installation having the bearings in the freezer overnight and heating the wheel around the bearing up to 200-250 degrees makes them go in with a lot stress on both parts.
|
|
|
|
|
Logged
|
Some day never comes
|
|
|
|
Chrisj CMA
|
|
« Reply #47 on: June 03, 2023, 06:17:54 AM » |
|
Something I learned many years ago with BMW’s, Heat and cold to fit close tolerance parts, on press fit wheel bearings like on our Valk’s every time that bearing comes out and is replaced it tears and rips minute bits of aluminum from the wheel, not a lot you can do about bearing removal, but on installation having the bearings in the freezer overnight and heating the wheel around the bearing up to 200-250 degrees makes them go in with a lot stress on both parts.
I do this too. And on removal. I douse the bearing with penetrating oil and heat the hub. The aluminum will expand more than the steel so it still makes it more gooder. |
|
|
|
|
Logged
|
|
|
|
|
|
|
Savago
|
|
« Reply #49 on: June 23, 2023, 07:31:30 PM » |
|
I had a new rim supplied to me thanks to 'da prez' (thanks man!). I proceeded with installing a new rotor on it, using weak loctite just to be sure it won't get loose. The bolts came from the damaged rim, they still looked fine and I was in a hurry to finish the job (may order new ones from partzilla one day). 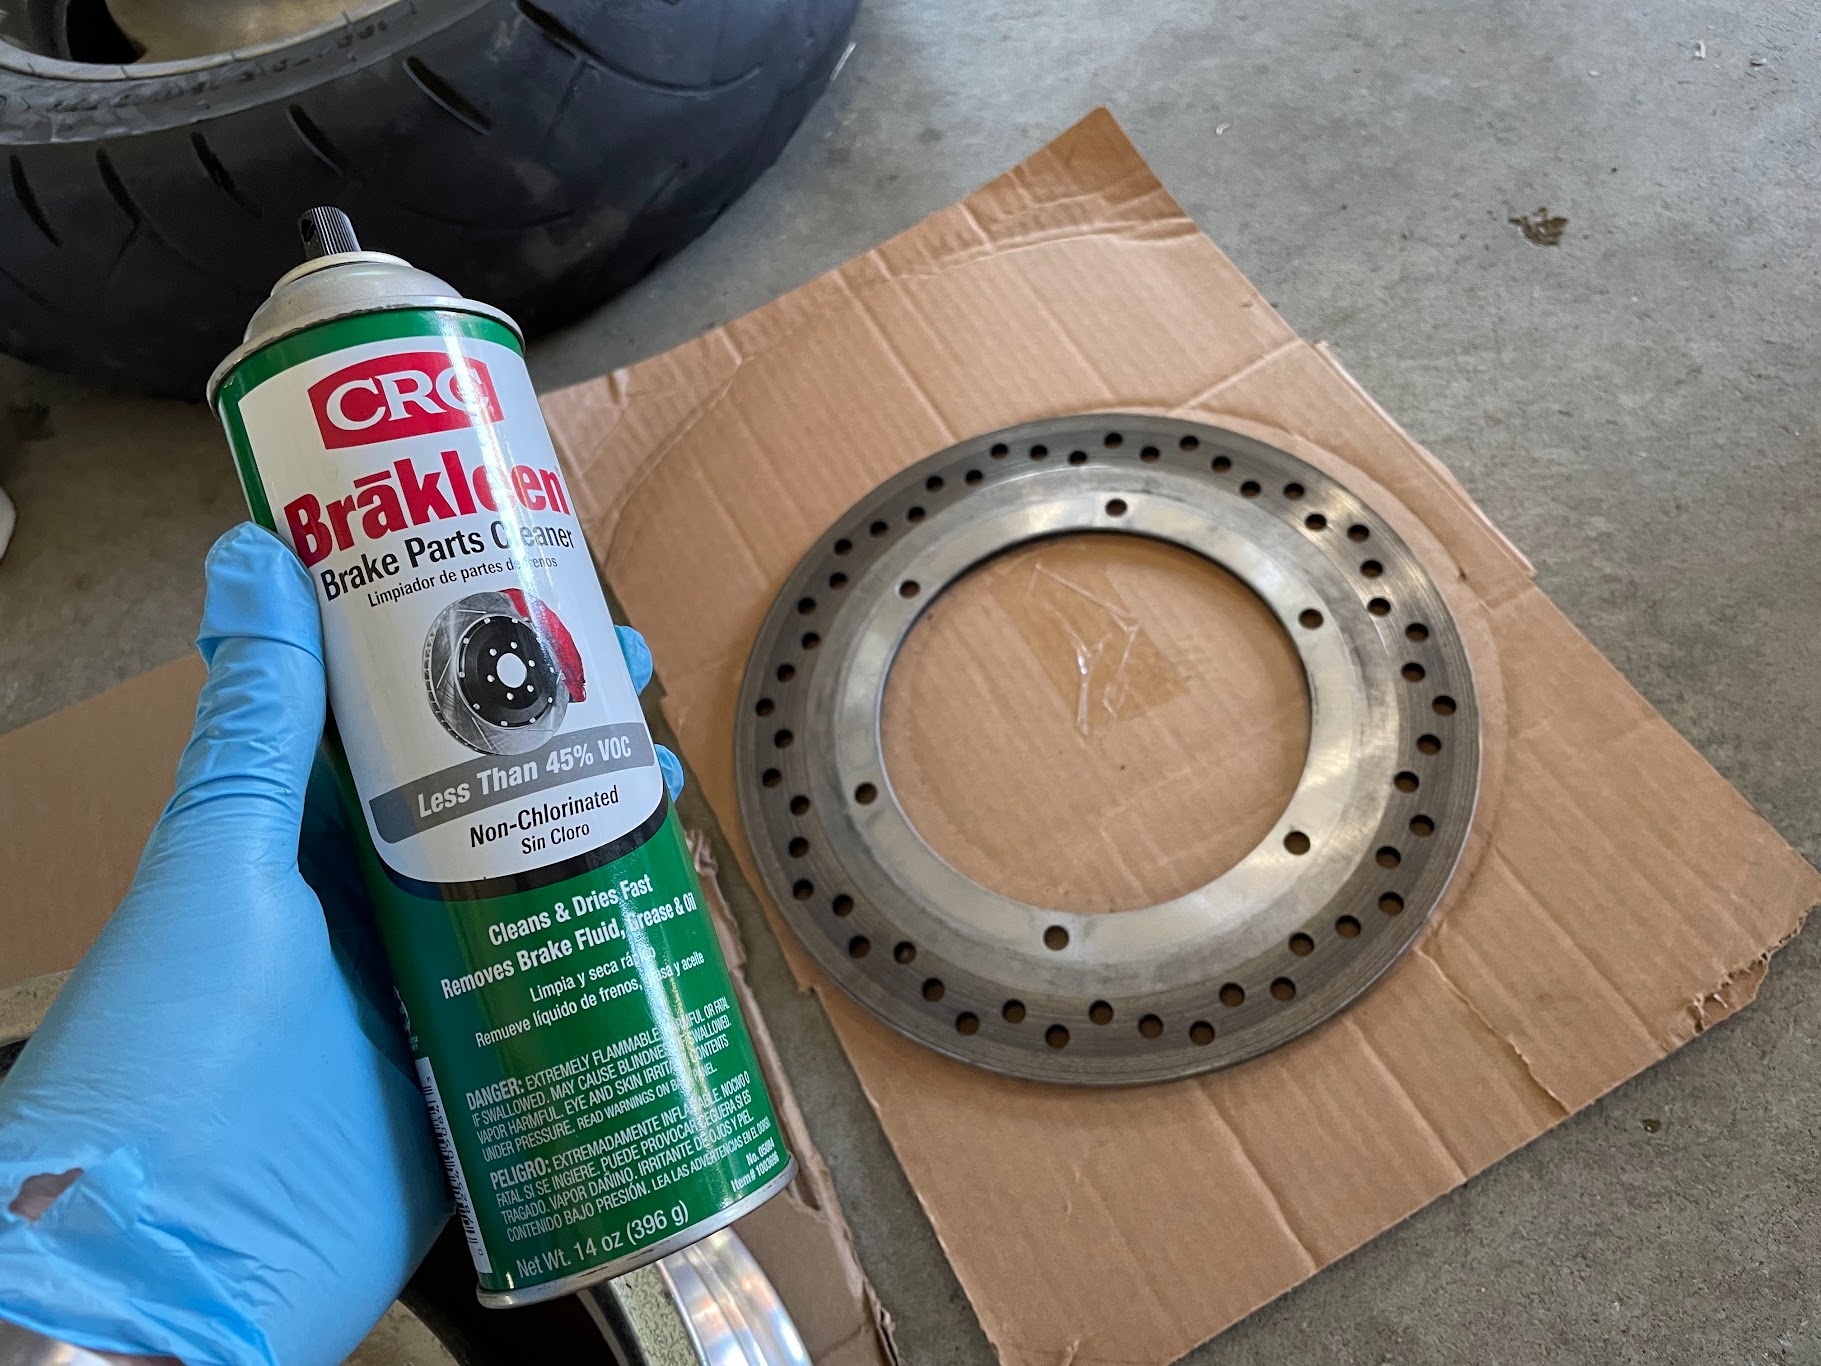 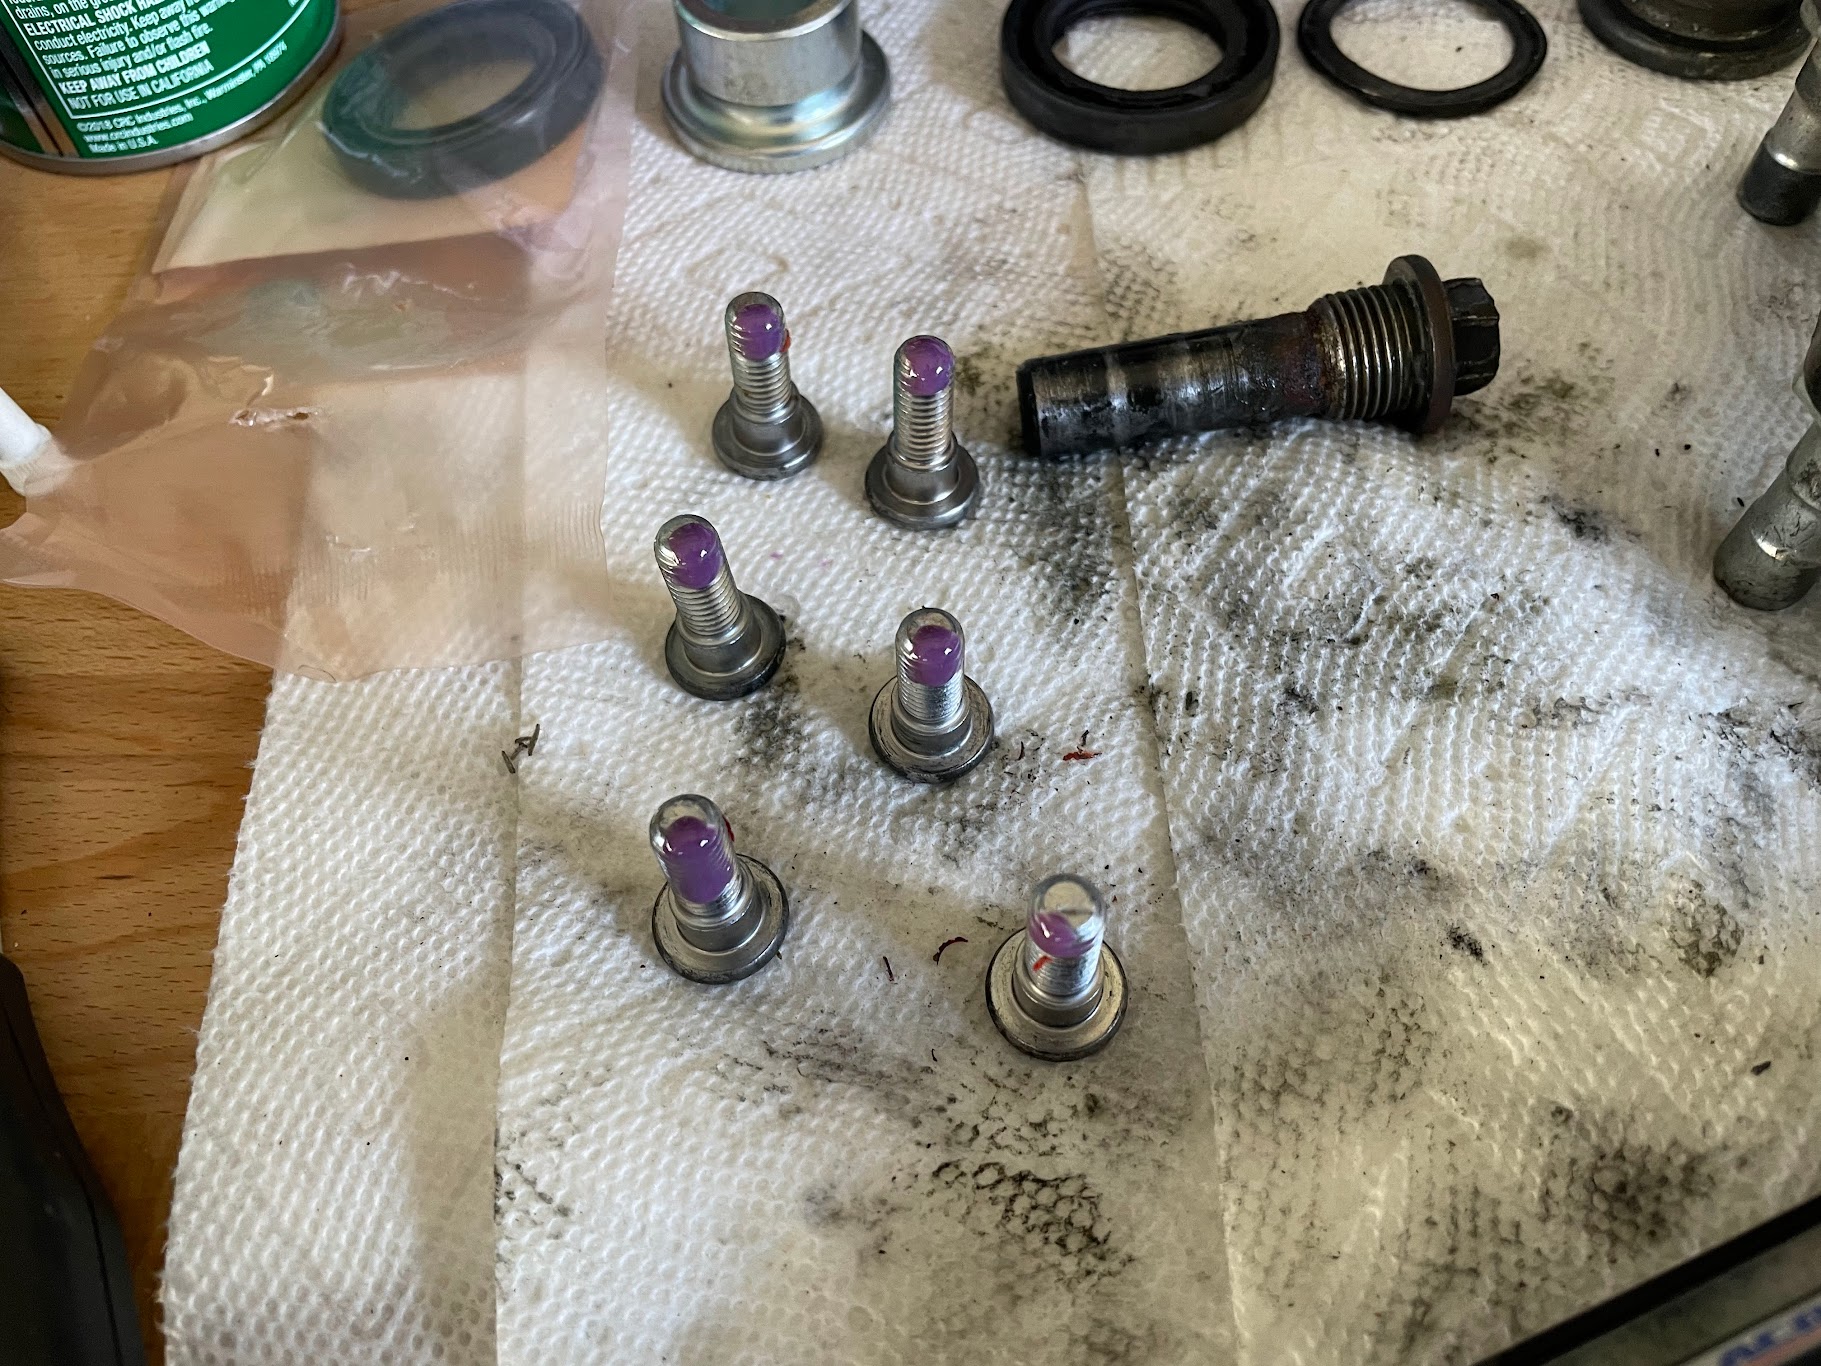 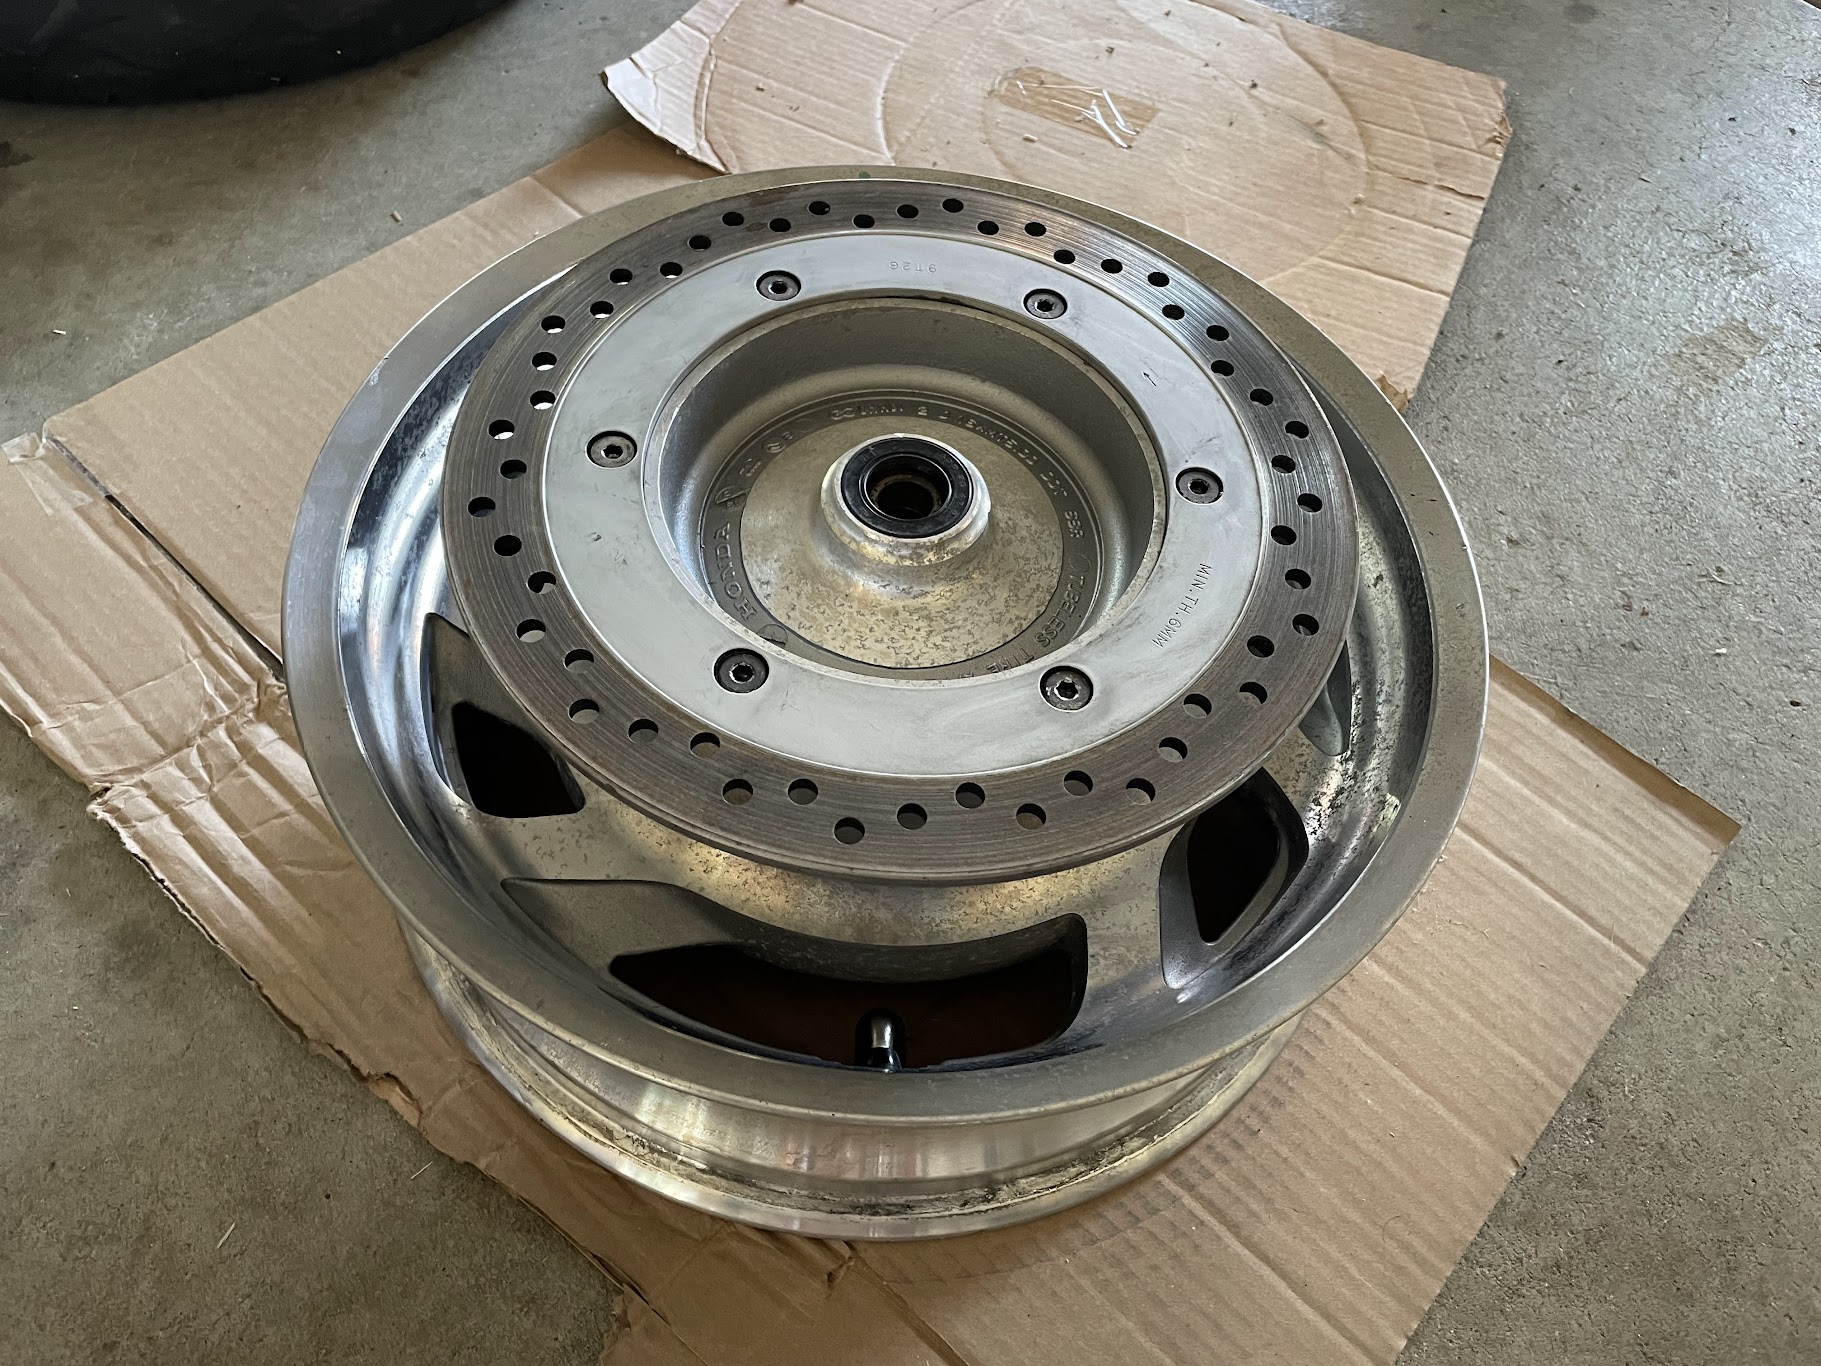 |
|
|
|
« Last Edit: June 23, 2023, 08:59:24 PM by Savago »
|
Logged
|
|
|
|
|
Savago
|
|
« Reply #50 on: June 23, 2023, 07:33:51 PM » |
|
I had Evolution Motorcycles (probably the only guys in the whole SF Bay Area that will not somehow botch the job and still work on vintage bikes) mount the tire in the wheel, also replacing everything on it: a) valve stem. b) rubber dampers. c) o-ring. d) bearings. 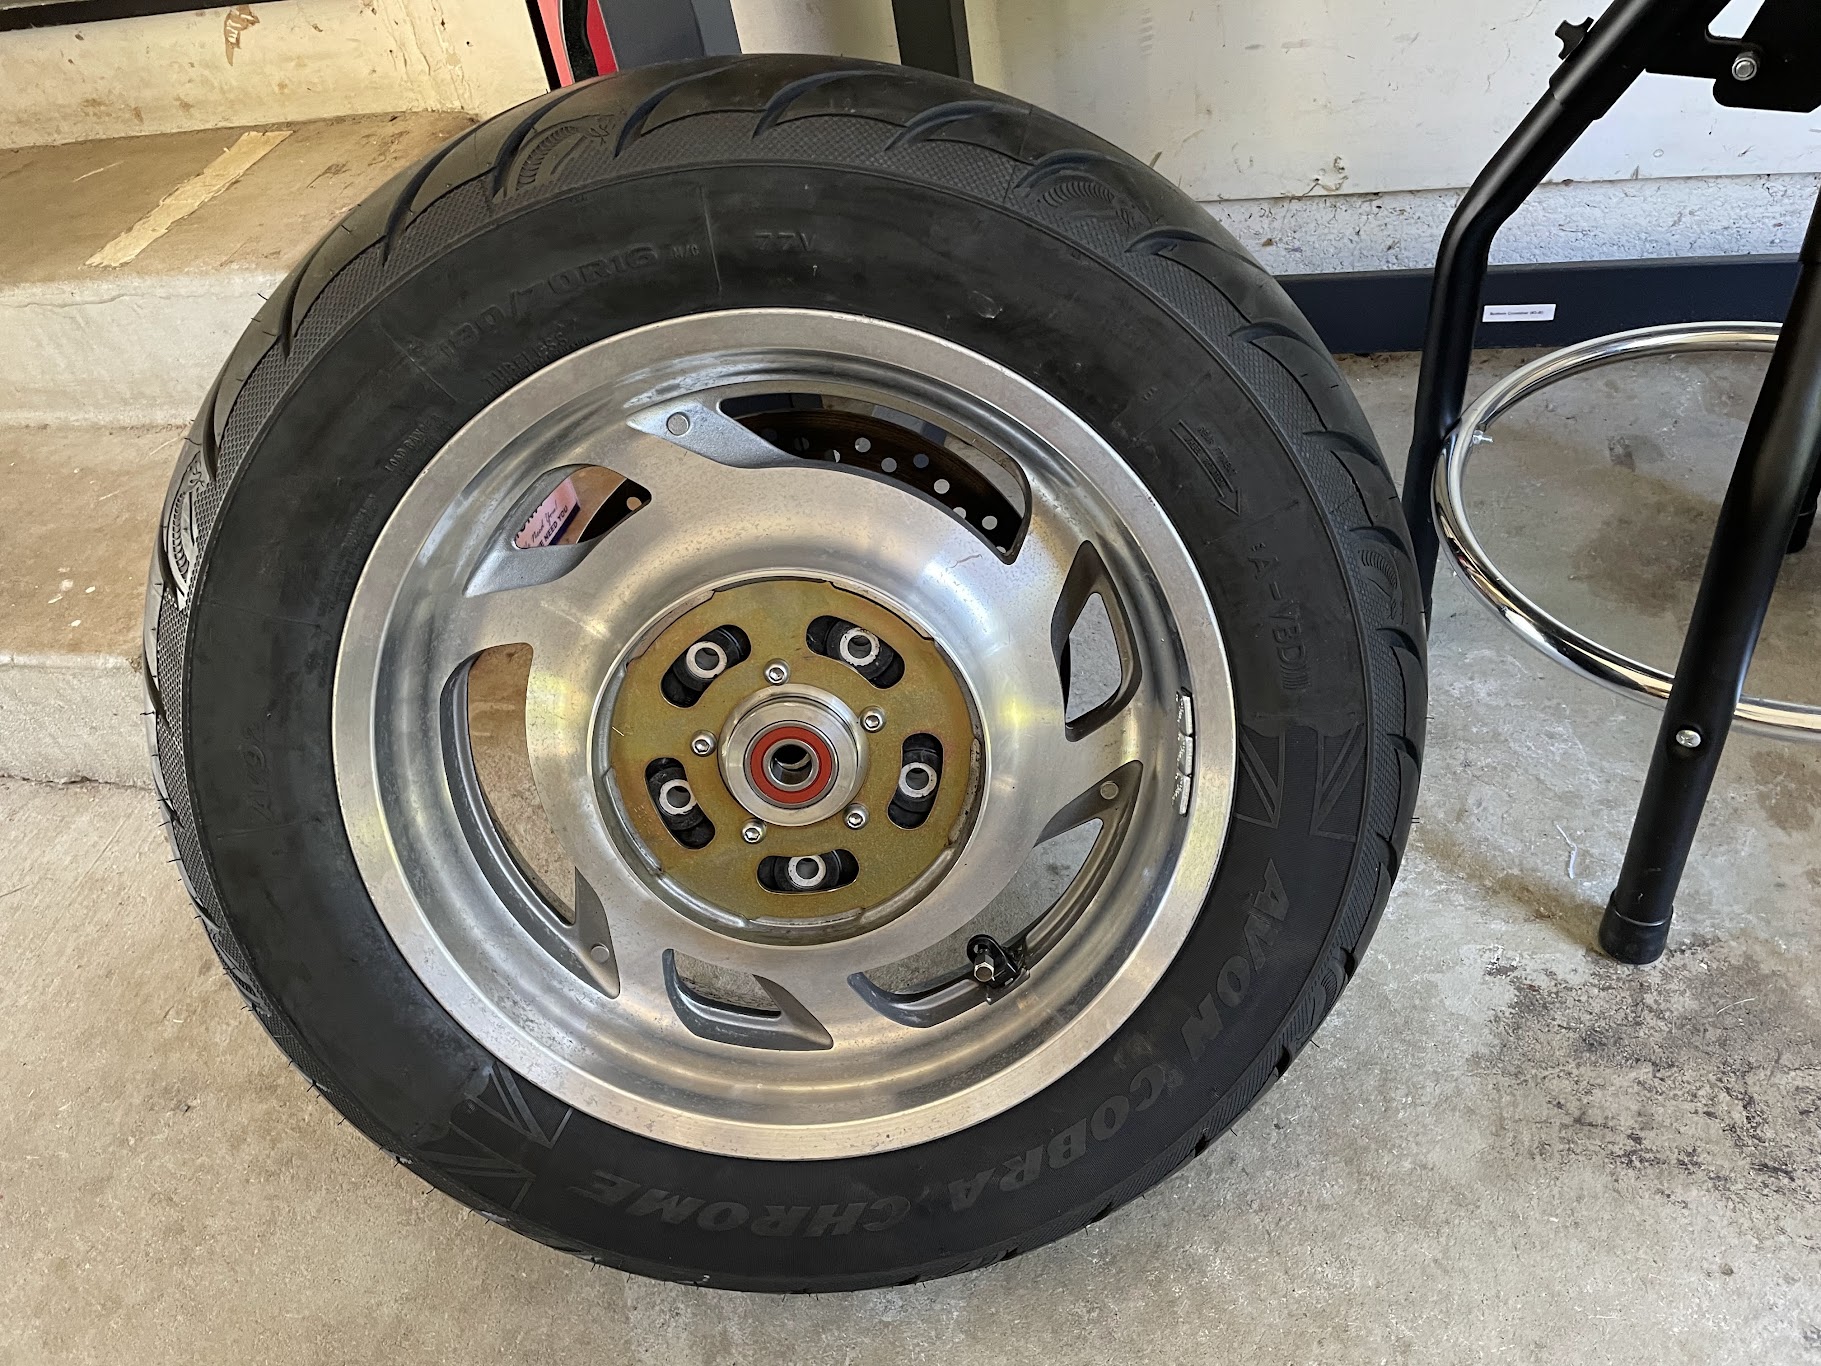 |
|
|
|
|
Logged
|
|
|
|
|
Savago
|
|
« Reply #51 on: June 23, 2023, 07:35:41 PM » |
|
I was really concerned that the final drive splines would be damaged, but this time I guess my I/S dodged the bullet. They look still in good shape, which allowed me to proceed with the next steps. Old o-ring out: 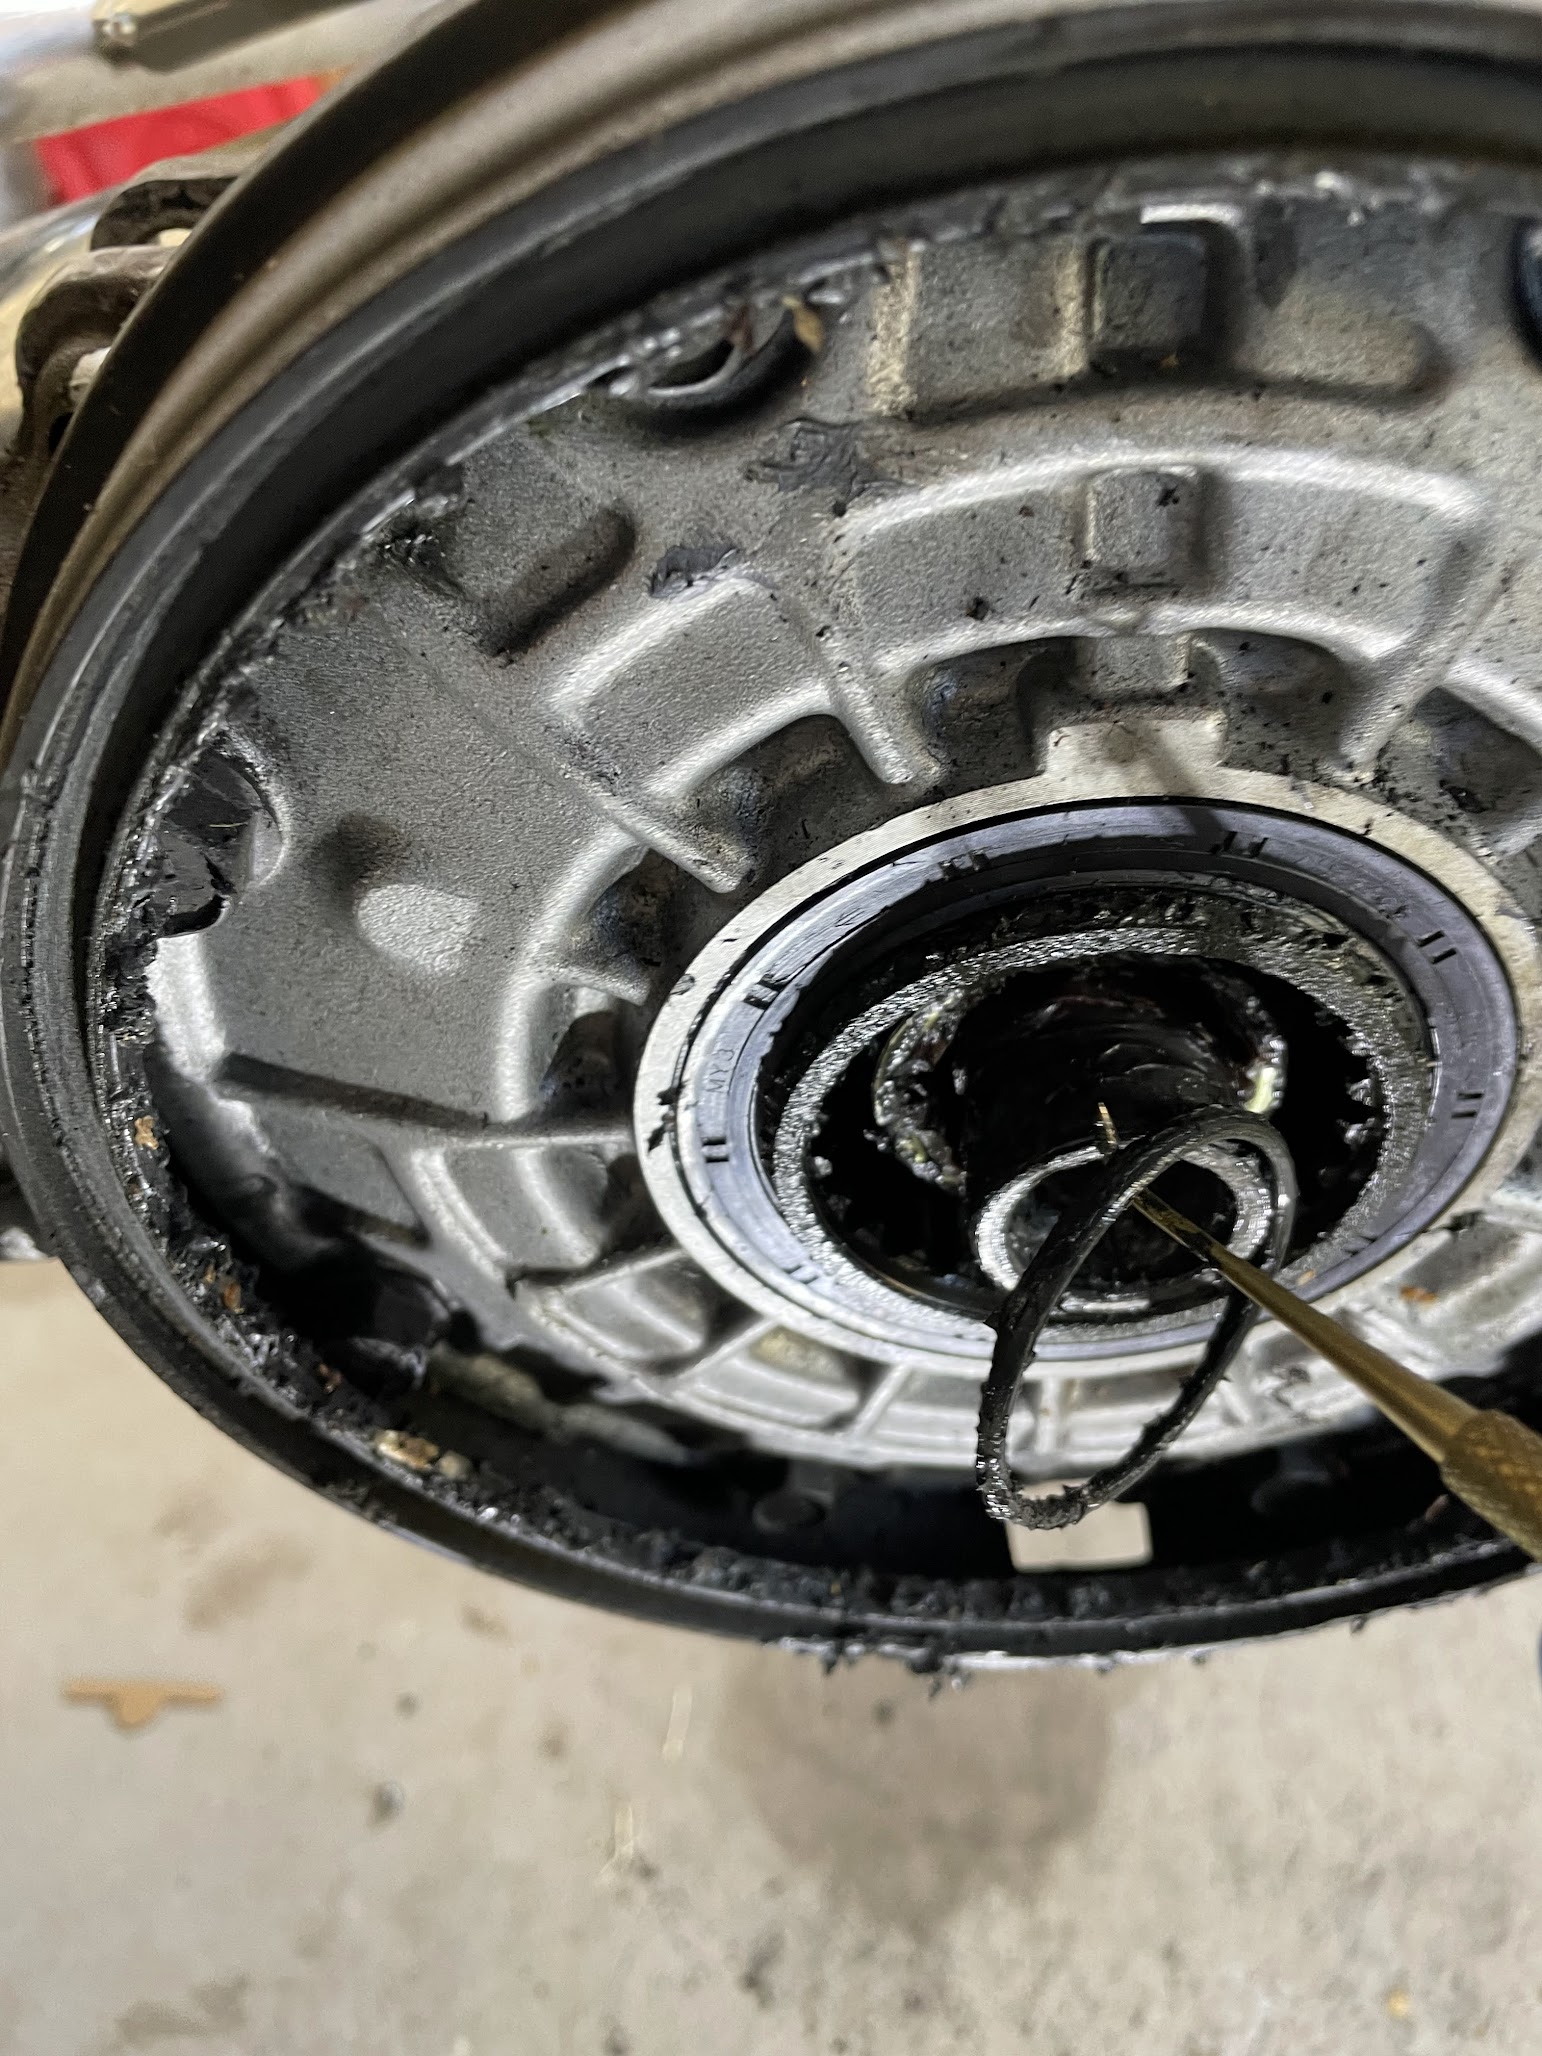 New o-ring in: 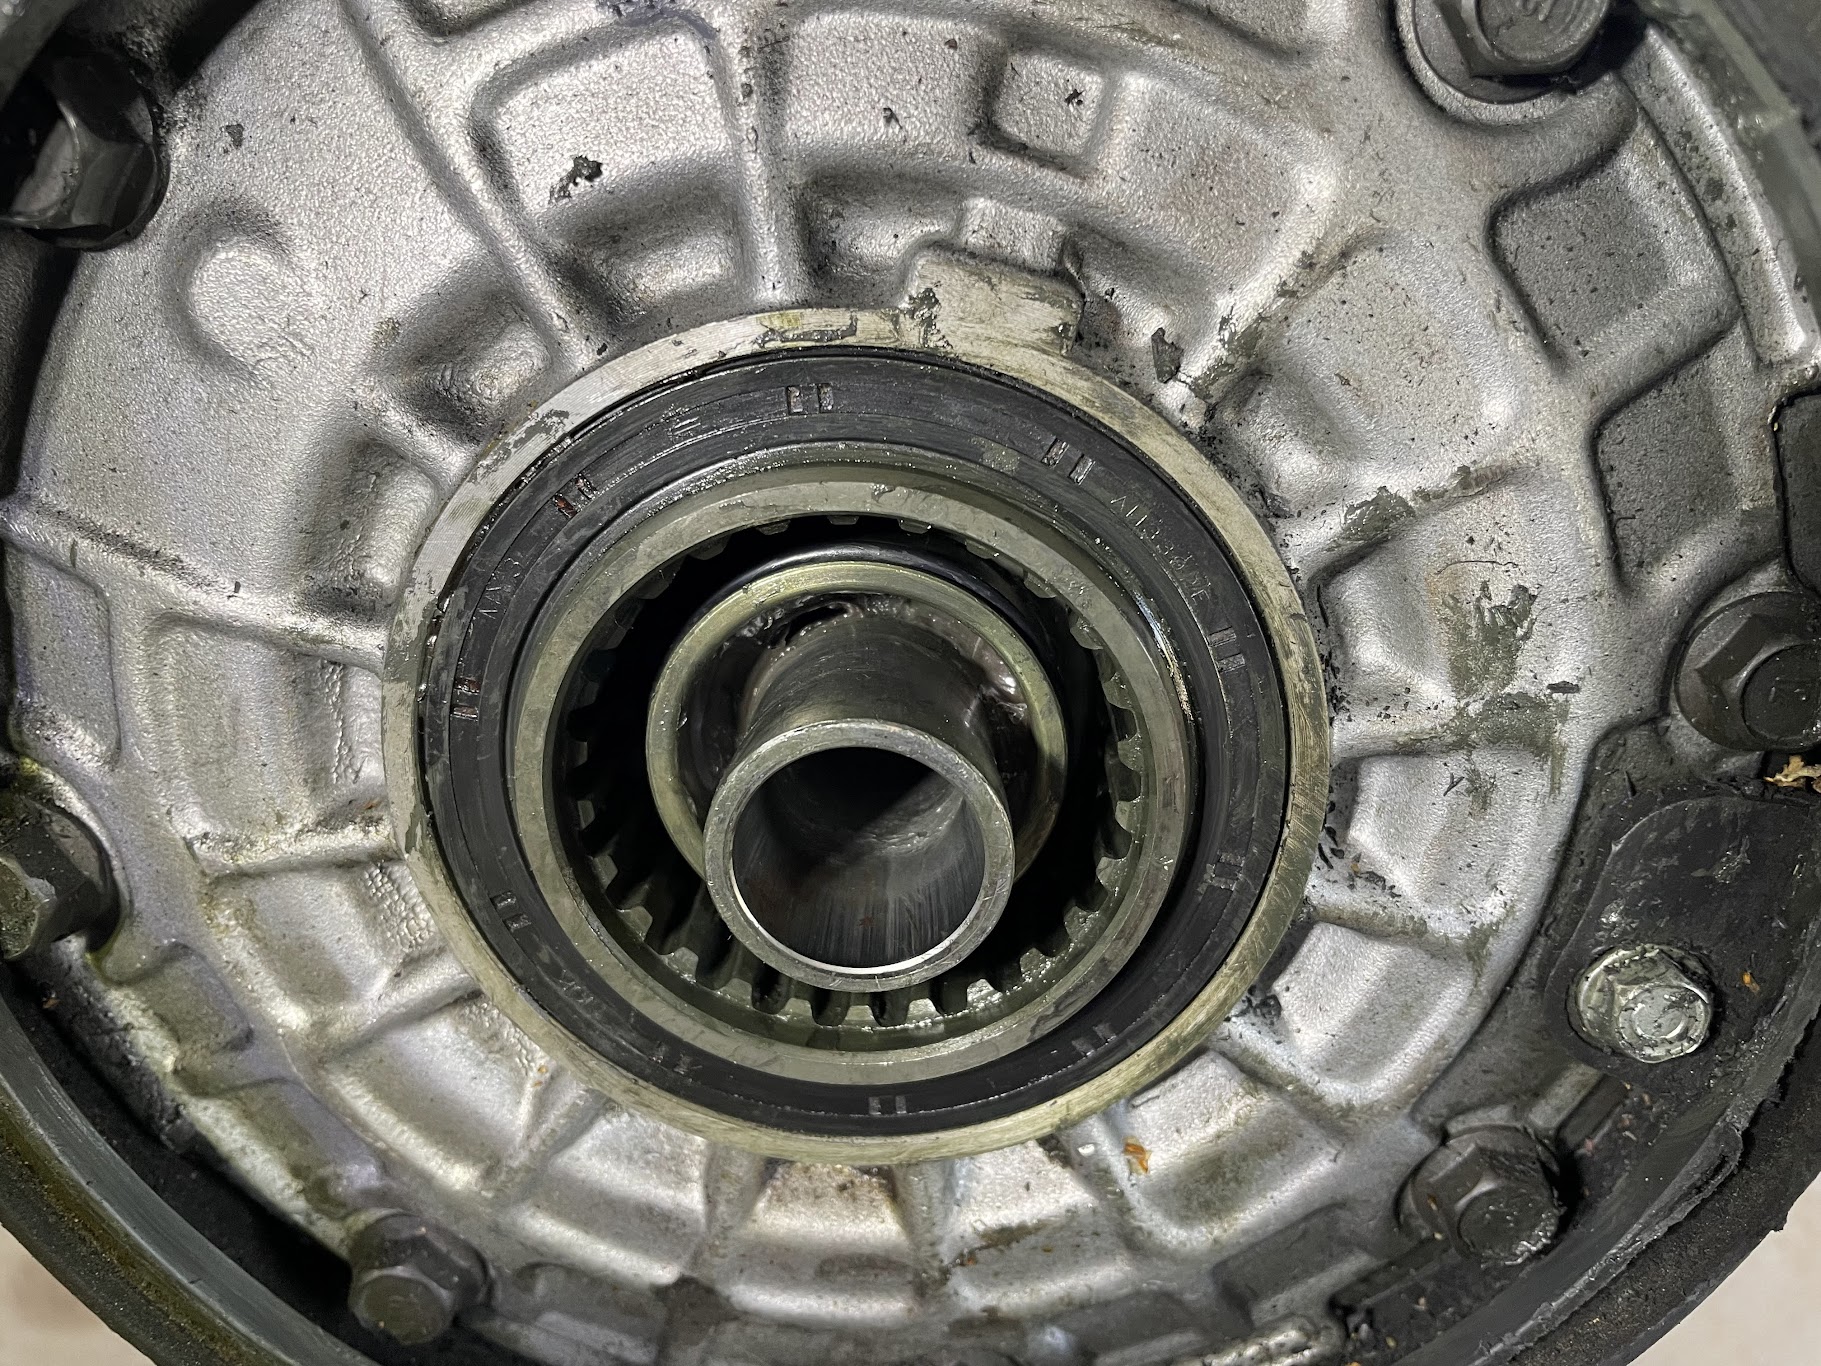 |
|
|
|
« Last Edit: June 23, 2023, 07:37:57 PM by Savago »
|
Logged
|
|
|
|
|
|
|
|
|
Savago
|
|
« Reply #54 on: June 23, 2023, 07:47:58 PM » |
|
New spacer ready to go: 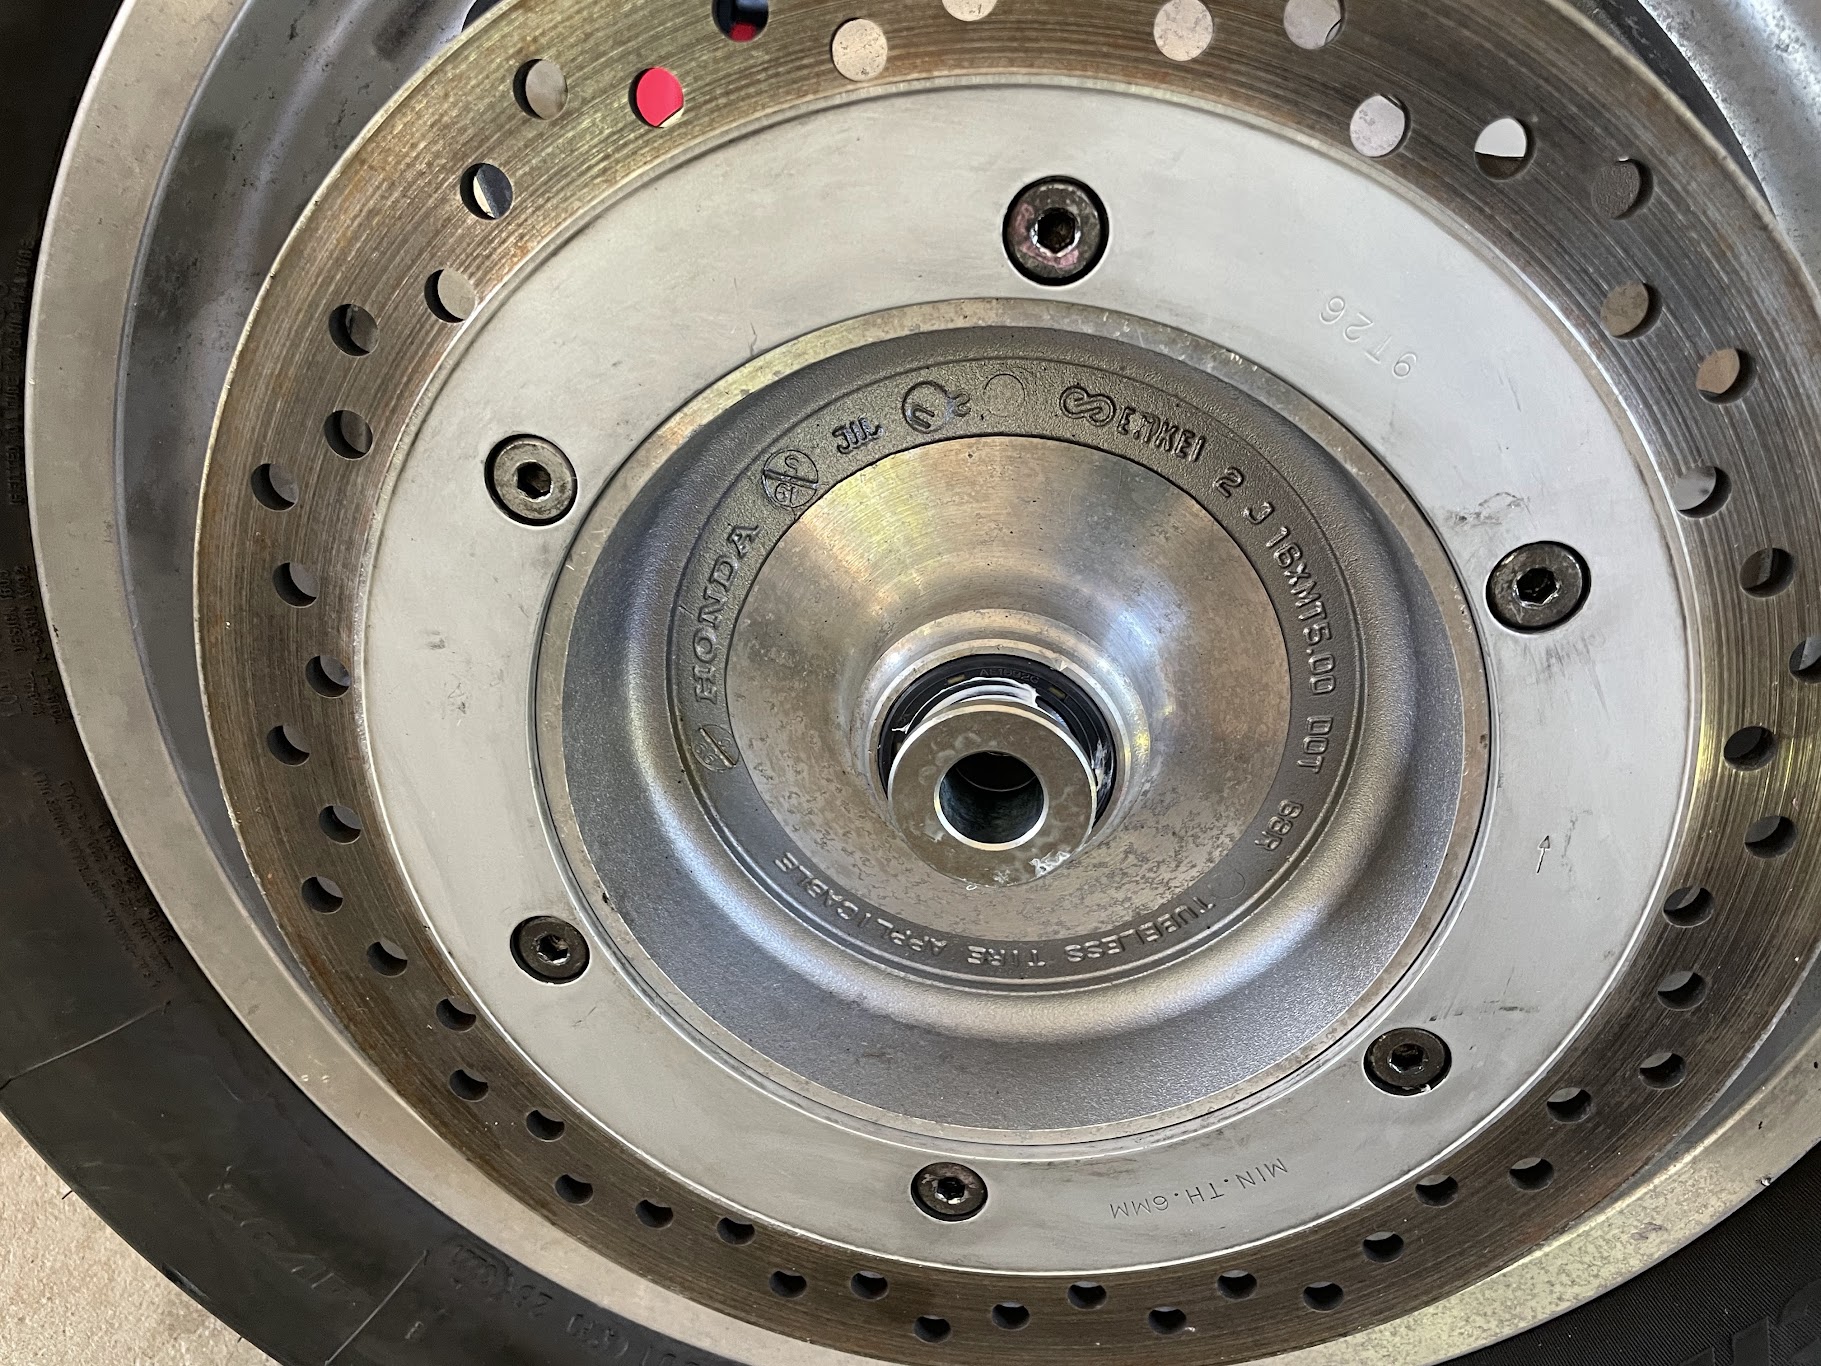 |
|
|
|
|
Logged
|
|
|
|
|
Chrisj CMA
|
|
« Reply #55 on: June 23, 2023, 07:50:40 PM » |
|
That’s a tad excessive on the moly on the flange but the excess will just be pushed off. I hope you put some waterproof grease in the final drive (female splines)
|
|
|
|
« Last Edit: June 23, 2023, 07:52:43 PM by Chrisj CMA »
|
Logged
|
|
|
|
|
Savago
|
|
« Reply #56 on: June 23, 2023, 07:52:43 PM » |
|
I got the 4 bolts that mount the pumpkin to the lower fork loose as instructed by the 'Rear end service' ppt and after using the lift to help me mount the wheel/flange into the final drive splines, I proceeded with the recommended torquing sequence (caliper bolt -> axle -> 4 final drive bolts). 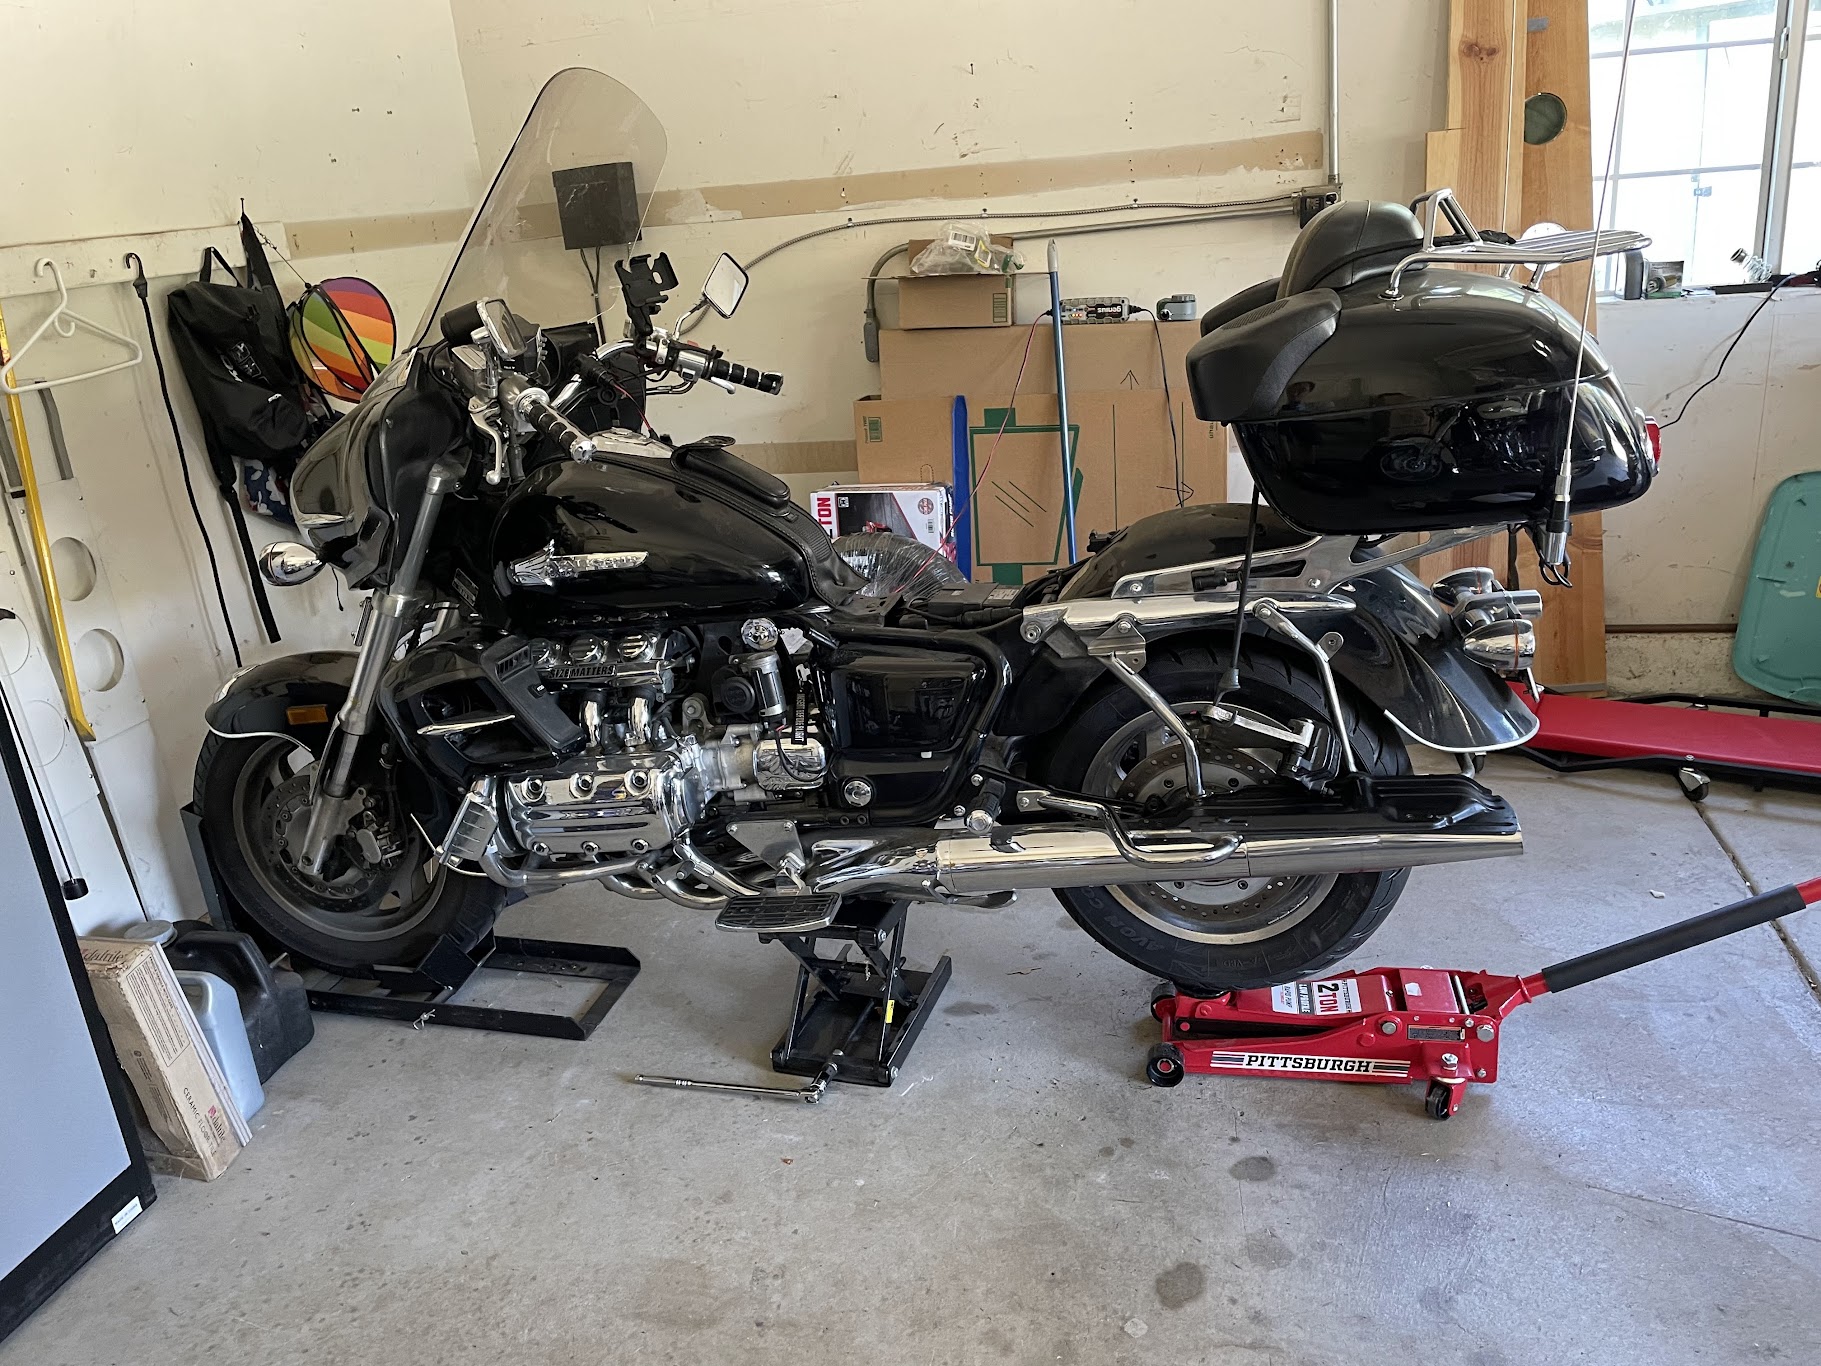 |
|
|
|
|
Logged
|
|
|
|
|
Chrisj CMA
|
|
« Reply #57 on: June 23, 2023, 07:54:15 PM » |
|
I got the 4 bolts that mount the pumpkin to the lower fork loose as instructed by the 'Rear end service' ppt and after using the lift to help me mount the wheel/flange into the final drive splines, I proceeded with the recommended torquing sequence (caliper bolt -> axle -> 4 final drive bolts). But you removed that little red Jack before torquing the axle, right? |
|
|
|
« Last Edit: June 23, 2023, 07:58:35 PM by Chrisj CMA »
|
Logged
|
|
|
|
|
Savago
|
|
« Reply #58 on: June 23, 2023, 07:57:31 PM » |
|
|
|
|
|
|
Logged
|
|
|
|
|
|
|
Chrisj CMA
|
|
« Reply #60 on: June 23, 2023, 08:03:44 PM » |
|
I got the 4 bolts that mount the pumpkin to the lower fork loose as instructed by the 'Rear end service' ppt and after using the lift to help me mount the wheel/flange into the final drive splines, I proceeded with the recommended torquing sequence (caliper bolt -> axle -> 4 final drive bolts). But you removed that little red Jack before torquing the axle, right? If you torqued the axel nut with that red Jack supporting the wheel you DO NOT have a properly aligned final drive. |
|
|
|
|
Logged
|
|
|
|
|
Savago
|
|
« Reply #61 on: June 23, 2023, 08:05:15 PM » |
|
But you removed that little red Jack before torquing the axle, right?
Chris: I put grease in there, as also used anti-seize to protect the axle proper. I torqued the axle *with* the red jack holding the wheel above the pipes. Is that wrong? 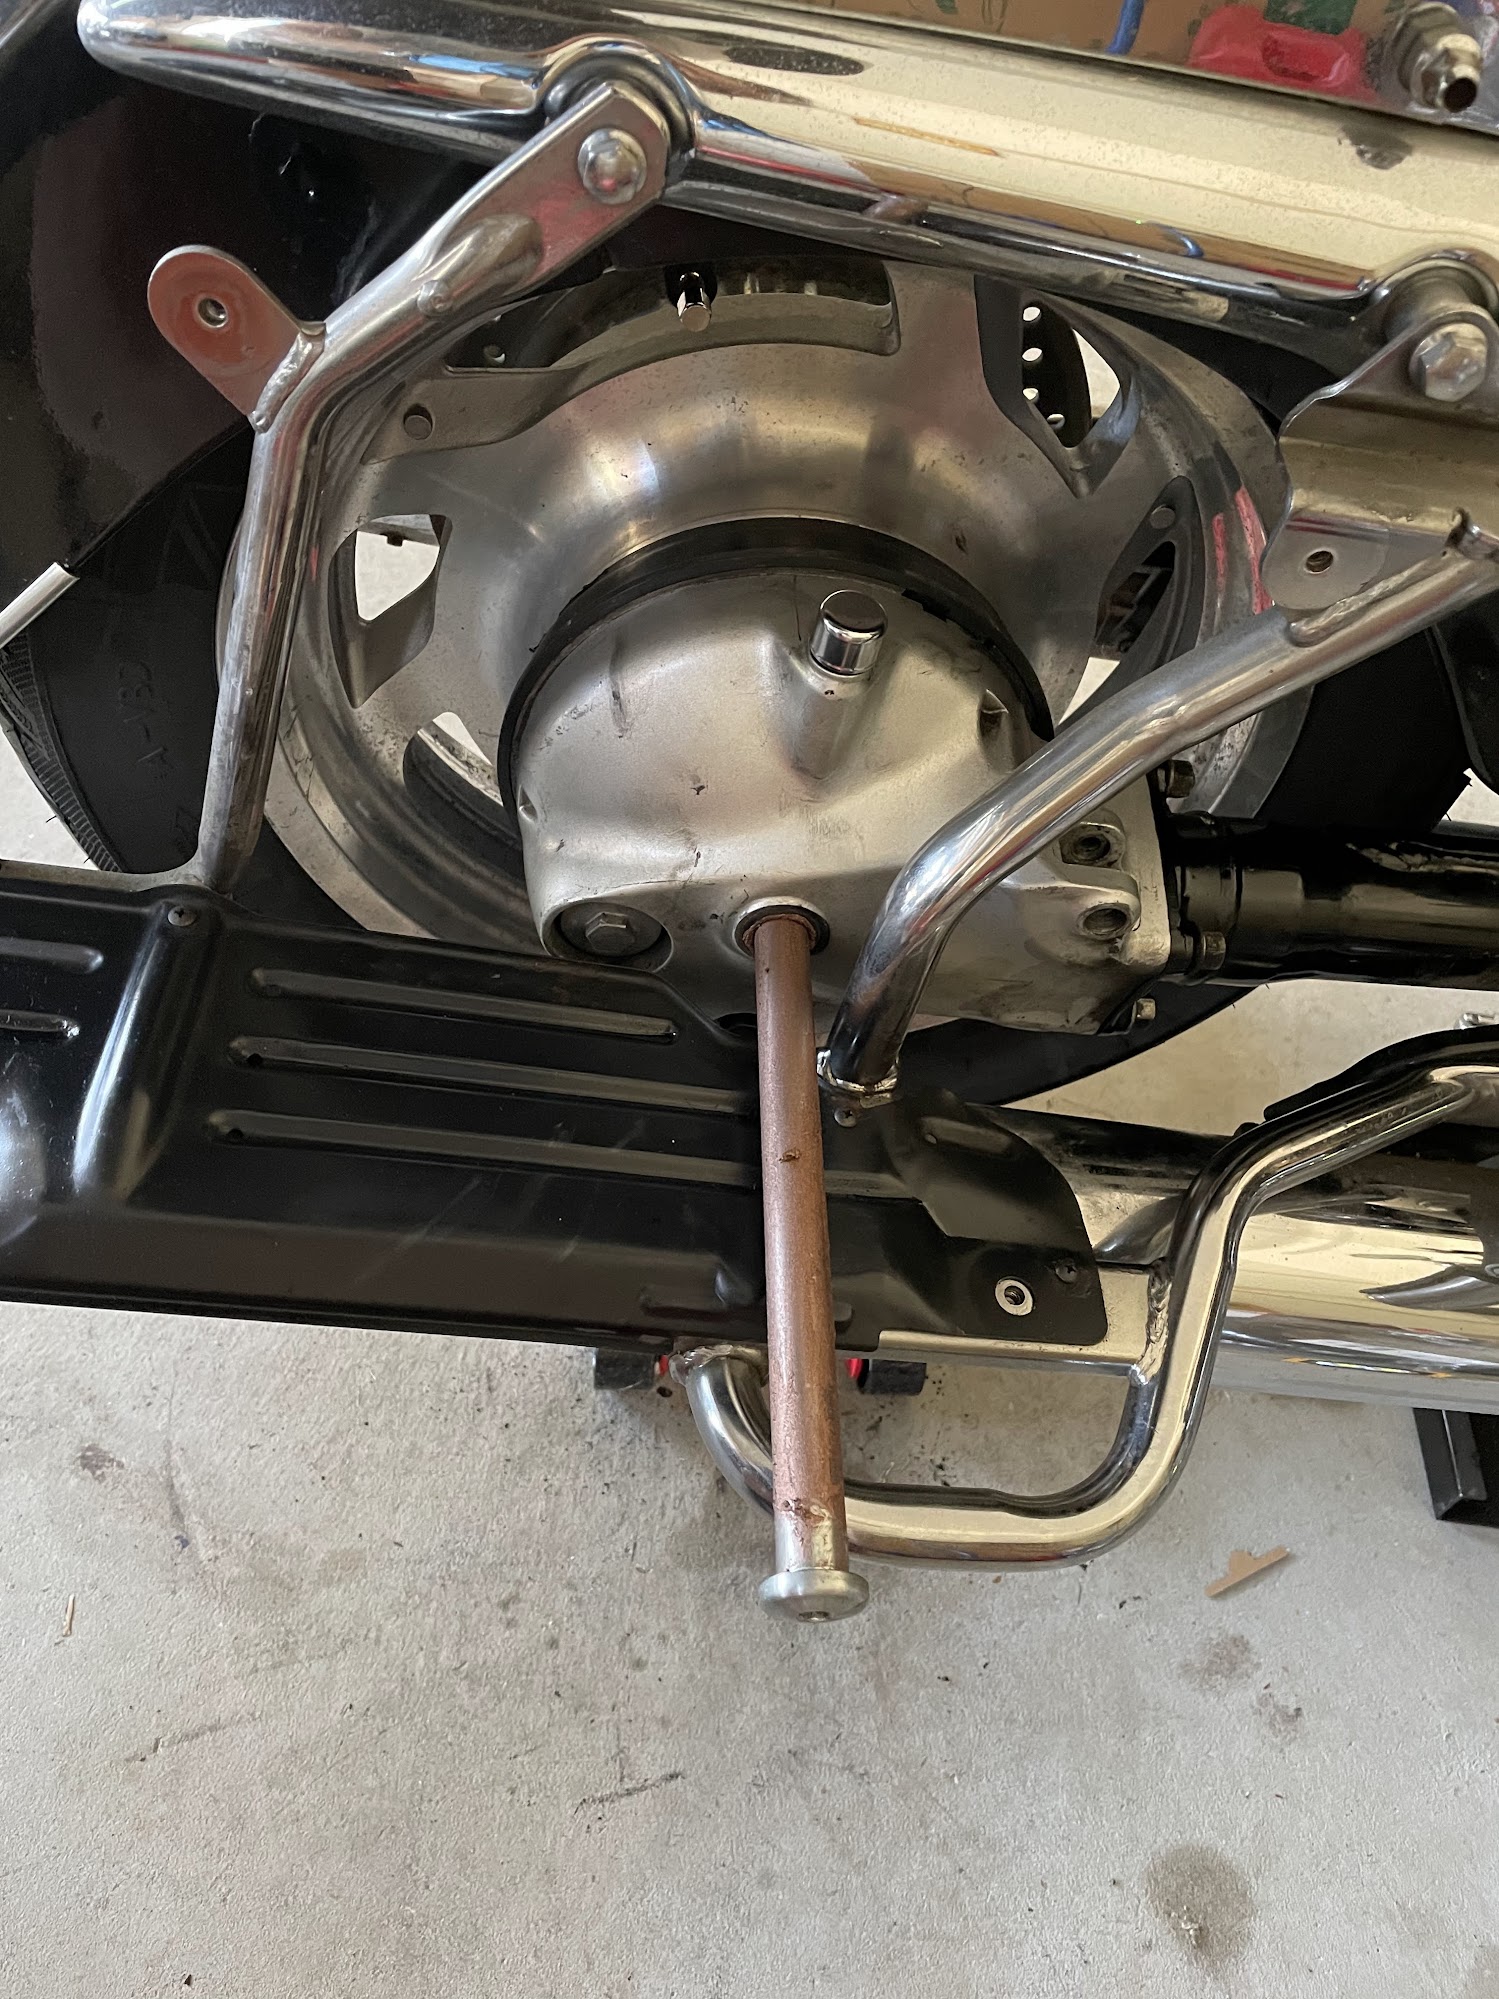 |
|
|
|
|
Logged
|
|
|
|
|
Chrisj CMA
|
|
« Reply #62 on: June 23, 2023, 08:10:41 PM » |
|
But you removed that little red Jack before torquing the axle, right?
Chris: I put grease in there, as also used anti-seize to protect the axle proper. I torqued the axle *with* the red jack holding the wheel above the pipes. Is that wrong? Good on the grease. Wrong on the Jack holding the wheel. I would loosen everything up, including obviously the four final drive nuts. Remove the shocks and use a cargo strap from the left lower shock mount to the top of the frame somewhere so the wheel is in the air NOT touching anything. If the final drive is mis aligned your splines will have a short life. |
|
|
|
« Last Edit: June 23, 2023, 08:19:57 PM by Chrisj CMA »
|
Logged
|
|
|
|
|
Chrisj CMA
|
|
« Reply #63 on: June 23, 2023, 08:12:59 PM » |
|
Call me if you want. 850 865-5378
|
|
|
|
|
Logged
|
|
|
|
|
Savago
|
|
« Reply #64 on: June 23, 2023, 09:06:18 PM » |
|
Good on the grease. Wrong on the Jack holding the wheel. I would loosen everything up, including obviously the four final drive nuts. Remove the shocks and use a cargo strap from the left lower shock mount to the top of the frame somewhere so the wheel is in the air NOT touching anything. If the final drive is mis aligned your splines will have a short life.
Thanks for the quick chat, first thing early in the morning tomorrow I will proceed with ensuring that the FD is aligned. |
|
|
|
|
Logged
|
|
|
|
|
RonW
|
|
« Reply #65 on: June 24, 2023, 12:19:39 AM » |
|
Remove the shocks and use a cargo strap from the left lower shock mount to the top of the frame somewhere so the wheel is in the air NOT touching anything.Is it better to strap the swingarm (B) instead of the pumpkin (A)? I forget. 
|
|
|
|
|
Logged
|
2000 Valkyrie Tourer
|
|
|
|
Chrisj CMA
|
|
« Reply #66 on: June 24, 2023, 04:27:47 AM » |
|
Remove the shocks and use a cargo strap from the left lower shock mount to the top of the frame somewhere so the wheel is in the air NOT touching anything.Is it better to strap the swingarm (B) instead of the pumpkin (A)? I forget. Use the LEFT LOWER SHOCK MOUNT. That would be the same as strapping the swingarm. That picture is 100% how NOT to do it! |
|
|
|
|
Logged
|
|
|
|
|
RonW
|
|
« Reply #67 on: June 24, 2023, 05:24:28 AM » |
|
Use the LEFT LOWER SHOCK MOUNT.
That picture is 100% how NOT to do it!
Whoops. Now I remember what I forgot.
|
|
|
|
|
Logged
|
2000 Valkyrie Tourer
|
|
|
|
Chrisj CMA
|
|
« Reply #68 on: June 24, 2023, 02:00:39 PM » |
|
Good on the grease. Wrong on the Jack holding the wheel. I would loosen everything up, including obviously the four final drive nuts. Remove the shocks and use a cargo strap from the left lower shock mount to the top of the frame somewhere so the wheel is in the air NOT touching anything. If the final drive is mis aligned your splines will have a short life.
Thanks for the quick chat, first thing early in the morning tomorrow I will proceed with ensuring that the FD is aligned. Good job. Knowing WHY we do what we do is so much better than memorizing steps. Assuring nothing impedes the alignment of the wheel to final drive is the primary concern. Now you can ride it like you stole it!! |
|
|
|
|
Logged
|
|
|
|
|
RonW
|
|
« Reply #69 on: June 25, 2023, 06:25:04 AM » |
|
I looked at my records and although I did strap the Right swingarm, the same strap went around to the Left swingarm saddleback style. The straps were used to lift the axle above the mufflers. Don't remember if the straps were the same way when I torqued the *4 bolts.*  Anyways, the moral of the story is if you strap the swingarm to align the *4-bolts,* only strap the Left swingarm. Strapping either the Right swingarm (B) or the pumpkin (A) will impede the rear wheel's alignment to the drive shaft. As already mentioned, nothing should be under the rear wheel. The strap sets the elevation of the pumpkin and the rear wheel gets raised to this elevation to insert the axle.  You could use a strut in place of straps. I believe the mufflers are off the bike for this strut's 10-in center-to-center spacing. Chrisj CMA, please confirm.  I can't find the photo, but a forum member used a turnbuckle on the Left swingarm.  |
|
|
|
« Last Edit: June 25, 2023, 06:45:34 AM by RonW »
|
Logged
|
2000 Valkyrie Tourer
|
|
|
|
da prez
|
|
« Reply #70 on: June 25, 2023, 07:20:31 AM » |
|
Having time to relook , I have seen similar , minus the cracked rim. If a pressure washer is used , they can blow seals out. I only use a pressure washer on total rebuilds or burn bikes. They do more damage than good.
da prez
|
|
|
|
|
Logged
|
|
|
|
|
Chrisj CMA
|
|
« Reply #71 on: June 25, 2023, 07:22:53 AM » |
|
Using a rope tied around the right side swingarm would work fine but be a pain compared to just using the lower shock bolt on the left side. Just don’t hook to the final drive. Do whatever works for you. It’s your bike. I just tried to share the why of what we do. You keep focusing on the what (certain steps). Remember why you are doing something and it will make more sense. The goal is a free hanging wheel and drive so a pure alignment is achieved. It’s obvious when you focus on that goal that strapping to the final drive shock mount will hurt your chance to get a good alignment.
|
|
|
|
|
Logged
|
|
|
|
|
Savago
|
|
« Reply #72 on: June 25, 2023, 12:03:17 PM » |
|
|
|
|
|
« Last Edit: June 25, 2023, 12:05:56 PM by Savago »
|
Logged
|
|
|
|
|
Jess from VA
|
|
« Reply #73 on: June 25, 2023, 01:16:38 PM » |
|
I understand the reason... but this thread is beginning to read like motorcycle bondage fetish.  |
|
|
|
|
Logged
|
|
|
|
|
Chrisj CMA
|
|
« Reply #74 on: June 25, 2023, 01:20:07 PM » |
|
I understand the reason... but this thread is beginning to read like motorcycle bondage fetish. Jess. We got straps but no whips or handcuffs yet  |
|
|
|
|
Logged
|
|
|
|
|
Jess from VA
|
|
« Reply #75 on: June 25, 2023, 01:25:09 PM » |
|
I understand the reason... but this thread is beginning to read like motorcycle bondage fetish. Jess. We got straps but no whips or handcuffs yet Good. Because that would just be wrong. |
|
|
|
|
Logged
|
|
|
|
|
RonW
|
|
« Reply #76 on: June 25, 2023, 03:40:45 PM » |
|
Very good idea!  |
|
|
|
« Last Edit: July 01, 2023, 08:12:49 AM by RonW »
|
Logged
|
2000 Valkyrie Tourer
|
|
|
|


