Didn't want to hijack Jeff's note re. his trip to a local gun show, but did have to zing him for not calling.

This is what I was working on when I pulled the muscle....followed by frequent extreme spasms on the left side. I was repairing the engine Jeff brought up from a guy in Ft. Myers, who, by the way never responded to my email re. how I got screwed. When I questioned him, he told me it was a good running engine and had turned it over by hand. Man was lying through his teeth. Oh well...it's history. Rather than put out another $225 or more for another short block, I'm taking a gamble on just replacing the one piston that had the intake embedded in it. Bought a set of used pistons for $39 out of a low mileage 1200. The ring end gap and rod bearing clearance was well within specs so decided to reuse both. Kinda funny....when I went to Autozone to get some Plastigage to check the rod bearing, the guy asked if I knew how to use it. When I told him this wasn't my first trip alone out of the driveway he laughed, told me I was the first person in a long time that knew how to use it...or even knew what it was. I think a lot of so-called mechanics today can't fix something unless it has a computer readout. He was even more amused when I asked for some large hose clamps, he asked if I was working on a truck. "No, I'm using them for ring compressors." Works great on small engines. I'm now waiting on a bunch of gaskets, timing belts, etc., and will put the engine together after painting some of the attachments and the block itself.
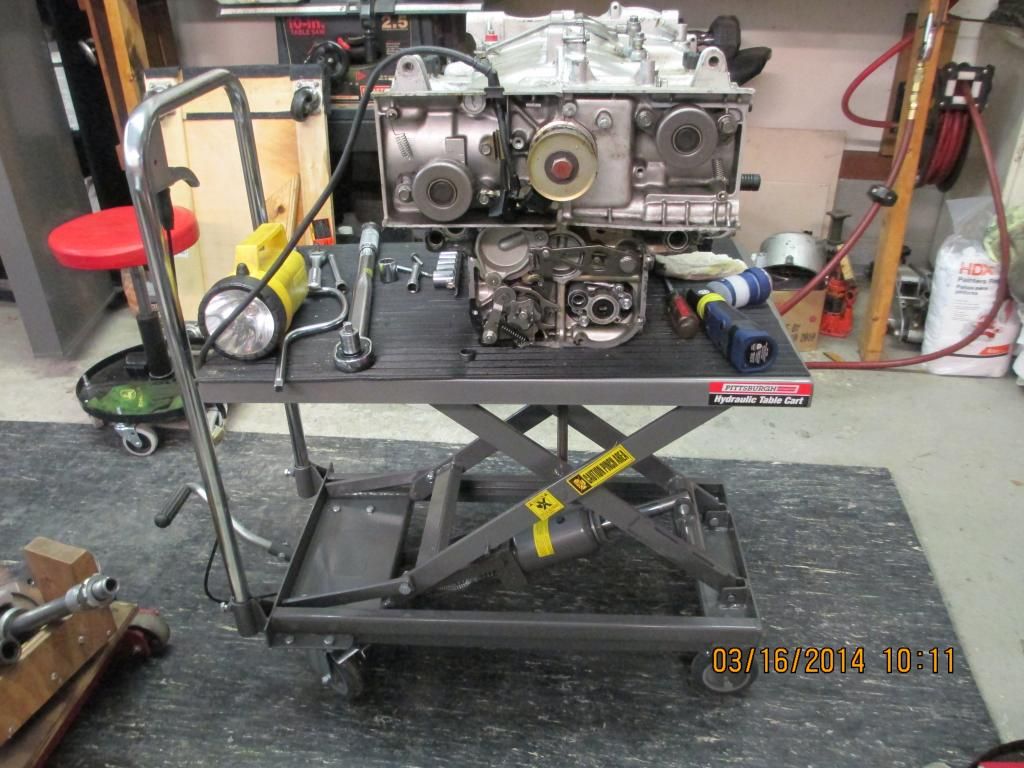
Before starting the engine repair, I made one investment that I highly recommend; a hydraulic lift table from Harbor Freight. With some discounts and coupons, it brought the cost way down. When lowered to the point where you can see the locking arms prevent collapse, it's at a perfect height to work on when sitting on a stool or chair. What a life saver, and it will raise another 8-10" approx. to a total height of 27" and drop to a lowest height of 8". In order to raise the left half of the engine above the right half after replacing the rod/piston, I had to figure out a method that took the place of my physical strength. This involved placing my 8' step ladder over the table, looping a short piece of rope through the top platform and tieing it off with a bowline knot(that won't slip). Then with my small block/tackle hooked into it and bolted in a triangle to the left case, I raised the left case enought to clear the right side. Then rolled the table forward under it and while guiding the pistons by hand, I used my foot to jack the table up until the pistons entered the cylinders at the bottom. With slack in the lift rope, a good push down on the case and the pistons went home. That's when the muscle took a walk. Go figure....I'm pushing down and the left side of my back goes out?? Oh well, my golf clubs were nearby and I grabbed an iron to use for a cane until I got inside. No more engine work for the next three days.
Here's some pictures of the table and how I used it. If you do any kind of work with anything that requires bending for long periods, this is your answer. This one has a 300lb. capacity, more than enough for the 1200 engine. The next higher capacity unit is quite a bit more and wasn't needed. Before inserting the two pistons from the left side, I rehoned both cylinders. Although the same piston is going back in #2(front one), the rings have been moved around some so wouldn't be going back into the same grooving previously established. So by rehoning it helps the rings break in again on the same cylinder.
The frame is painted, the gas tank mounts are welded in place but the tank still needs a lot of "love." After painting the engine, I'll be mounting it, followed by doing some rewiring. Turns out I can't use the Valkyrie wheels I picked up...actually can't use the rear one. With the rotor attached it's simply too wide and will take too much reengineering to make it fit. Would either have to spread the frame to make the Valk swingarm fit, or widen the 1200 swingarm to make the Valk wheel fit. The latter being the most desirable of the two, but requires exacting fitting for the axle. So I'm back to using the 1200 wheels.

Guess which one is the "refreshed" piston!
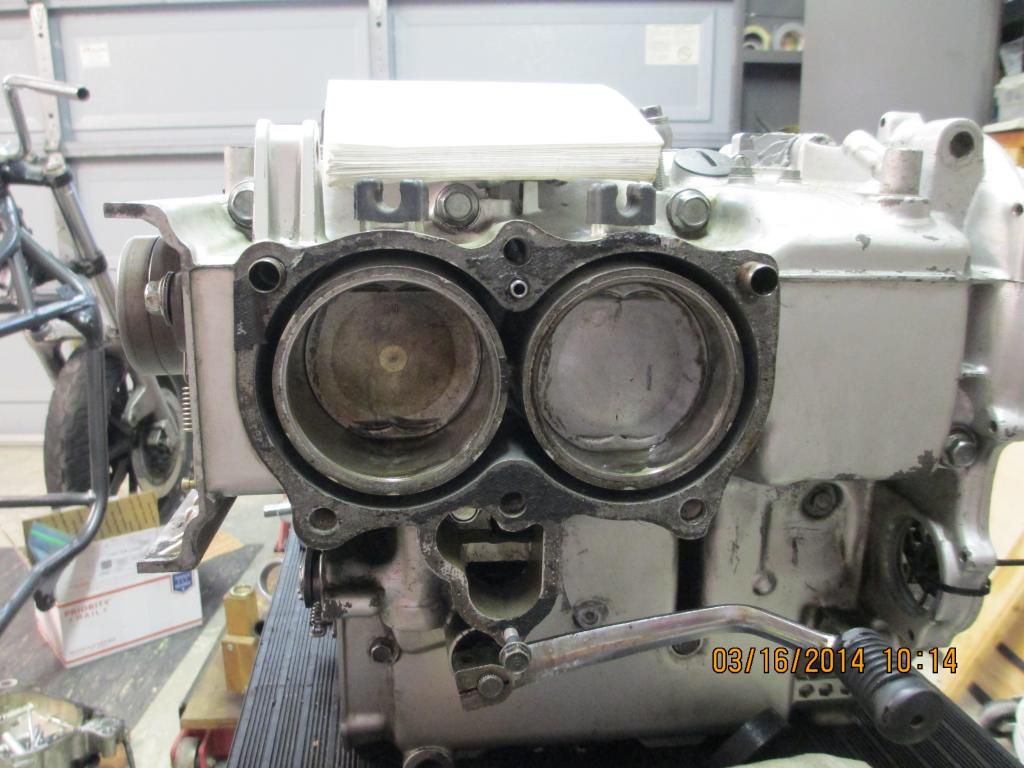
This is the "before" picture!


