Valkyrie Riders Cruiser Club
July 12, 2025, 03:04:43 PM *
Welcome, Guest. Please login or register.

Login with username, password and session length
Ultimate Seats Link VRCC Store
Homepage : Photostash : JustPics : Shoptalk : Old Tech Archive : Classifieds : Contact Staff
News: If you're new to this message board, read THIS!
 
VRCC Calendar Ad
Pages: [1]   Go Down
Send this topic Print
Author Topic: Kuryakyn shifter install  (Read 1270 times)
Jersey mike
Member
*****
Posts: 10425

Brick,NJ


« on: June 18, 2015, 04:43:19 PM »

last week I ordered a Kury shifter peg/cover. it looks sharp and it's beefy.

it is not a specific fit part, so I followed the instructions for universal fitment, remover the stock rubber cover (the new kury will not fit over the rubber shifter) and wrap w/ electrical tape until the new shifter fits snug.  when I tried to tighten the set screw it never grabbed anything.

now the instructions also call for adding super glue before the final fit, but I can't see how some super glue will hold this thing for miles and miles and many years.

has anyone installed one of these shifters? they are about 3/4" longer than stock.

i'm thinking of some vacuum line to fit into the Kury shifter then wedge it on the bike, but i'm not sure if the set screw will grab still...it's a tiny one.

Logged
Jess from VA
Member
*****
Posts: 30461


No VA


« Reply #1 on: June 18, 2015, 04:46:15 PM »

How about a part number or picture?
Logged
Jersey mike
Member
*****
Posts: 10425

Brick,NJ


« Reply #2 on: June 18, 2015, 05:20:29 PM »

Kury part # 8851 shift peg cover

http://www.cruisercustomizing.com/kuryakyn-round-shift-peg-cover-various-metric-cruisers/part/KY-8851

Logged
Jersey mike
Member
*****
Posts: 10425

Brick,NJ


« Reply #3 on: June 18, 2015, 05:52:43 PM »

well I have it "installed" for now.

I used a piece of 5/16" rubber fuel line after I removed the stock rubber peg. I saved that.

then as something solid for the set screw to land on, I used a piece of very thin gauge aluminum flashing I had.

I cut a 1" x 2" strip...roll formed it around the kick stand extension, then rolled it around the fuel line w/ a little over lap and snipped off the excess I didn't want.

I tried the set screw and it landed nice and firm and the new peg was on firmly but still had a little movement to it if I tried to roll it. maybe there is something to be said for the super glue.

I'll leave it for tonight and think more on it.
Logged
Jess from VA
Member
*****
Posts: 30461


No VA


« Reply #4 on: June 18, 2015, 06:20:51 PM »

Notably, under fitment, no Honda's are listed (too large & long for bare peg).  I used that peg cover on several other bikes.  Wouldn't work with my kickshifters.

RTV clear silicone sealant would stick to everything inside the peg, fill up all empty space, stays rubbery soft, and would probably hold it in place, for awhile.  It doesn't really matter if it turns, only if it slides off the end.

With the peg cover on, remove the set screw, use a punch/hammer to dimple the peg metal through the set screw hole, drill a small hole/divit in the peg, screw the setscrew into the hole (or a longer setscrew).  Better to bang on the shifter OFF the bike.
« Last Edit: June 18, 2015, 06:23:49 PM by Jess from VA » Logged
Jersey mike
Member
*****
Posts: 10425

Brick,NJ


« Reply #5 on: June 19, 2015, 04:10:14 AM »

I wouldn't even know where to begin to look for a longer set screw of this size and I don't think the new peg could be drilled and tapped again for a larger diameter screw, at least not in the original hole.

Logged
vanagon40
Member
*****
Posts: 1462

Greenwood, IN


« Reply #6 on: June 19, 2015, 10:59:01 AM »

If you really like the look of the Kuryakyn shifter and you are willing to start over (maybe sell your current shifter cover on ebay), I would recommend the Kuryakyn Standard (KY-8004) or LonghornTM (8021) ISO Shift Peg.  It involves a little cutting, grinding, drilling, and tapping; the finished product is sturdy and professional looking.

BigBF has detailed instructions (including photos) on the installation HERE.

If you have any mechanical skills, it is not very difficult.

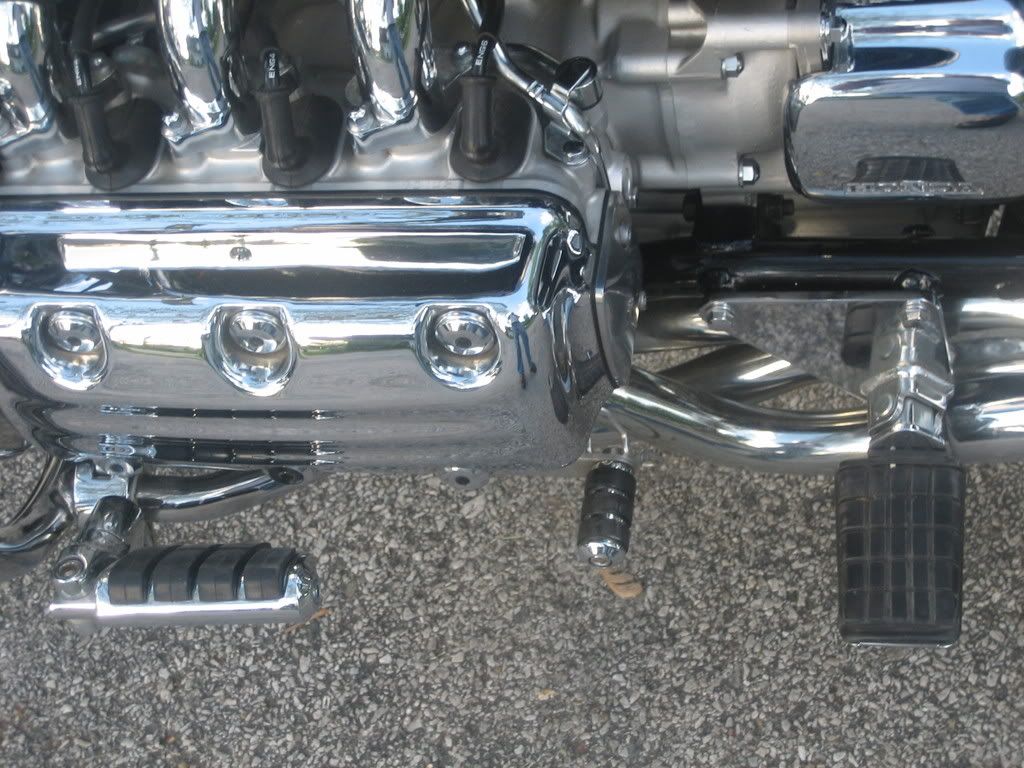
This is the 8004, the 8021 has one more O-ring and is 5/8" longer.

« Last Edit: June 19, 2015, 11:00:43 AM by vanagon40 » Logged
bentwrench
Member
*****
Posts: 760

Philadelphia,Pa.


« Reply #7 on: June 19, 2015, 03:35:38 PM »

I went the same route as vanagon,been on there a couple years now still works great.
Logged
Roadman
Member
*****
Posts: 16

Harbor Springs,MI


« Reply #8 on: June 19, 2015, 07:14:13 PM »

I also did the Big BF modification. It has been 4 years and no issues . Much better than stock.
Logged
BobB
Member
*****
Posts: 1568


One dragon on the tail of another.


« Reply #9 on: June 19, 2015, 07:46:48 PM »

I tried the cover many years ago, it did not hold up.  Replaced it with the Big BF modification years ago, IMO that's the way to go...


« Last Edit: June 19, 2015, 08:00:45 PM by BobB » Logged

Pages: [1]   Go Up
Send this topic Print
Jump to: