John Schmidt
Member

Posts: 15383
a/k/a Stuffy. '99 I/S Valk Roadsmith Trike
De Pere, WI (Green Bay)
|
 |
« on: November 27, 2015, 05:04:01 PM » |
|
Picked it up at Northern Tool, $25 plus tax and just the right size. Beat the prices I was seeing on Ebay big time, but have a couple issues I'm mulling over. See the pics below. The front of the fender will be cut and shaped to fit inside the curve at the front of the s/a. I'll then fab an "L" shaped bracket to bolt to the fender and the s/a, this should support the front end of it nicely. If I mount it solid to the rear of the frame, it will be way up in the air about 1" higher than this picture shows. I don't like the look from either side.  The other side.  Here's what I'd like to do, mounted to move up/down with the swingarm and wheel. But, I have a problem on how to attach a brace on the left side. The right side shown I could simply mount it under the axle nut. 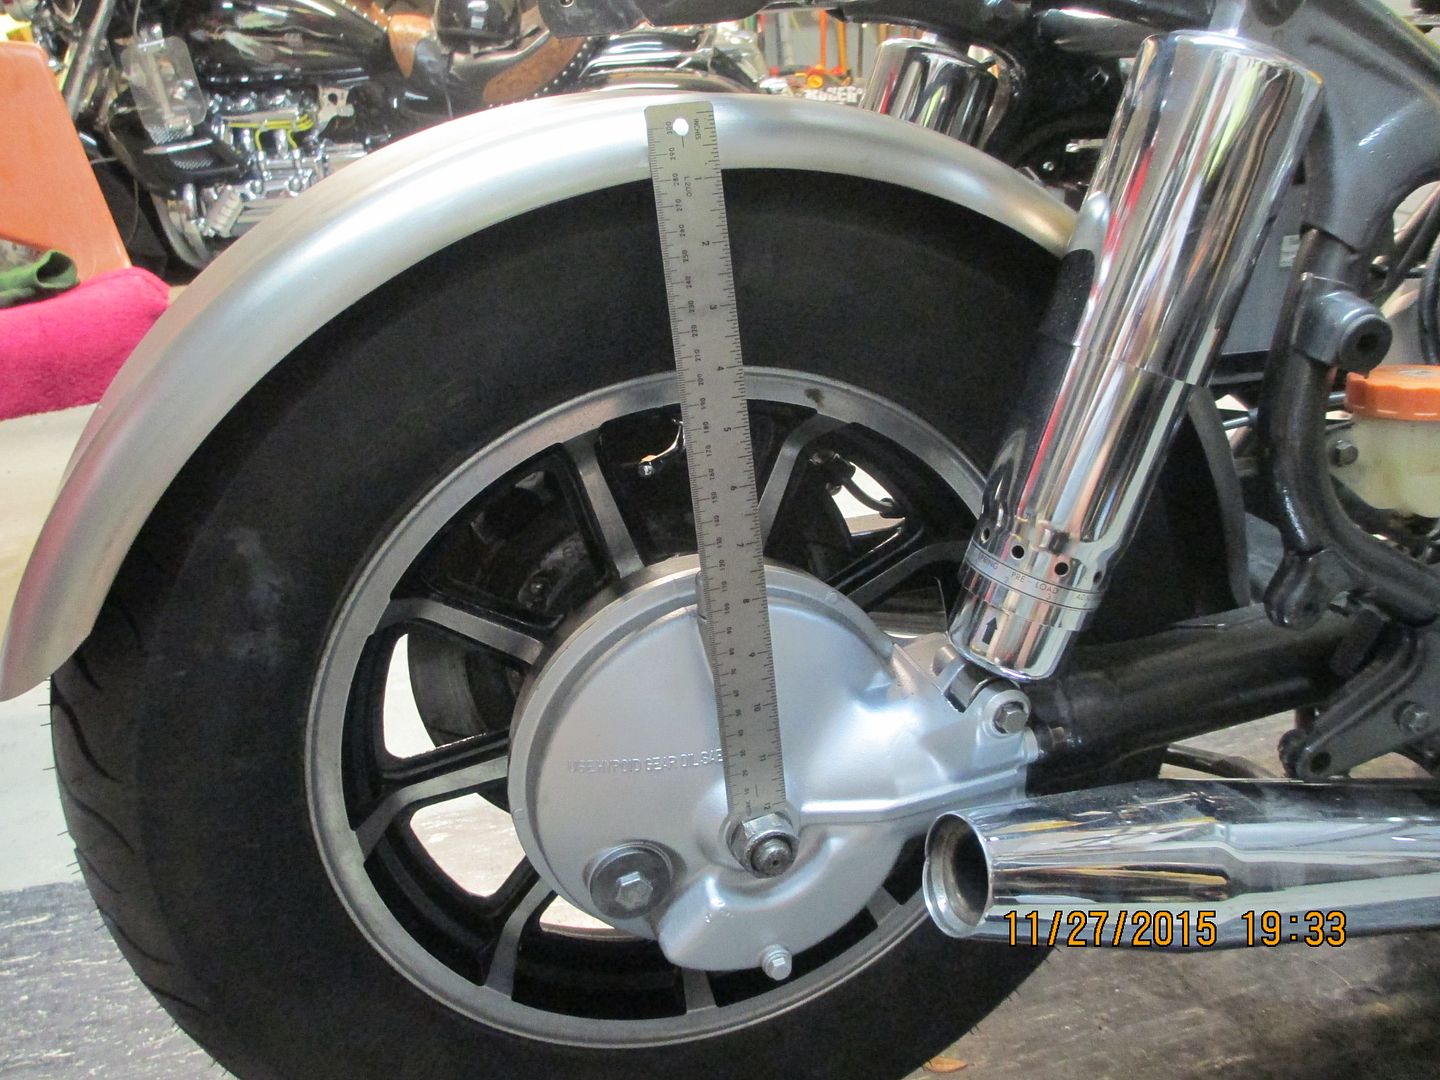 The left side has to be mounted slightly off center of the axle and wouldn't look right.  This pinch bolt is the only thing I can mount it to, making it off center. Thinking of bolting a piece to that pinch bolt and strapping it down to the s/a a couple inches forward. Then attaching the fender brace to line up with the center of the axle. I'm open to other suggestions, I plan to reroute the brake line so that's no going to be an issue when done(I hope).  |
|
|
|
« Last Edit: December 07, 2015, 07:03:42 PM by John Schmidt »
|
 Logged
|
|
|
|
|
sixlow
|
|
« Reply #1 on: November 27, 2015, 05:32:59 PM » |
|
maybe a "V" shaped support coming from the bottom shock bolt that is consistent on both sides.?
|
|
|
|
|
Logged
|
|
|
|
John Schmidt
Member
Posts: 15383
a/k/a Stuffy. '99 I/S Valk Roadsmith Trike
De Pere, WI (Green Bay)
|
|
« Reply #2 on: November 27, 2015, 05:46:23 PM » |
|
If you look at your Valk at the right side bottom shock mount, this is much the same kind of mount and there really isn't any room to bolt a bracket in there next to the shock. The bottom of the shock will just nicely fit in there, leaving no room for anything else. I'd like to try and slant the braces forward from the axle to the fender to match the angle of the shocks. I'm tossing around the idea of cutting the fender down about 6" in length.....less weight and the end would be higher up the back of the tire. I'll be sleeping on this problem for a few more nights for sure.  |
|
|
|
|
Logged
|
|
|
|
Colin
Member
Posts: 597
My old job
Orba, Spain

|
|
« Reply #3 on: November 27, 2015, 10:55:50 PM » |
|
What about using the calliper mounting bolt on that side the line will be very similar just a lot shorter bracket / arm?
|
|
|
|
|
Logged
|
|
|
|
John Schmidt
Member
Posts: 15383
a/k/a Stuffy. '99 I/S Valk Roadsmith Trike
De Pere, WI (Green Bay)
|
|
« Reply #4 on: November 28, 2015, 06:08:23 AM » |
|
What about using the calliper mounting bolt on that side the line will be very similar just a lot shorter bracket / arm?
Colin, the bottom shock bolt on the left side is the caliper mounting bolt....is that the one you're talking about? I thought about that, I really wanted the two sides to match. I'll take another look. |
|
|
|
|
Logged
|
|
|
|
|
OnaWingandaPrayer
|
|
« Reply #5 on: November 28, 2015, 10:56:58 AM » |
|
If I recall correctly, there is a steel washer on the outside (left side) of the caliper braket. Could the brace either be welded directly to that spacer/washer , or drilled out to fit the axle and pinch between the spacer and caliper. One other thought would be drill the center of the outer end of the axle . 5/16-20 . 3/4" deep should be plenty deep to support the fender and not detract the strength of the axle . Fit your bracket to the nub of the axle , drill where it already center drilled. Pinch the new bracket down with a nice chrome acorn head bolt. Want it to match the other side ? pick up a spare axle/nut , machine it to size for 5/16"-20 threads . You would have the threads and nut like the rRH side and then your little stud end thru the bracket and threaded into the counter bore tap for 5/16-20. Yea thats a lot of work but it would make folks scratch there heads a moment too . |
|
|
|
|
Logged
|
|
|
|
John Schmidt
Member
Posts: 15383
a/k/a Stuffy. '99 I/S Valk Roadsmith Trike
De Pere, WI (Green Bay)
|
|
« Reply #6 on: November 28, 2015, 12:17:25 PM » |
|
If I recall correctly, there is a steel washer on the outside (left side) of the caliper braket. Could the brace either be welded directly to that spacer/washer , or drilled out to fit the axle and pinch between the spacer and caliper. One other thought would be drill the center of the outer end of the axle . 5/16-20 . 3/4" deep should be plenty deep to support the fender and not detract the strength of the axle . Fit your bracket to the nub of the axle , drill where it already center drilled. Pinch the new bracket down with a nice chrome acorn head bolt. Want it to match the other side ? pick up a spare axle/nut , machine it to size for 5/16"-20 threads . You would have the threads and nut like the rRH side and then your little stud end thru the bracket and threaded into the counter bore tap for 5/16-20. Yea thats a lot of work but it would make folks scratch there heads a moment too . Yes, there's a spacer....actually two just alike, on the inside and outside of the caliper bracket. At one point I was thinking of pulling the axle and welding a short tab to the outer spacer and have it pointing up. Then bolting a brace to it. On the right side, just form a short tab to go under the axle nut and I could attach the right side brace to it. I understand your first suggestion about drilling the center of the axle, would only go about 1/2" at the most however. I don't understand your last paragraph re. the right side, guess it needs to go a bit deeper for me to follow. |
|
|
|
|
Logged
|
|
|
|
|
OnaWingandaPrayer
|
|
« Reply #7 on: November 28, 2015, 01:36:27 PM » |
|
Let me try to sort that out John. Drill the left end of the axle and thread it. Take a spare axle, cut the threaded end off say an 1/2" longer than the threaded portion. Machine the 3/4" stock portion ( non threaded ) down to accept the 5/16 male thread. That with the axle nut would become the bolt to hold the left side bracket. A lot of extra work but it would look just like the RH end of the axle . the left side I think has a small step down at the outside , I believe where there is a hole to hold the axle from rotating . Fit the bracket to step down size. I hope thats a little more clear . Wish I was closer to your location or able to draw it and post.  |
|
|
|
|
Logged
|
|
|
|
Colin
Member
Posts: 597
My old job
Orba, Spain
|
|
« Reply #8 on: November 28, 2015, 10:08:40 PM » |
|
John this is the one I meant  cs4j cs4j by Colin Spencer, on Flickr |
|
|
|
« Last Edit: November 28, 2015, 10:12:44 PM by Colin »
|
Logged
|
|
|
|
Flrider
Member
Posts: 2623
Jack
Kissimmee FL
|
|
« Reply #9 on: November 29, 2015, 06:19:34 AM » |
|
John How about a brake caliper relocating bracket like this one, then you can have both sides looking the same. http://www.glensvtxgarage.com/#!brake-caliper-relocating-bracket/c1vwm It is for a Honda VTX but you get the idea, I ran one similar to this one for years on my VTX without any issues. If you are interested, I can dig up some more info and picks from the VTX forum |
|
|
|
« Last Edit: November 29, 2015, 06:22:18 AM by Flrider »
|
Logged
|
|
|
|
John Schmidt
Member
Posts: 15383
a/k/a Stuffy. '99 I/S Valk Roadsmith Trike
De Pere, WI (Green Bay)
|
|
« Reply #10 on: December 05, 2015, 03:31:44 PM » |
|
If I recall correctly, there is a steel washer on the outside (left side) of the caliper braket. Could the brace either be welded directly to that spacer/washer , or drilled out to fit the axle and pinch between the spacer and caliper. One other thought would be drill the center of the outer end of the axle . 5/16-20 . 3/4" deep should be plenty deep to support the fender and not detract the strength of the axle . Fit your bracket to the nub of the axle , drill where it already center drilled. Pinch the new bracket down with a nice chrome acorn head bolt. Want it to match the other side ? pick up a spare axle/nut , machine it to size for 5/16"-20 threads . You would have the threads and nut like the rRH side and then your little stud end thru the bracket and threaded into the counter bore tap for 5/16-20. Yea thats a lot of work but it would make folks scratch there heads a moment too . Well, I drilled it out OK, that end of the axle has a hole crossways to put a screwdriver or similar in for leverage. So when drilling it, I went through to that cross hole. Next, the thread tap. Result....I just ordered a replacement axle off ebay. The tap snapped off flush, was such a lovely day up until then.  I'll pull the axle out hopefully without disturbing everything and reinsert the replacement. The tap wasn't a dime store cheap one either, only got about 3/8" in before it snapped, with plenty of cutting oil on it to boot. The axle is hard stuff but it wasn't cutting difficult, not a lot of effort needed so I was surprised when it went. I might take the next axle to a shop and have it done for me, let them break their tap instead of me. |
|
|
|
|
Logged
|
|
|
|
John Schmidt
Member
Posts: 15383
a/k/a Stuffy. '99 I/S Valk Roadsmith Trike
De Pere, WI (Green Bay)
|
|
« Reply #11 on: December 07, 2015, 05:07:25 PM » |
|
Well, the last couple days I've been putzing with a different bracket and this is what I came up with. A piece of 2mm thick angle steel, cut and shaped to fit where you see it. There's a weld bead right in the center of where it sits so I cut a slot in the bracket to compensate. Before welding it to the s/a in front of the pinch bolt, I tack welded a nut on the back side and dressed it up before calling it "good." Next I used a welding magnet to hold it in place, hung some protection around the area, then hit it with my welder. I'll never make money doing welding for a living, but that sucker isn't moving. I got out my air tools again and dressed up the welds a bit then what you see now is the coat of self-etching primer. After drying overnight I'll spray it a couple coats to match the rest of the swingarm. Next will be a bracket for the right side, will be a piece large enough to go over the axle and be held in place by the axle nut. I'll have it stick up maybe 1.5" above the axle, weld a nut on the back of it, mount it and call it good. Should have done this in the first place, I would't be waiting on a replacement axle to come in. To mount the front of the fender, I cut a slot up each side about 2", then cut off the excess at an angle which you can see a little of in the pic. Next, marked where I wanted the holes and drilled them in the fender, then set the fender in place and marked the swingarm and drilled it. I cut out a 1/4" thick piece of rubber mat for rattle prevention, cut the holes, used 2.5" SS bolts/nuts and it's solid. 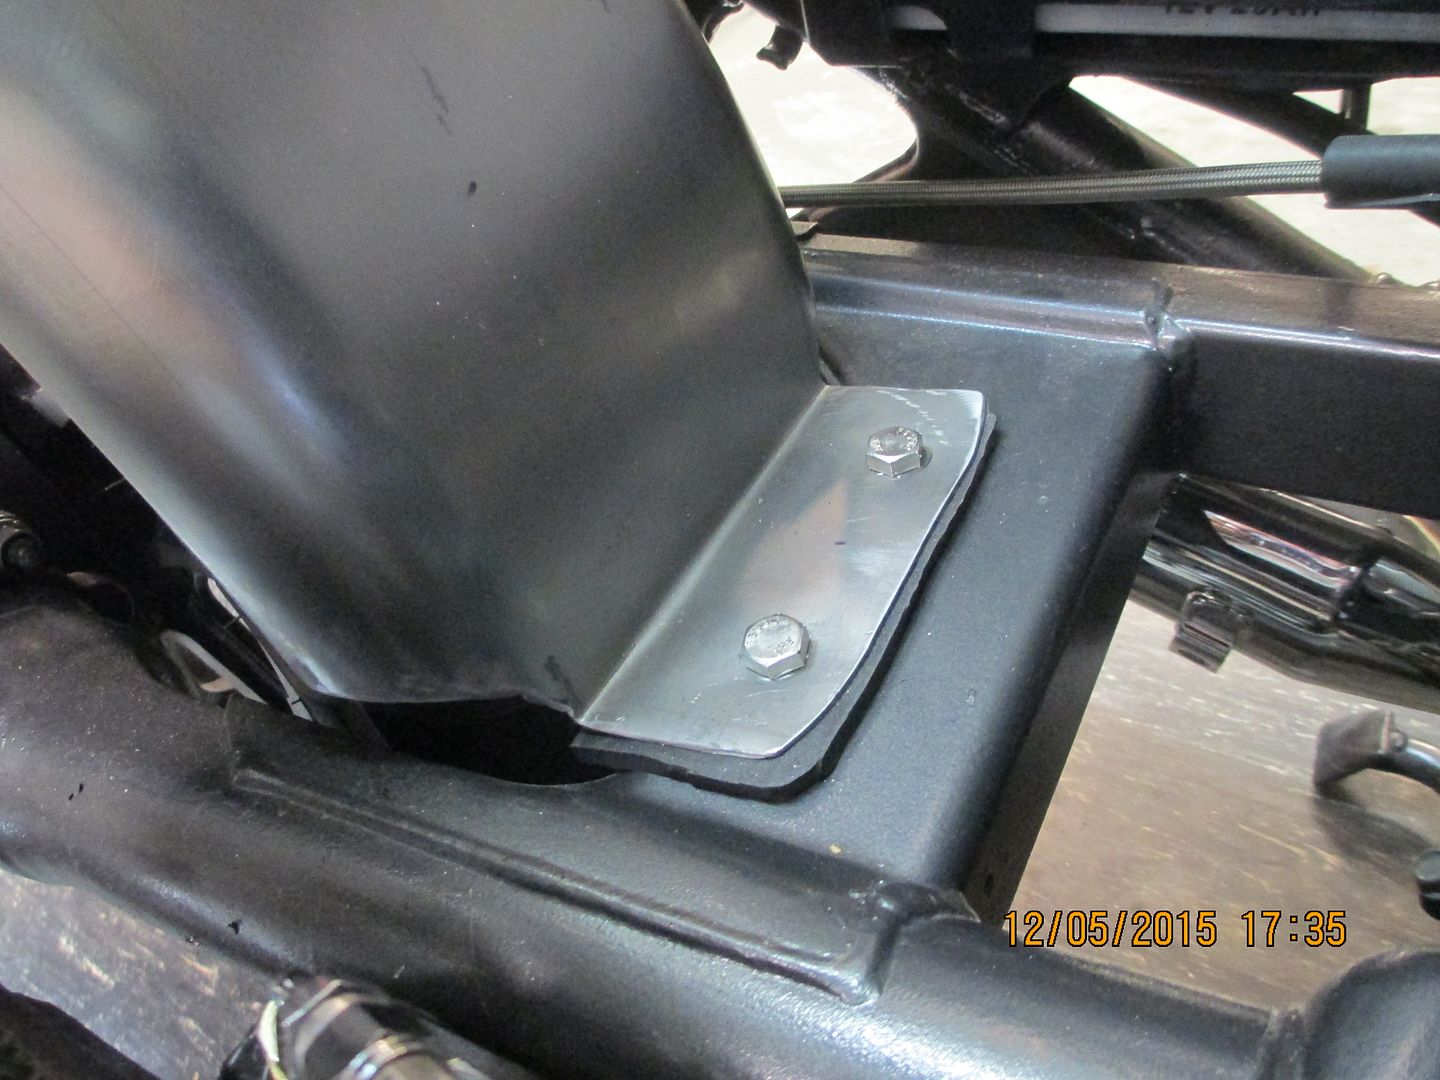 Kinda fuzzy but this is the nut on the back of the left bracket. 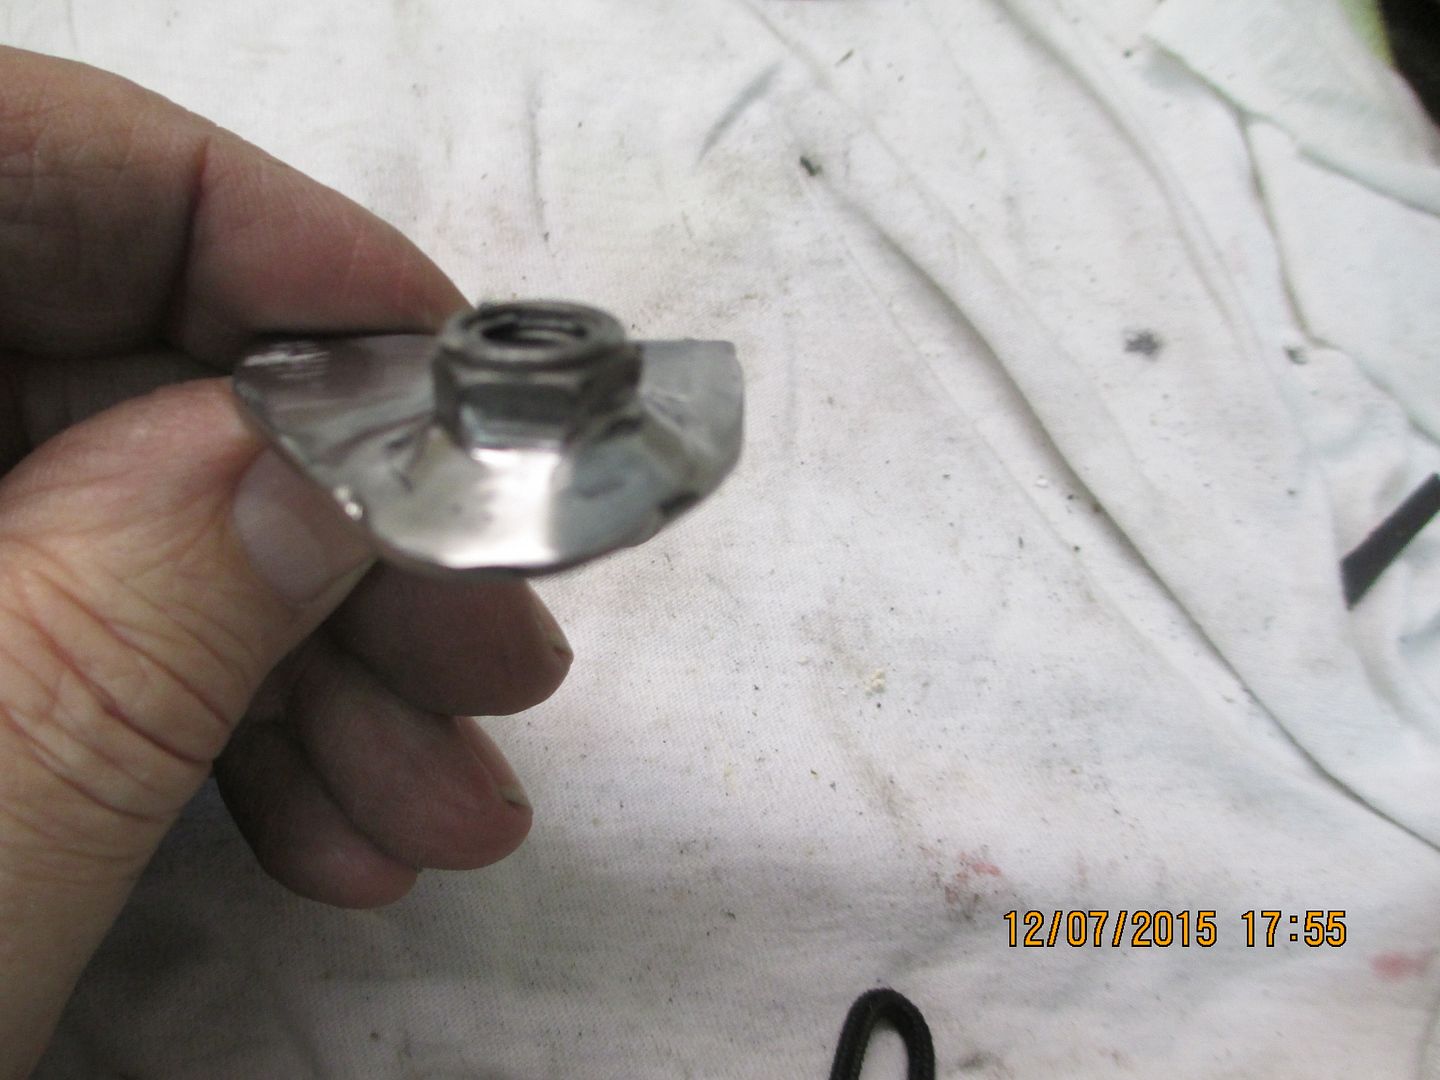 The bracket with a coat of primer. Judging by a couple of the factory weld beads in that area, my amateur attempt at welding will look like OEM.  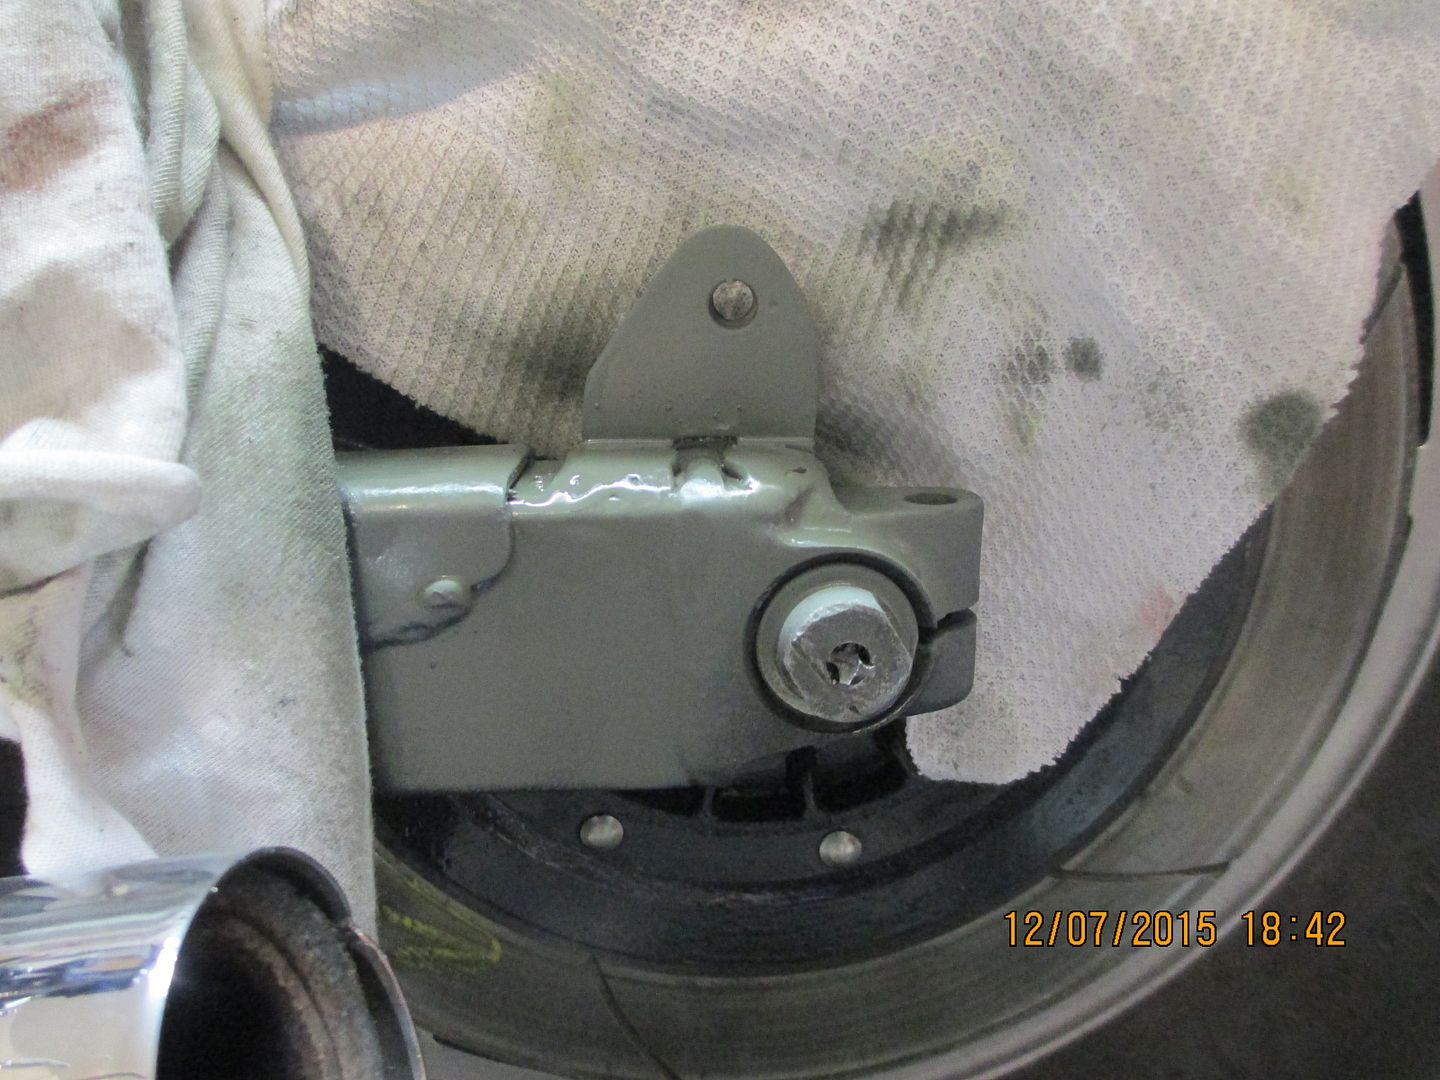 |
|
|
|
|
Logged
|
|
|
|
|
OnaWingandaPrayer
|
|
« Reply #12 on: December 07, 2015, 07:49:42 PM » |
|
I am sorry you had problems with the tap Hmm now how can I remove that broken tap for you ? Your new plan is coming together though . |
|
|
|
|
Logged
|
|
|
|
|
Pappy!
|
|
« Reply #13 on: December 07, 2015, 08:28:24 PM » |
|
If you can't get it out with small needle nosed pliers using the reliefs in the sides of the tap you may be able to utilize a stick welder. Weld the stick to the tap, let it cool, grab the stick and back out the tap.
|
|
|
|
|
Logged
|
|
|
|
John Schmidt
Member
Posts: 15383
a/k/a Stuffy. '99 I/S Valk Roadsmith Trike
De Pere, WI (Green Bay)
|
|
« Reply #14 on: December 08, 2015, 06:29:13 AM » |
|
Not to worry about the broken tap in the axle, I have a replacement axle coming in a couple days. They're cheap....$19.95 shipped. I'll run a piece of pipe in as I pull the old one out, then reverse the operation when I slide the replacement in. I've used that method a couple times in the past with good luck(operative word: luck), so hoping it works one more time. Keeps all the spacers, brake caliper mount, etc., in place albeit somewhat loose. One time I did it in under 5 minutes, the second time I had to "talk" to it but still didn't have to pull it all apart. Might carry the old one in the saddlebag in case I need it to persuade something.....or someone, in the future. Just gave the swingarm and new bracket the final hammered black coat of paint. Looks fine to me so will consider that project done. Like I told Bill(Grumpy).....I be a welder now.....NOT! It's on, it's solid, rough edges smoothed out and painted. Now moving on to see what else I can screw up!  Anudder update: Got my replacement axle today. I have a couple old rollers from an old Xerox machine that I overhauled while I was working for them back in the early 60's, make great drift pins. Also, this time one worked fine for pushing out the damaged axle, just loosened everything up and press against it with the roller. Then lightly tapping with a mallet, it drove the old axle out, nothing moved out of place. With the new axle, I just reversed the process. Pressed against the roller pin with the new axle, tapped lightly with the mallet all the way through and put the nut on. Less than five minutes. As for the right side fender brace mount, I have it cut out and drilled. Tomorrow I'll weld the nut on the back side and paint it. Remove the big axle nut and slip this in behind it then torque the axle nut down. Haven't decided on the size of the brace yet, most likely 3/4" wide but still pondering over that, and how I want to fasten it to the fender....bolt or weld. |
|
|
|
« Last Edit: December 08, 2015, 04:04:37 PM by John Schmidt »
|
Logged
|
|
|
|
|


