|
Leathel
|
 |
« on: January 14, 2017, 10:19:55 PM » |
|
|
|
|
|
« Last Edit: January 14, 2017, 10:53:45 PM by Leathel »
|
 Logged
|
|
|
|
hubcapsc
Member

Posts: 16819
upstate
South Carolina
|
|
« Reply #1 on: January 15, 2017, 04:19:54 AM » |
|
That's different, and pretty cool. I wish I could fabricate metal, I'm going to
be beating the bushes for someone to fabricate a fender bracket for my 1800 soon...
Have you ever taken the wheel off a Valkyrie yet? Your axle probably won't
go over the pipes with that setup installed... if you take it on and off when
you do maintenance, it looks like you'll have to take care not to scratch
the fender...
-Mike
|
|
|
|
|
Logged
|
|
|
|
|
Harryc
|
|
« Reply #2 on: January 15, 2017, 06:10:59 AM » |
|
Looks great Leathel, it's amazing what you can do with some metal skills. Ditto on the rear wheel. Can't tell from here but just make sure you can remove it before you make things permanent. Just one more thought. Diamond plate looks cool but can get slippery when wet. Maybe some rubber mat glued to it?
|
|
|
|
« Last Edit: January 15, 2017, 06:16:05 AM by Harryc »
|
Logged
|
|
|
|
|
Hook#3287
|
|
« Reply #3 on: January 15, 2017, 08:13:42 AM » |
|
Using the two jack method, and he has them, once the shocks are removed, he can lower the rear wheel enough to pull the axle.
|
|
|
|
|
Logged
|
|
|
|
|
Leathel
|
|
« Reply #4 on: January 15, 2017, 09:04:54 AM » |
|
Harryc Yes I have some thick rubber to glue on that plate, It was just a case of I had the plate, was not going to rust and the right size. Re Wheel, I am going to run some stone guard where the fame slips is past the guard, takes away the scratch risk, then it is quite easy to remove the frame/bags to make for easy wheel removal. I did think on that.....I was going to do a removable section in the frame but it would take just about as long to unbolt that as the whole frame (only 7 bolts and all are easy to get too) Nice to know I may be able to get with the two jack method, I could load it across the hoist and that would make it easy to drop the wheel out like I use to on my old Aero I had a few years back 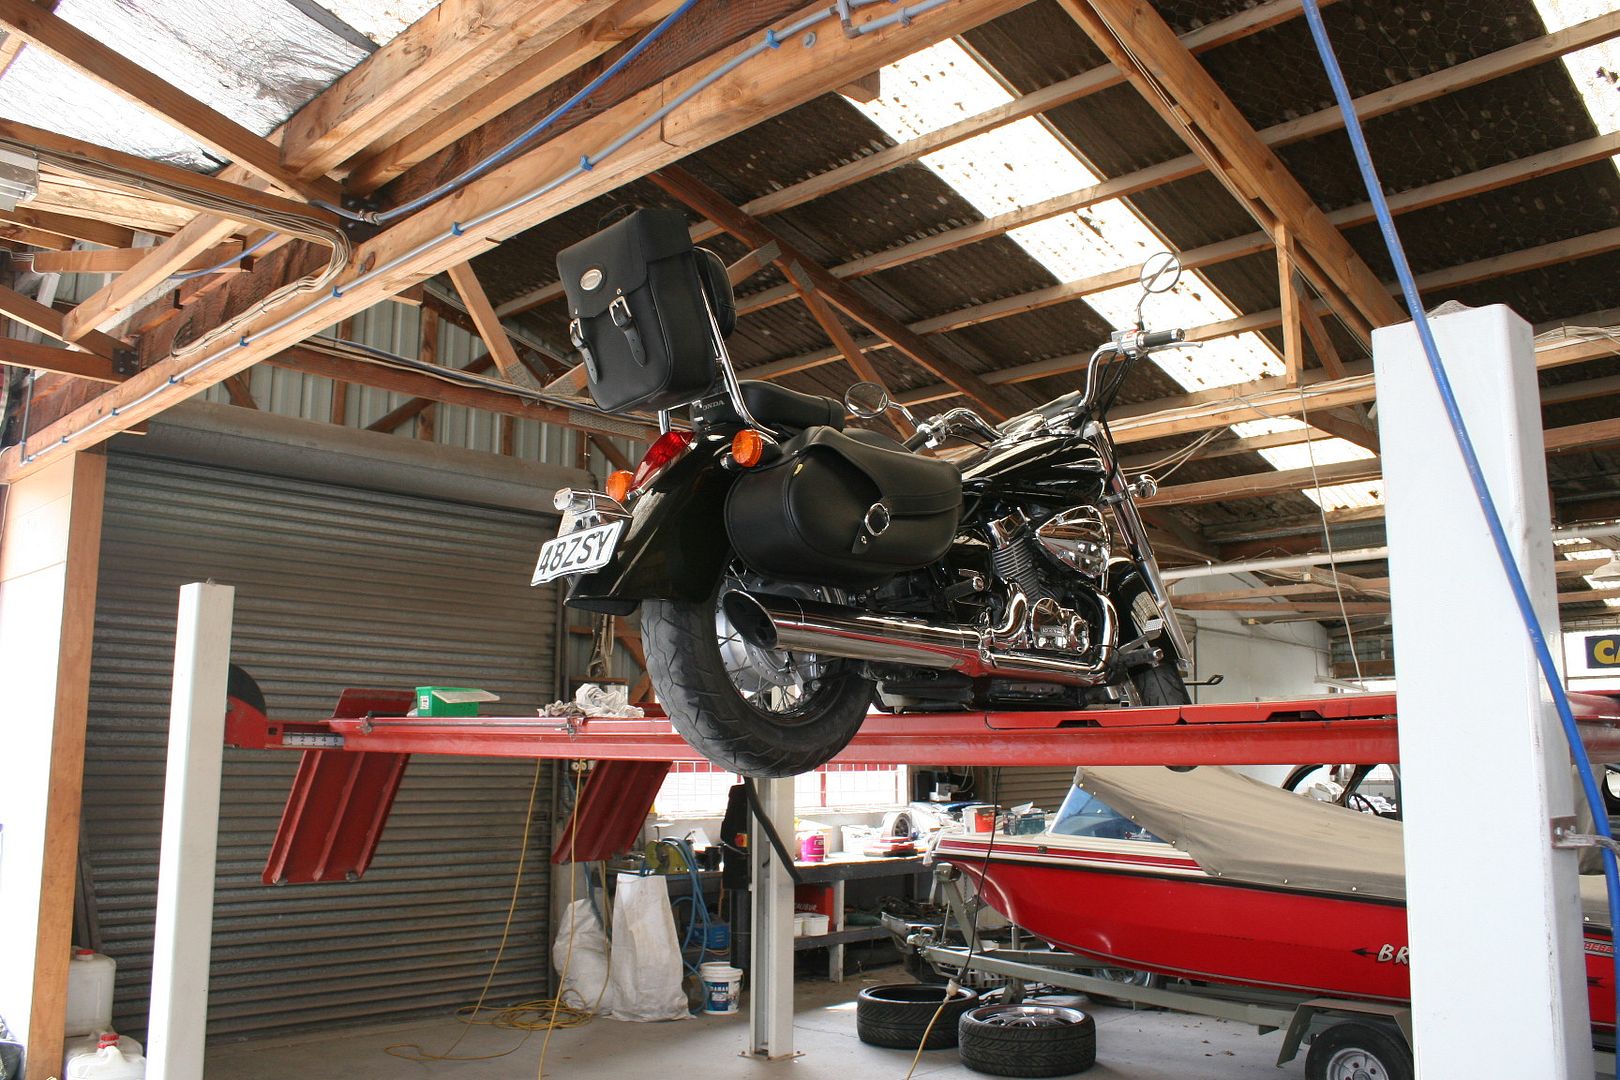 Ohh and I think if I do have to remove the frame the Cage nut system might have to change as it is a PITA to get that top bolt lined up when the nut keeps moving! If I can remove the wheel with the frame in place I will likely strengthen the frame and use it to tow a light trailer for camping trips to house tents etc..... and maybe tow my dirt bike to some bike events like the cold kiwi that have hill climbs and riding challenges I don't want to take the Valkyrie on http://coldkiwi.co.nz/ |
|
|
|
« Last Edit: January 15, 2017, 09:19:44 AM by Leathel »
|
Logged
|
|
|
|
gordonv
Member
Posts: 5766
VRCC # 31419
Richmond BC
|
|
« Reply #5 on: January 15, 2017, 10:52:34 AM » |
|
I didn't look closely for balance, but if you plan on removing a wheel, you might want to strap it down first, so it won't fall with the remove of the extra weight.
|
|
|
|
|
Logged
|
1999 Black with custom paint IS   |
|
|
|
Pappy!
|
|
« Reply #6 on: January 15, 2017, 03:47:08 PM » |
|
That's one Hell of a nice garage!!!
|
|
|
|
|
Logged
|
|
|
|
|
Leathel
|
|
« Reply #7 on: January 15, 2017, 03:54:28 PM » |
|
That's one Hell of a nice garage!!!
Its my workshop, I own/run a panel beating and paint shop, Live just up the road so my bikes live there too. Have all the tools to play/ build there  |
|
|
|
|
Logged
|
|
|
|
|
Leathel
|
|
« Reply #8 on: January 20, 2017, 03:20:13 PM » |
|
|
|
|
|
|
Logged
|
|
|
|
|
|
hubcapsc
Member
Posts: 16819
upstate
South Carolina
|
|
« Reply #10 on: January 20, 2017, 05:21:59 PM » |
|
I think your paint job made blah looking bags look great.
I wouldn't change the paint design, either...
-Mike
|
|
|
|
|
Logged
|
|
|
|
|
Harryc
|
|
« Reply #11 on: January 20, 2017, 05:29:05 PM » |
|
Ditto, but I already said that elsewhere. I like it as is ... |
|
|
|
|
Logged
|
|
|
|
|
Hook#3287
|
|
« Reply #12 on: January 20, 2017, 06:39:13 PM » |
|
and threw some paint at it.... Looks OK but I will repaint the lids when I get time Really? ??? They look pretty good to me. You know, for the paint being thrown on and all. Wish I could throw paint like that.  |
|
|
|
|
Logged
|
|
|
|
|
Harryc
|
|
« Reply #13 on: February 01, 2017, 03:55:22 PM » |
|
@Leathel, I showed pics of your bike to a friend. He's been riding for over 40 years and I respect his opinion on bikes. He said "nice bike!!". For JC to give two exclamation points I am impressed. Leave it alone. Lol
|
|
|
|
« Last Edit: February 01, 2017, 03:57:53 PM by Harryc »
|
Logged
|
|
|
|
|
Jess from VA
|
|
« Reply #14 on: February 01, 2017, 08:24:00 PM » |
|
I think the paint is pretty nice as is too. One thing the rear gives you now is bright visibility to the cage drivers behind you. Nice job matching the orange pinstripe.
If I was going to change anything up on the bags (to darken the rear), I think I would copy the front and rear fenders instead the tank, and follow and extend the existing sweeping line of blue along the bag edge down to the bottom of the bag, and paint the entire top centers blue, like the fenders. You lose the tank matching long spike, but you try to copy the sweep of the tank spike in the line edge between the two colors (like you already have).
You would still have the cream sidewalls all the way back, but darken up the back.
I like that you left the side covers alone. Two toning them gets too busy.
|
|
|
|
|
Logged
|
|
|
|
|


