fordmano
Member

Posts: 1457
San Jose, CA. 1999 I/S 232 miles when bought 11/05
San Jose, CA.
|
 |
« Reply #80 on: December 28, 2010, 09:23:58 PM » |
|
Look at what I got in the Mail yesterday... 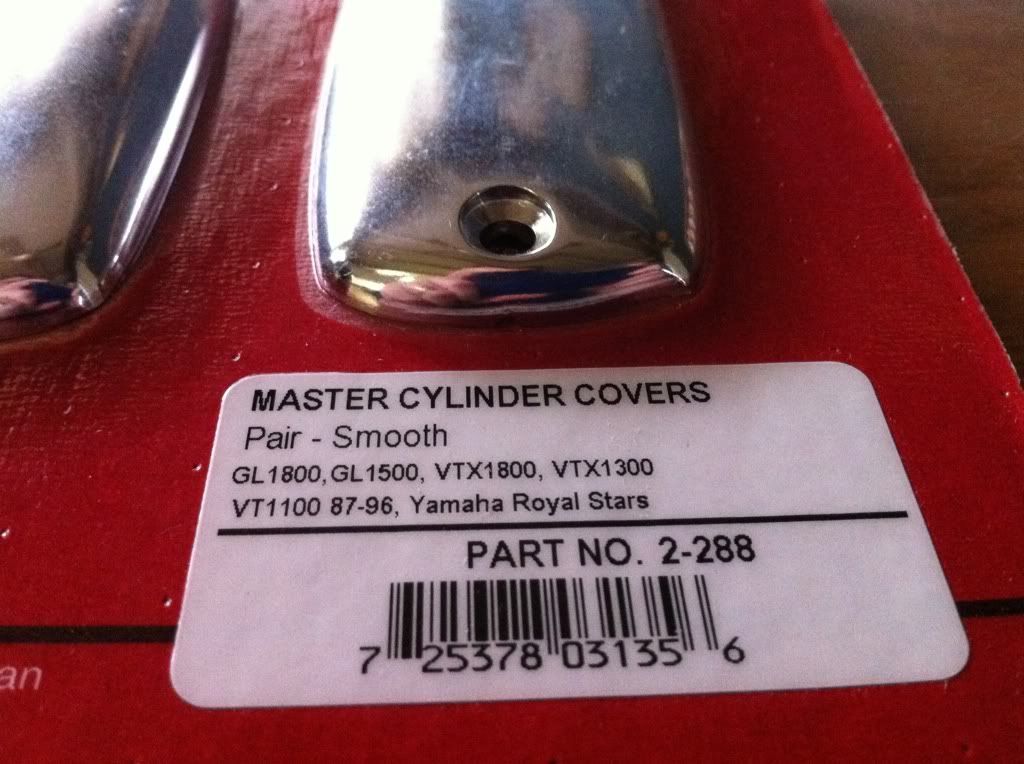 Aren't they pretty? 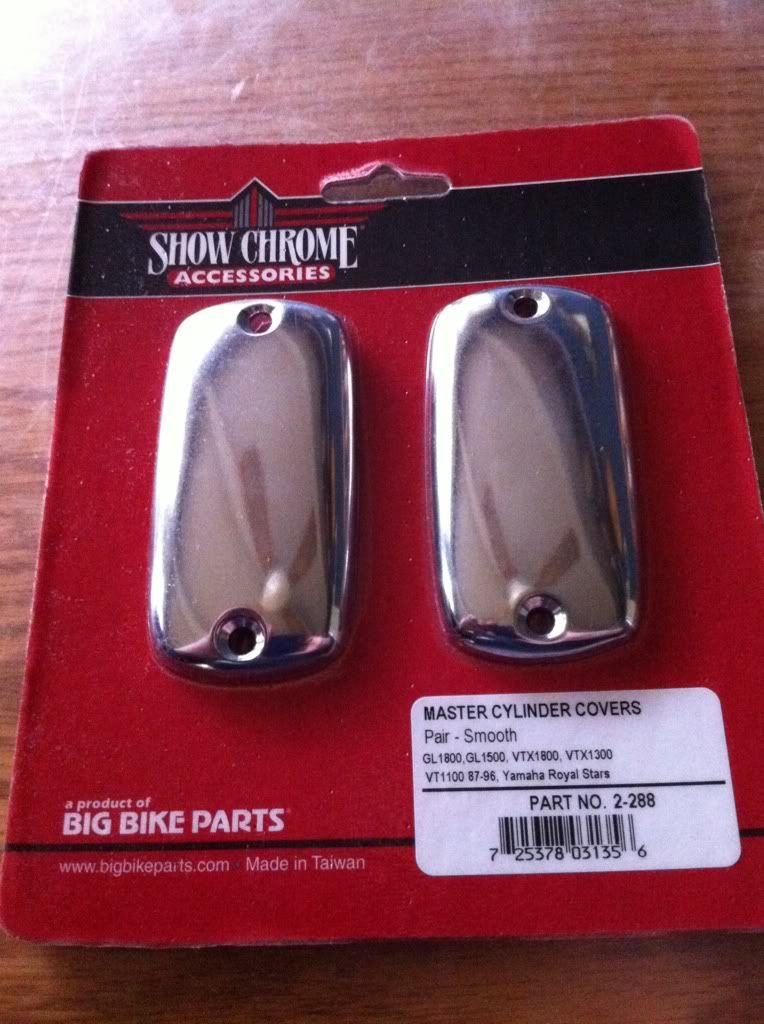 Decided I need to add one of those switch blocks to the top of my Master cylinder so since it will be taller and kind of in your face so figured I better pretty up the tops of my master cylinders. And they were under $30 shipped. |
|
|
|
« Last Edit: December 29, 2010, 09:45:37 PM by fordmano »
|
 Logged
|
  83GS550 93XR650L TARD! 97WR250 99ValkyrieI/S Tri-tone 01YZ125(x2) 05DRZ-125 |
|
|
|
Bone
|
|
« Reply #81 on: December 30, 2010, 02:19:42 AM » |
|
Nice, I'm getting anxious to see the finished bike. I've always wondered if the sun would reflect off of the chrome tops. The 85 Aspencade I had would give me a bad glare at a certain time of the day but only happen a couple of weeks out of the year and of course going the right direction to align with the sun.
Yesterday I got 2 more light strips from Oznium. Ordered them 9 am the 27th. and got them 2 days later using standard mail.
|
|
|
|
« Last Edit: December 30, 2010, 04:14:17 AM by Bone »
|
Logged
|
|
|
|
fordmano
Member
Posts: 1457
San Jose, CA. 1999 I/S 232 miles when bought 11/05
San Jose, CA.
|
|
« Reply #82 on: January 05, 2011, 12:00:33 AM » |
|
Well we are back again, made a little bit of progress over the last couple days. I will load the pictures then come back when I can to add the verbage, gotta love free time at work. Yes like most things on my bike the DIFF is yucky dirty. 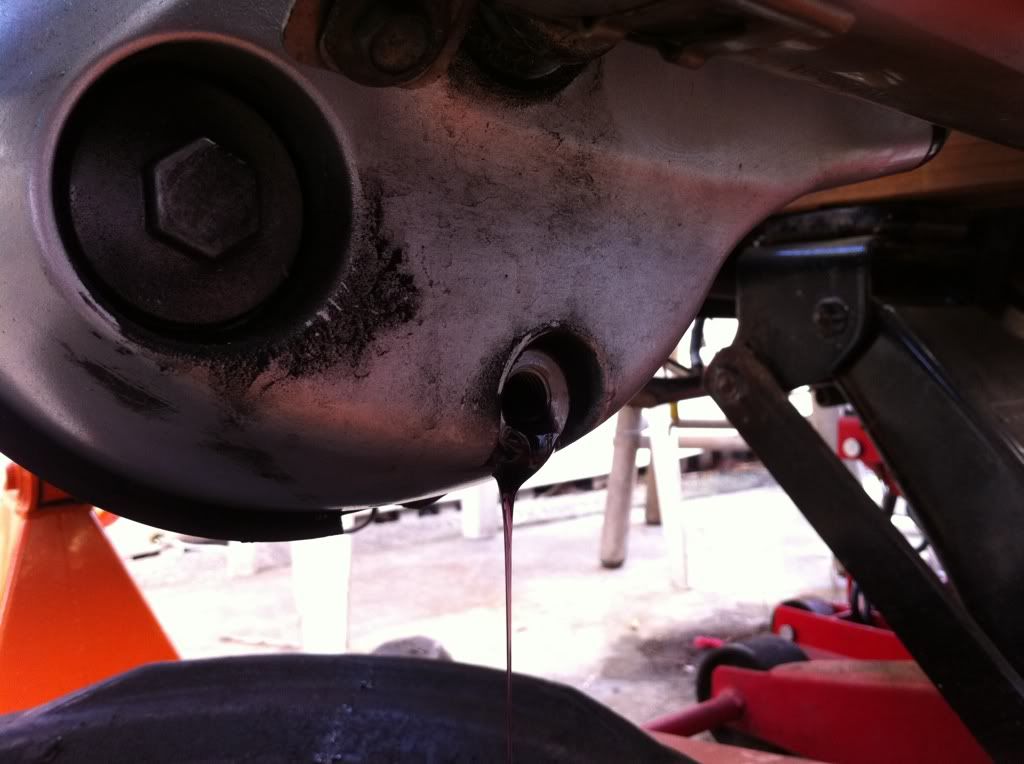 The old stuff had not been in there very long probably less than 11k or 12k but since I have it available and accessible why not just change it out. Gotta get as much done as I can since I am so slow I don't want to do any of this any sooner than I have to again. 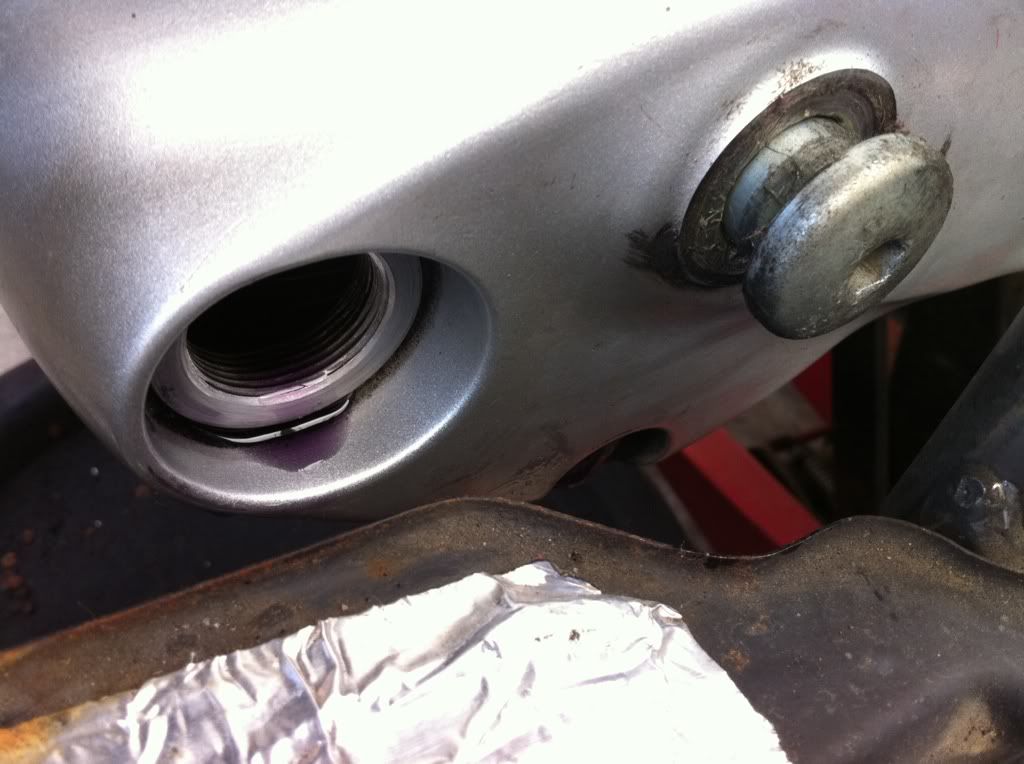 I think that is full enough? just enough to trickle over the fill hole threads. No the O-ring is not bad but since I had a new one already why not just slip it in.  I hope this stuff is good enough for this use? I think it is a bit heavy but with it being multi grade and synthetic it will do just my opinion thicker is usually better than thinner. 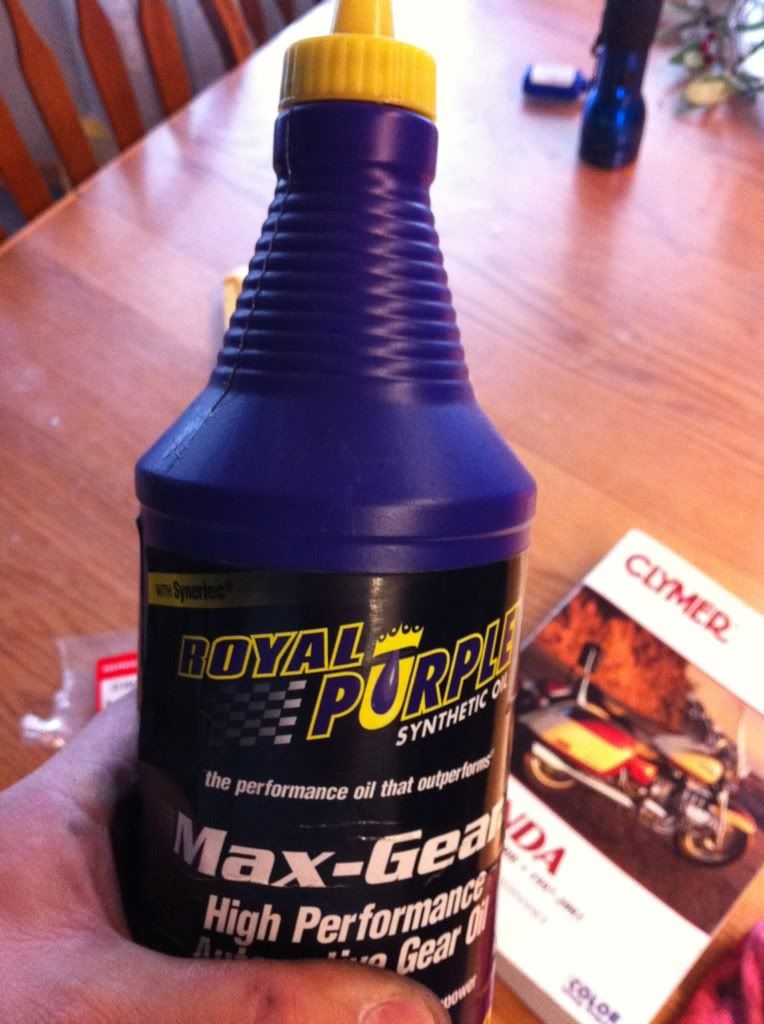 Had to cover up the Automotive name since some of us have issues with using CAR stuff on bikes. |
|
|
|
« Last Edit: January 26, 2011, 09:42:22 PM by fordmano »
|
Logged
|
83GS550 93XR650L TARD! 97WR250 99ValkyrieI/S Tri-tone 01YZ125(x2) 05DRZ-125
|
|
|
fordmano
Member
Posts: 1457
San Jose, CA. 1999 I/S 232 miles when bought 11/05
San Jose, CA.
|
|
« Reply #83 on: January 05, 2011, 12:13:48 AM » |
|
I gotta share this little tip, I hope I got it correct I am typing this from memory. This O-ring is not the current part number from Honda, but it is EXACTLY the same part and it is about half the price. Again from memory this one cost about $1.35 and the current part number is 91302-MA6-003 at $2.93. Not a big deal but sometimes every penny counts. They are both listed as O-RING (61X2) 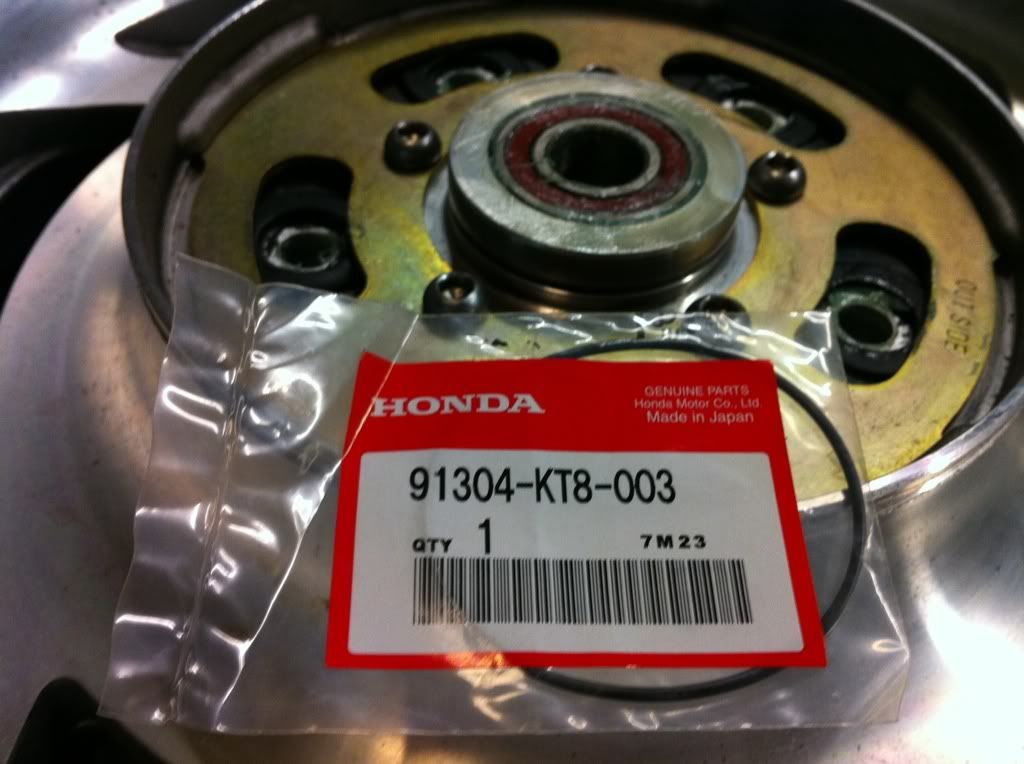 And it fits right here. 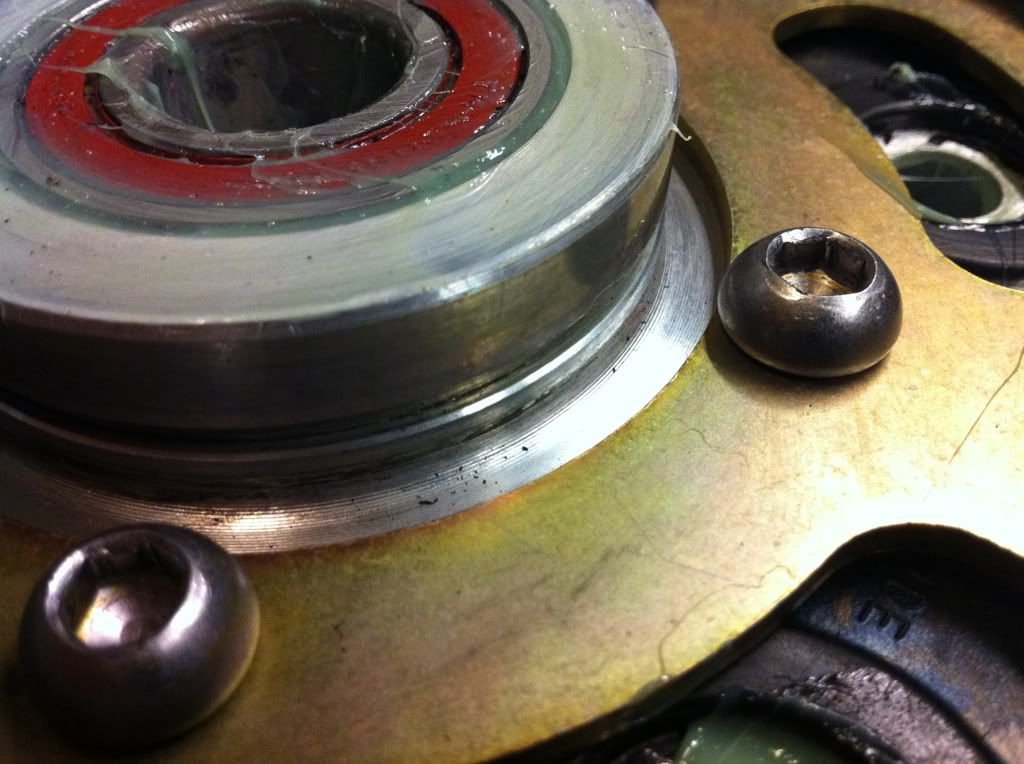 I have no savings tip on this one sorry about that this is the "Thrust Washer". 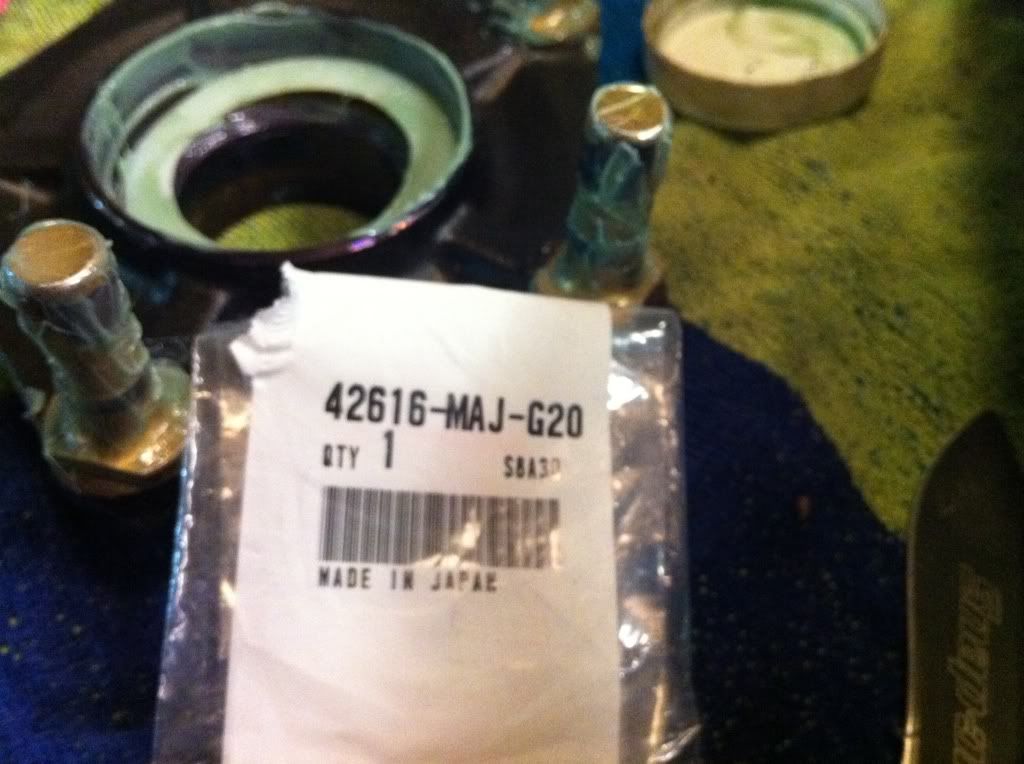 |
|
|
|
« Last Edit: February 10, 2011, 12:51:53 AM by fordmano »
|
Logged
|
83GS550 93XR650L TARD! 97WR250 99ValkyrieI/S Tri-tone 01YZ125(x2) 05DRZ-125
|
|
|
fordmano
Member
Posts: 1457
San Jose, CA. 1999 I/S 232 miles when bought 11/05
San Jose, CA.
|
|
« Reply #84 on: January 05, 2011, 12:22:44 AM » |
|
Lets see them splines, this is after about 6k on original Honda grease then about 14K on green grease(did not know any better just took a shot) They look pretty good so far. 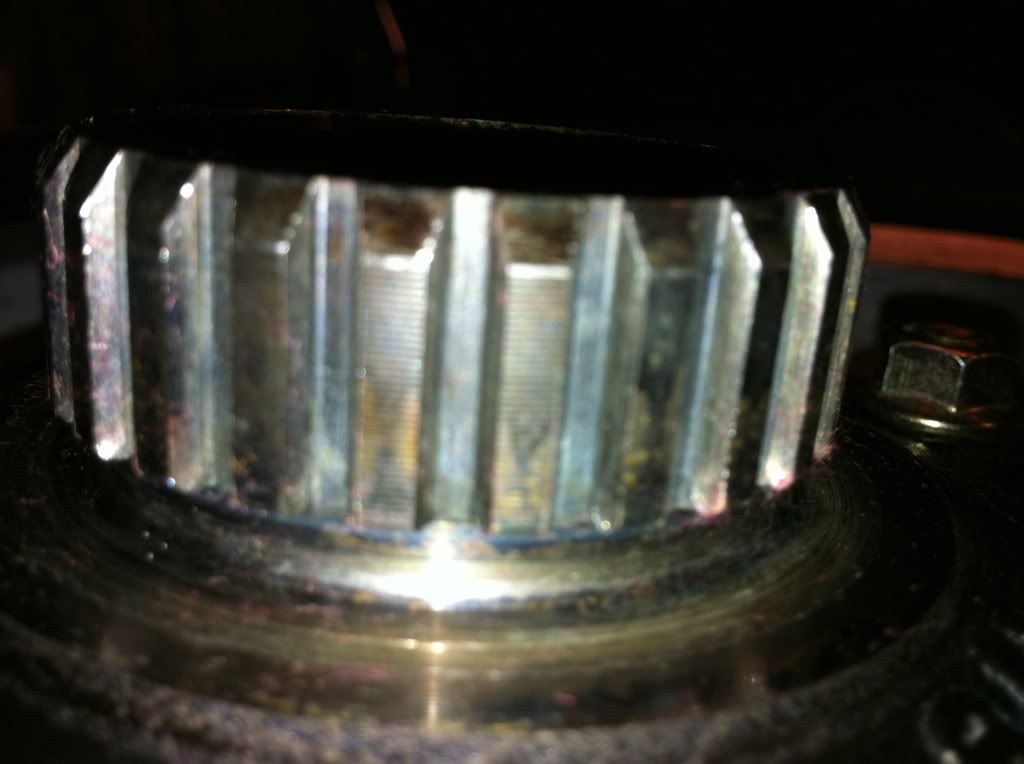 Not too bad, ok they look about perfect. 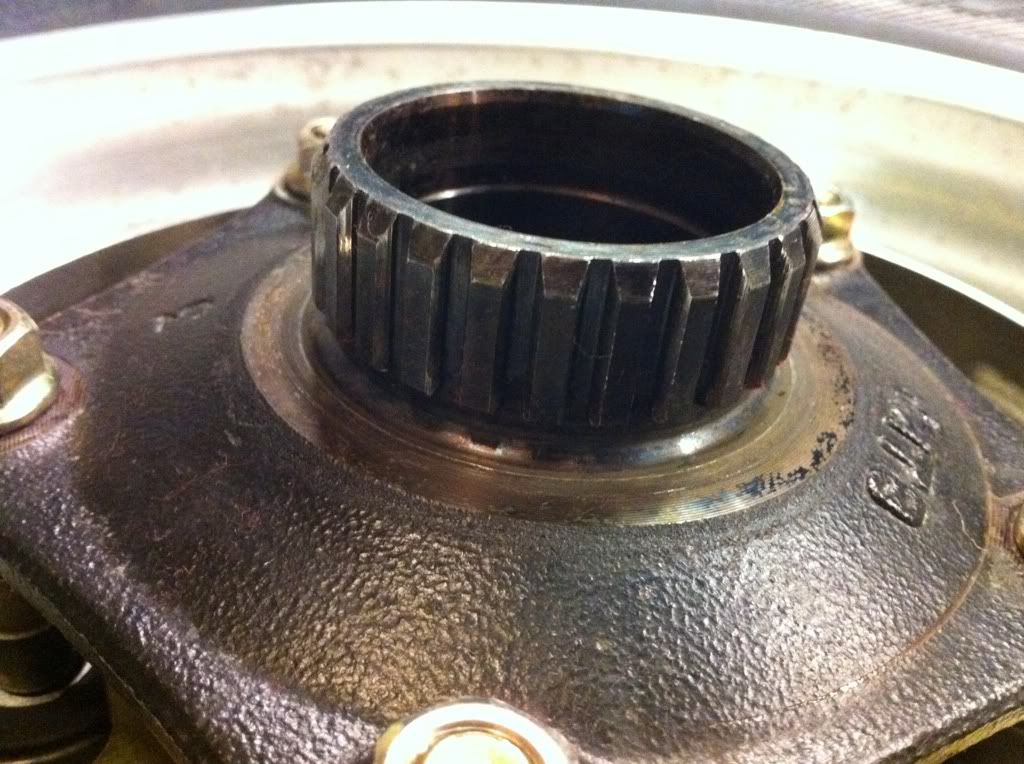 Now here they are all mucked up with Guard Dog, good stuff but wow can you say PRICEY. $20+ shipped for just a couple ounces, Wife did not like that price much. 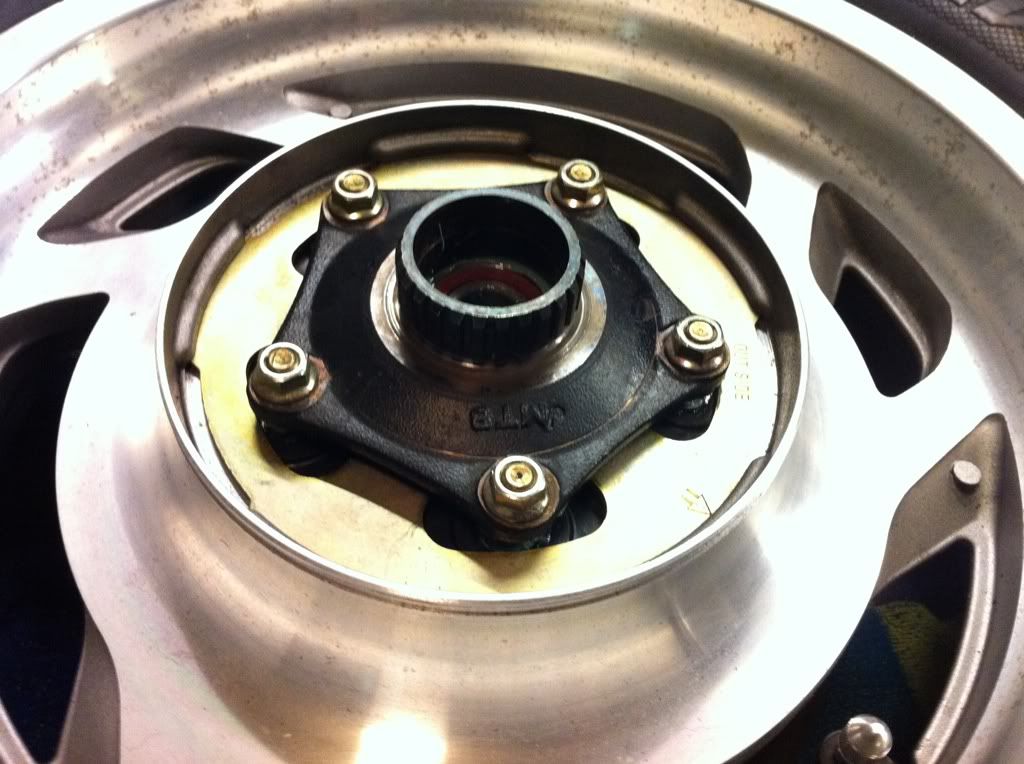 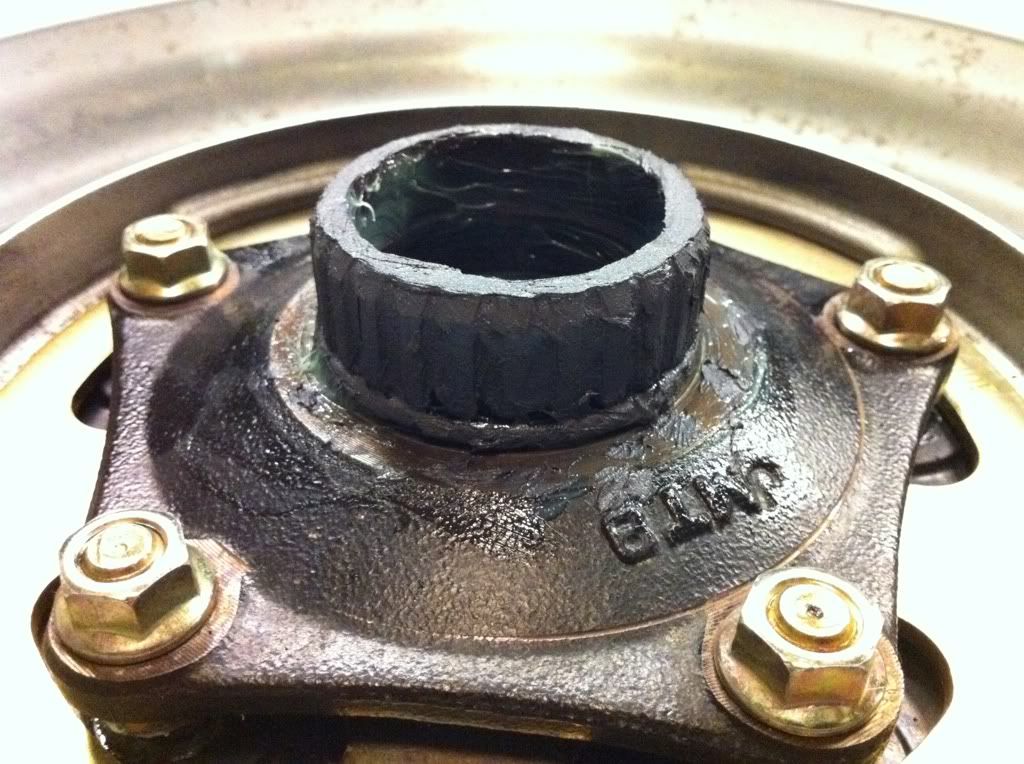 Yes I will get some of that cleaned up before I slide the rim into the Diff. And just for Fun, I don't care much for the black plastic valve stem covers that come on new valve stems, yes I had new stems put in both rims this time.  |
|
|
|
« Last Edit: February 10, 2011, 12:50:28 AM by fordmano »
|
Logged
|
83GS550 93XR650L TARD! 97WR250 99ValkyrieI/S Tri-tone 01YZ125(x2) 05DRZ-125
|
|
|
fordmano
Member
Posts: 1457
San Jose, CA. 1999 I/S 232 miles when bought 11/05
San Jose, CA.
|
|
« Reply #85 on: January 05, 2011, 12:33:33 AM » |
|
Now on to the rear wheel rubber dampers. or as some called it (cushdrive). The old ones weren't really bad but they were 12 years old and moved around a bunch in my opinion so we got the wheel off lets swap em out. 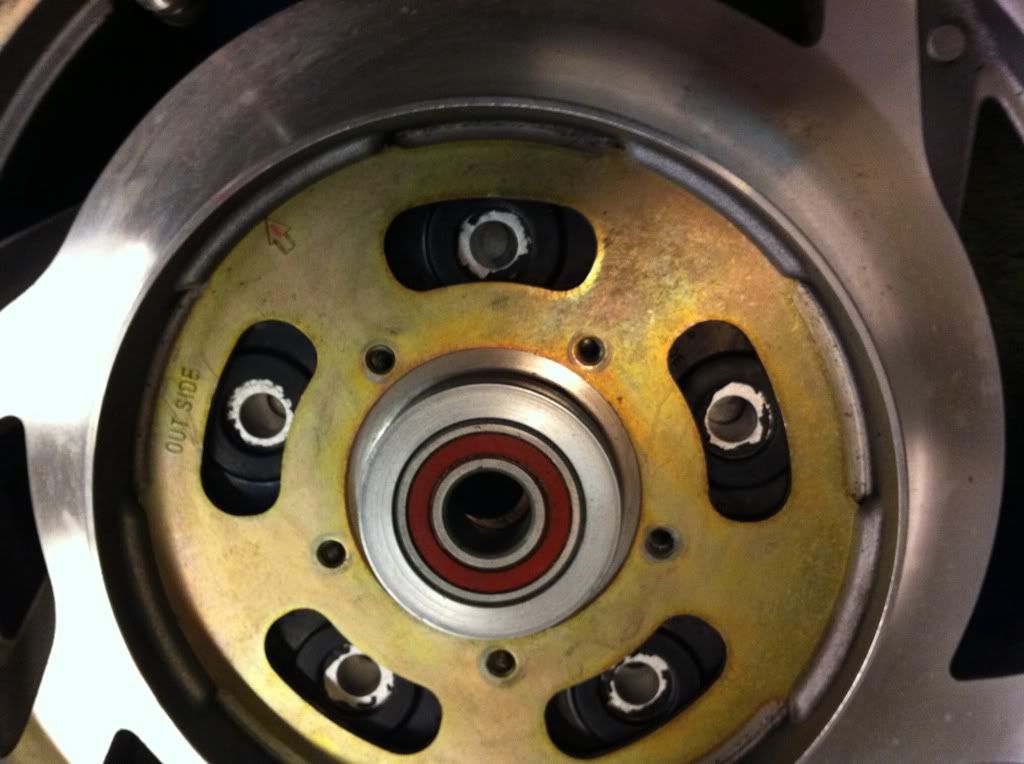 Here is a picture of all but one removed, the old ones were able to be removed by just sticking a finger into the metal grommet and lift. 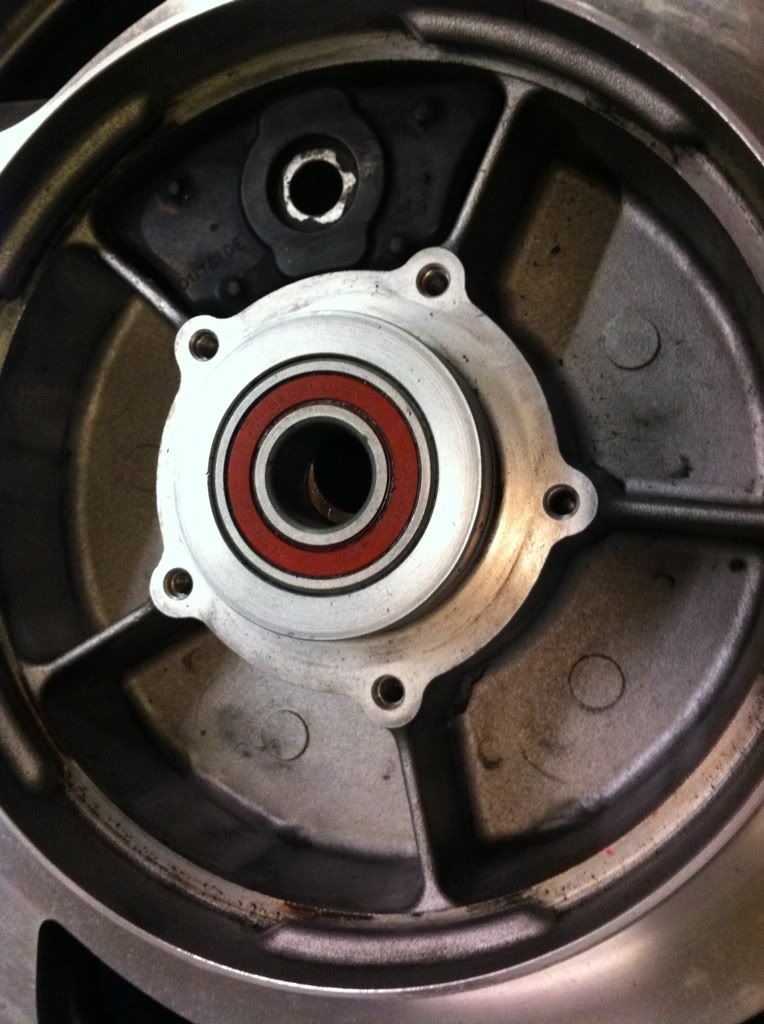 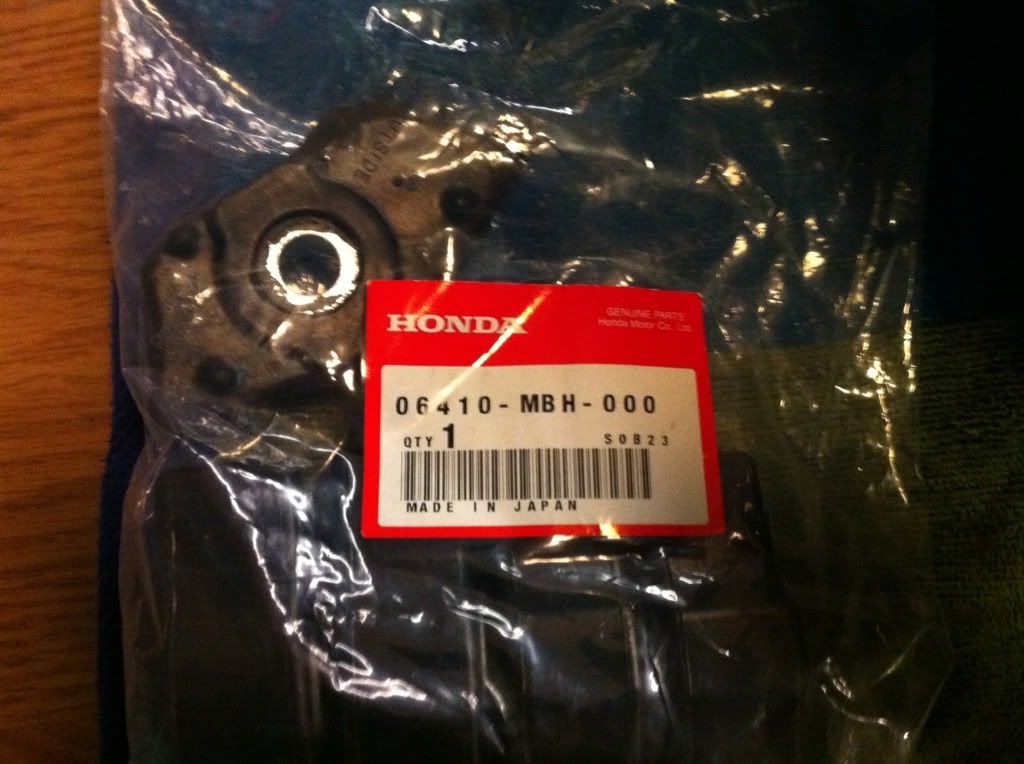 New ones all installed. 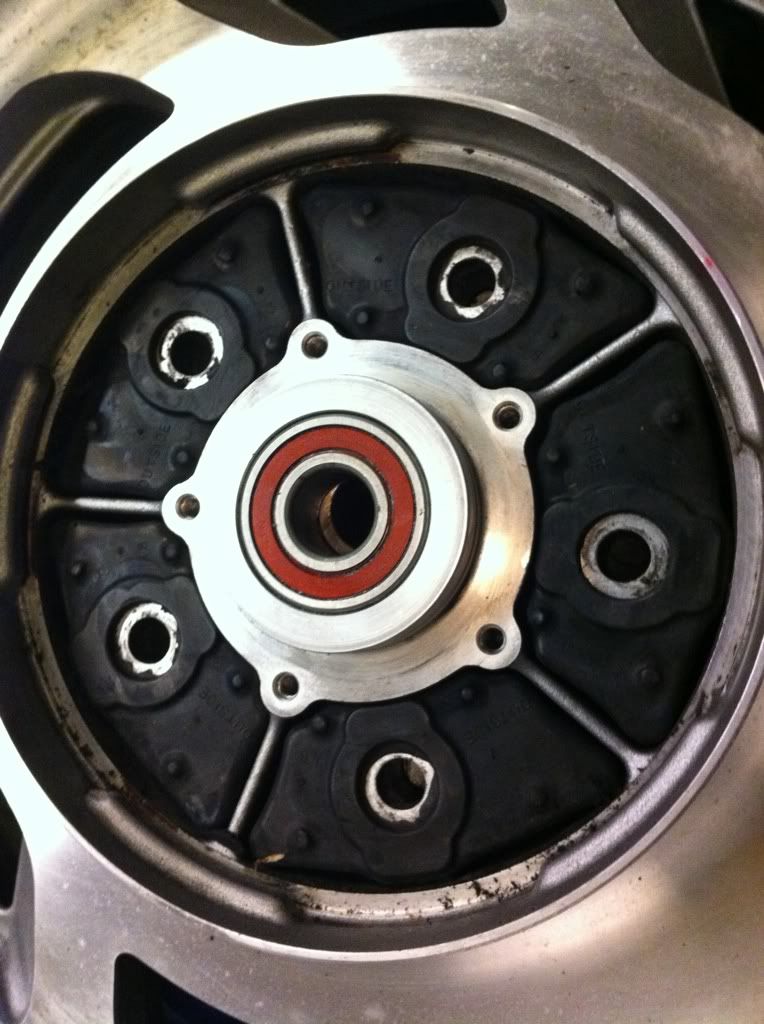 |
|
|
|
« Last Edit: February 10, 2011, 12:53:12 AM by fordmano »
|
Logged
|
83GS550 93XR650L TARD! 97WR250 99ValkyrieI/S Tri-tone 01YZ125(x2) 05DRZ-125
|
|
|
fordmano
Member
Posts: 1457
San Jose, CA. 1999 I/S 232 miles when bought 11/05
San Jose, CA.
|
|
« Reply #86 on: January 05, 2011, 12:47:35 AM » |
|
Ok now lets get that rear wheel installed, just as a reference if you are getting over a shoulder or arm injury get someone to help lift and guide that damn big rear wheel into place. Trust me it can be painfull to handle this alone I know first hand. So wheel is mostly in place and I started pushing axle through the differential. 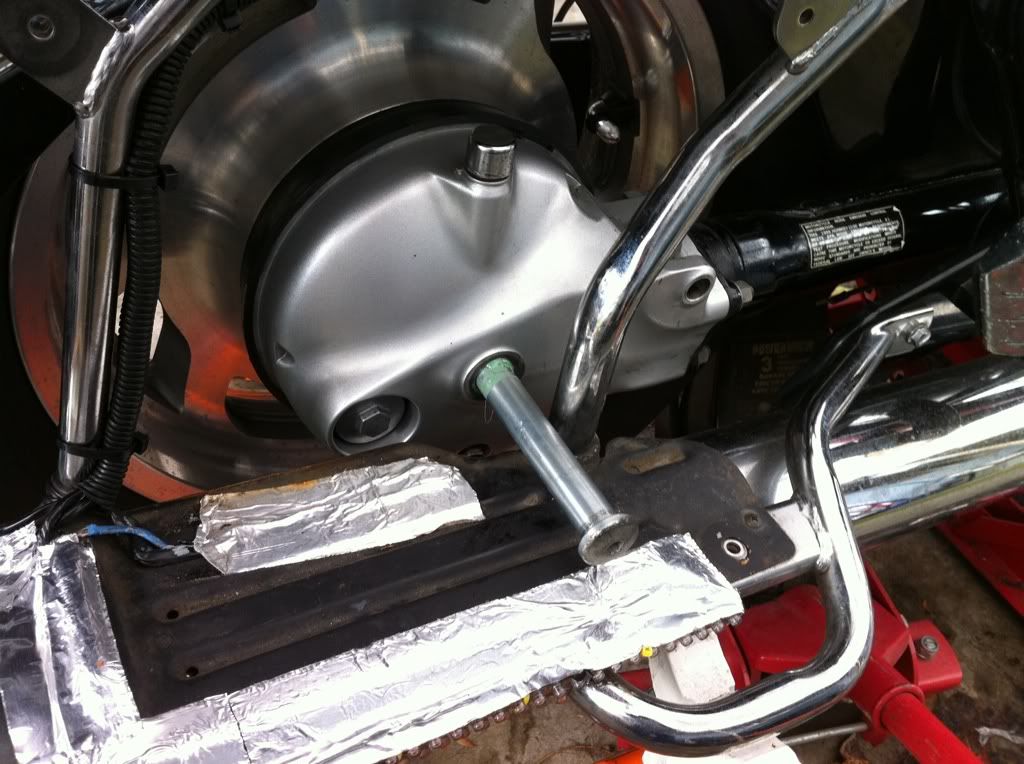 And as you can see I really like that Green grease it has a good shear resistance and is water proof, well the label says so. Yes I will clean off the excess in a bit. 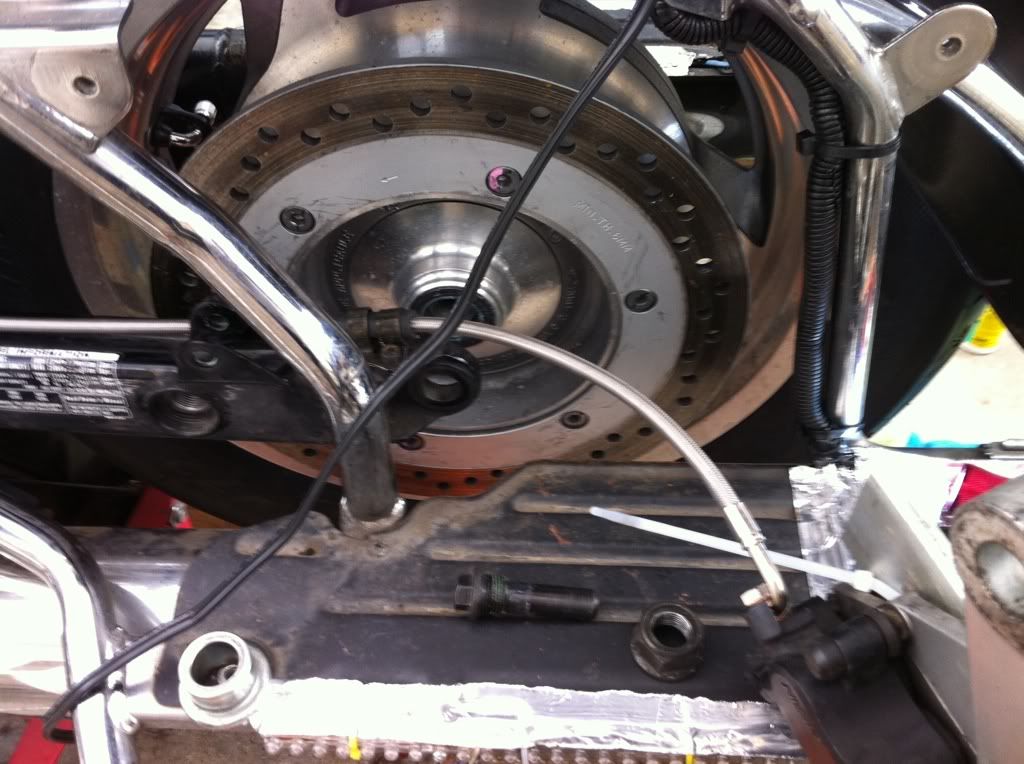 Not all the way through yet. Remember to get that brake caliper mount in place and ready if you can at this point and also the axle spacer needs to be in there also. I like that green grease Oh wait I said that already. 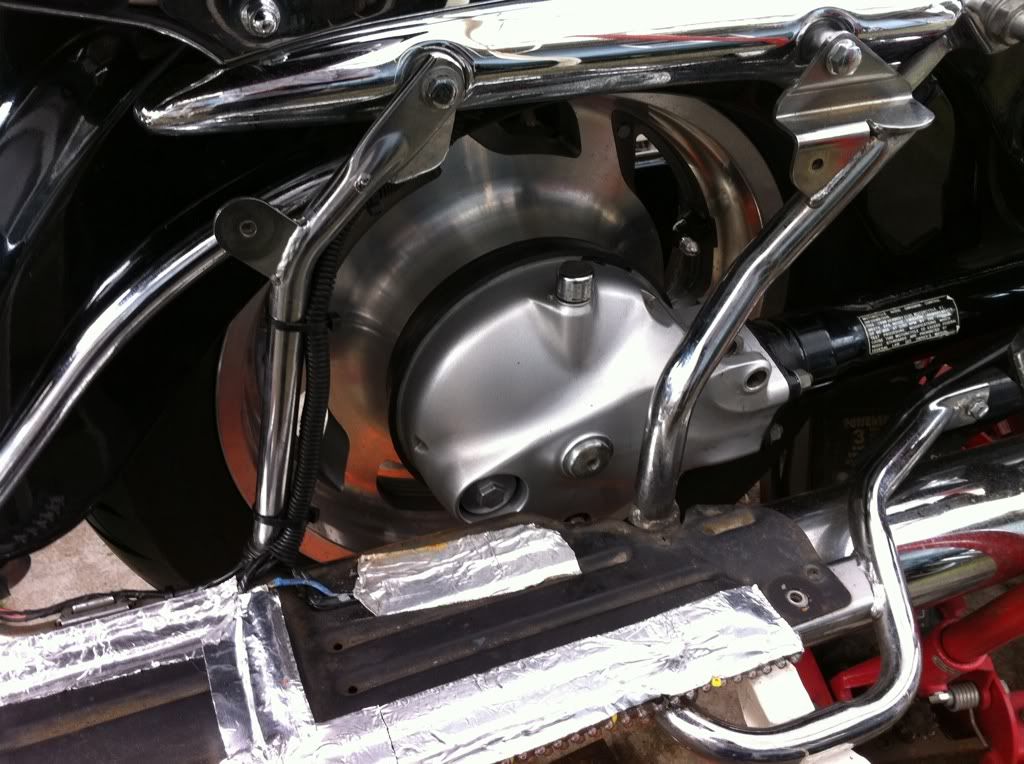 I told you I would clean up the extra grease. 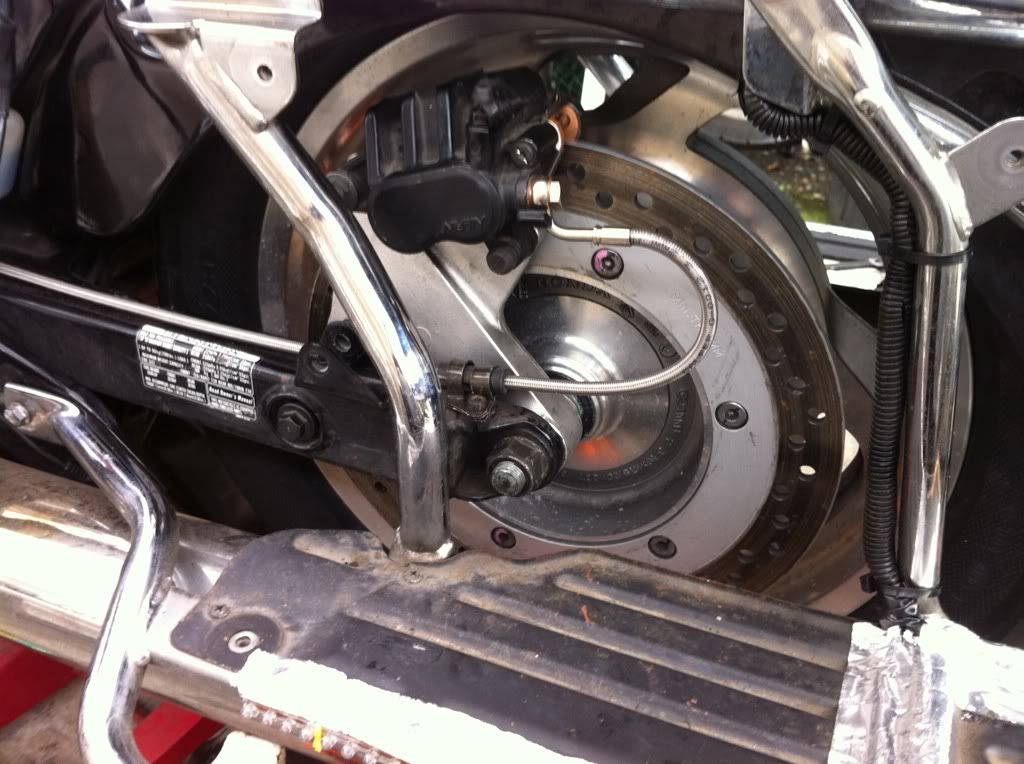 So now I have the Caliper in place and yes those are a brand new set of rear brake pads stock original direct from the Local dealer. 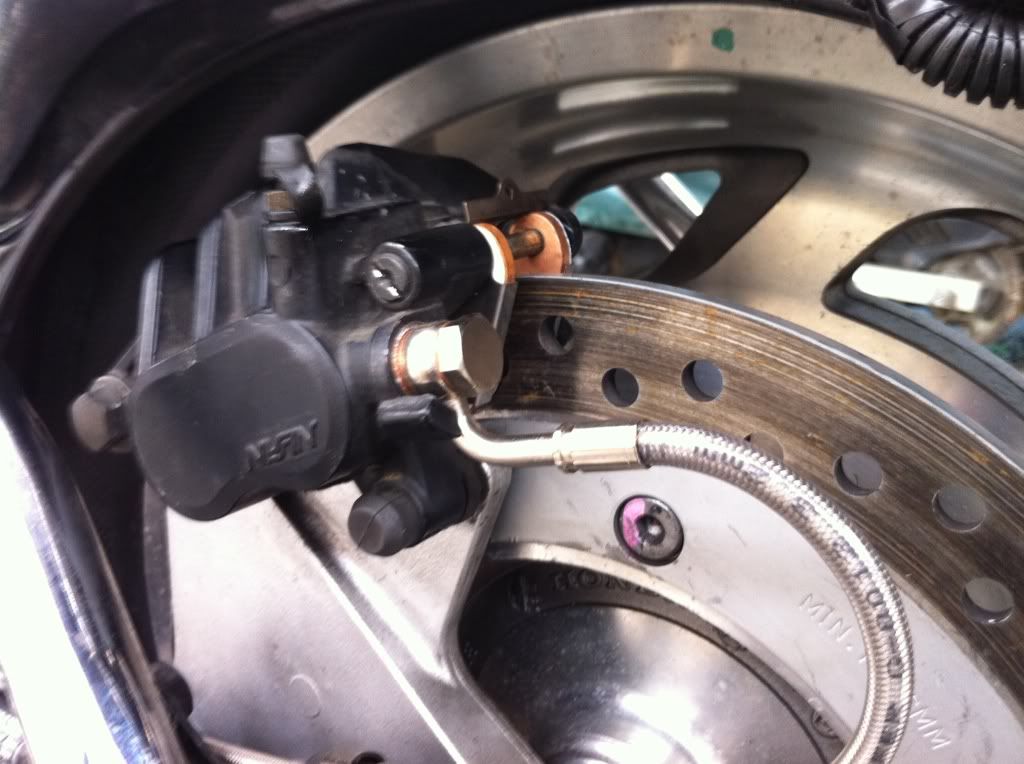 Nice, the old rears actually were probably Ok but again since I am in here why not install new ones right. Now when we get to the fronts I will try and get a picture of what ready RIGHT NOW to change dicsc brake pads really look like, I caught the fronts just in time they were almost paper thin. |
|
|
|
« Last Edit: January 05, 2011, 12:55:45 AM by fordmano »
|
Logged
|
83GS550 93XR650L TARD! 97WR250 99ValkyrieI/S Tri-tone 01YZ125(x2) 05DRZ-125
|
|
|
|
9Ball
|
|
« Reply #87 on: January 05, 2011, 05:53:28 AM » |
|
it's fun watching you progress through the work....something a lot of us have done but didn't document in picture form. Looks like you gave up on the wheels. The I/S are always a tough configuration to keep the wheels cleaned to prevent the pitting, etc. that most have. It will give you something to do next time the wheels are pulled....  |
|
|
|
|
Logged
|
VRCC #6897, Joined May, 2000
1999 Standard
2007 Rocket 3
2005 VTX 1300S
|
|
|
|
Jess from VA
|
|
« Reply #88 on: January 05, 2011, 06:42:49 AM » |
|
Very nice picture posts. Thanks for taking the time to do it. Though most of us have been thru this on many occasions, some have not. This is what motorcycle forums are (should be) all about. Along with guns, God, bad government, and fast wimmins.  |
|
|
|
|
Logged
|
|
|
|
MP
Member
Posts: 5532
1997 Std Valkyrie and 2001 red/blk I/S w/sidecar
North Dakota
|
|
« Reply #89 on: January 05, 2011, 07:01:25 AM » |
|
GREAT pics! Thank you.
MP
|
|
|
|
|
Logged
|
 "Ridin' with Cycho" |
|
|
fordmano
Member
Posts: 1457
San Jose, CA. 1999 I/S 232 miles when bought 11/05
San Jose, CA.
|
|
« Reply #90 on: January 05, 2011, 09:18:53 PM » |
|
it's fun watching you progress through the work....something a lot of us have done but didn't document in picture form. Thank you, this is the reason mostly why I am trying to document as much as I can remember to do and Pictures sometimes tell the story. I know that the pictures in shop talk have helped me so much, and probably or at least some might not try some of the things I am doing during this project. Looks like you gave up on the wheels. The I/S are always a tough configuration to keep the wheels cleaned to prevent the pitting, etc. that most have. It will give you something to do next time the wheels are pulled.... Well DARN it I was hoping nobody would notice that I stopped. Yes I gave up on the rear rim(wife is starting to push me to finish so I can get back in the saddle and get out of her hair), But I will have some time to do more to the front one since I dropped off my Forks to one of the last Honda (Hollister Honda Powersports dealer in the top 5 on the west coast, largest wing dealer west coast and largest Police bike dealer also) dealers in my area. Yep I said it I am letting a Dealer rebuild my forks. Race tech springs Gold valves and setup for my weight with free adjustments if needed. Pricey but I did get a big discount for belonging to the Local general bike forum, www.southbayriders.com They promised that what they are doing will surprise and impress me. The shop I was saving to take them to just closed the doors 2 days before Christmas. |
|
|
|
« Last Edit: January 12, 2011, 11:26:40 PM by fordmano »
|
Logged
|
83GS550 93XR650L TARD! 97WR250 99ValkyrieI/S Tri-tone 01YZ125(x2) 05DRZ-125
|
|
|
fordmano
Member
Posts: 1457
San Jose, CA. 1999 I/S 232 miles when bought 11/05
San Jose, CA.
|
|
« Reply #91 on: January 05, 2011, 10:41:27 PM » |
|
Well I should have posted these pictures prior to telling about the front end work but I didn't so too bad. Ha ha ha, you will just have to bear with me like you have been doing for way too long now. 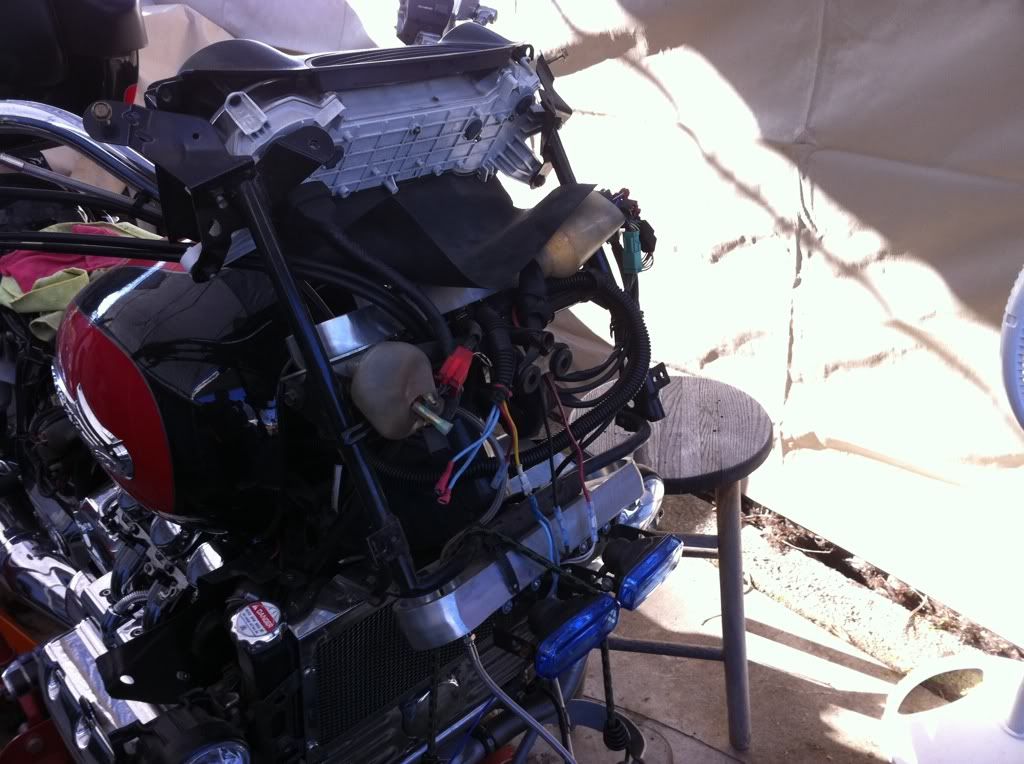 Can you see what missing from this picture? of course you can but it's still fun to ask. Here is a better picture just incase you couldn't see what was missing. 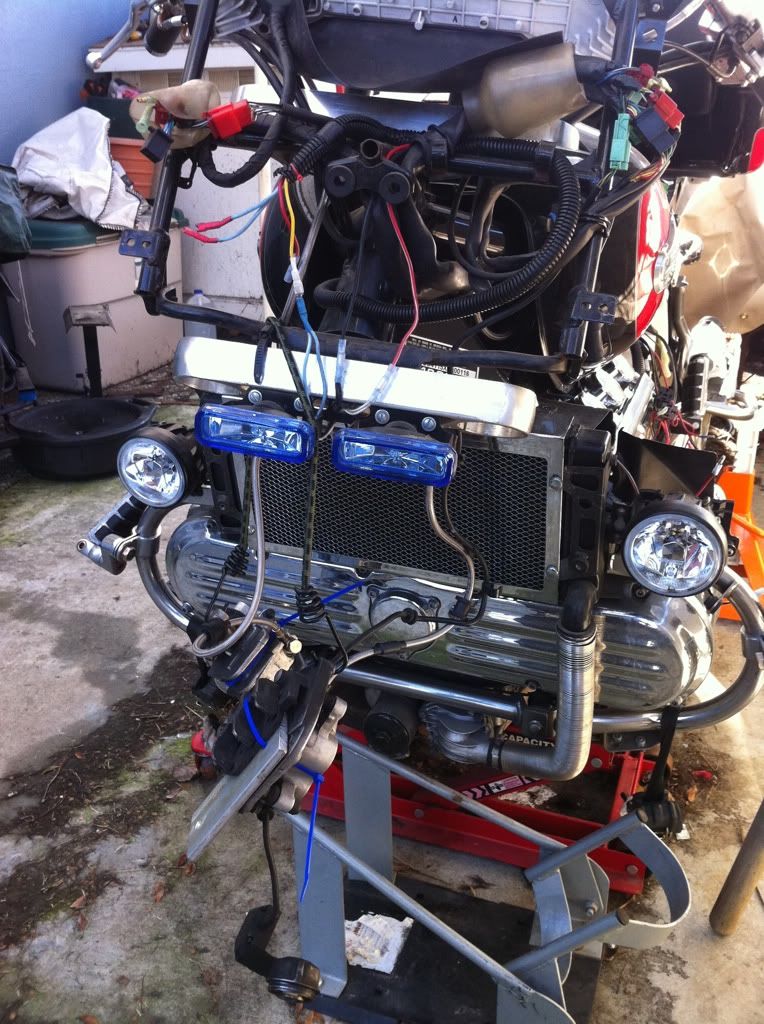 Ok You guessed it the forks are gone, WOW! now it really looks like a wreck or a lost cause. have no fear I am determined to get EVERYTHING I wanted to get done eventually. |
|
|
|
|
Logged
|
83GS550 93XR650L TARD! 97WR250 99ValkyrieI/S Tri-tone 01YZ125(x2) 05DRZ-125
|
|
|
fordmano
Member
Posts: 1457
San Jose, CA. 1999 I/S 232 miles when bought 11/05
San Jose, CA.
|
|
« Reply #92 on: January 12, 2011, 08:50:18 PM » |
|
Well the postman made a delivery again, just more bling. 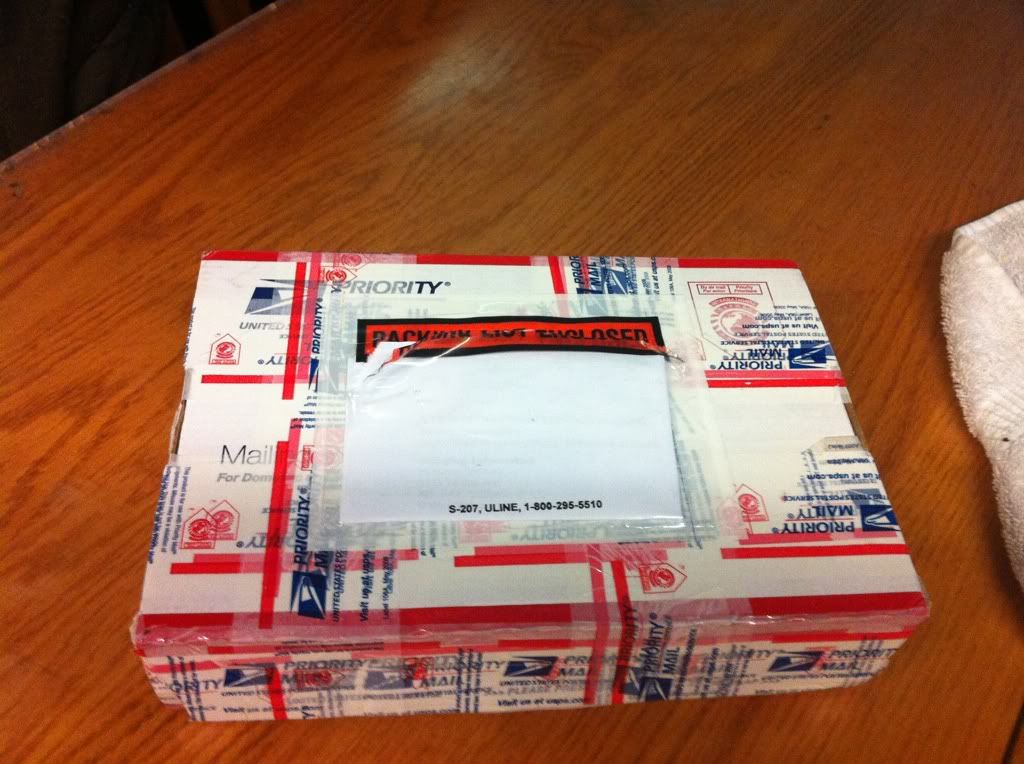 I decided to move my factory fog light switch and also try to group my auxiliary lights to a single switch panel, well I know you all have seen what I am planning on using. With this switch panel I will be moving the factory fog-light switch and installing a LED Volt meter in the place of it on the left side radiator pod. 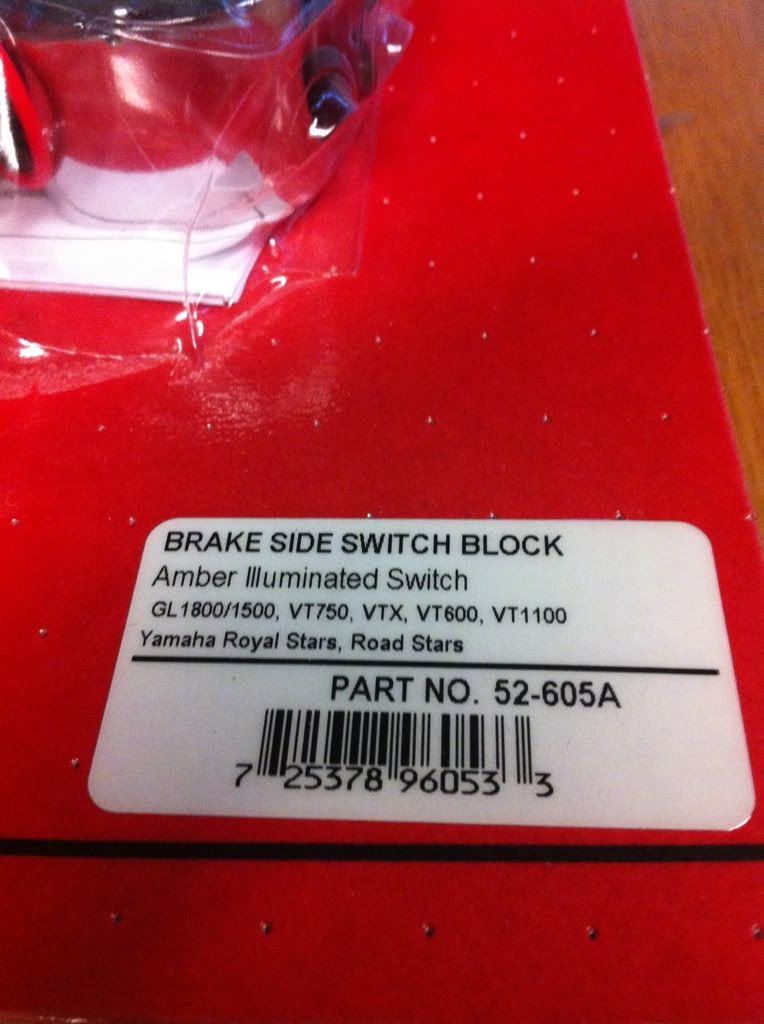 And the suspense grows. 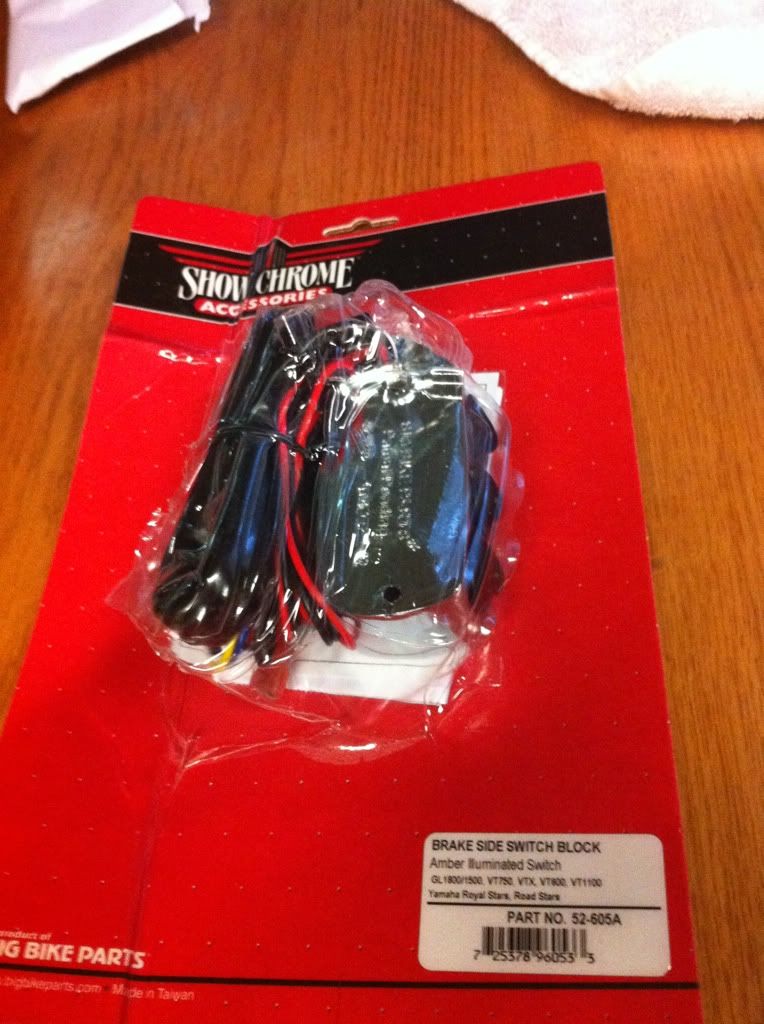 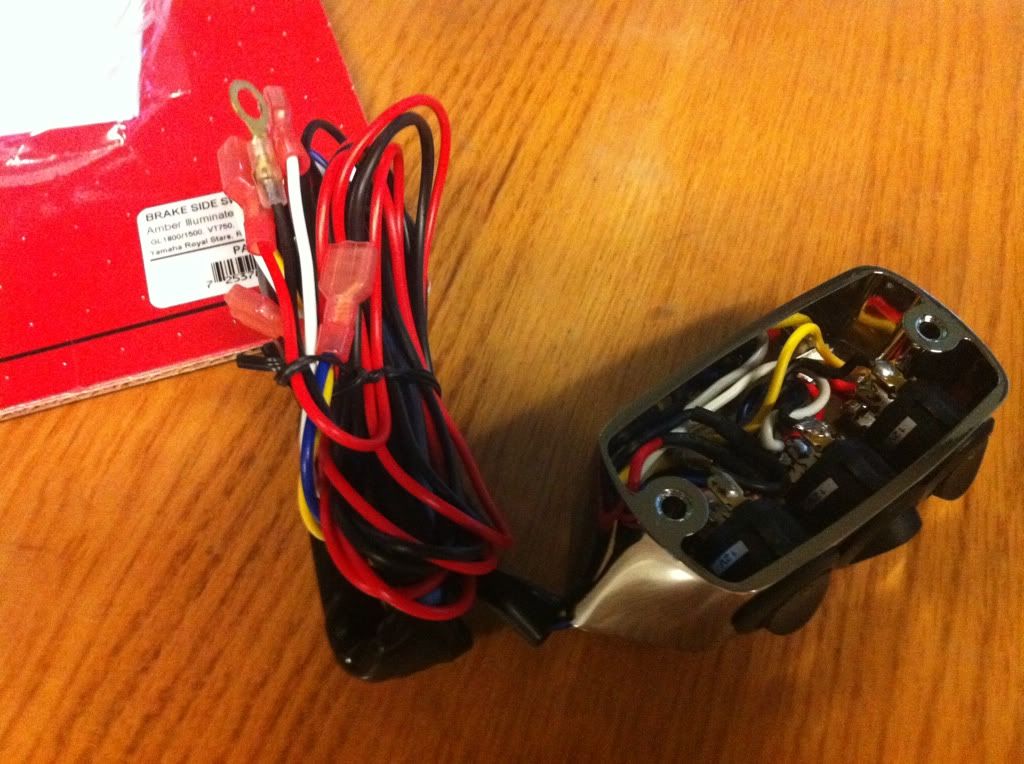 I went with the brake side since I want to mount my cruise controls over on the left side and would like to help balance both sides out with how busy they look. 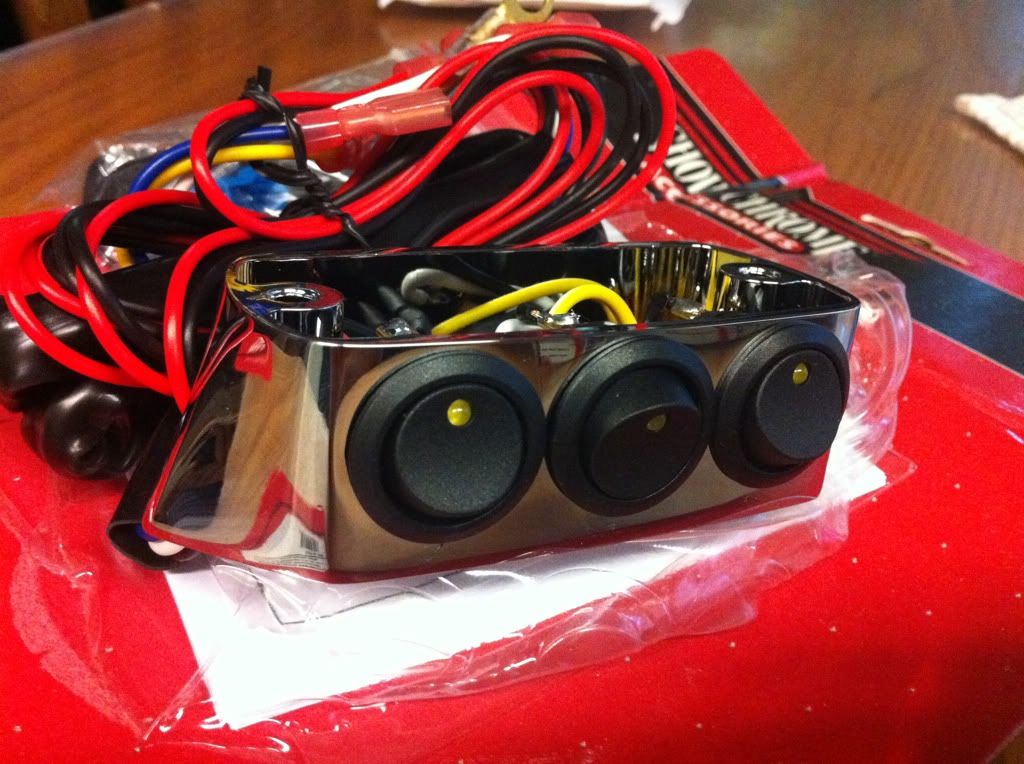 I could have gone with toggle switches that were not lighted but I liked the look of these flat switches with amber LED's |
|
|
|
« Last Edit: January 12, 2011, 11:29:20 PM by fordmano »
|
Logged
|
83GS550 93XR650L TARD! 97WR250 99ValkyrieI/S Tri-tone 01YZ125(x2) 05DRZ-125
|
|
|
fordmano
Member
Posts: 1457
San Jose, CA. 1999 I/S 232 miles when bought 11/05
San Jose, CA.
|
|
« Reply #93 on: January 12, 2011, 08:57:48 PM » |
|
Well it's about time to head out for work but I think I can spare a few minutes to install this new switch block and the cool smooth master cylinder covers. Sorry the pictures are so bad but it's dark out. I will show the before in this post then the after in the next post. 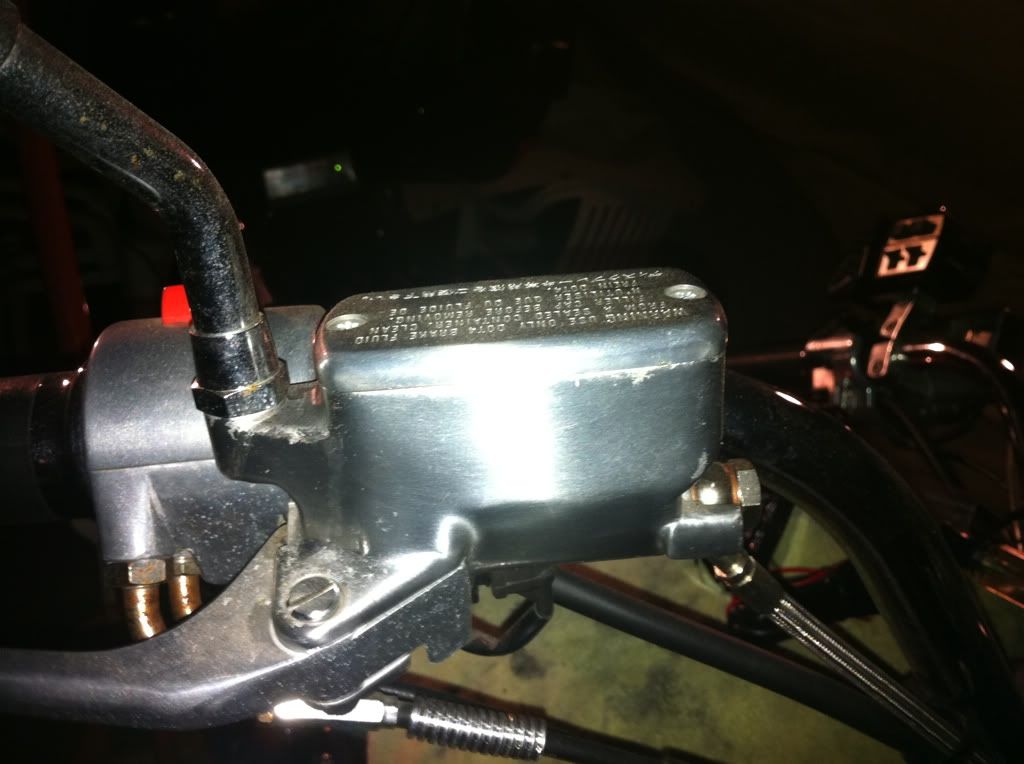 I don't think anyone needs any explanation of the removal and the install of the new ones, do you? If you don't know how to do this swap please ask someone really on anything please ask we all have questions at some point. 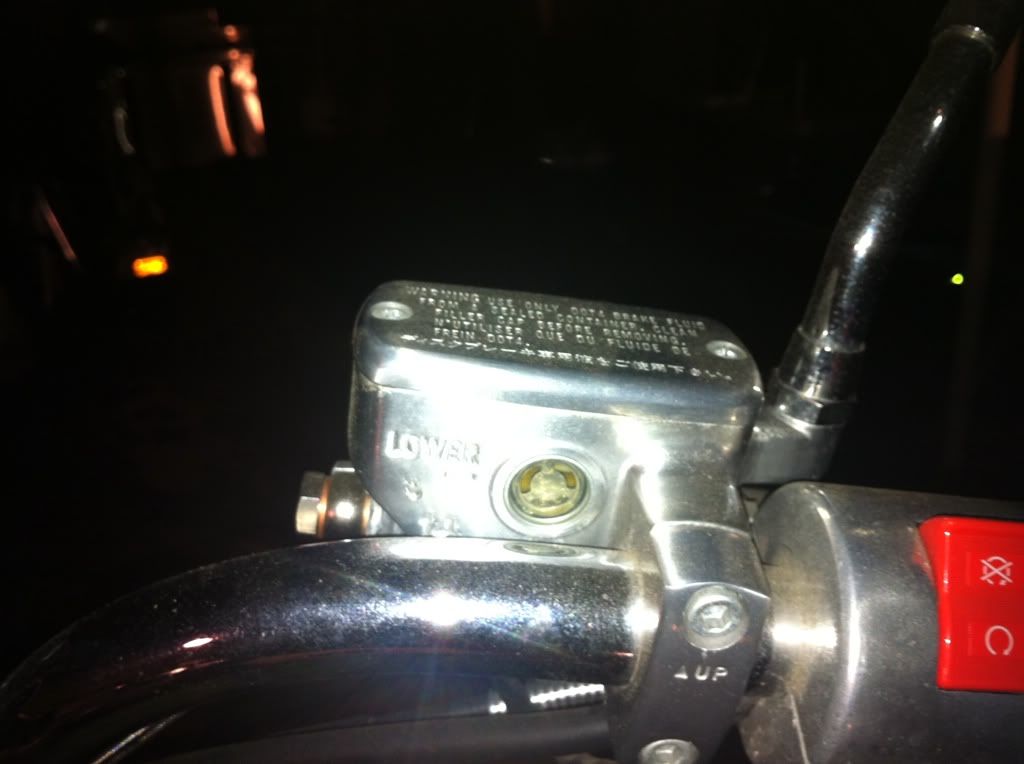 I am worried that the dull look of the stock master cylinder will detract from the new chrome switch block and cover. 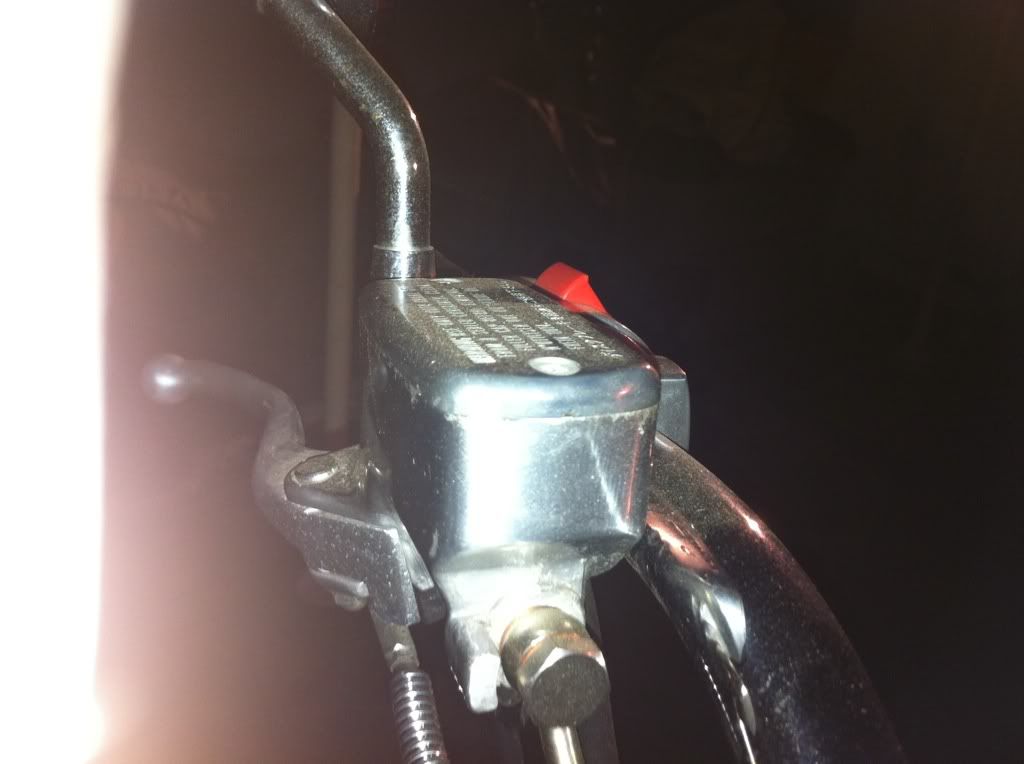 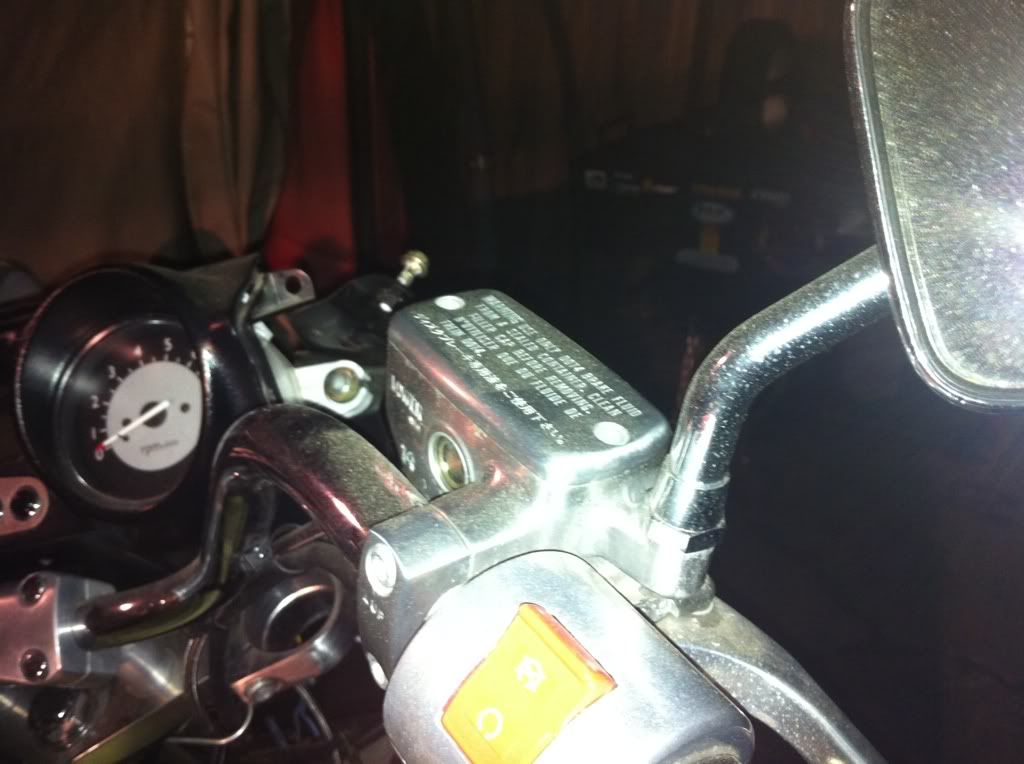 Not the worst I have ever seen but I may have to revisit the master cylinders later and maybe polish them or replace them with new chrome ones. |
|
|
|
« Last Edit: January 12, 2011, 09:04:50 PM by fordmano »
|
Logged
|
83GS550 93XR650L TARD! 97WR250 99ValkyrieI/S Tri-tone 01YZ125(x2) 05DRZ-125
|
|
|
fordmano
Member
Posts: 1457
San Jose, CA. 1999 I/S 232 miles when bought 11/05
San Jose, CA.
|
|
« Reply #94 on: January 12, 2011, 09:02:35 PM » |
|
And now for the good stuff. 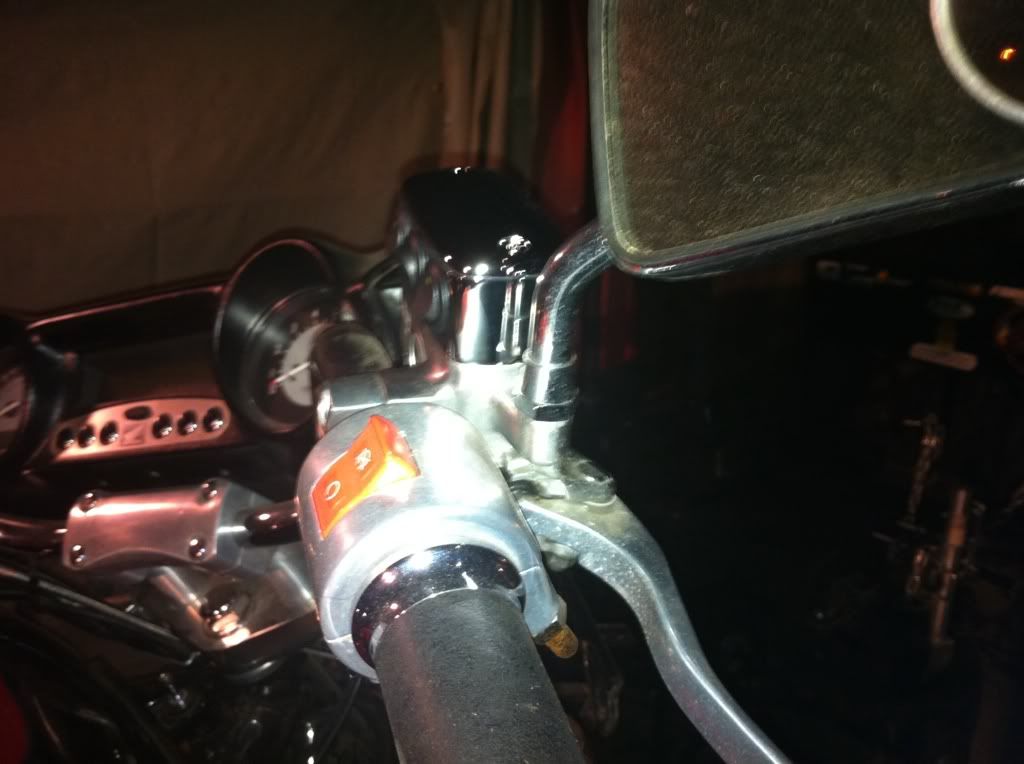 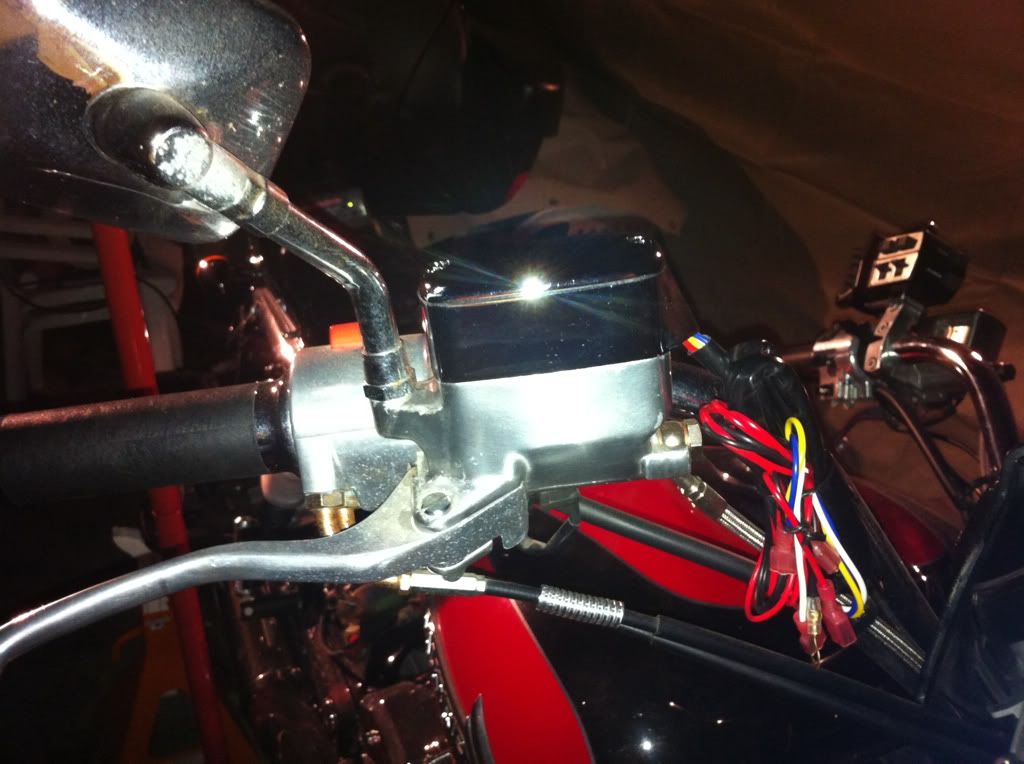 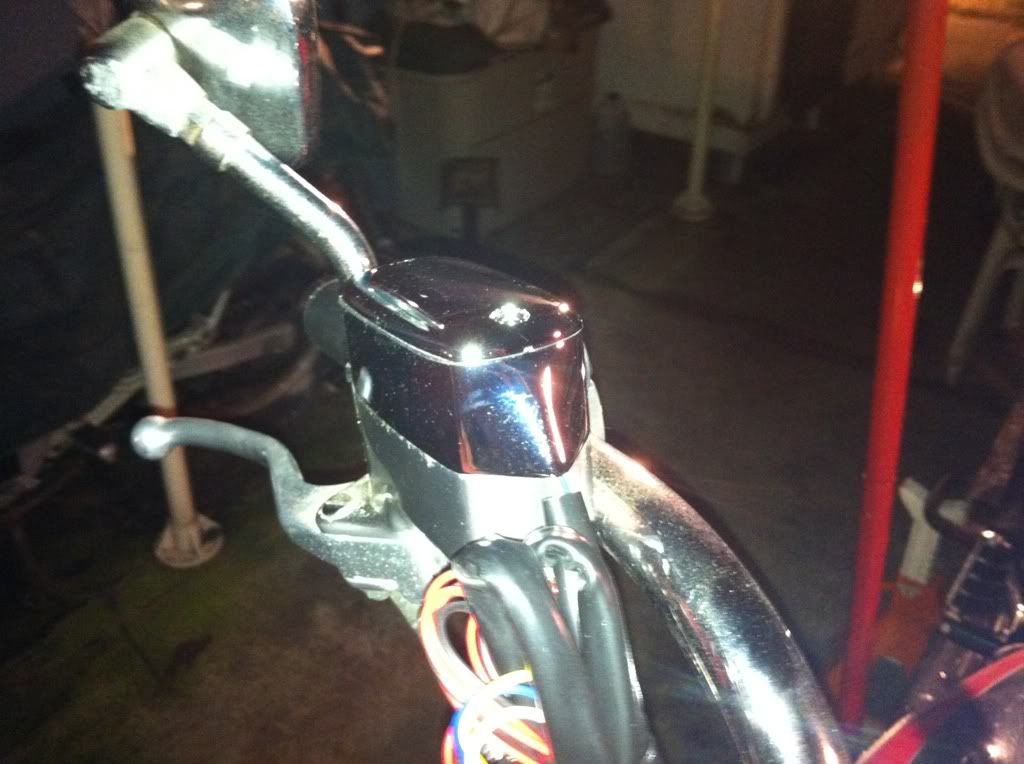 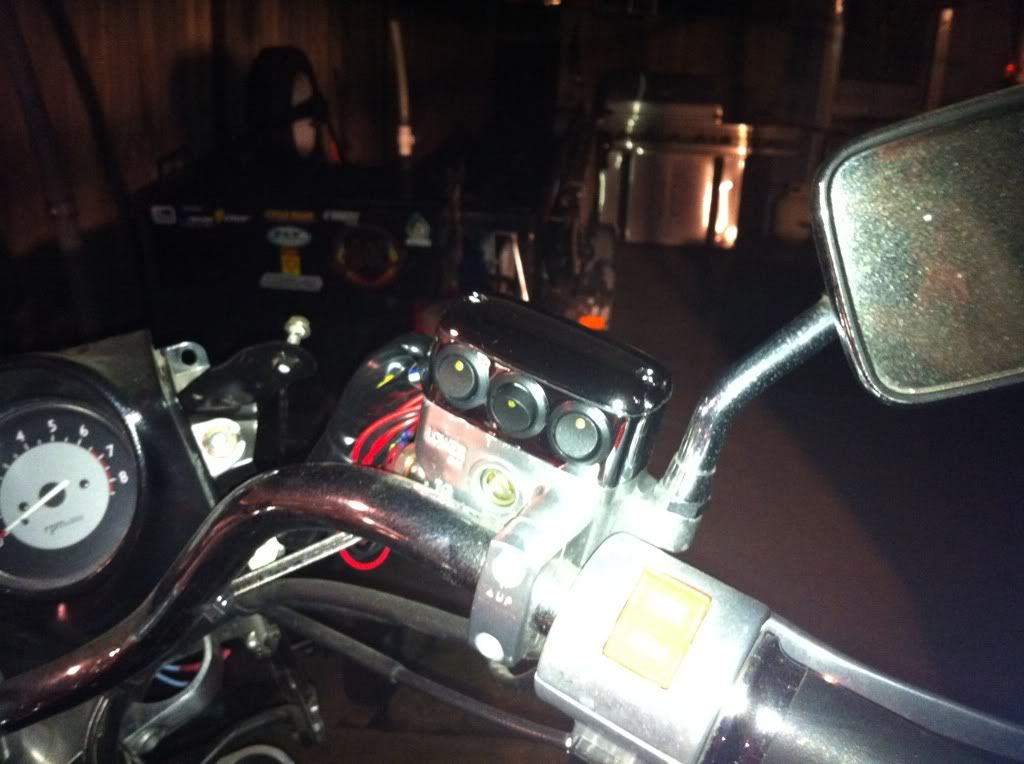 Yep, gonna have to come back to these later and figure out how to pretty up the Master Cylinders. 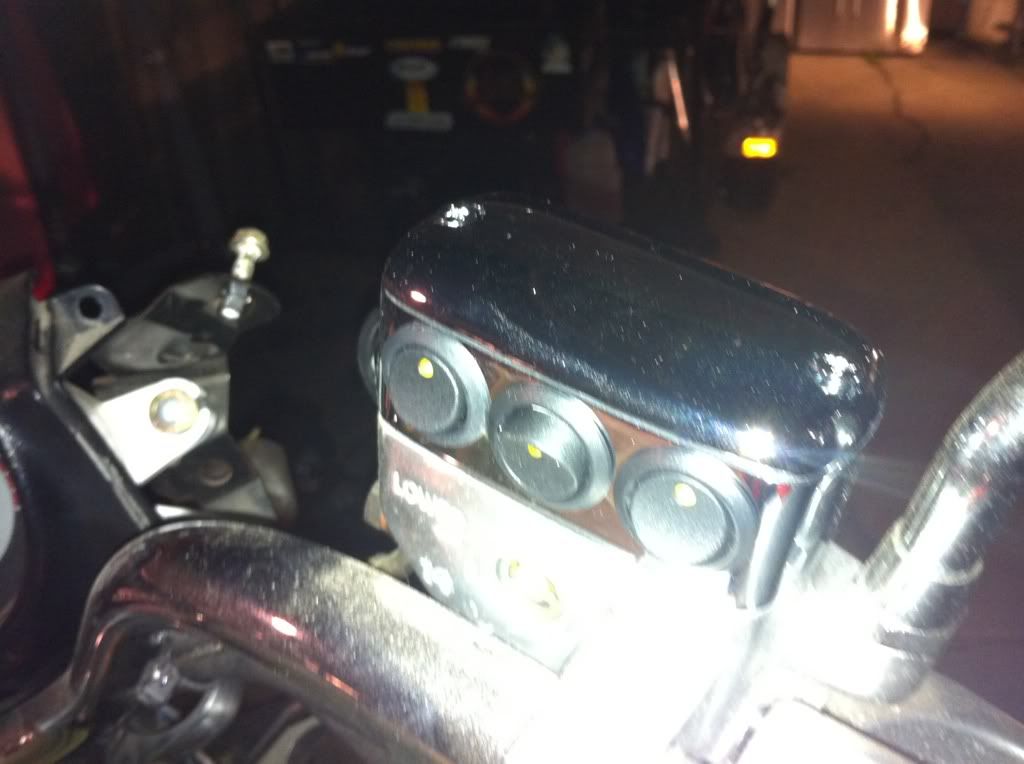 Now that is pretty, I like it and they are easily reachable while my hand is on the throttle. Ok it will be a big stretch to reach the switches with my hand on the throttle but then again I hope to have the cruise control working when I am done. Got lots of wiring to take care of, looks like this weekend will be filled with that part of these projects. Be back soon I hope, looks like I am headed down the home stretch no more new ad-ons as far as I know. I just need to get this bike all back together and try her out, it has been way too long. |
|
|
|
« Last Edit: January 12, 2011, 11:32:15 PM by fordmano »
|
Logged
|
83GS550 93XR650L TARD! 97WR250 99ValkyrieI/S Tri-tone 01YZ125(x2) 05DRZ-125
|
|
|
gordonv
Member
Posts: 5766
VRCC # 31419
Richmond BC
|
|
« Reply #95 on: January 13, 2011, 07:29:44 PM » |
|
It looks like the cover comes off, the switches go one, and the cover goes back on the top. I didn't notice longer screws, but figure they came with the rest of the kit.
|
|
|
|
|
Logged
|
1999 Black with custom paint IS   |
|
|
fordmano
Member
Posts: 1457
San Jose, CA. 1999 I/S 232 miles when bought 11/05
San Jose, CA.
|
|
« Reply #96 on: January 13, 2011, 09:04:48 PM » |
|
It looks like the cover comes off, the switches go on, and the cover goes back on the top. I didn't notice longer screws, but figure they came with the rest of the kit.
That is exactly correct. The new longer screws came with the switch block, they also provide a flat rubber gasket to seal the switches from weather/moisture. You simply remove the old cover and screws leaving the original rubber gasket and the plastic cover also in place the dificult part is aligning the new gasket and in my case the new Master cylinder cover and then get the screws to actually thread in. I spare set of hands would be a good idea. The instructions that came with both items remind you that brake fluid is NOT FRIENDS with PAINT, they reccomend you place clean rags over any painted areas surrounding this side of the bike and under the master cylinder. |
|
|
|
|
Logged
|
83GS550 93XR650L TARD! 97WR250 99ValkyrieI/S Tri-tone 01YZ125(x2) 05DRZ-125
|
|
|
|
BamaDrifter64
|
|
« Reply #97 on: January 14, 2011, 05:42:04 PM » |
|
When you install your Audiovox CCS-100 cruise control on your bike, can you take LOTS of pictures??? I have one I'm going to install on my I/S and I am nervous as a cat thinking about doing it. Seeing another one installed would help a ton!
Dave
|
|
|
|
|
Logged
|
|
|
|
fordmano
Member
Posts: 1457
San Jose, CA. 1999 I/S 232 miles when bought 11/05
San Jose, CA.
|
|
« Reply #98 on: January 14, 2011, 08:47:55 PM » |
|
When you install your Audiovox CCS-100 cruise control on your bike, can you take LOTS of pictures??? I have one I'm going to install on my I/S and I am nervous as a cat thinking about doing it. Seeing another one installed would help a ton!
Dave
Will do, I am hoping to get the rear buttoned up this weekend and some of the wiring for the forward lights. The last thing will probably be the finish up of the cruise control install, still gotta make my braket for mounting the cable and I think I will be putting the servo under the fairing with my Amp if I can get it squeezed in there. Hopefully this will only go on for a few more weeks, I am aching to ride so damn bad I am getting worried that I may have forgotten how to ride. |
|
|
|
|
Logged
|
83GS550 93XR650L TARD! 97WR250 99ValkyrieI/S Tri-tone 01YZ125(x2) 05DRZ-125
|
|
|
fordmano
Member
Posts: 1457
San Jose, CA. 1999 I/S 232 miles when bought 11/05
San Jose, CA.
|
|
« Reply #99 on: January 18, 2011, 11:49:48 PM » |
|
Welcome back sports fans,,,, Ok So I have managed to get the big girls back end all done. Lets step through it a bit. Air shocks installed, CHECK. 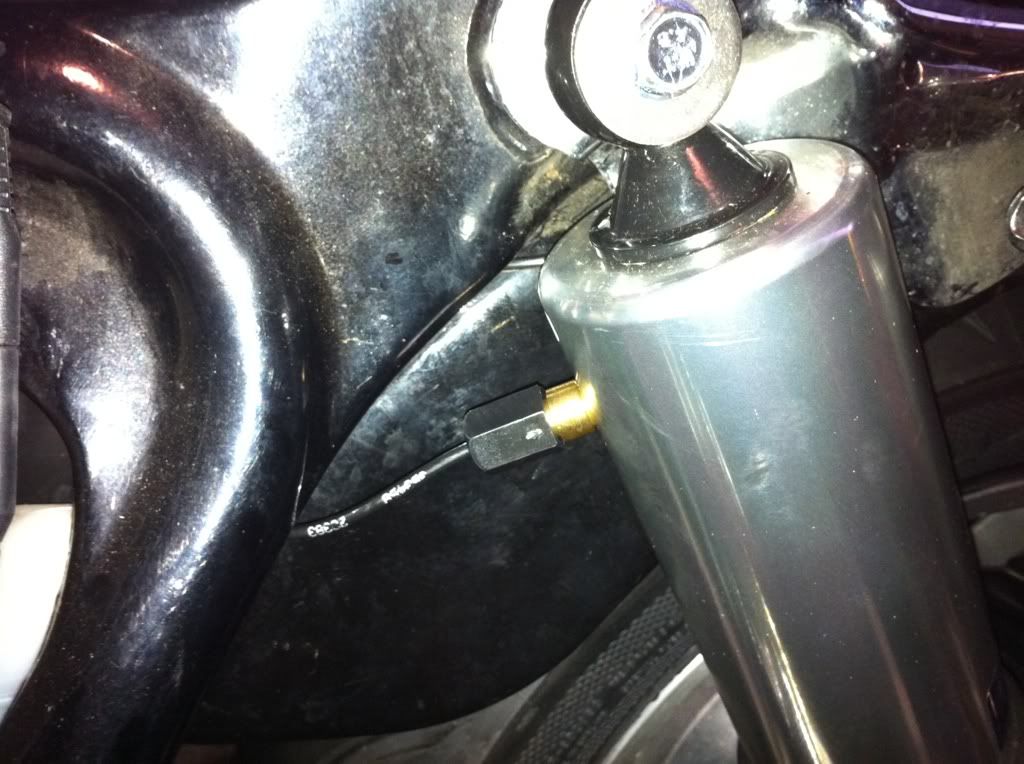 Just a little wider shot.  Just following directions here, every connection was assembled by hand. As per instructions I left just about 1/8" at the end with the 2 rubber orings in place, only using my hands to tighten any of the connections. This is very hard to see in the pictures but after many "talks" with my father in-law I have decided to use every inch of teh air line to act as a (extremely tiny) air holding tank and by doing this I retain the ability to easily add an air tank air guage or relocate my air filler location. I installed the Shrader valve (sorry spelling) anyway I installed it at the rear below the trunk in the middle of my undertruck brake light panel. I painstakingly ran the air from the center rear of the underside of the trunk then ran a line under each side of the trunk then down the legth of the fender struts along the side of the seat then crossed them at that point uner the seat and ran them back along the fender strut and up under the trunk and croosed them again coming back to just behind the batter tray and then crossed one more time and exited out behind the side cover on the opposite side and it left me with a natural bend in the airline that then was connected to the air shock on each side. Wow that's hard to follow.  There does the picture help at all? And here is the Air filler location. 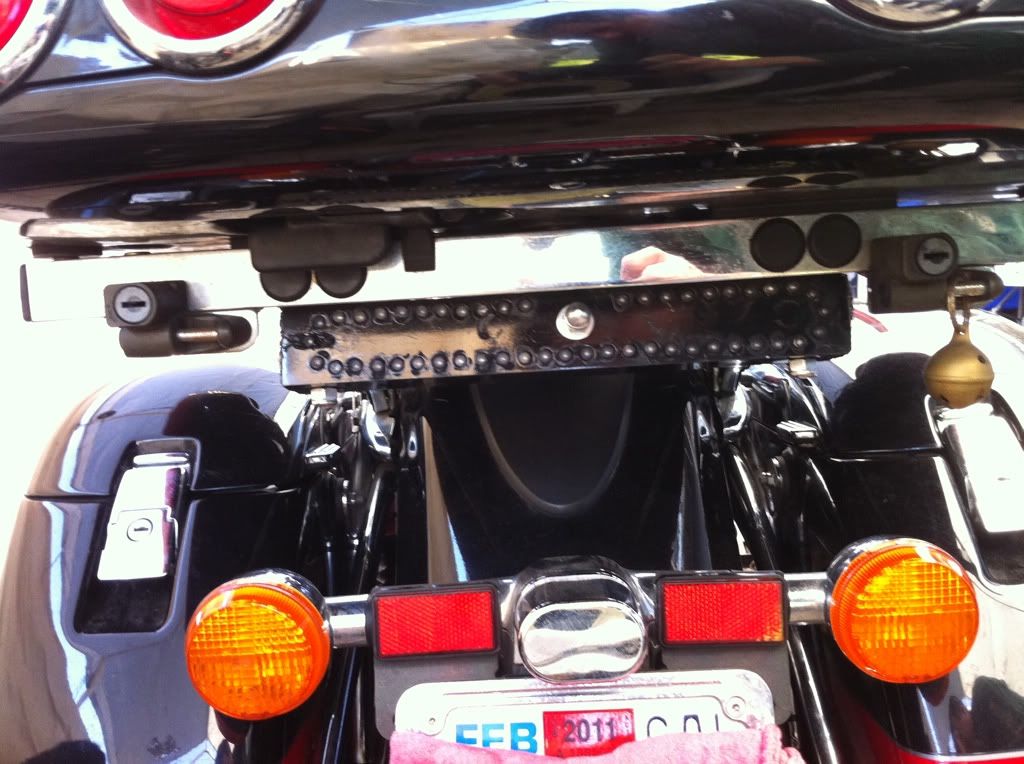 |
|
|
|
« Last Edit: January 19, 2011, 12:32:58 AM by fordmano »
|
Logged
|
83GS550 93XR650L TARD! 97WR250 99ValkyrieI/S Tri-tone 01YZ125(x2) 05DRZ-125
|
|
|
fordmano
Member
Posts: 1457
San Jose, CA. 1999 I/S 232 miles when bought 11/05
San Jose, CA.
|
|
« Reply #100 on: January 19, 2011, 12:00:16 AM » |
|
So here is the finished up rear brake lights, turn signals and air filler location. 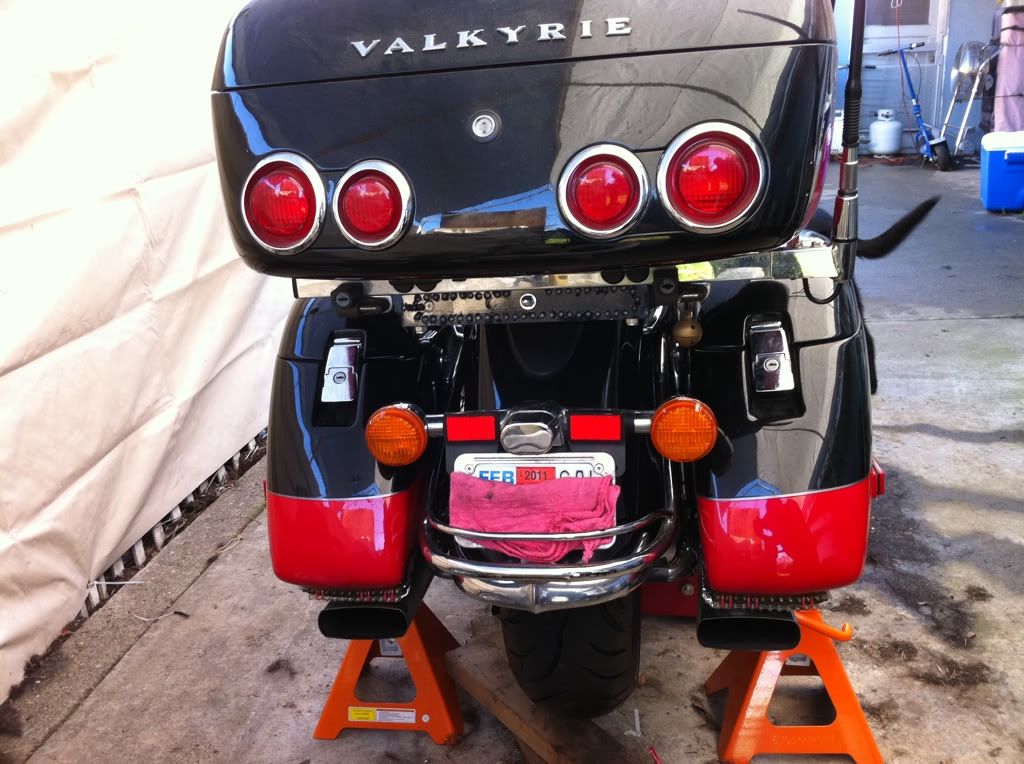 Well that light is not perfect but not bad for a first attempt at it, May revisit it someday but not during this round. the under trunk brake light and braket almost disapear under there. 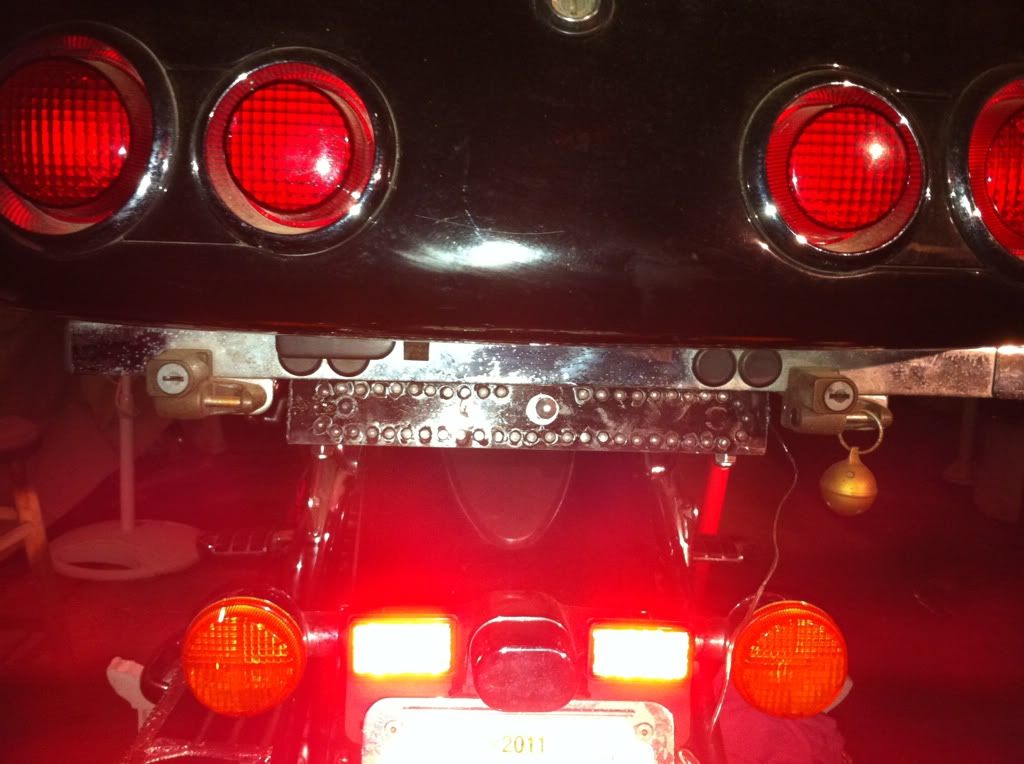 So now for some light. 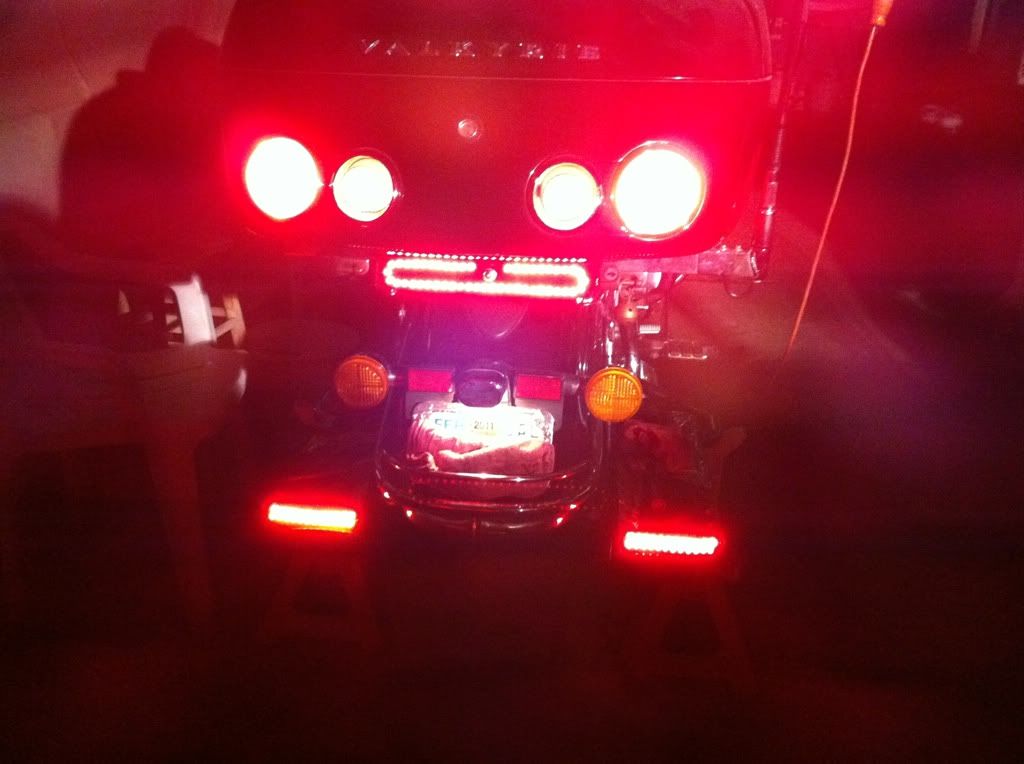 How about a video of the rear lights?
I know my video skills really suck. Incase you did not hear what I said , I know the turn signals are flashing WAY too fast and that is due to there not being enough load on the circuit, I do not have the front lights inplace yet. |
|
|
|
« Last Edit: January 19, 2011, 12:35:10 AM by fordmano »
|
Logged
|
83GS550 93XR650L TARD! 97WR250 99ValkyrieI/S Tri-tone 01YZ125(x2) 05DRZ-125
|
|
|
fordmano
Member
Posts: 1457
San Jose, CA. 1999 I/S 232 miles when bought 11/05
San Jose, CA.
|
|
« Reply #101 on: January 19, 2011, 12:15:28 AM » |
|
I finished up the Front speakers modifications today, as so many others have done I installed the Polk Audio DB501 marine grade 5" 2way speakers and of course I had to take that leap of faith and cut my original stock speakers to use as a gasket for the install. 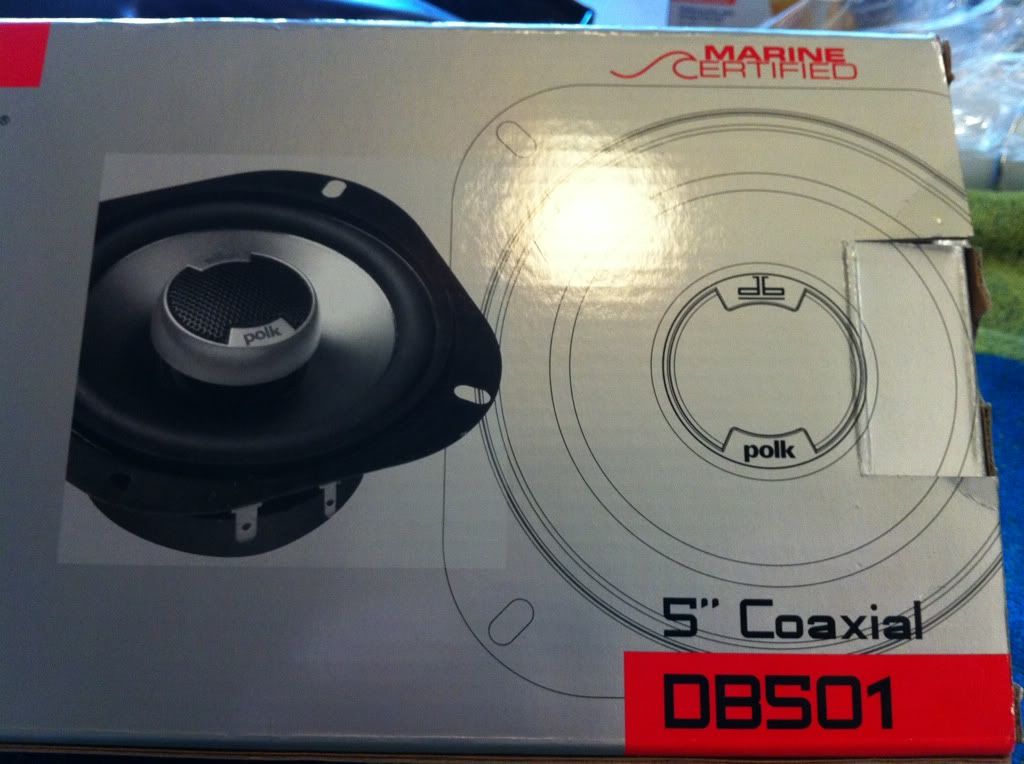 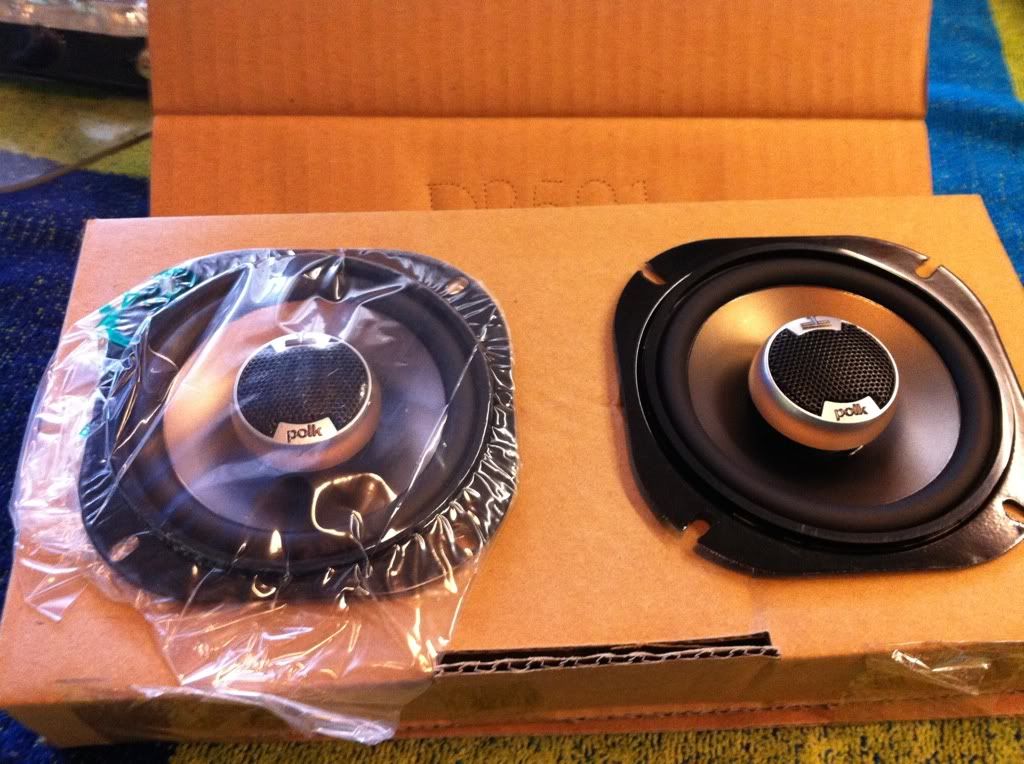 You can see I have already cut outthe screw holes on one of the new speakers, I was real carefull to ONLY do one step at a time with each side then moved onto the second side. 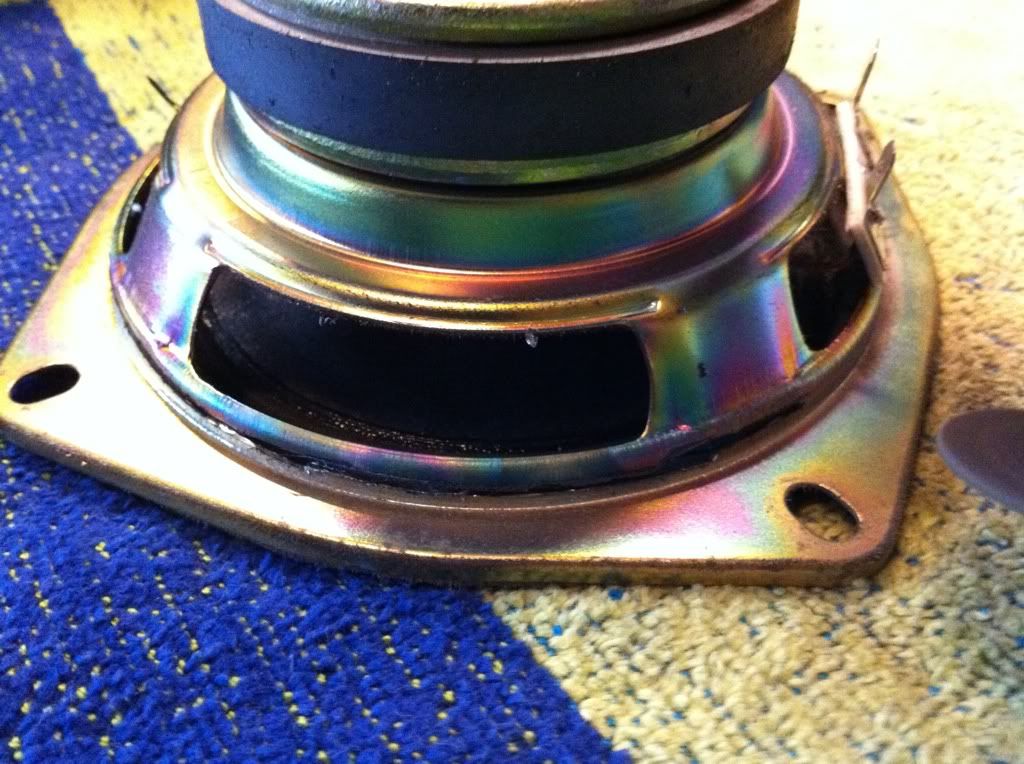 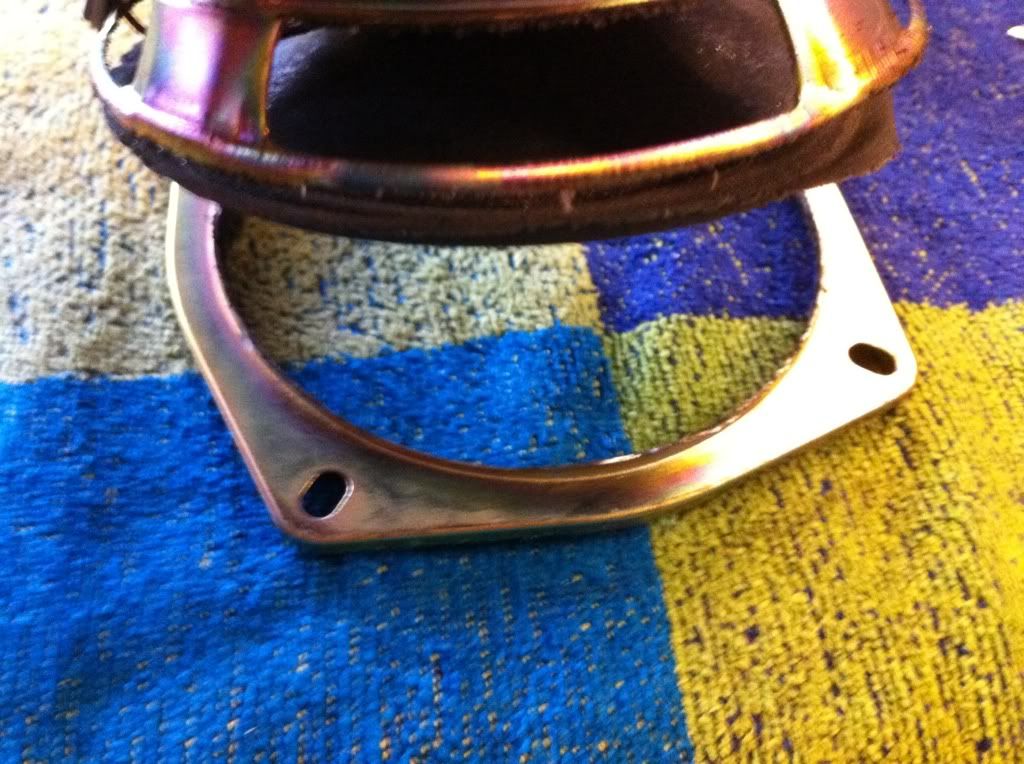 I would have prefferedd to make a ring out of something like heavy plastic or aluminum to use for this mounting but I just don't have access to the proper tools for that job right now. 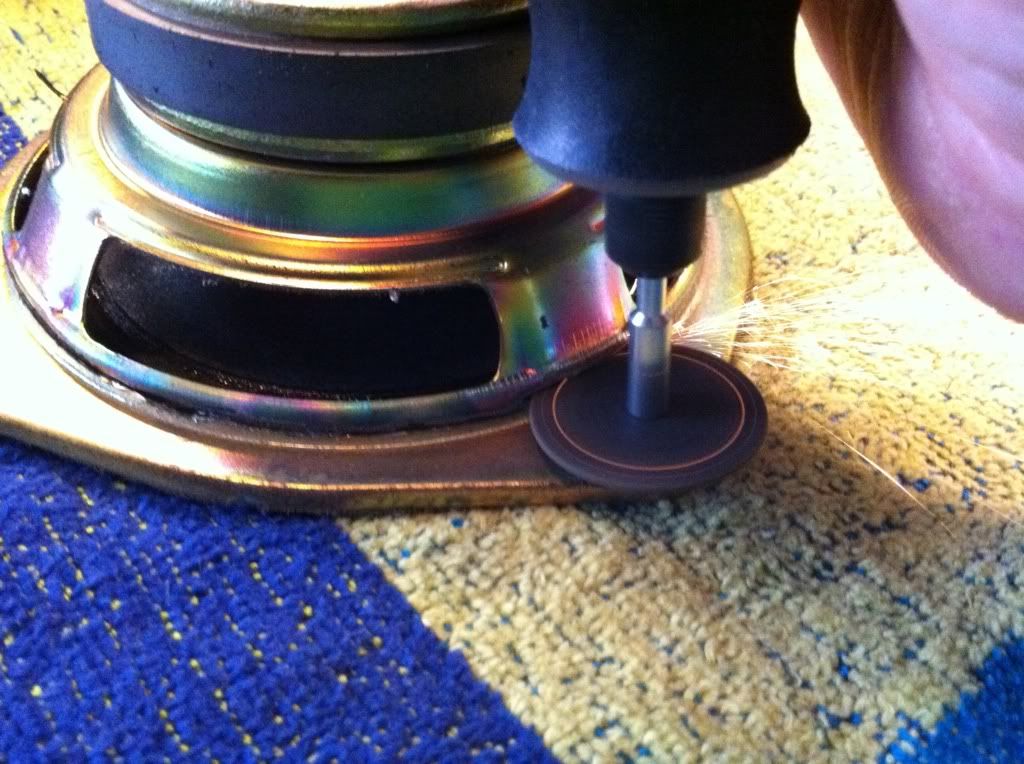  After I got the ring cut loose I took it out to the belt sander and cleaned up the lip left over from the dremel made it nice and smooth for the new speaker to mate too. I used a good old box cutter or as some call it a razor knife, to clean up any left over paper from the old speaker. |
|
|
|
« Last Edit: January 19, 2011, 12:36:15 AM by fordmano »
|
Logged
|
83GS550 93XR650L TARD! 97WR250 99ValkyrieI/S Tri-tone 01YZ125(x2) 05DRZ-125
|
|
|
fordmano
Member
Posts: 1457
San Jose, CA. 1999 I/S 232 miles when bought 11/05
San Jose, CA.
|
|
« Reply #102 on: January 19, 2011, 12:28:08 AM » |
|
After the sander did its work, nice and smooth. This is also a nice step for safety since the edges are gonna be sharp as a razor after cutting it with a dremel. 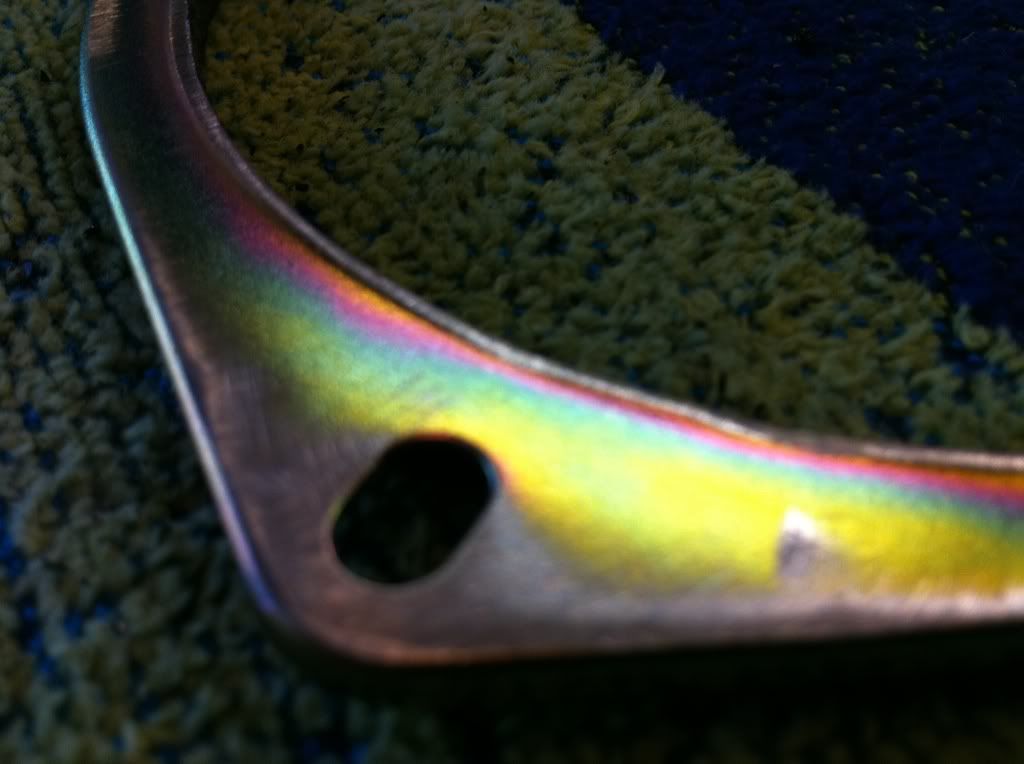 Now here is a step that I had not seen anywhere else but I think it is a good idea, I used some regular blue RTV silicone to act as a type of glue and also a cushion for the mating surface between the old speaper ring and the new speaker face or flange. I wanted to make sure I would not hear any buzzing or vibration type of noise from the speakers. Here is the newly made ring laying on the newly modified NEW speaker.  Here is the new speaker all mucked up with the RTV. 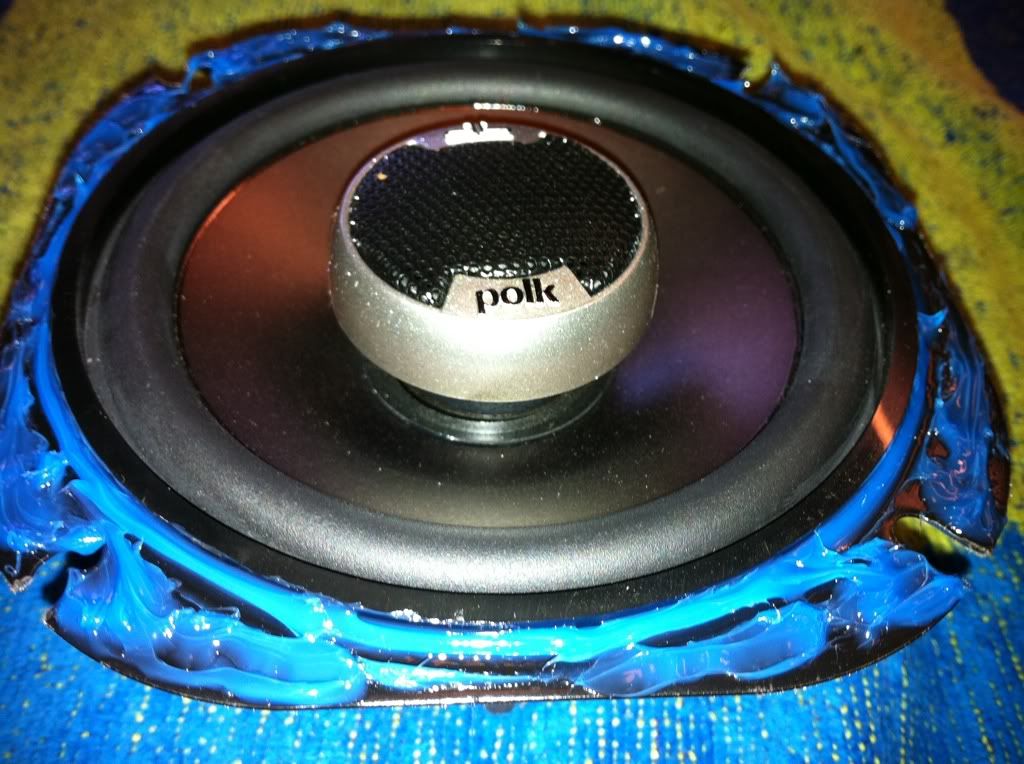 And here it is mated to the gasket made from the stock speaker, keep in mind this is reversible if you need to install a different set of speakers up here. 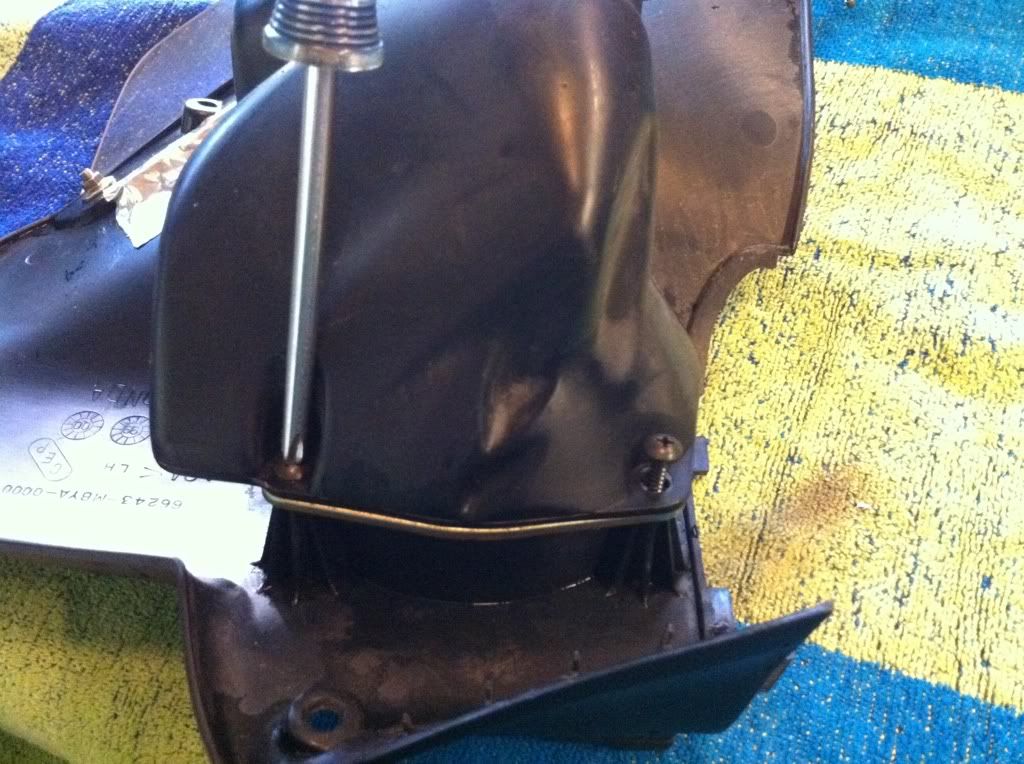 And now for a full frontal shot yes you can see the RTV a little bit but I don't think you will be able to see it when it is installed on the fairing. 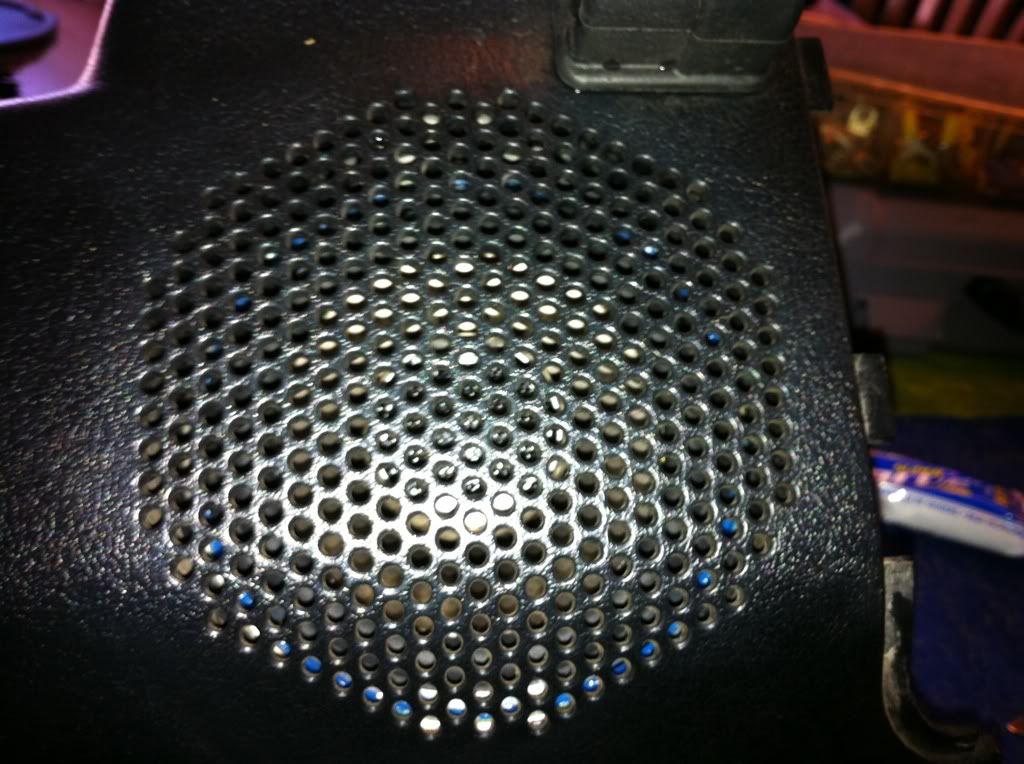 Well that's about it for today, stay tuned same bat channel same bat time. |
|
|
|
« Last Edit: January 19, 2011, 12:38:54 AM by fordmano »
|
Logged
|
83GS550 93XR650L TARD! 97WR250 99ValkyrieI/S Tri-tone 01YZ125(x2) 05DRZ-125
|
|
|
|
roboto65
|
|
« Reply #103 on: January 19, 2011, 06:39:11 AM » |
|
I have been following this very cool build keep going  I have a question and to each his own I was wondering on the speakers I have never seen them cut like that. Did you read how some others have done it again no disrespect just have never seen it done that way heck I need to put some in my IS |
|
|
|
|
Logged
|
Allen Rugg VRCC #30806 1999 Illusion Blue Valkyrie Interstate 1978 Kawasaki KZ 650 project  |
|
|
|
Jess from VA
|
|
« Reply #104 on: January 19, 2011, 11:56:13 AM » |
|
|
|
|
|
|
Logged
|
|
|
|
fordmano
Member
Posts: 1457
San Jose, CA. 1999 I/S 232 miles when bought 11/05
San Jose, CA.
|
|
« Reply #105 on: January 19, 2011, 08:06:14 PM » |
|
Thanks, Jess And Thanks "Big Easy". Yes that is exactly where I took my directions from for the speaker install, I would have documented the rears also but I had done those a couple years ago. As you can see I primarily followed his directions but I added the silicone RTV as a padding or vibration limiter, just the audiophile in me. |
|
|
|
« Last Edit: January 19, 2011, 08:08:34 PM by fordmano »
|
Logged
|
83GS550 93XR650L TARD! 97WR250 99ValkyrieI/S Tri-tone 01YZ125(x2) 05DRZ-125
|
|
|
fordmano
Member
Posts: 1457
San Jose, CA. 1999 I/S 232 miles when bought 11/05
San Jose, CA.
|
|
« Reply #106 on: January 19, 2011, 08:59:29 PM » |
|
I got the Call this afternoon from our dear friend Fred "PHRED" (General Manager) over at Hollister Honda today, my forks are done and ready for pickup.  YaaaaHooooooo, Fred you da man. If the forks perform half as well as Holister Honda does for thier customers then I will be one very happy and future return customer.  Thanks Fred and Hollister Honda staff, see you guys on Saturday for the pickup.  P.S. As usual Fred was willing to go out of his way and bring the Forks to the Gilroy or Coyote area to help me out since I live in San Jose and it is a bit of a drive to Hollister. Thanks for that extra special service offer.  |
|
|
|
« Last Edit: January 19, 2011, 09:33:17 PM by fordmano »
|
Logged
|
83GS550 93XR650L TARD! 97WR250 99ValkyrieI/S Tri-tone 01YZ125(x2) 05DRZ-125
|
|
|
|
roboto65
|
|
« Reply #107 on: January 20, 2011, 08:15:16 AM » |
|
Oops sorry so preoccupied with doing my rears never really looked at the front install  Continue with the great build and keep the pics coming !!! |
|
|
|
|
Logged
|
Allen Rugg VRCC #30806 1999 Illusion Blue Valkyrie Interstate 1978 Kawasaki KZ 650 project |
|
|
fordmano
Member
Posts: 1457
San Jose, CA. 1999 I/S 232 miles when bought 11/05
San Jose, CA.
|
|
« Reply #108 on: January 20, 2011, 11:39:03 PM » |
|
No problem, and I really don't need to hear about what your doing to your REARS???   Actually if anyone would like to donate a set of Speaker panels from the inside of the fairing I was thinking about dramatically modifying them to fit/mount a set of 5x7/6x8 speakers. I think I can do it but not ready to cut mine up that bad just to experiment with, sorry. I promise to do a Full right up including pictures and even video of the entire procedure. |
|
|
|
|
Logged
|
83GS550 93XR650L TARD! 97WR250 99ValkyrieI/S Tri-tone 01YZ125(x2) 05DRZ-125
|
|
|
fordmano
Member
Posts: 1457
San Jose, CA. 1999 I/S 232 miles when bought 11/05
San Jose, CA.
|
|
« Reply #109 on: January 25, 2011, 11:38:34 PM » |
|
Well LOOKY what I got back this past Saturday,,, 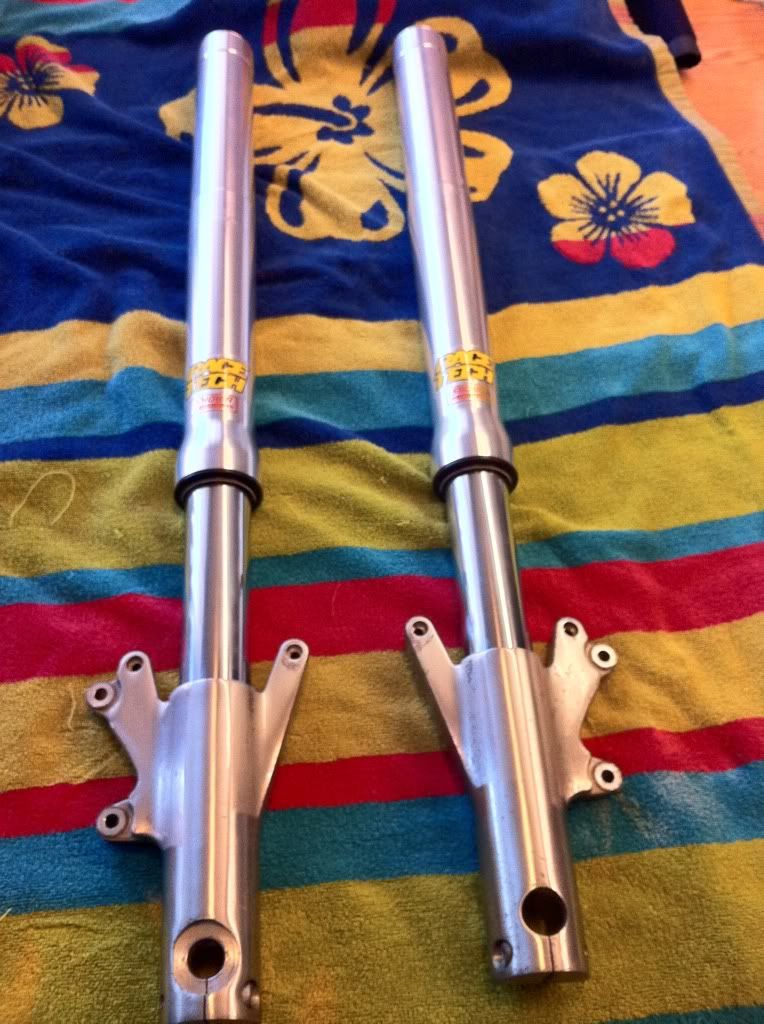 Aren't they pretty? 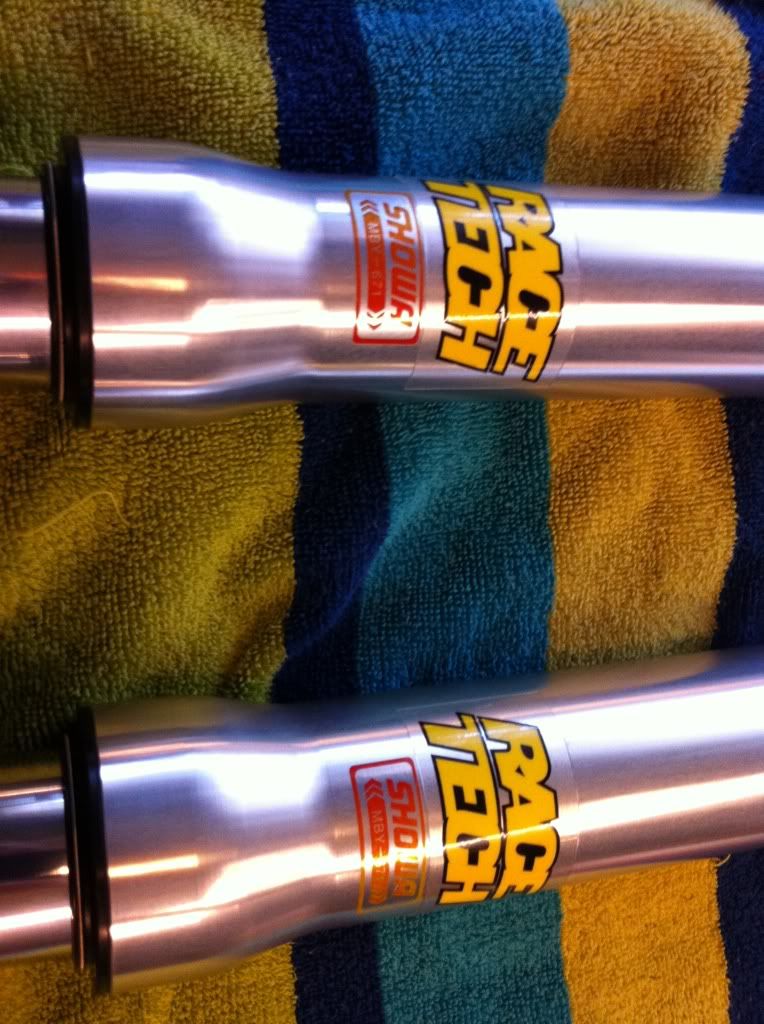 And the install begins. 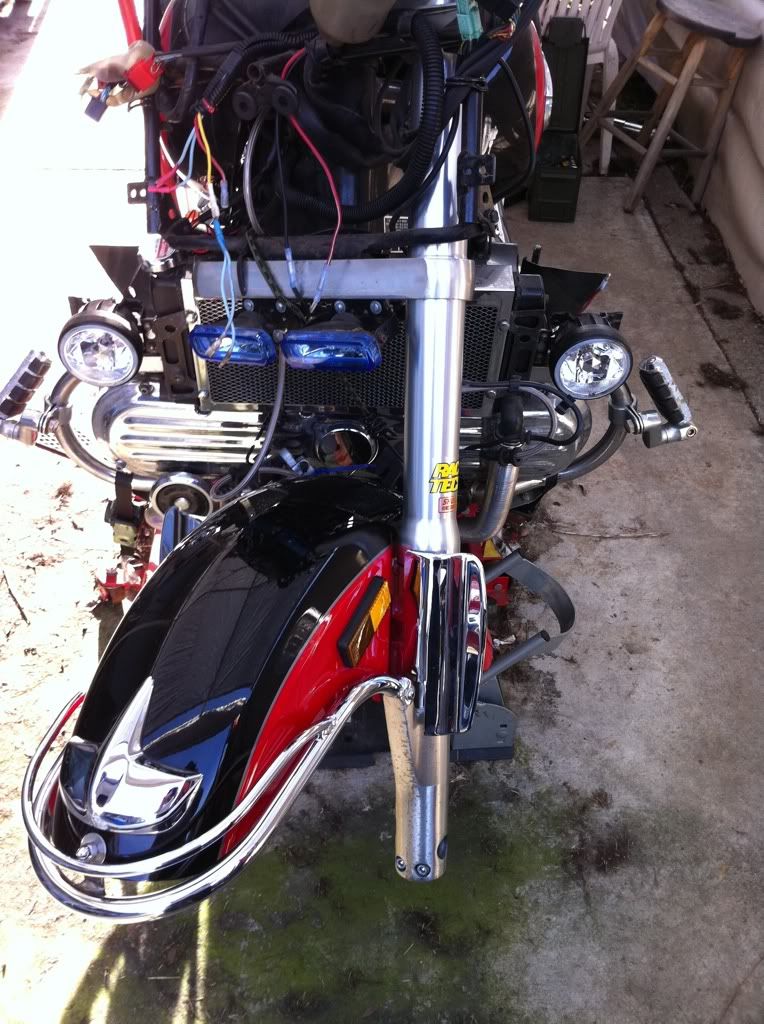 I actually cleaned up all the Chrome trim items from on and around the Front fender and assembled the left side on the dining room table,, That is such a comfy work bench. 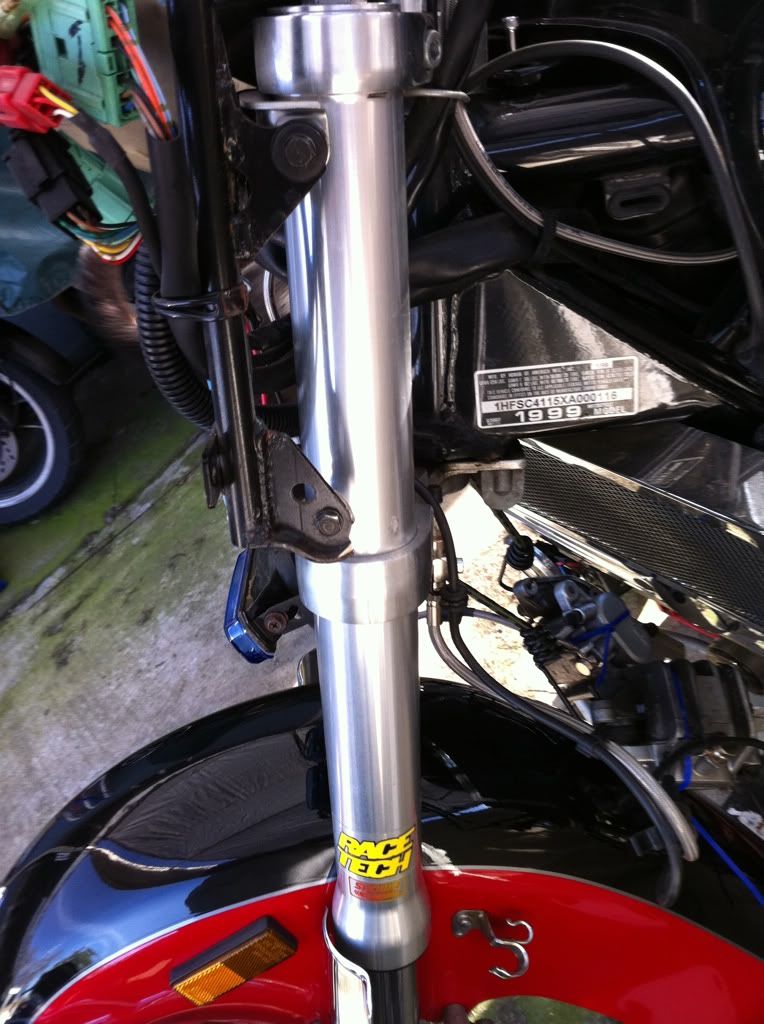 Sure wish I could find a set of the lower fork case chrome covers to help hide all that old road damage and weather damage. Can't seem to find a set at any price right now. 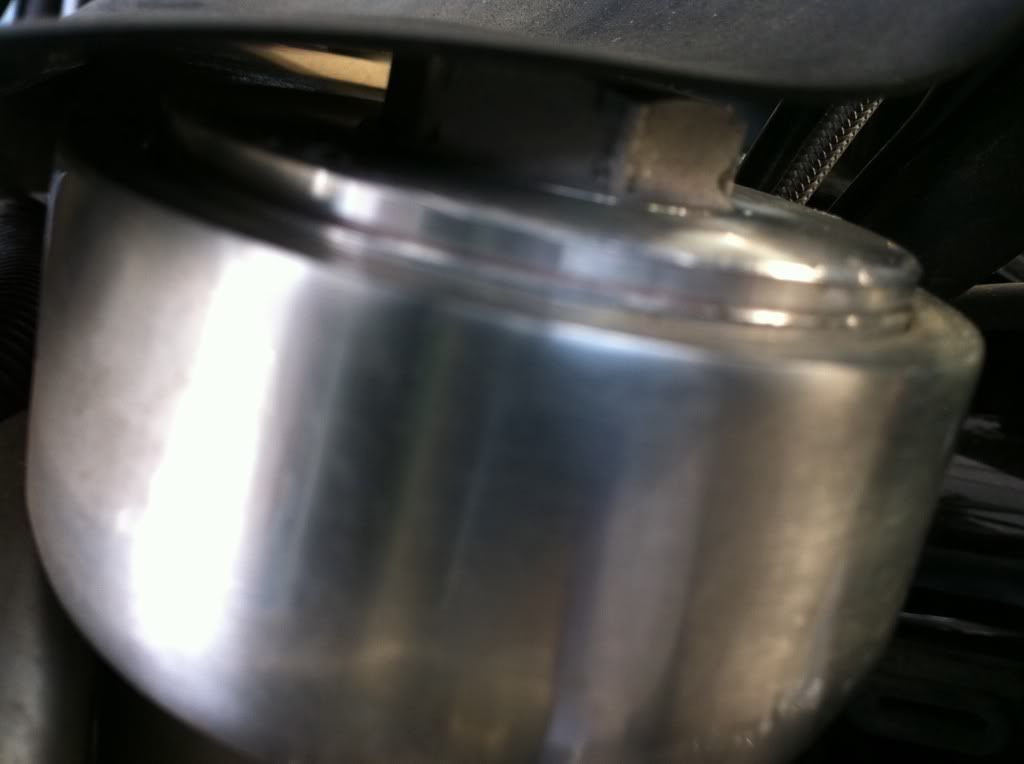 Just need to torque the triple clamp top and bottom pinch area. |
|
|
|
« Last Edit: January 30, 2011, 03:47:49 AM by fordmano »
|
Logged
|
83GS550 93XR650L TARD! 97WR250 99ValkyrieI/S Tri-tone 01YZ125(x2) 05DRZ-125
|
|
|
fordmano
Member
Posts: 1457
San Jose, CA. 1999 I/S 232 miles when bought 11/05
San Jose, CA.
|
|
« Reply #110 on: January 25, 2011, 11:44:43 PM » |
|
And now for the right side. 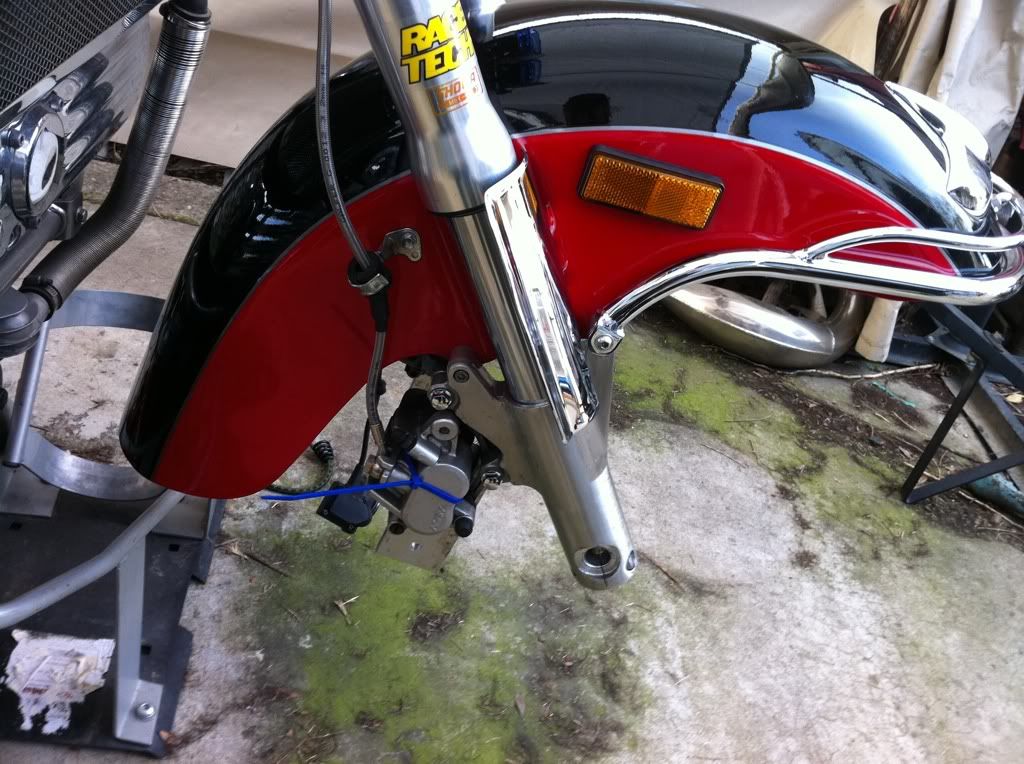 I am not sure how anyone else does it but being I have no extra hands I have to be some what inventive when installing a lot of the items on this project list. This is why I did the pre-assemble on the table. Now with the first side in place and only hand tight but that is plenty to hold the fork leg in place The second one is slid up into place now. 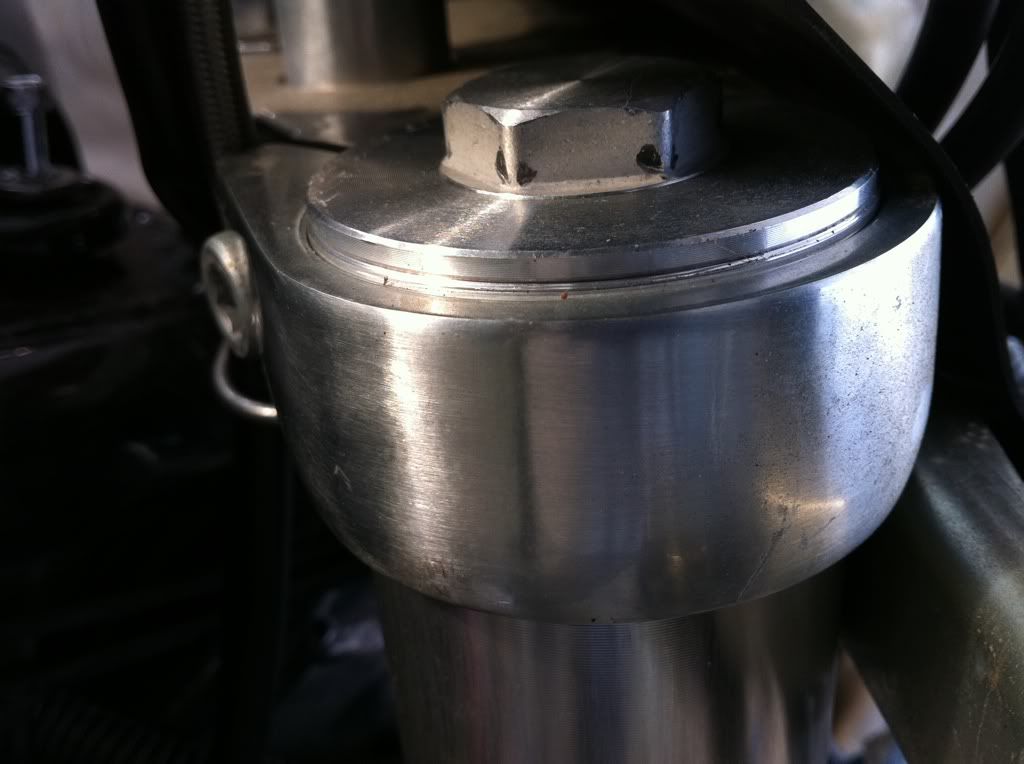 And a full frontal shot.  Still nowhere near completed but every step is one step closer. |
|
|
|
« Last Edit: January 30, 2011, 03:47:14 AM by fordmano »
|
Logged
|
83GS550 93XR650L TARD! 97WR250 99ValkyrieI/S Tri-tone 01YZ125(x2) 05DRZ-125
|
|
|
fordmano
Member
Posts: 1457
San Jose, CA. 1999 I/S 232 miles when bought 11/05
San Jose, CA.
|
|
« Reply #111 on: January 26, 2011, 12:11:16 AM » |
|
Ok now for a littel step back to help answer a question from a coupel of you guys about the vacuum gauge setup, I finally got my set of brass fish tank air valves to use on my vaccum lines to buffer or minimize the needle bounce when testing the individual vacuum ports.. I found these Brass valves online and it cost me about $18 bucks for 7 of them delivered. Here is what I ordered, they are a simple brass air valve. One side will be installed into the 1/4" Vynl line that attaches to the gauges air inlet and the other (smaller) side of the air valve will be inserted into the 5/32 automotive vacuum line that is attached to the vacuum test port on the intake runner. I used about 1' of vacuum line so there is enought line to seperate the vapor and temps from the more sensitive(less durable) vynl hose. 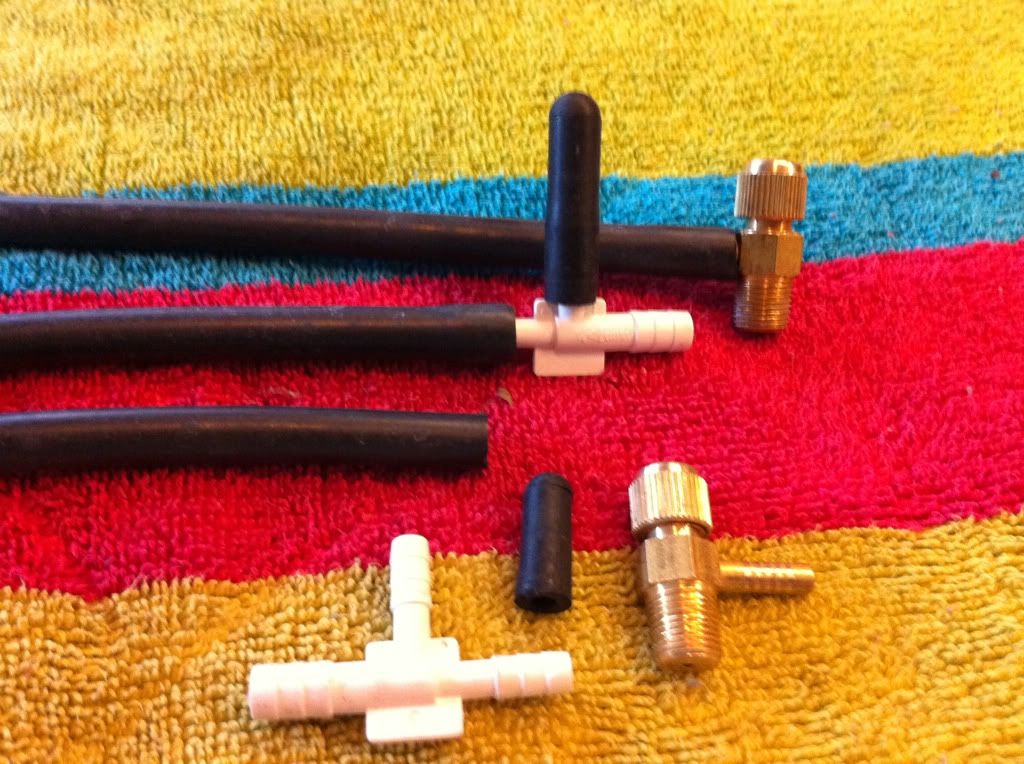 I had temporarily just used some plastic vacuum port adapters to get the first run done and verify my setup was even usable, I used about 4+ feet of vynl tubing as to allow a comfortable location for viewing the gauges while testing, I will be cutting my Vynl tubing down by about a foot or so as 4' ended up being too long and allowed the tubing to lay across the heads a bit more than I was happy with. So this picture shows one of the plastic adapters ("T's") that I found cheap and these allowed me to setup a manifold to pull a vacuum from all 7 of my gauges at one time and compare them to each other to check for variance in accuracy. 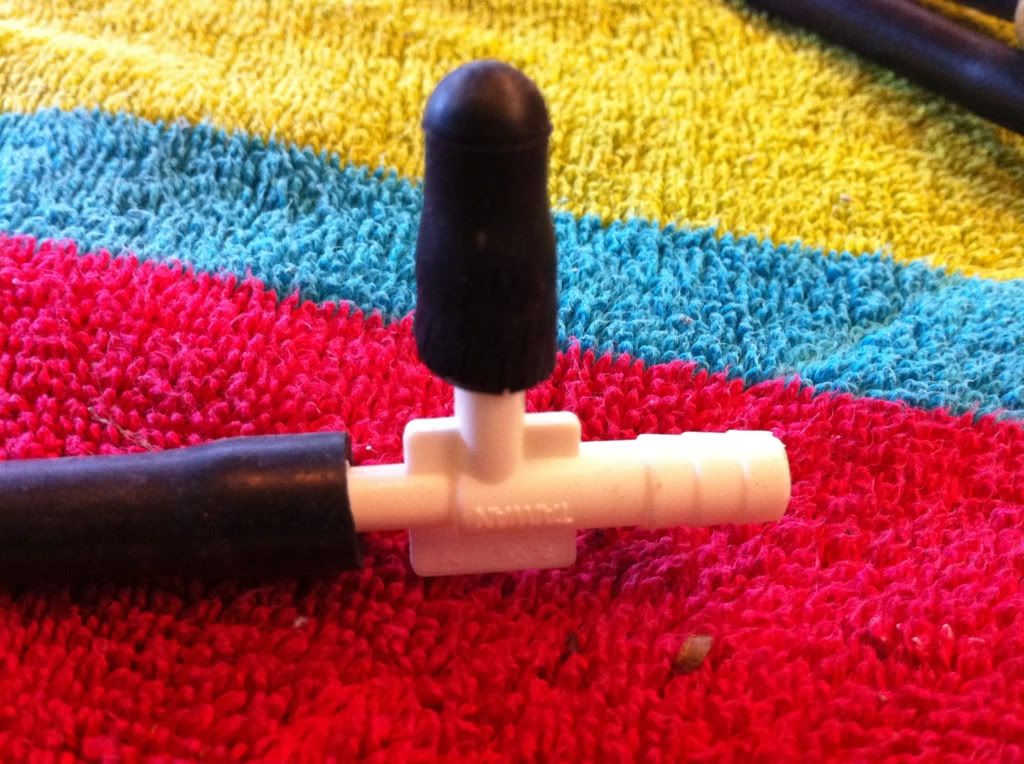 I should be back in a day or 2 with some pictures of the 400watt Pyle 4 channel marine grade amp for my new speakers. Also pictures of the AudioVox Cruise control head unit under the fairing I have been working on a sheet metal shelf setup to mount these things up under the fairing and also allow me a location for a power outlet under there and maybe even my relays for any forward lighting as to save the limited space under the seat around the Battery compartment for future useage. |
|
|
|
« Last Edit: January 26, 2011, 12:15:02 AM by fordmano »
|
Logged
|
83GS550 93XR650L TARD! 97WR250 99ValkyrieI/S Tri-tone 01YZ125(x2) 05DRZ-125
|
|
|
fordmano
Member
Posts: 1457
San Jose, CA. 1999 I/S 232 miles when bought 11/05
San Jose, CA.
|
|
« Reply #112 on: January 26, 2011, 09:35:32 PM » |
|
When you feel like you just have to have a structuraly sound shelf to mount something on and you do not have the tools to make it the proper way to your exact specifications,,, You toss in a bit of RedNeck ingenuity and massage it with some head scratching this is what you end up with... 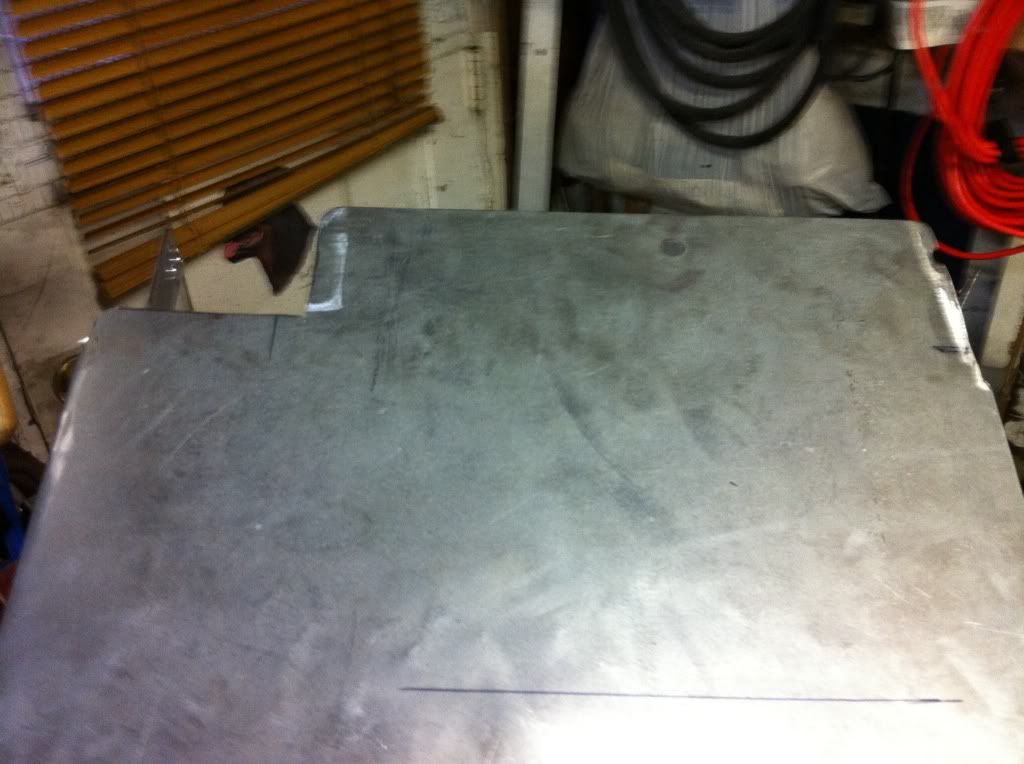 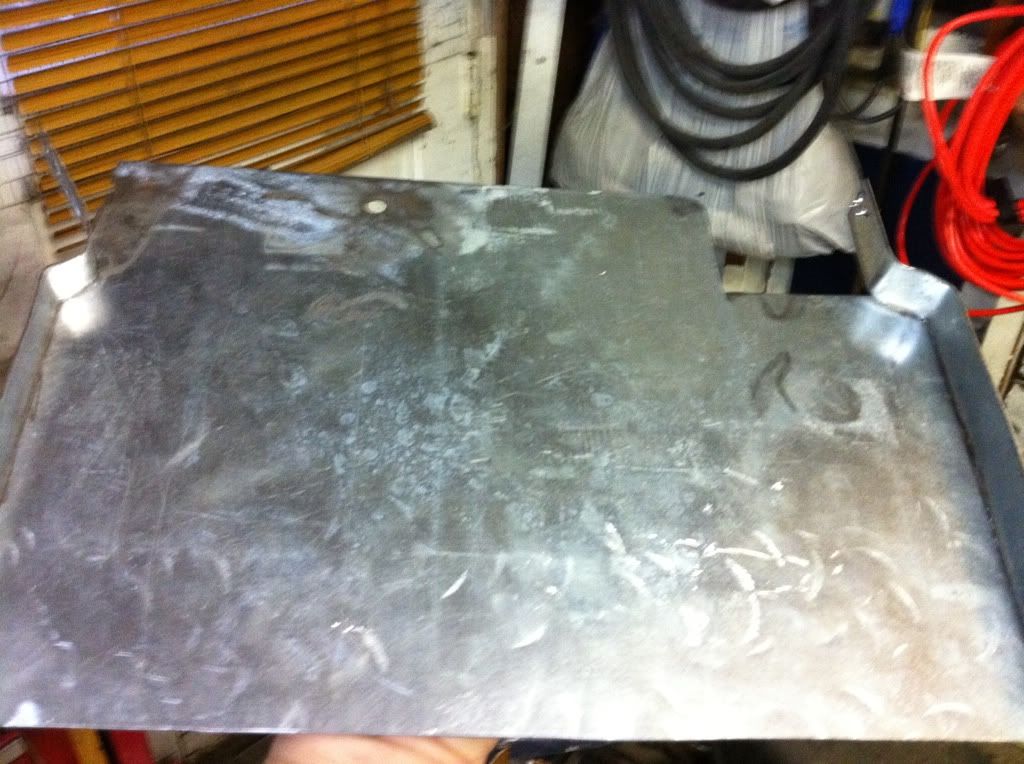 Ok so this is the starting point for my mount for the Amp and the Cruise Control and maybe some other electrical gizmos. I wanted to make sure the shelf wont flex and bang around in the fairing too much. This really is just the starting point I am sure it will be changed around a bit before it is done. I don’t have access to a press or a brake for sheet metal shaping and my work bench and vice are very small. I figured out the rough size I needed and cut a section of sheet metal out then figured I wanted to make it strong and not flexible so I wanted to bend the ends over and stiffen them up well I don't have a tool for that so I ran my grinder down a straight line on each side then worked them with my hands by clamping the side in the vice and give it a little push then move over and do the same just a little at a time then when I had one side bent square I flipped it over and did the over edge. Running the grinder part of the way through gave me a fairly straight bend line and also relieved the metal to allow for much easier bending. Now it needs to fit in-between the fairing mounting bracket under the fairing and be able to clamp onto the frame work so I cut in a bit on each side and rolled the edge I have bent over to create a flap that I could then wrap around the frame work and bolt or rivet it back to itself on both sides. I also had to make a cutout for eth Interstate dash wiring to fit in and not be rubbed from vibration and eventually cut through or ruin and cause me headaches later. 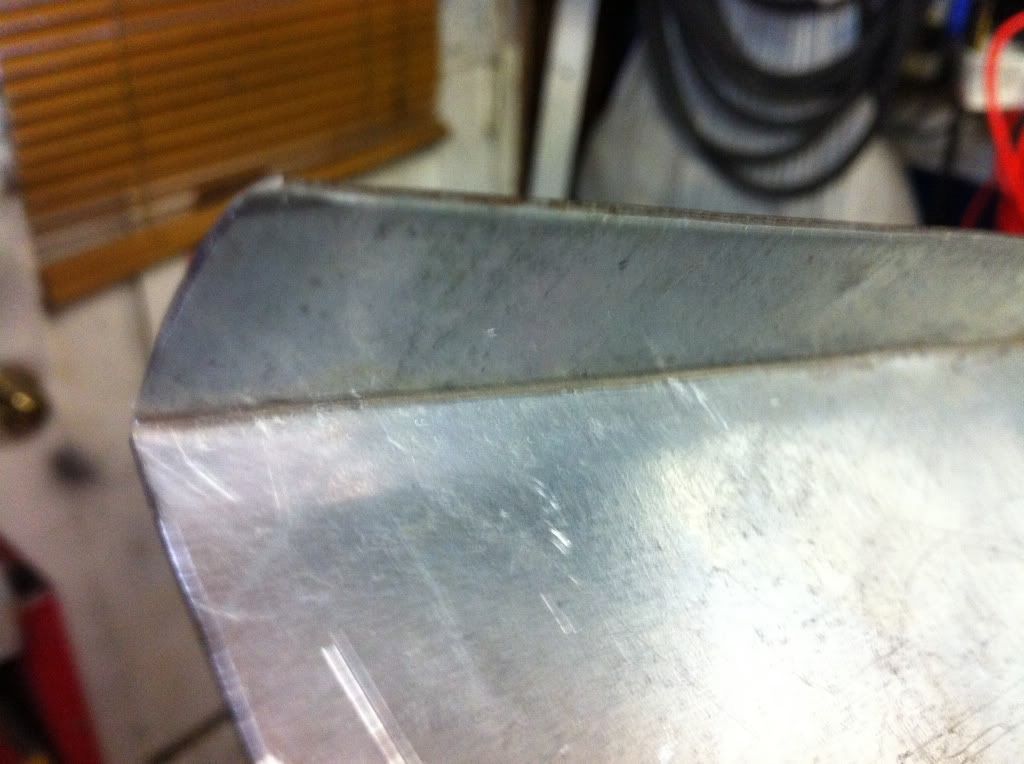 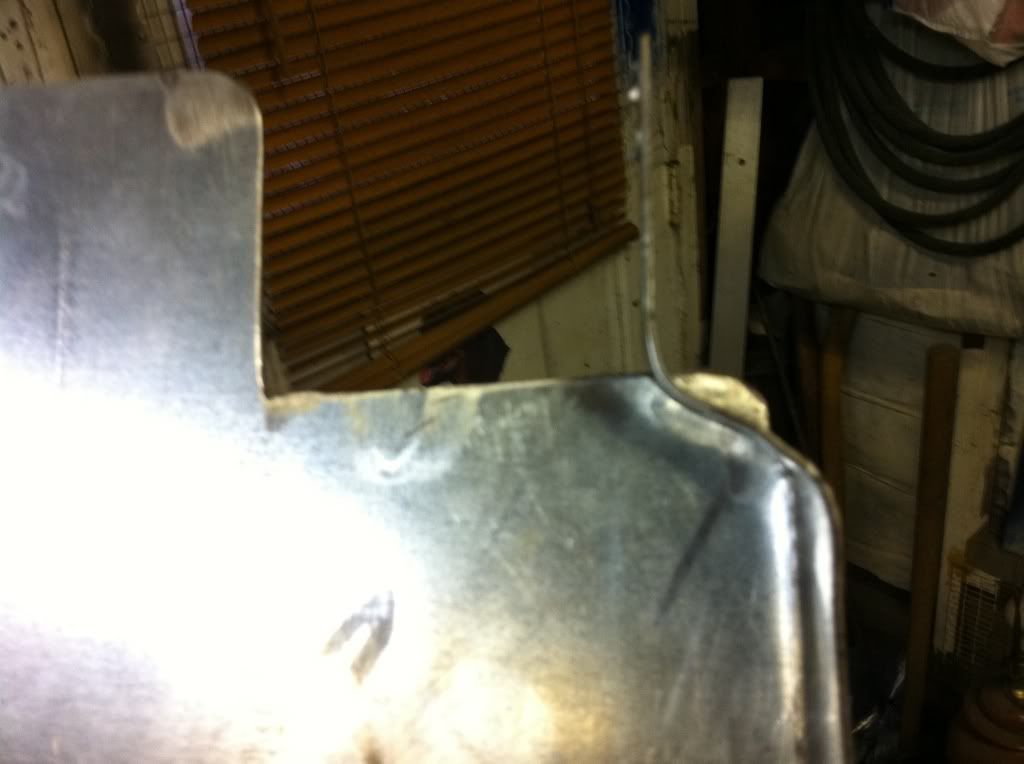 And now here is a side view of the bend to wrap around the frame work. 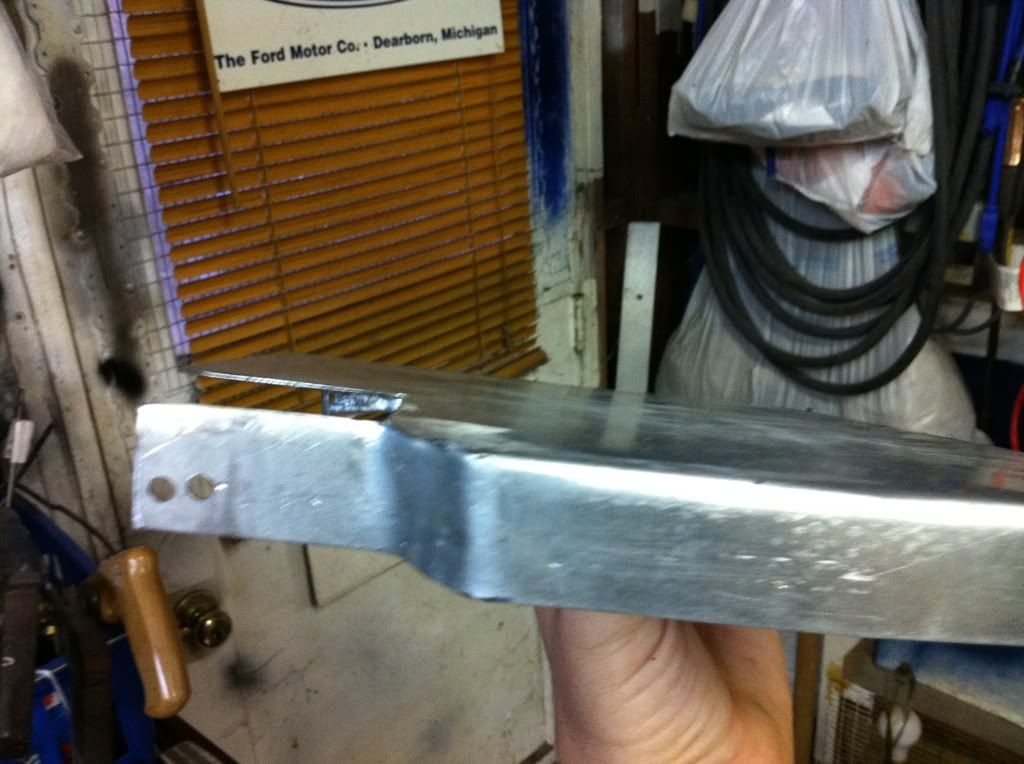 |
|
|
|
« Last Edit: January 26, 2011, 09:40:23 PM by fordmano »
|
Logged
|
83GS550 93XR650L TARD! 97WR250 99ValkyrieI/S Tri-tone 01YZ125(x2) 05DRZ-125
|
|
|
fordmano
Member
Posts: 1457
San Jose, CA. 1999 I/S 232 miles when bought 11/05
San Jose, CA.
|
|
« Reply #113 on: January 26, 2011, 09:38:53 PM » |
|
Here is the last one for today, just another angle on the flap to wrap around the frame work for mounting the shelf. 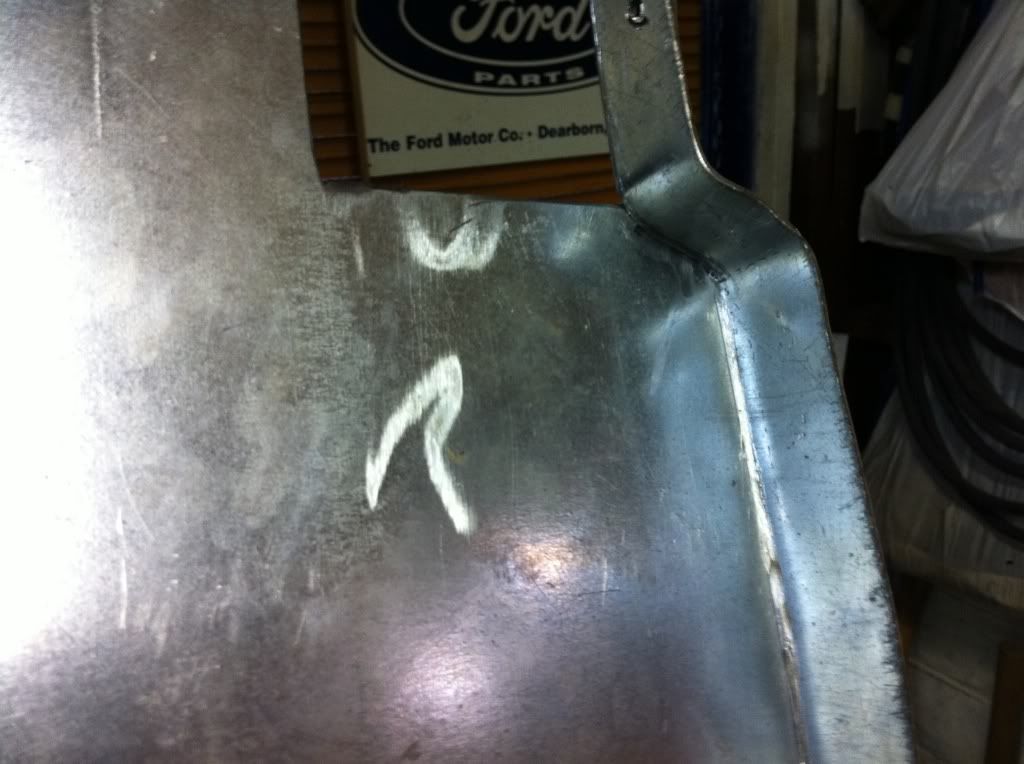 You can see where I ran the grinder to relieve the metal for the bending a square corner. Maybe a bit more tomorrow. |
|
|
|
« Last Edit: January 26, 2011, 09:41:08 PM by fordmano »
|
Logged
|
83GS550 93XR650L TARD! 97WR250 99ValkyrieI/S Tri-tone 01YZ125(x2) 05DRZ-125
|
|
|
fordmano
Member
Posts: 1457
San Jose, CA. 1999 I/S 232 miles when bought 11/05
San Jose, CA.
|
|
« Reply #114 on: January 30, 2011, 03:33:37 AM » |
|
Not much more progress just some shaping and sizing of the sheet metal for the Amp and CruiseControl mounting... 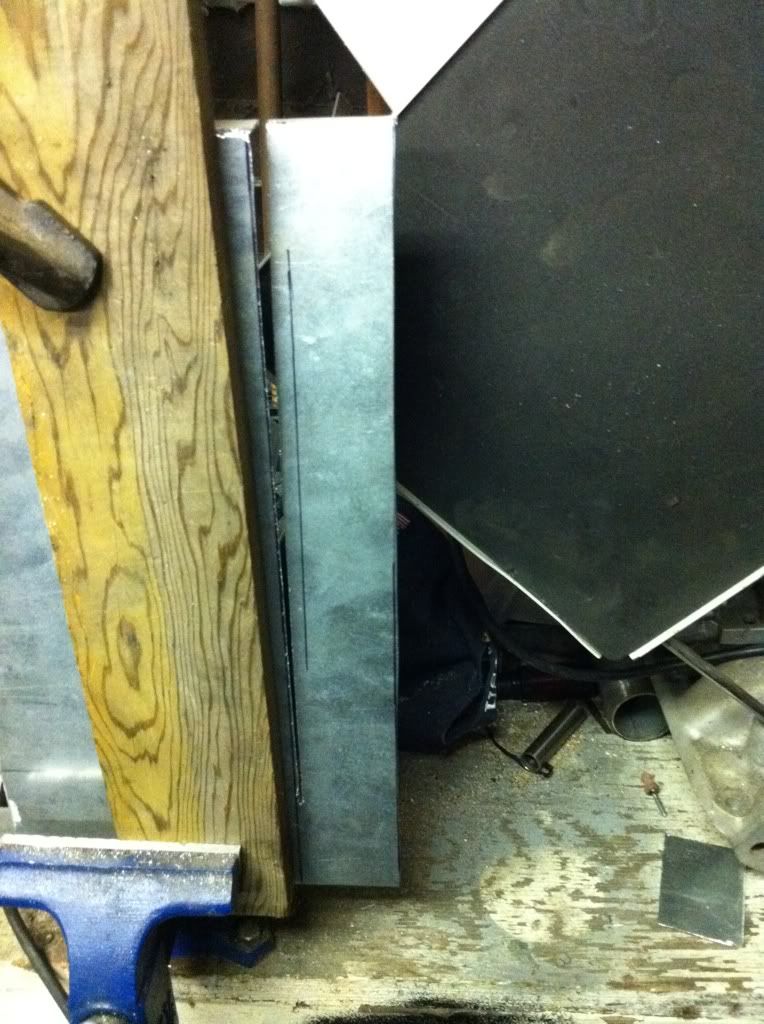 As you can see I really am limited on space for working on this project, I used a Swaz-All (reciprocating Saw) for cutting the sheet metal. I used a piece of wood on both sides of the sheet metal to reduce blade bounce and overall vibration while cutting. 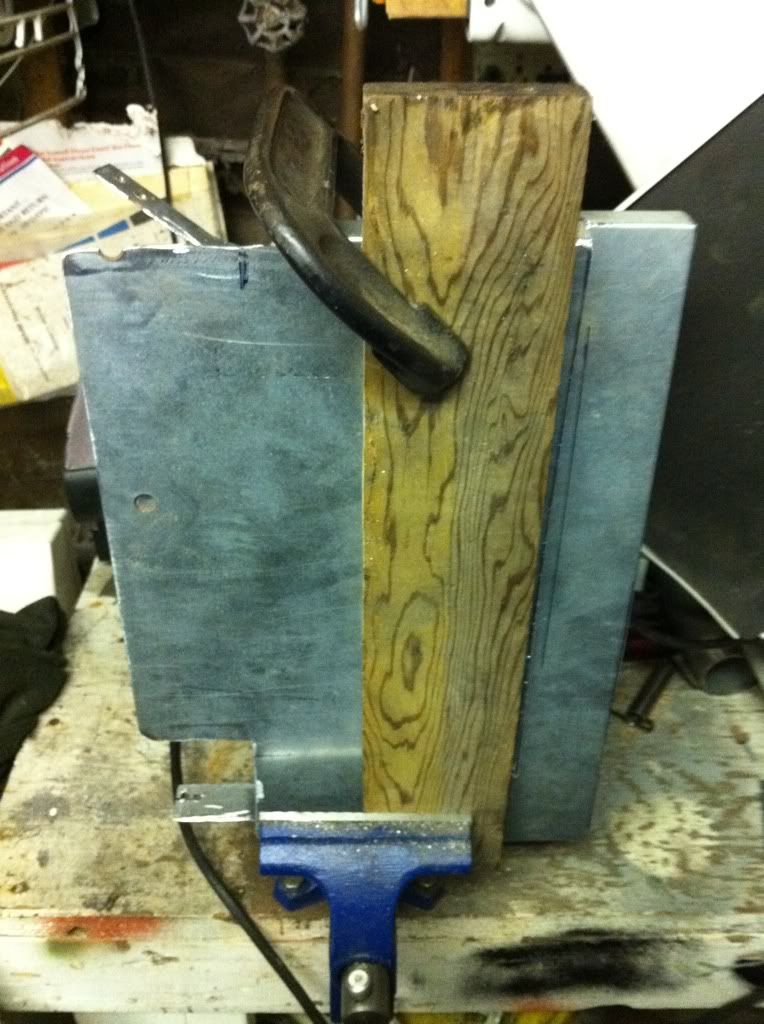 |
|
|
|
« Last Edit: January 30, 2011, 03:46:17 AM by fordmano »
|
Logged
|
83GS550 93XR650L TARD! 97WR250 99ValkyrieI/S Tri-tone 01YZ125(x2) 05DRZ-125
|
|
|
fordmano
Member
Posts: 1457
San Jose, CA. 1999 I/S 232 miles when bought 11/05
San Jose, CA.
|
|
« Reply #115 on: February 01, 2011, 09:40:33 PM » |
|
OK, well day before yesterday I tried removing the clutch master cylinder reservoir cover and install the new chrome one,, and this is what I did. 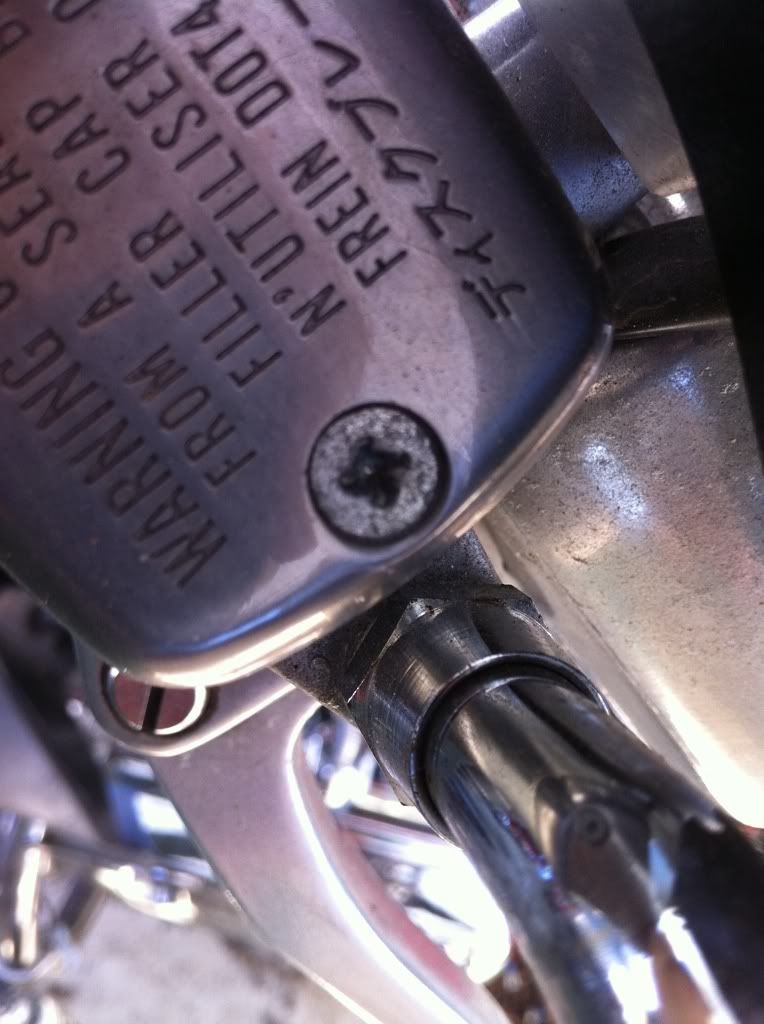 Yep stripped it out. So to prevent it happening to the other screw. 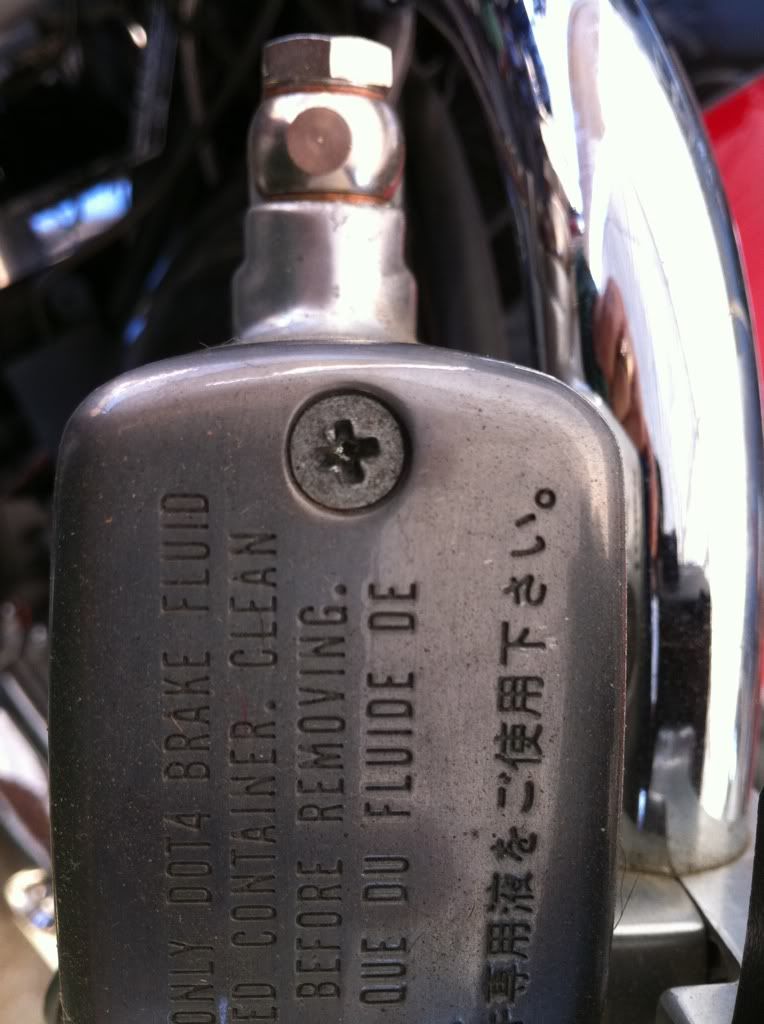 I went and purchased one of these,,, I thought I had one but apperantly it was my father-in-laws and I had given it back to him many years ago and my Brother -In-Law managed to take ownership and who knows where it is at now so I had to buy a new one. 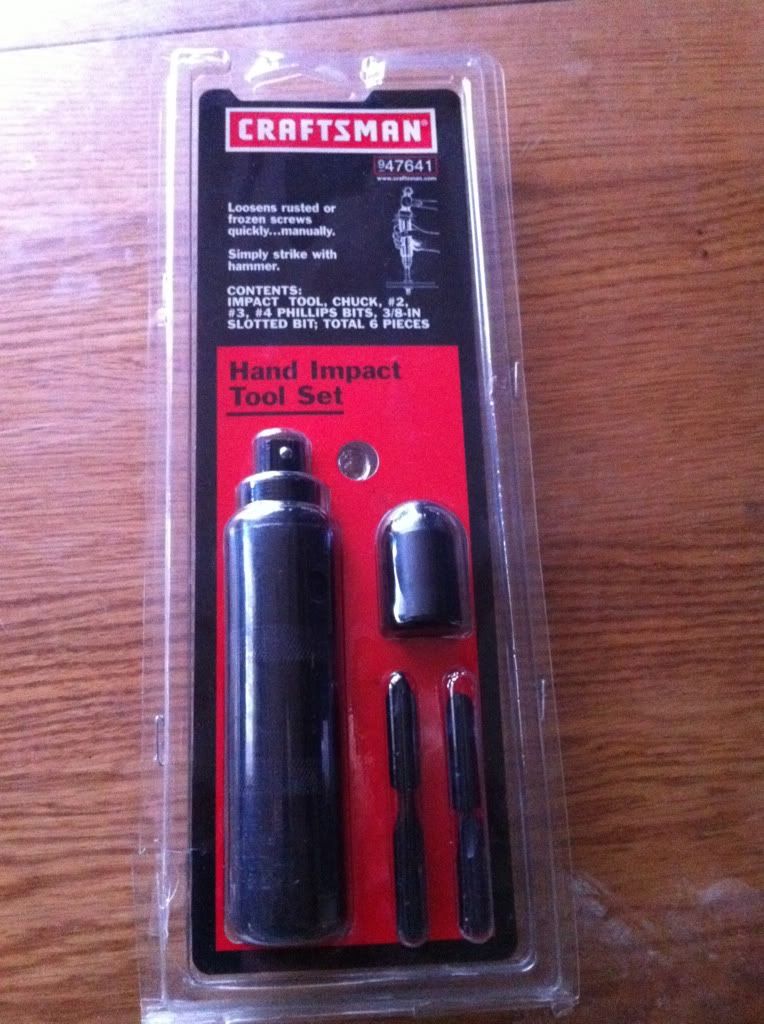 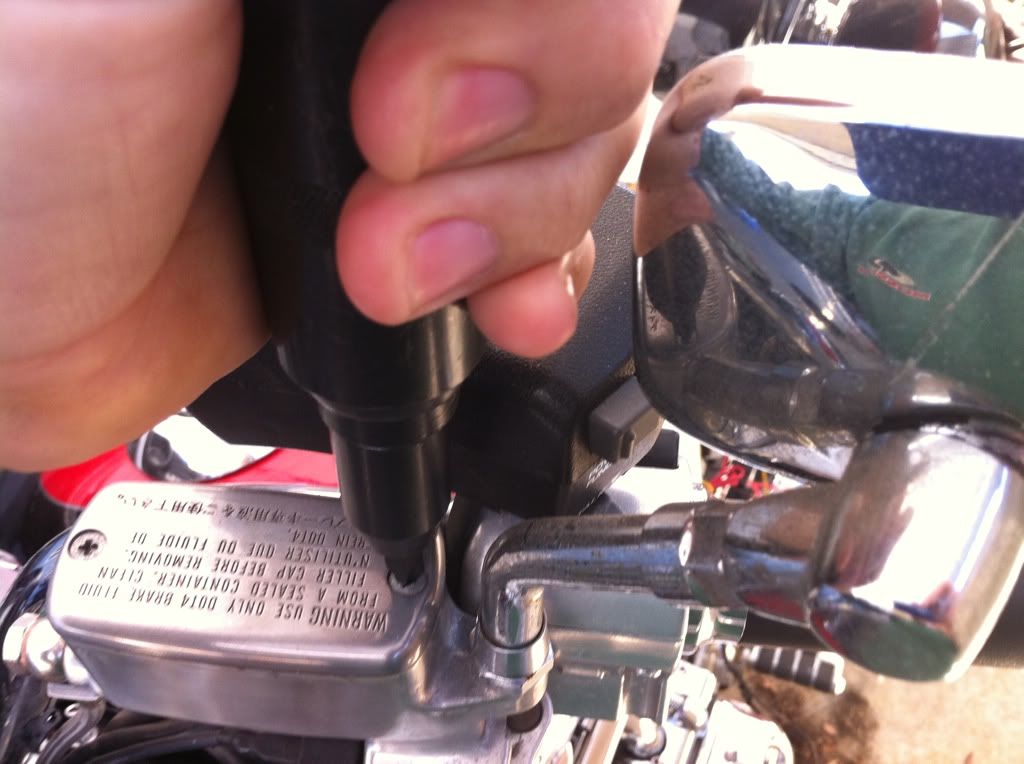 Now thats better if you don't have one I would suggest you get one, very handy tool, I paid $19.99 on sale this week at Sears. This is the simple Impact driver set they do sell one that is around $60.xx And now the new cover is isntalled properly and it is pretty, just like the opther side. 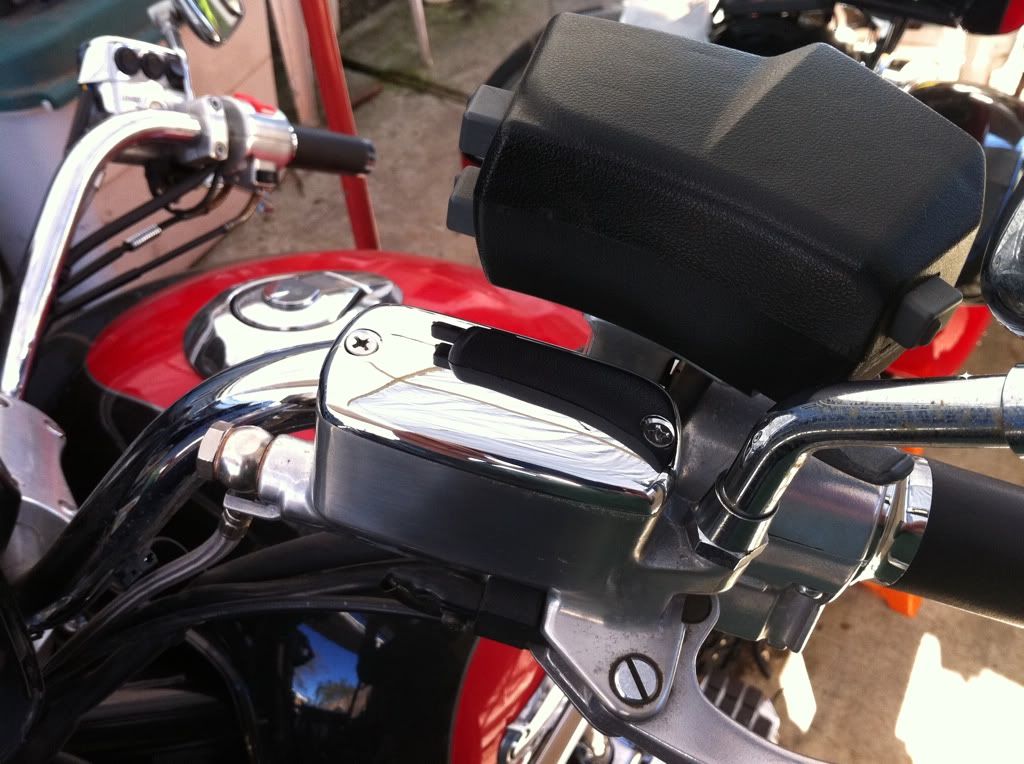 |
|
|
|
« Last Edit: February 01, 2011, 09:53:20 PM by fordmano »
|
Logged
|
83GS550 93XR650L TARD! 97WR250 99ValkyrieI/S Tri-tone 01YZ125(x2) 05DRZ-125
|
|
|
fordmano
Member
Posts: 1457
San Jose, CA. 1999 I/S 232 miles when bought 11/05
San Jose, CA.
|
|
« Reply #116 on: February 01, 2011, 09:51:06 PM » |
|
As some had wondered and some had asked this is the little clamps I tried using for creating the dampening effect on my Carb Sync gauge setup they did work but they are a pain to use so I finally got my Brass valves installed in the middle of my vinyl - vacuum line tubing. I used a little heat to help make the vinyl tubing stretch over the threaded side of the brass valve. I also cut the vinyl tubes a bit shorter so they would be easier to manage. 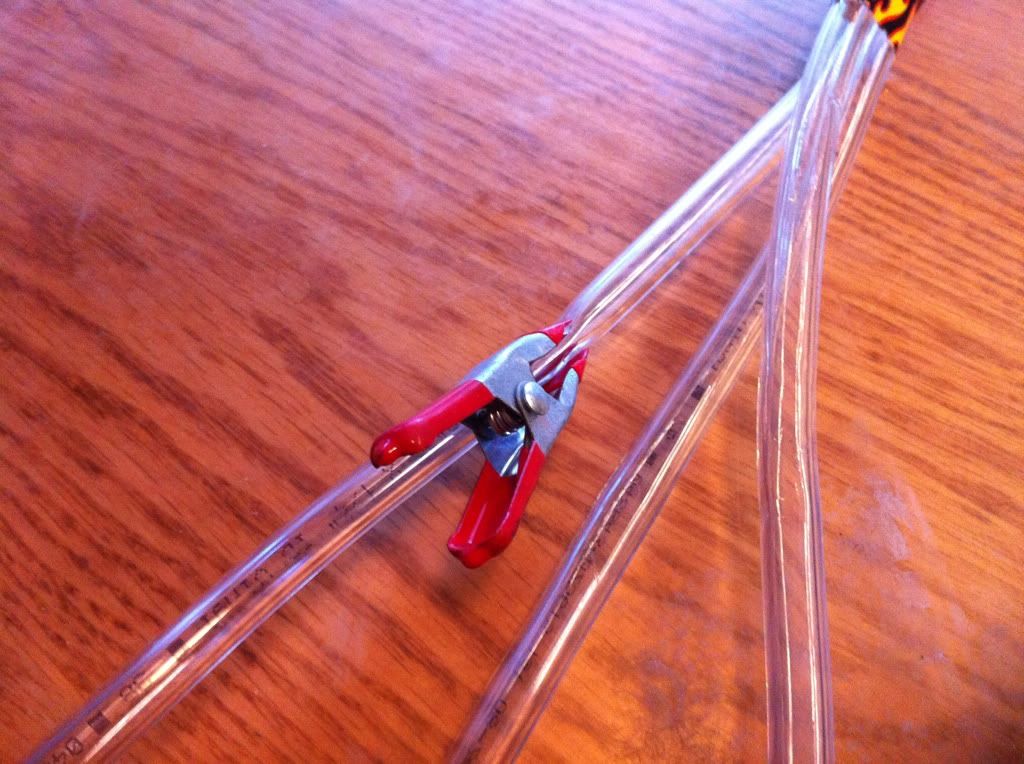 Here is my heat source I used I was just very careful to not over heat the vinyl tubing since I found out how easy it would catch fire,,, Figured this out on the first one.  Here is a close up of the first one installed. 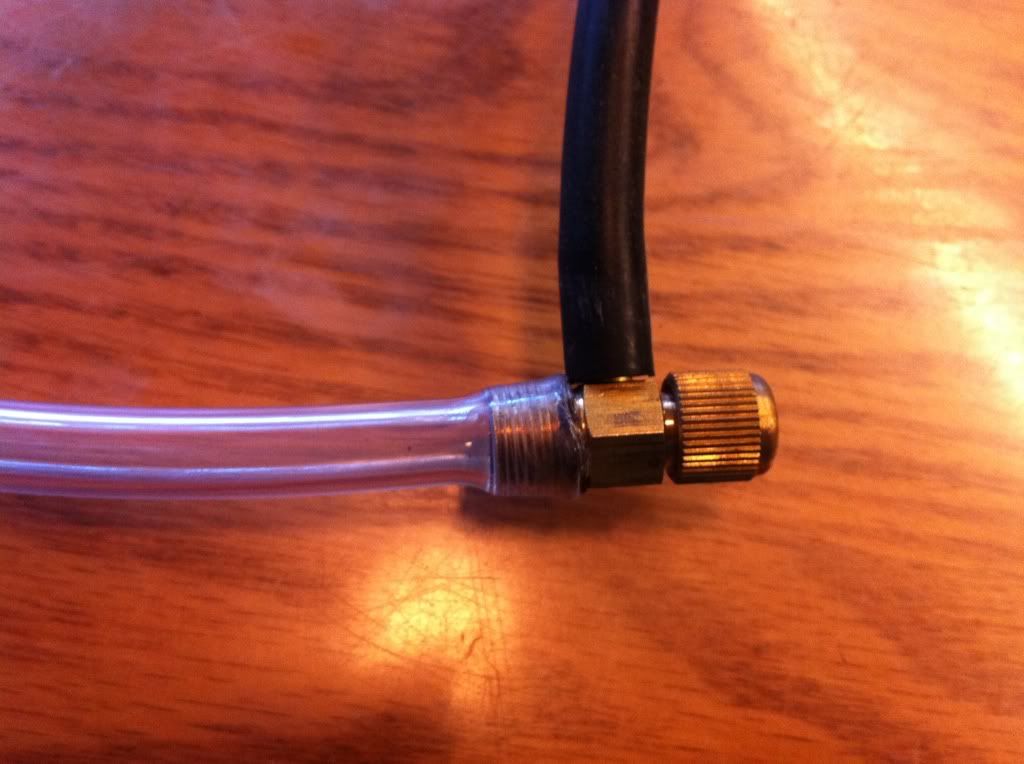 And here is the set all done. You can see that I made each set about 6" shorter than the last set to ehlp them flow over the sides of the carb banks a bit nicer when using them. 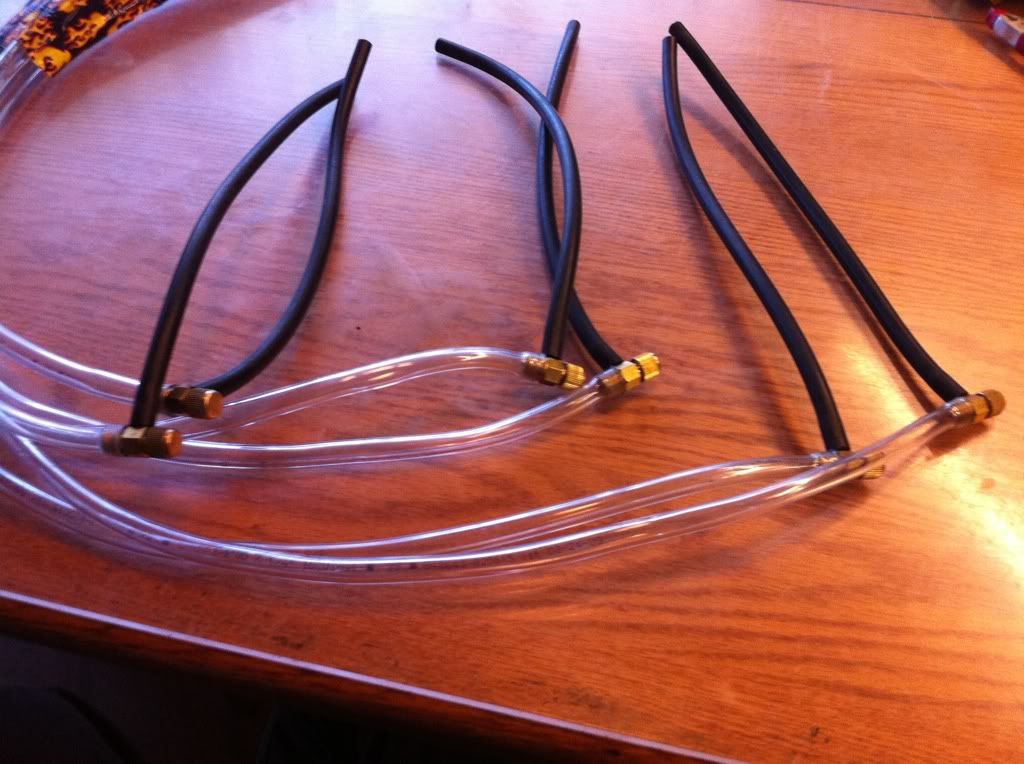 |
|
|
|
« Last Edit: February 01, 2011, 09:53:41 PM by fordmano »
|
Logged
|
83GS550 93XR650L TARD! 97WR250 99ValkyrieI/S Tri-tone 01YZ125(x2) 05DRZ-125
|
|
|
fordmano
Member
Posts: 1457
San Jose, CA. 1999 I/S 232 miles when bought 11/05
San Jose, CA.
|
|
« Reply #117 on: February 01, 2011, 10:04:52 PM » |
|
Here is the task I completed yesterday, almost got this Fat Lady back on the ground. 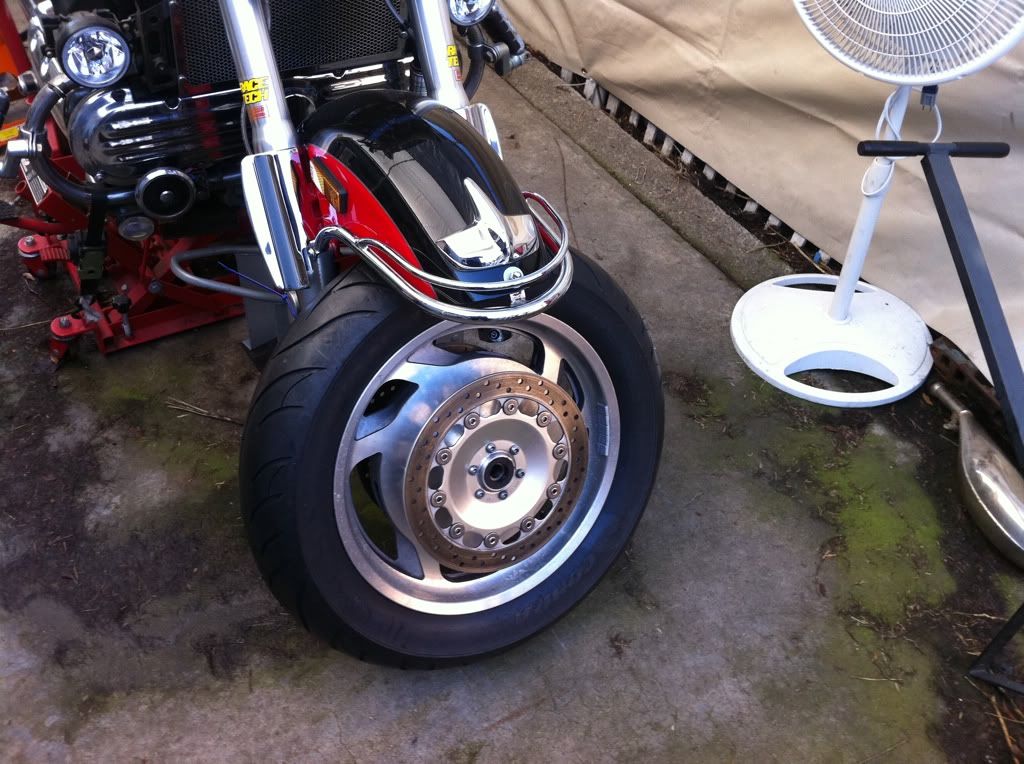 This is a bigger task than some make it out to be, since I am working alone without all the proper tools and still fealing the effects on my shoulder from my dirtbike wreck last October, no idea when my shoulder will be 100% if ever. These Valkyrie rims and tires are a lot heavier than most think they are. 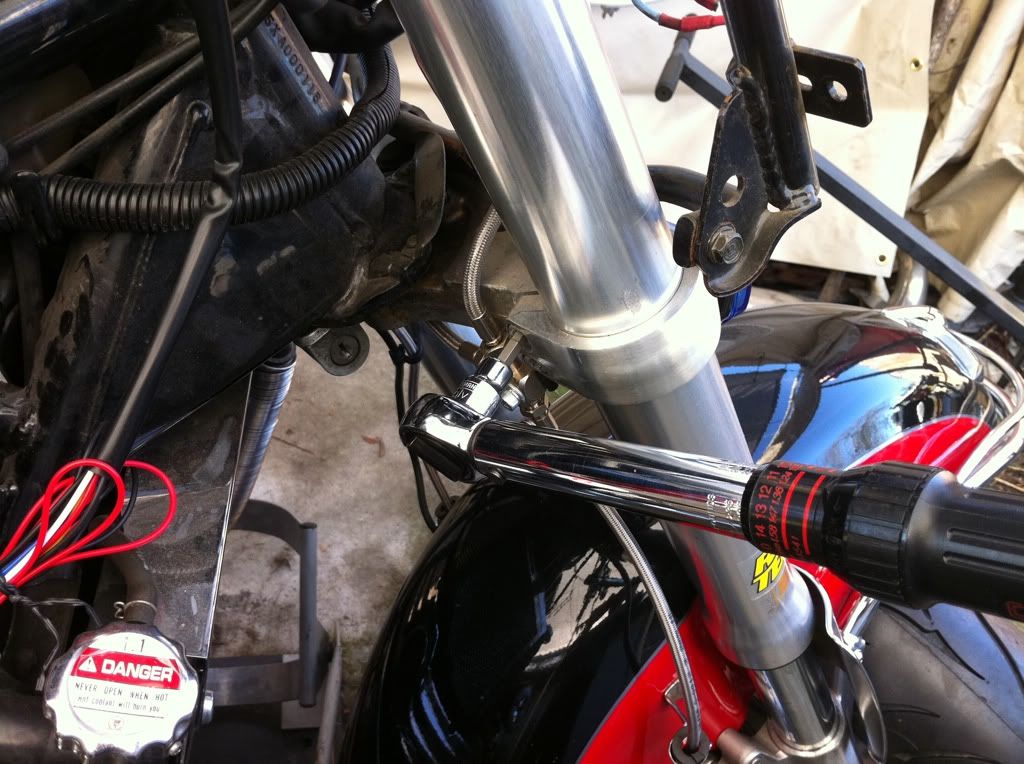 The manual says to tighten the lower pinch bolts first, so out comes the small torque wrench for those since my large torque wrench does not go low enough. 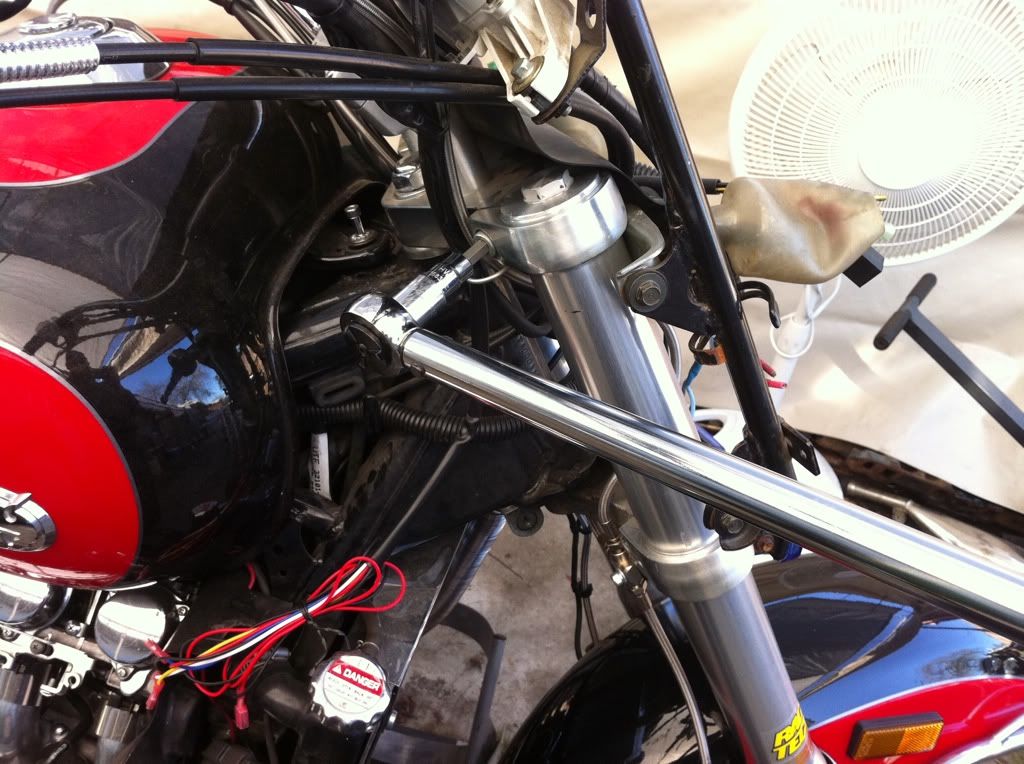 Now for the top pinch bolts. I had to use the large torque wrench since the small one does not go up high enough. So now for the tire itself. 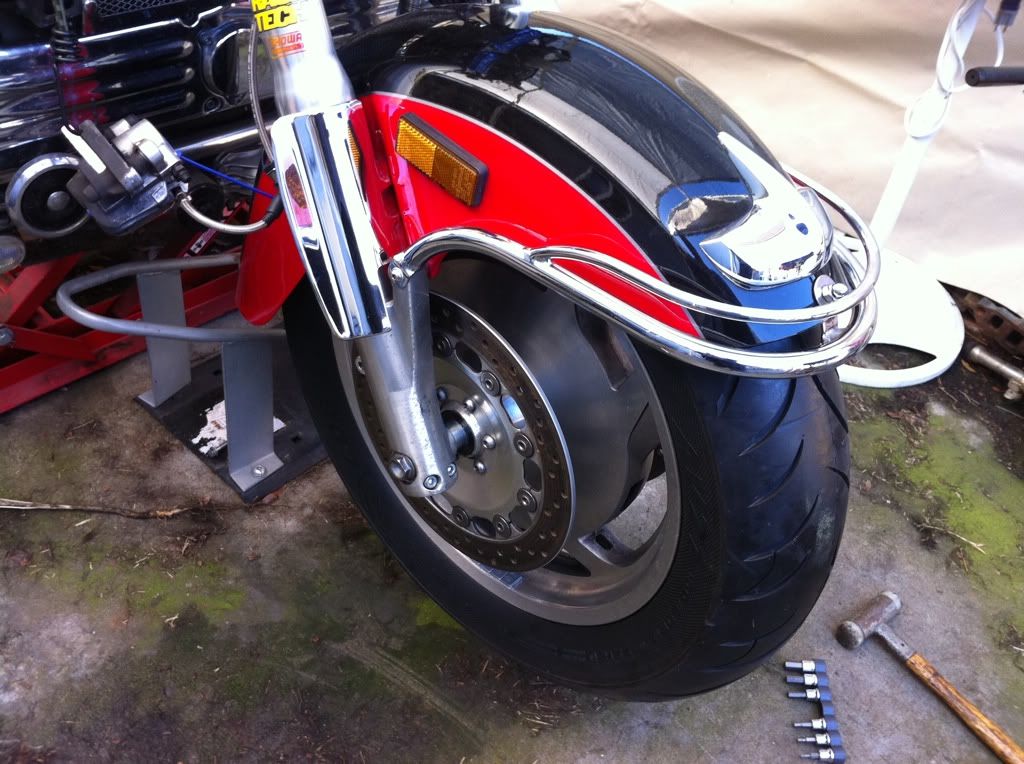 And a picture from another angle. 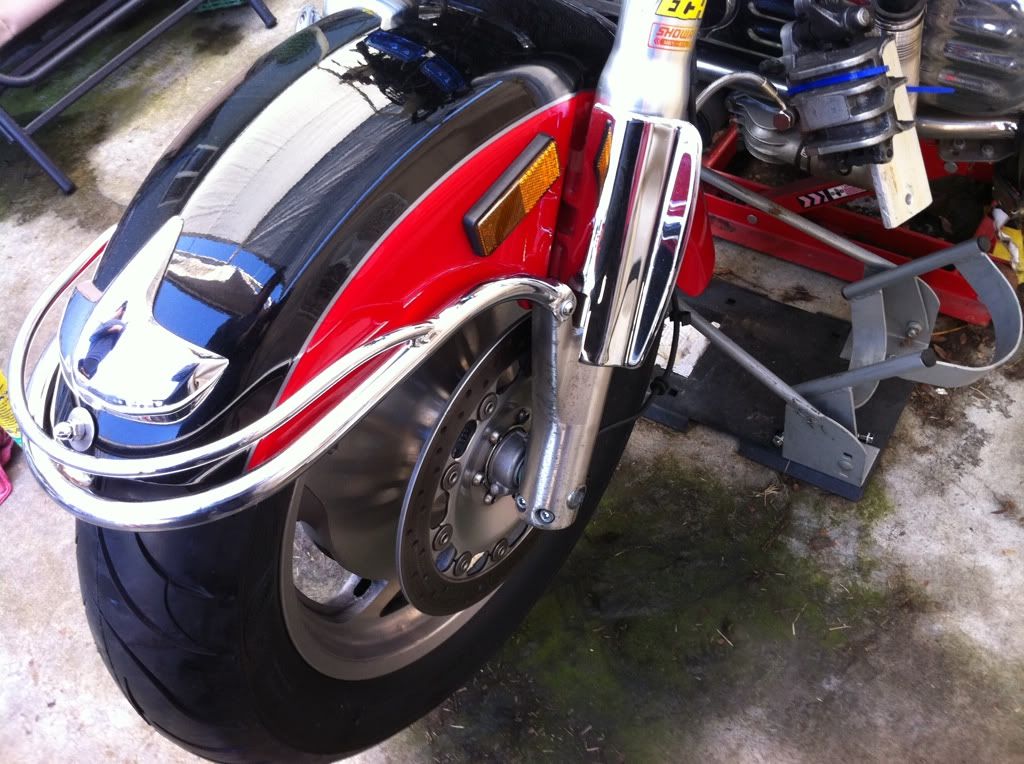 |
|
|
|
|
Logged
|
83GS550 93XR650L TARD! 97WR250 99ValkyrieI/S Tri-tone 01YZ125(x2) 05DRZ-125
|
|
|
fordmano
Member
Posts: 1457
San Jose, CA. 1999 I/S 232 miles when bought 11/05
San Jose, CA.
|
|
« Reply #118 on: February 01, 2011, 10:09:30 PM » |
|
I also managed to get my Brake calipers mounted back on each side, I found the brake pads were a bit more worn than I ever though they were. 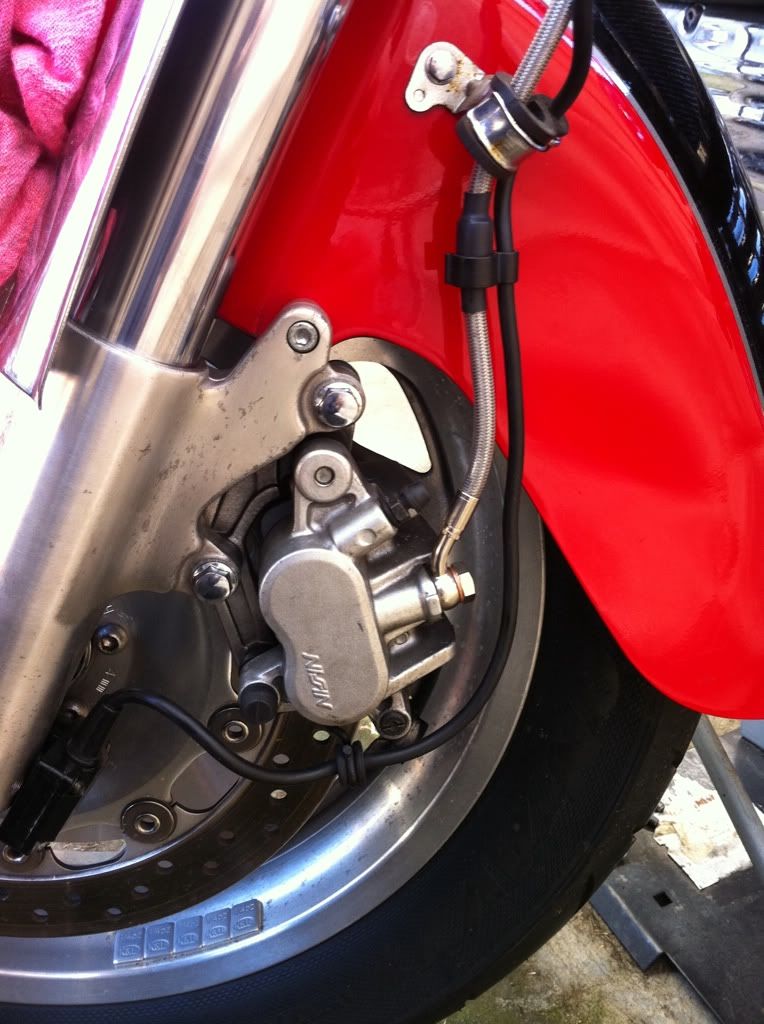 And of course the other side. 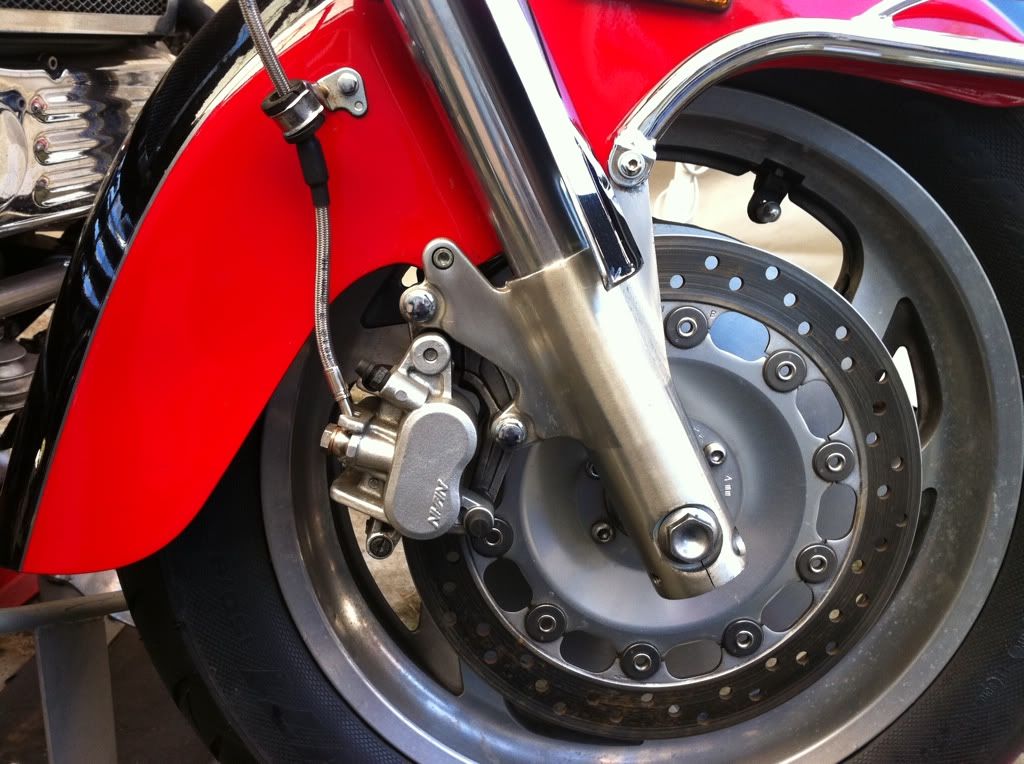 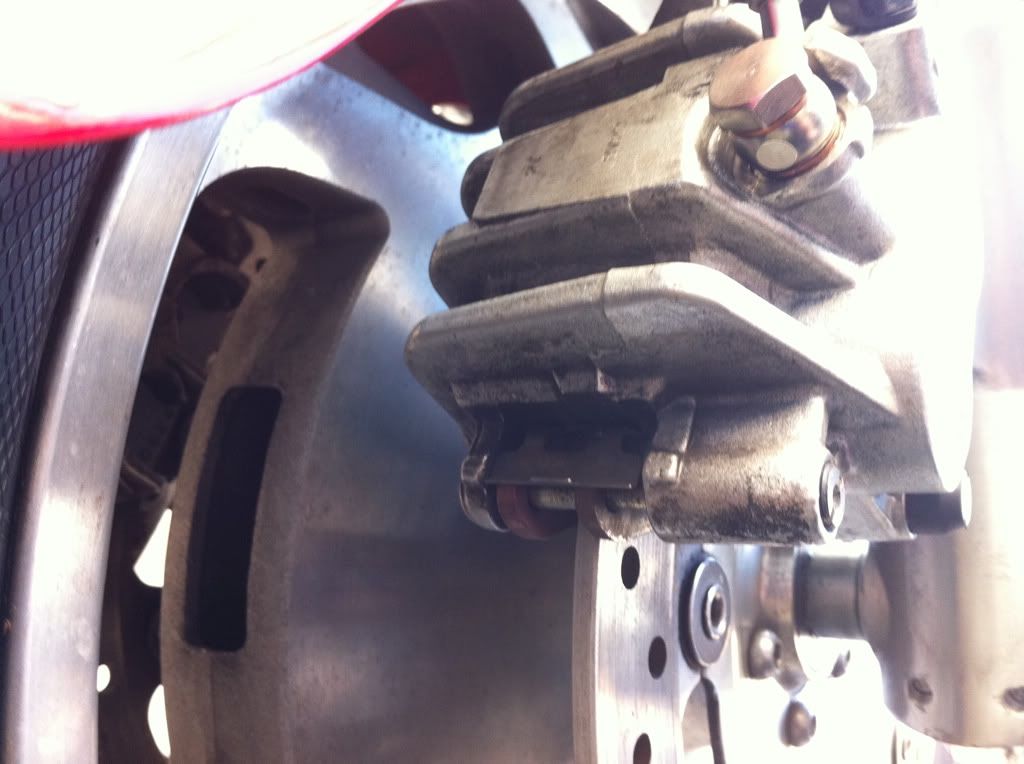 Yes those are the new pads up in there. |
|
|
|
|
Logged
|
83GS550 93XR650L TARD! 97WR250 99ValkyrieI/S Tri-tone 01YZ125(x2) 05DRZ-125
|
|
|
fordmano
Member
Posts: 1457
San Jose, CA. 1999 I/S 232 miles when bought 11/05
San Jose, CA.
|
|
« Reply #119 on: February 01, 2011, 10:16:39 PM » |
|
And just for fun here are the old brake pads, they had some life left but it just made sense to me to install new ones with all this work being done why cheap out on brakes especially the front ones. 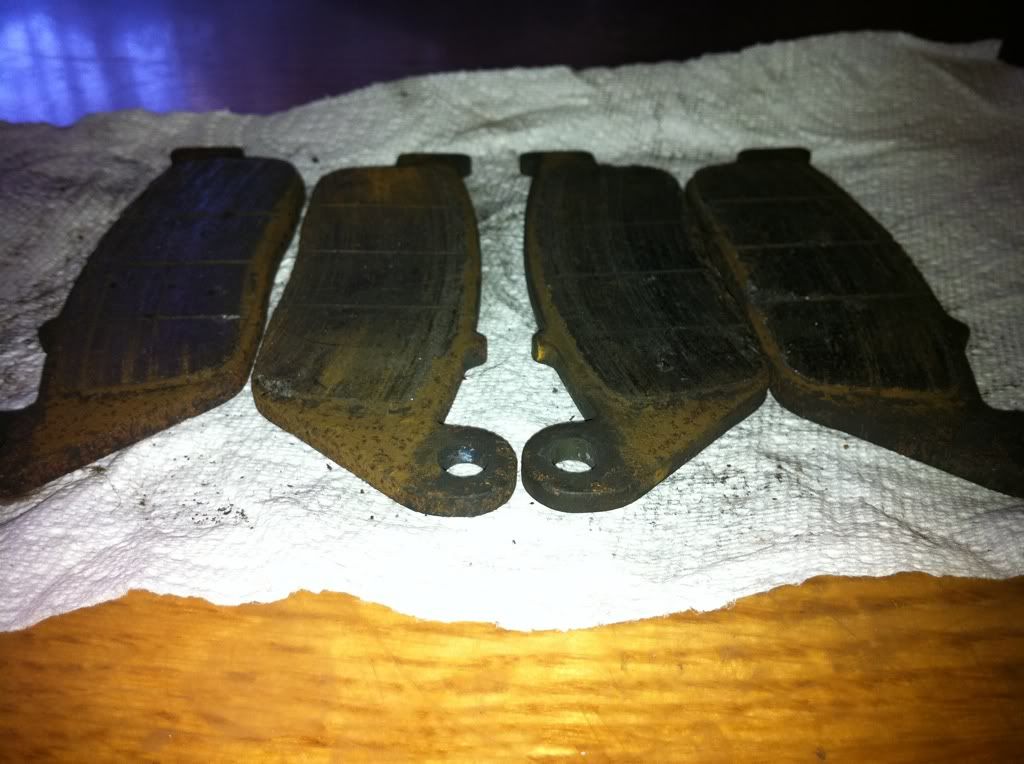 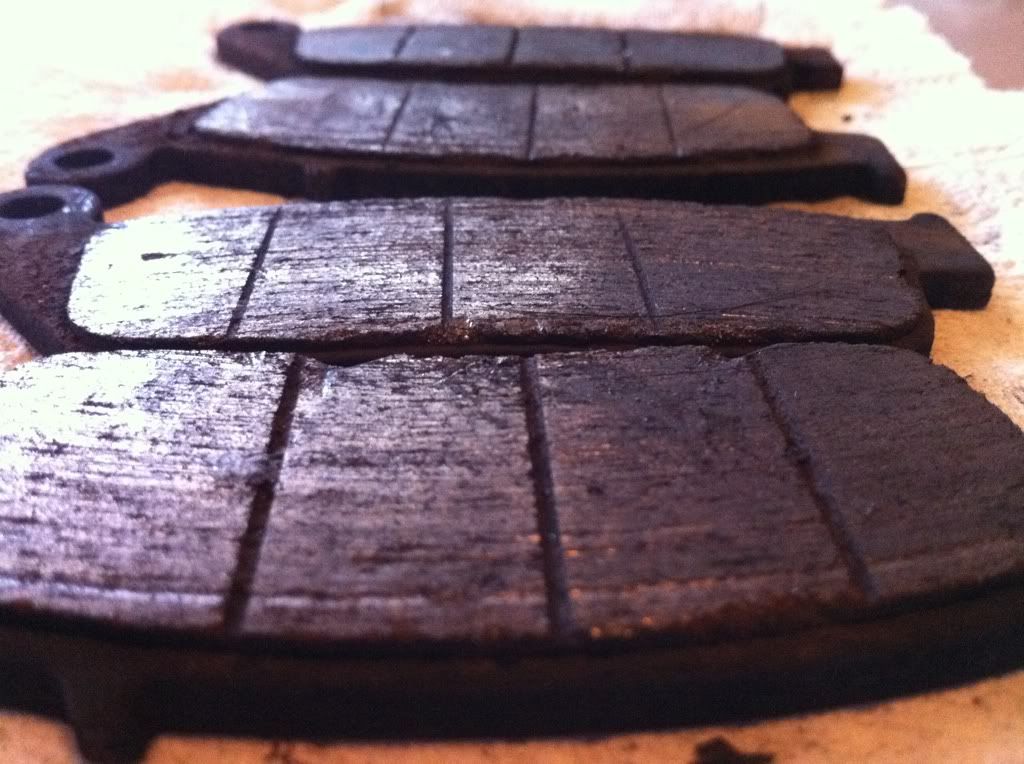 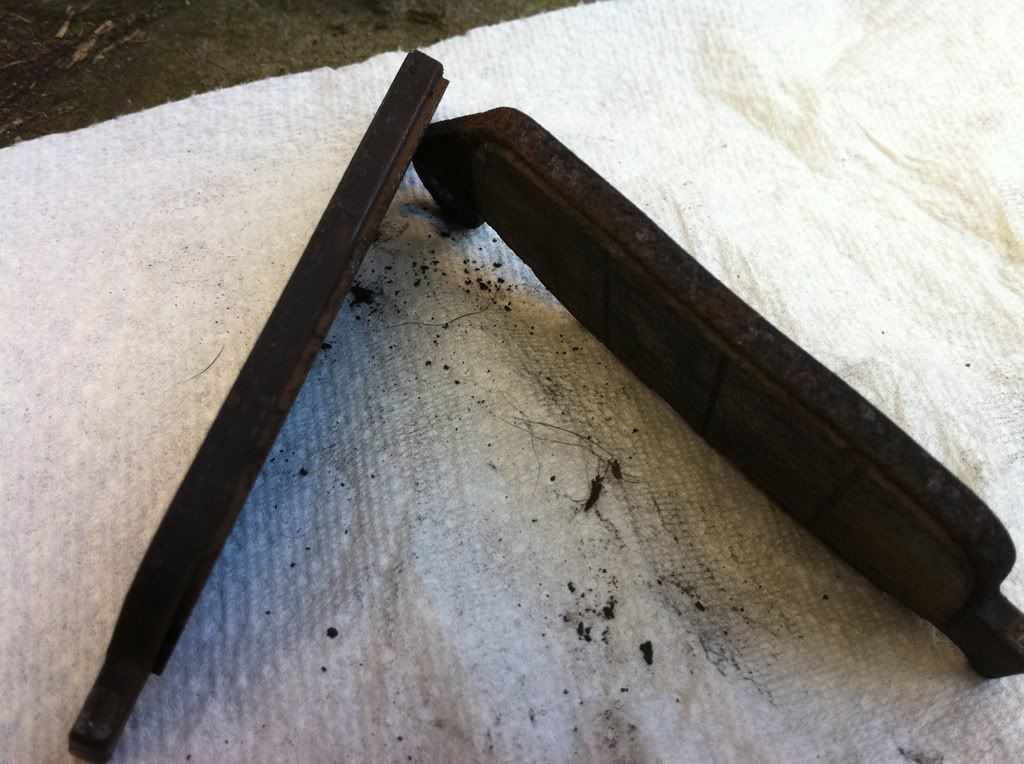 And that about wraps up the updates for today. As always thanks for looking and following along and feel free to ask questions or ad comments. |
|
|
|
|
Logged
|
83GS550 93XR650L TARD! 97WR250 99ValkyrieI/S Tri-tone 01YZ125(x2) 05DRZ-125
|
|
|
|


